-
JavaEE进阶学习:Spring 的创建和使用
Spring 就是⼀个包含了众多工具方法的 IoC 容器。既然是容器那么它就具备两个最基本的功能:
- 将对象存储到容器(Spring)中
- 从容器中将对象取出来
接下来使用 Maven 方式来创建一个 Spring 项目,创建 Spring 项目和 Servlet 类似,
在 Java 语言中对象也叫做 Bean,所以后面咱们再遇到对象就以 Bean 著称。1.创建 Spring 项目
接下来使用 Maven 方式来创建一个 Spring 项目,创建 Spring 项目和 Servlet 类似,总共分为以下3步:
- 创建⼀个普通 Maven 项目
- 添加 Spring 框架支持(spring-context、spring-beans)
- 添加启动类
1.创建一个普通 Maven 项目

2.添加 Spring 依赖
在项目的 pom.xml 中添加 Spring 框架的支持
<dependencies> <dependency> <groupId>org.springframeworkgroupId> <artifactId>spring-contextartifactId> <version>5.2.3.RELEASEversion> dependency> <dependency> <groupId>org.springframeworkgroupId> <artifactId>spring-beansartifactId> <version>5.2.3.RELEASEversion> dependency> dependencies>- 1
- 2
- 3
- 4
- 5
- 6
- 7
- 8
- 9
- 10
- 11
- 12
- 13
<project xmlns="http://maven.apache.org/POM/4.0.0" xmlns:xsi="http://www.w3.org/2001/XMLSchema-instance" xsi:schemaLocation="http://maven.apache.org/POM/4.0.0 http://maven.apache.org/xsd/maven-4.0.0.xsd"> <modelVersion>4.0.0modelVersion> <groupId>org.examplegroupId> <artifactId>test-2023-11-15artifactId> <version>1.0-SNAPSHOTversion> <properties> <maven.compiler.source>8maven.compiler.source> <maven.compiler.target>8maven.compiler.target> <project.build.sourceEncoding>UTF-8project.build.sourceEncoding> properties> <dependencies> <dependency> <groupId>org.springframeworkgroupId> <artifactId>spring-contextartifactId> <version>5.2.3.RELEASEversion> dependency> <dependency> <groupId>org.springframeworkgroupId> <artifactId>spring-beansartifactId> <version>5.2.3.RELEASEversion> dependency> dependencies> project>- 1
- 2
- 3
- 4
- 5
- 6
- 7
- 8
- 9
- 10
- 11
- 12
- 13
- 14
- 15
- 16
- 17
- 18
- 19
- 20
- 21
- 22
- 23
- 24
- 25
- 26
- 27
- 28
- 29
- 30
- 31
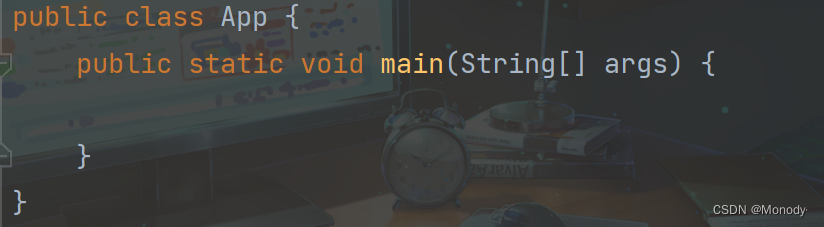
3.创建启动类
2.将 Bean 对象存储到 Spring (IoC容器)
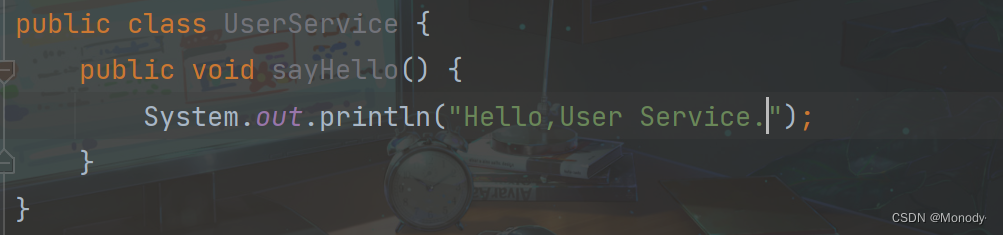
1.创建一个 Bean 对象
2.将 Bean 存储到 Spring 中
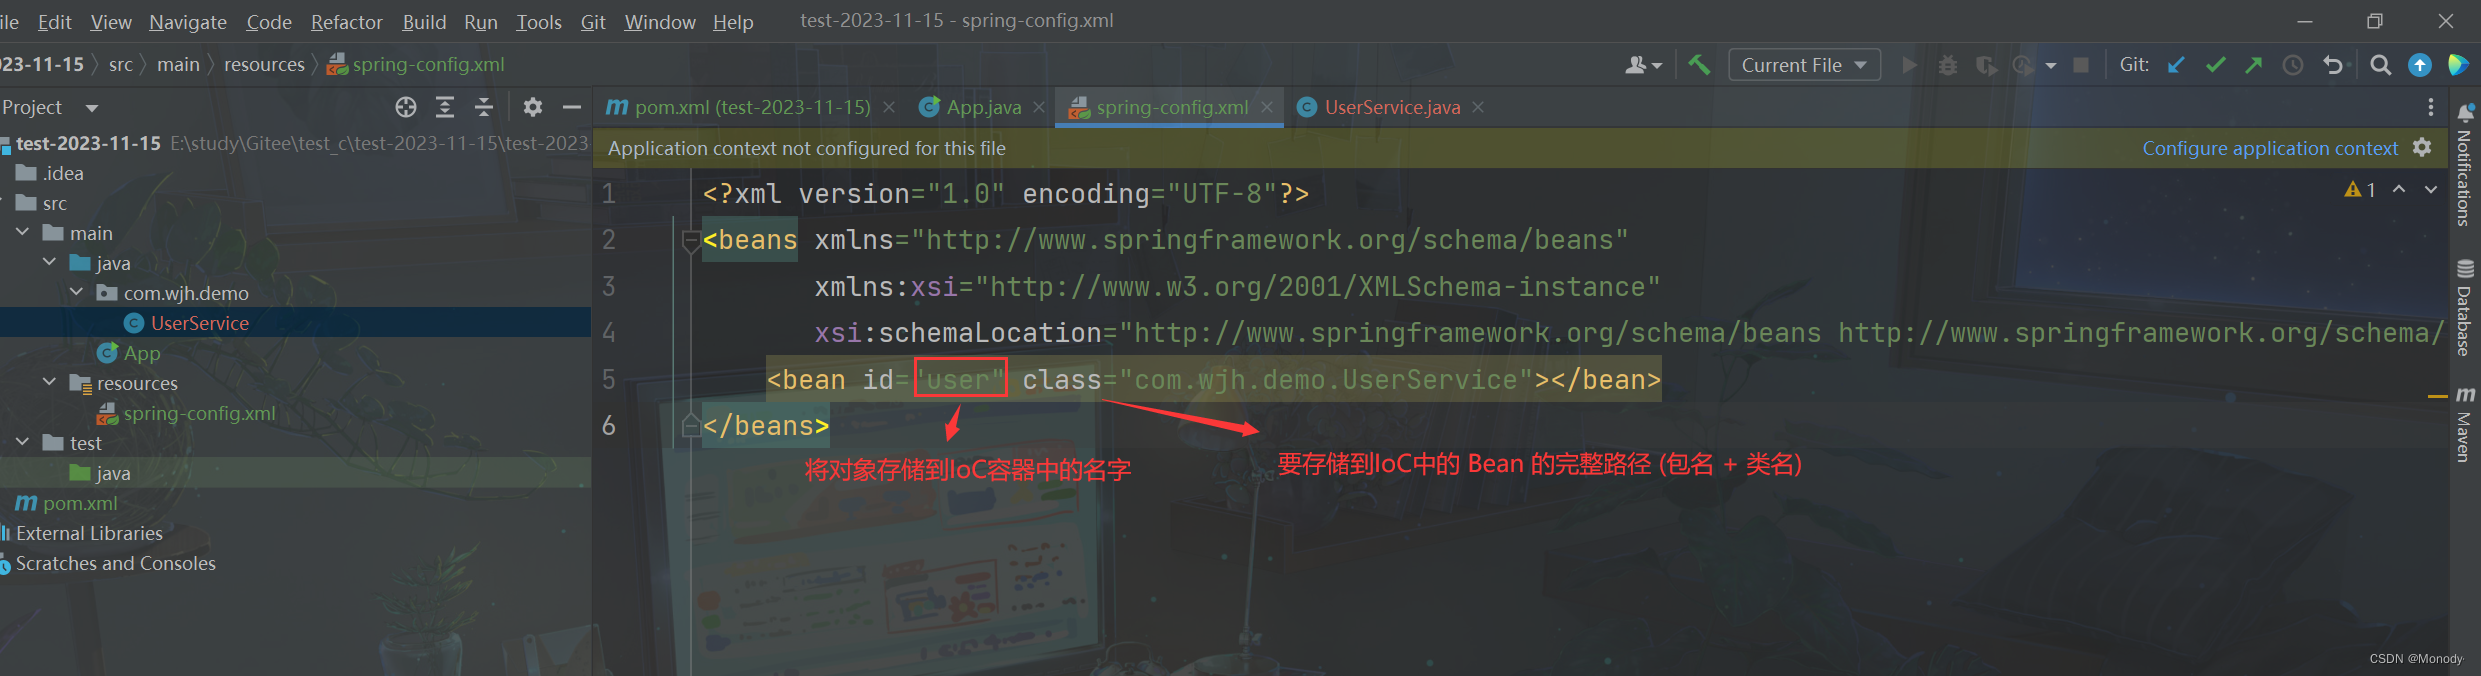
在创建好的项目中添加 Spring 配置文件 spring-config.xml,将此文件放到 resources 的根目录下
<beans xmlns="http://www.springframework.org/schema/beans" xmlns:xsi="http://www.w3.org/2001/XMLSchema-instance" xsi:schemaLocation="http://www.springframework.org/schema/beans http://www.springframework.org/schema/beans/spring-beans.xsd"> beans>- 1
- 2
- 3
- 4
- 5
- 6
接下来,再将 User 对象注册到 Spring 中就可以
<bean id="user" class="com.wjh.demo.UserService">bean>- 1

3.从容器中获取 Bean 对象
1.得到 Spring 上下文对象

public class App { public static void main(String[] args) { //1.先得到 Spring 上下文对象 ApplicationContext context = new ClassPathXmlApplicationContext("spring-config.xml"); } }- 1
- 2
- 3
- 4
- 5
- 6
2.获取到 Bean 对象

public class App { public static void main(String[] args) { //1.先得到 Spring 上下文对象 ApplicationContext context = new ClassPathXmlApplicationContext("spring-config.xml"); //2.得到 Bean context.getBean("user"); } }- 1
- 2
- 3
- 4
- 5
- 6
- 7
- 8
- 9
- 10
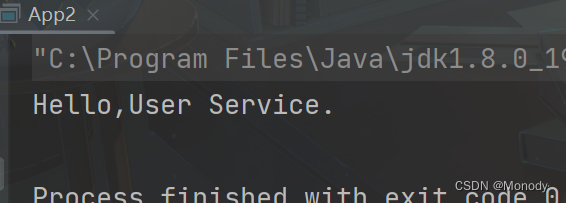
3.使用 Bean 对象
public class App { public static void main(String[] args) { //1.先得到 Spring 上下文对象 ApplicationContext context = new ClassPathXmlApplicationContext("spring-config.xml"); //2.得到 Bean [依赖查找 -> IoC 的一种实现] UserService userService = (UserService) context.getBean("user"); //3.使用 Bean 对象 userService.sayHello(); } }- 1
- 2
- 3
- 4
- 5
- 6
- 7
- 8
- 9
- 10
- 11
- 12

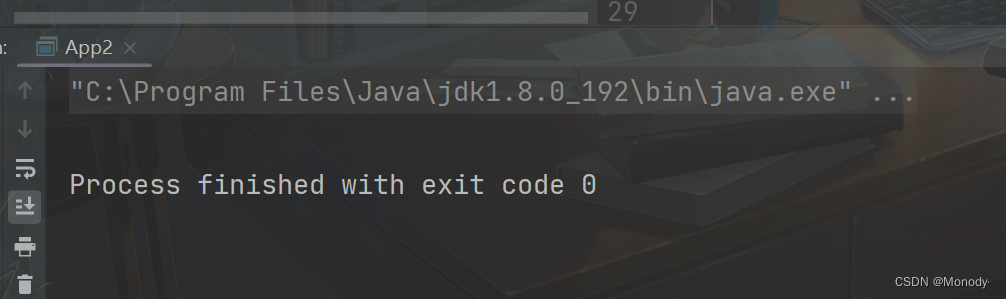
4.方法2
public class App2 { public static void main(String[] args) { //1.得到 Spring 上下文对象 BeanFactory context = new XmlBeanFactory( new ClassPathResource("spring-config.xml")); //2.获取 Bean UserService userService = (UserService) context.getBean("user"); //3.使用 Bean userService.sayHello(); } }- 1
- 2
- 3
- 4
- 5
- 6
- 7
- 8
- 9
- 10
- 11
- 12
- 13
5.ApplicationContext 和 BeanFactory 的区别
保证线程安全问题:
1.使用锁 ( synchronized 锁升级的流程)
2.使用线程安全的容器 (底层锁实现)
3.ThreadLocal (本地线程变量)相同点 :
- 都是容器管理对象,都可以获取到 Bean 对象
不同点:
- ApplicationContext 属于 BeanFactory 的子类,ApplicationContext 拥有更多的功能(对国际化支持、资源访问支持、以及事件传播等方面的支持…)
- 加载 Bean 机制不同:
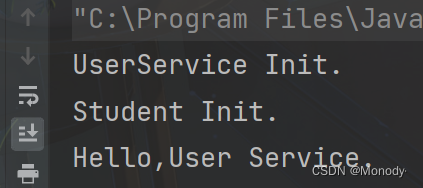
BeanFactory 懒加载,按需加载(使用一个 Bean 加载一个 Bean)
ApplicationContext 是⼀次性加载并初始化所有的 Bean 对象
我们加入一个 Student 类
public class App { public static void main(String[] args) { //1.先得到 Spring 上下文对象 ApplicationContext context = new ClassPathXmlApplicationContext("spring-config.xml"); /* //2.得到 Bean [依赖查找 -> IoC 的一种实现] UserService userService = (UserService) context.getBean("user"); //3.使用 Bean 对象 userService.sayHello();*/ } }- 1
- 2
- 3
- 4
- 5
- 6
- 7
- 8
- 9
- 10
- 11
- 12
- 13

public class App2 { public static void main(String[] args) { //1.得到 Spring 上下文对象 BeanFactory context = new XmlBeanFactory( new ClassPathResource("spring-config.xml")); /* //2.获取 Bean UserService userService = (UserService) context.getBean("user"); //3.使用 Bean userService.sayHello(); */ } }- 1
- 2
- 3
- 4
- 5
- 6
- 7
- 8
- 9
- 10
- 11
- 12
- 13
- 14

6.getBean 方法的更多用法
- 根据名称获取 Bean

- 根据类型获取 Bean
public class GetBeanExample { public static void main(String[] args) { //1.得到上下文对象 ApplicationContext context = new ClassPathXmlApplicationContext("spring-config.xml"); //2.获取 Bean UserService userService = context.getBean(UserService.class); //3.使用 Bean userService.sayHello(); } }- 1
- 2
- 3
- 4
- 5
- 6
- 7
- 8
- 9
- 10
- 11
- 12
区别就是:当有⼀个类型被重复注册到 spring-config.xml 中时,只能使用根据名称获取了
- 根据 名称 + 类型 获取
public class GetBeanExample { public static void main(String[] args) { //1.得到上下文对象 ApplicationContext context = new ClassPathXmlApplicationContext("spring-config.xml"); //2.获取 Bean UserService userService = context.getBean("user", UserService.class); //3.使用 Bean userService.sayHello(); } }- 1
- 2
- 3
- 4
- 5
- 6
- 7
- 8
- 9
- 10
- 11
- 12

4.操作流程图

-
相关阅读:
torch(四)、Serialization
基于若依的ruoyi-nbcio流程管理系统增加流程设计器支持自定义表单的选择与处理
线代 | 线性代数的本质 本质 本质 nature
指令FTP/SFTP(有/无密码)连接、下载以及上传
Python文本段落翻译
《计算之魂》读书笔记
vue考试系统后台管理项目-接口封装调用
图像识别(五)| 春天花开却不识?打开百度识图,残差和卷积带你识遍路边野花
R之广义线性模型
669.修剪二叉树
- 原文地址:https://blog.csdn.net/m0_66030479/article/details/134425056
