-
SpringBoot学习(二)---基础配置
1.修改服务器端口号
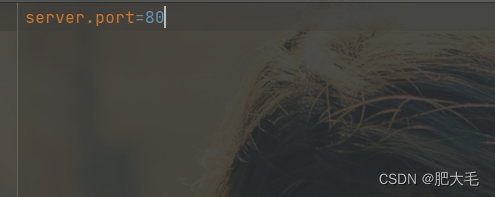
1.在src/resource/application.properties文件中修改
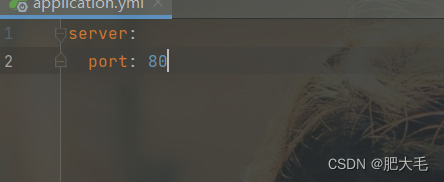
2.在src/resource目录下创建application.yml文件

注意:数据前边必须有空格
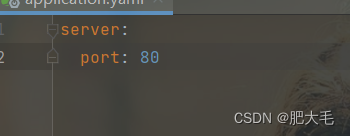
3.在src/resource目录下创建application.yaml文件

配置文件加载顺序

yml、yaml自动提示消失

yaml
yaml格式
分为.yml和.yaml两种文件扩展名
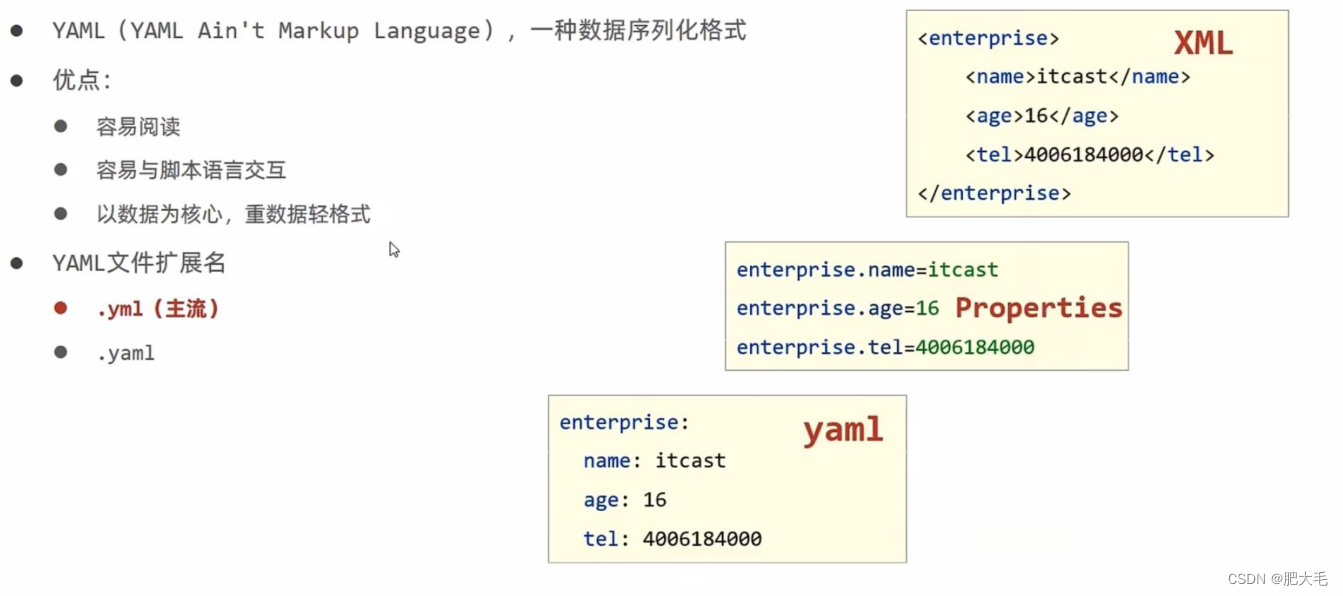
语法规则

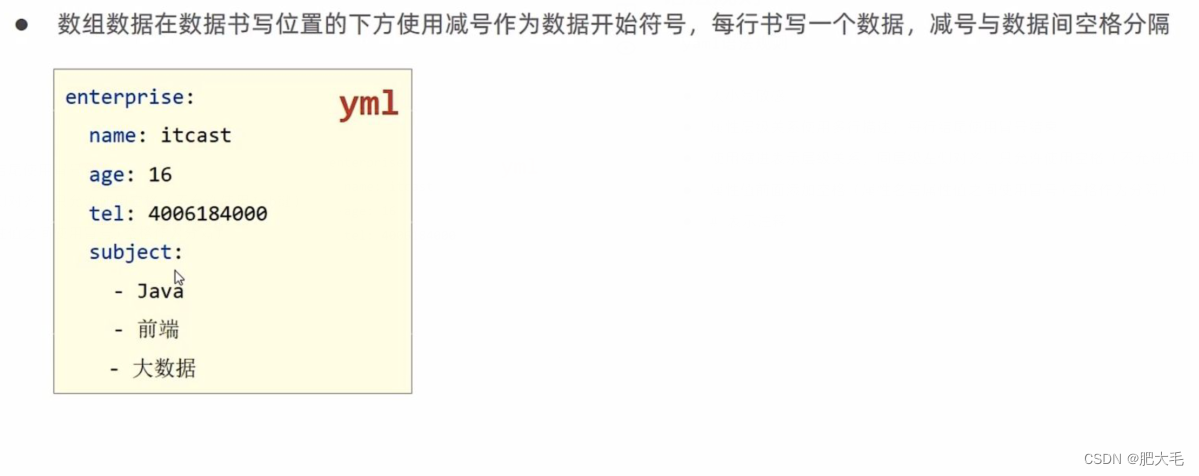
yaml数据读取方式
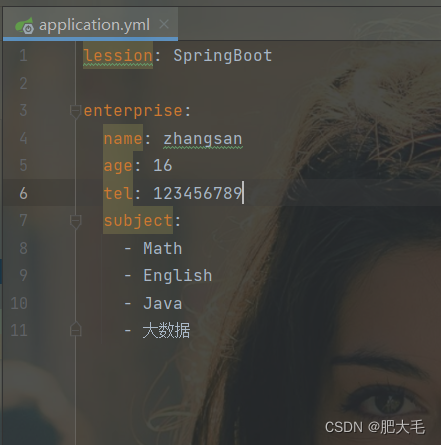
1.使用@Value读取单个数据,属性名引用方式${一级属性名.二级属性名…}
@Value("${lession}") private String lession; @Value("${enterprise.name}") private String name; @Value("${enterprise.age}") private Integer age; @Value("${enterprise.subject[0]}") private String subject;- 1
- 2
- 3
- 4
- 5
- 6
- 7
- 8
2.封装全部数据到Environment对象
1.创建Environment对象,并使用spring对其自动装配实现将yml数据封装到environment对象中
2.通过environment.getProperties(“属性名”)来获取数据@Autowired private Environment environment; @GetMapping("/{id}") public String getById(@PathVariable Integer id) { System.out.println("id为"+id); System.out.println(environment.getProperty("lession")); System.out.println(environment.getProperty("enterprise.name")); System.out.println(environment.getProperty("enterprise.age")); System.out.println(environment.getProperty("enterprise.subject[2]")); return "Hello,SpringBoot!"; }- 1
- 2
- 3
- 4
- 5
- 6
- 7
- 8
- 9
- 10
- 11
- 12
- 13
3.将数据封装到自定义实体类中
a.创建实体类Enterprise,添加注解@ConfigurationProperties(prefix = “enterprise”)来加载yaml配置文件
package com.itheima.domain; import org.springframework.boot.context.properties.ConfigurationProperties; import org.springframework.stereotype.Component; import java.util.Arrays; @Component @ConfigurationProperties(prefix = "enterprise") public class Enterprise { private String name; private Integer age; private String tel; private String[] subject; public Enterprise() { } public Enterprise(String name, Integer age, String tel, String[] subject) { this.name = name; this.age = age; this.tel = tel; this.subject = subject; } public String getName() { return name; } public void setName(String name) { this.name = name; } public Integer getAge() { return age; } public void setAge(Integer age) { this.age = age; } public String getTel() { return tel; } public void setTel(String tel) { this.tel = tel; } public String[] getSubject() { return subject; } public void setSubject(String[] subject) { this.subject = subject; } @Override public String toString() { return "Enterprise{" + "name='" + name + '\'' + ", age=" + age + ", tel='" + tel + '\'' + ", subject=" + Arrays.toString(subject) + '}'; } }- 1
- 2
- 3
- 4
- 5
- 6
- 7
- 8
- 9
- 10
- 11
- 12
- 13
- 14
- 15
- 16
- 17
- 18
- 19
- 20
- 21
- 22
- 23
- 24
- 25
- 26
- 27
- 28
- 29
- 30
- 31
- 32
- 33
- 34
- 35
- 36
- 37
- 38
- 39
- 40
- 41
- 42
- 43
- 44
- 45
- 46
- 47
- 48
- 49
- 50
- 51
- 52
- 53
- 54
- 55
- 56
- 57
- 58
- 59
- 60
- 61
- 62
- 63
- 64
- 65
- 66
- 67
- 68
- 69
b.在使用的时候创建实体类对象,再通过spring来实现自动注入

c.输出结果

多环境开发配置

多环境命令行启动参数设置

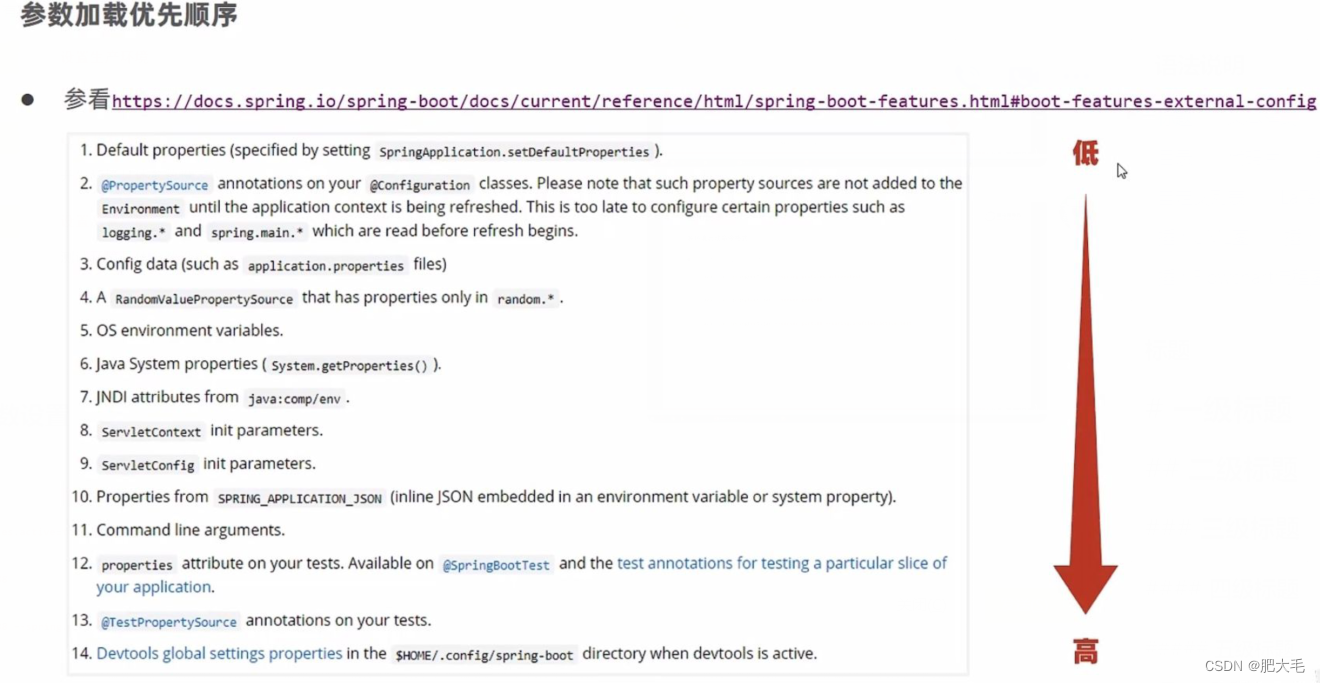
配置文件的分类
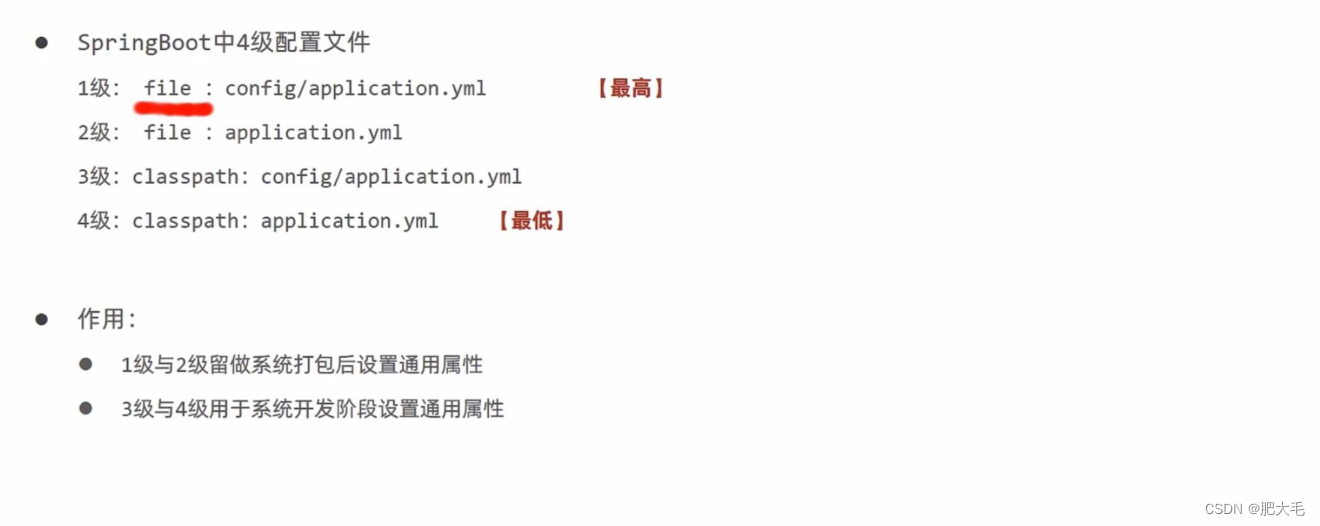
-
相关阅读:
华为云云耀云服务器L实例评测|单节点环境下部署ClickHouse21.1.9.41数据库
zabbix(一)
(Note)硬件领域SCI期刊
一文搞懂kubernetes Deployment之滚动更新、回滚应用及策略;
四川华为EC6108V9C悦me和CA高安版_卡刷固件包
园子开店记-周边第一款:收到鼠标垫样品(新增另外3款照片)
Head First设计模式(阅读笔记)-04.工厂模式
DMSQL学习笔记
在线文本翻译能力新增14个直译模型,打造以中文为轴心语言的翻译系统
Nestjs模块机制的概念和实现原理
- 原文地址:https://blog.csdn.net/weixin_47109902/article/details/127746846
