-
nginx负载均衡(动静分离)
nginx负载均衡(动静分离)
工作原理:
Nginx是一个高性能的开源Web服务器和反向代理服务器,它也可以用于负载均衡。在动静分离方案中,Nginx可以作为一个负载均衡器来分发动态请求和静态请求到不同的后端服务器。
具体来说,Nginx负载均衡的原理如下:
- 请求到达Nginx:当客户端发送请求到Nginx服务器时,Nginx会接收到这个请求。
- 轮询方式分发请求:Nginx使用一种简单的轮询算法,按照事先配置好的服务器列表,将请求分发给后端服务器。它可以根据每个后端服务器的性能指标(如负载、响应时间等)进行调度,以实现负载均衡。
- 动态请求和静态请求的分离:Nginx可以根据URL或文件类型来判断请求是动态请求还是静态请求。通常静态请求是指直接返回文件,而动态请求则需要后端服务器进行处理并返回动态生成的内容。
- 静态请求的处理:当Nginx接收到静态请求时,它会直接从本地的静态文件目录中返回对应文件,无需后端服务器的参与。这样可以减轻后端服务器的负担,提高静态资源的访问速度。
- 动态请求的转发:当Nginx接收到动态请求时,它会转发该请求到后端服务器进行处理。后端服务器处理完请求后,将动态生成的内容返回给Nginx,再由Nginx将结果返回给客户端。
通过这种方式,Nginx可以实现对动态请求和静态请求的分离,并将负载均衡应用于后端服务器,从而提高系统的性能和可扩展性。
环境说明:
主机名称 IP地址 充当角色 系统版本 NGINX 192.168.195.134 负载均衡(调度器) centos 8 lnmp 192.168.195.133 动态网页 centos 8 nginx 192.168.195.137 静态网页 centos 8 首先需要部署好上述三台主机充当角色,部署
nginx及lnmp详细步骤请阅读:实现的效果如下:
静态页面:
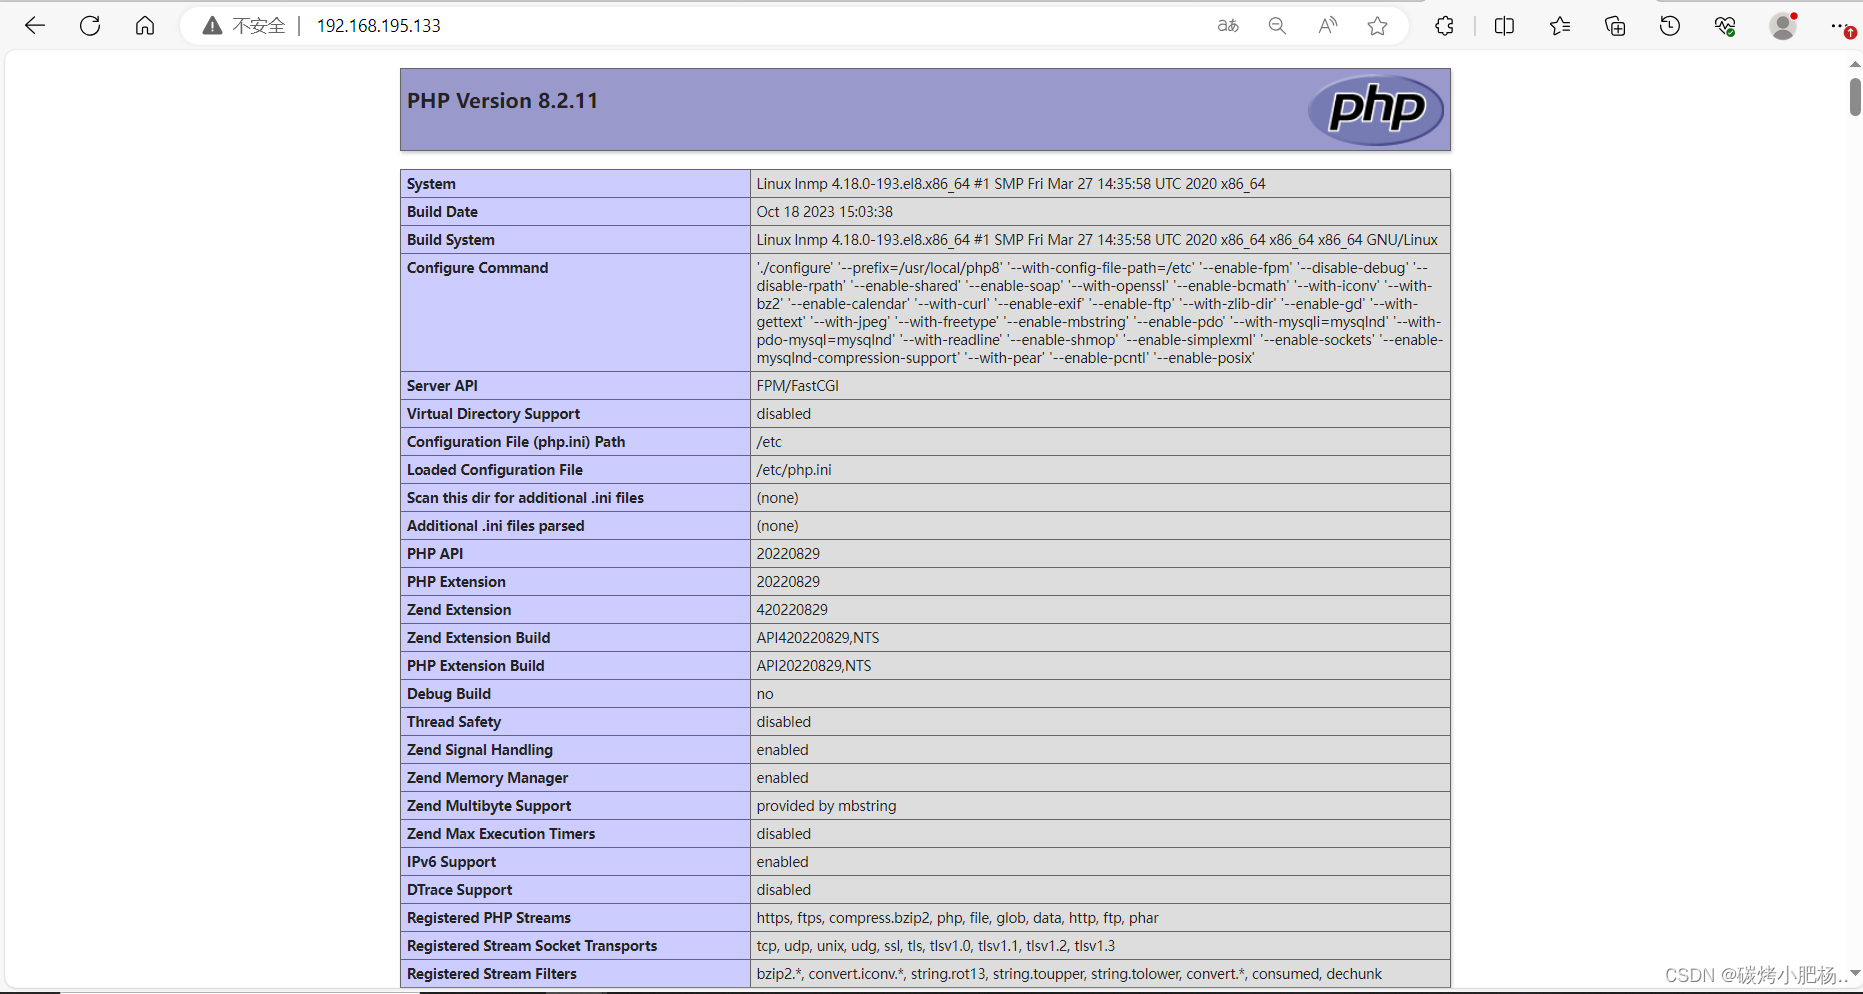
动态页面:
部署nginx负载均衡步骤:
在负载均衡(NGINX)主机上做配置:
proxy_pass:
proxy_pass是Nginx配置中的一个指令,用于将请求转发给指定的后端服务器。它可以将客户端请求的数据通过代理服务器转发到后端服务器,并将后端服务器的响应返回给客户端。这个指令通常用于实现反向代理、负载均衡、缓存等功能。[root@NGINX ~]# vim /usr/local/nginx/conf/nginx.conf [root@NGINX ~]# cat /usr/local/nginx/conf/nginx.conf #user nobody; worker_processes 1; #error_log logs/error.log; #error_log logs/error.log notice; #error_log logs/error.log info; #pid logs/nginx.pid; events { worker_connections 1024; } http { include mime.types; default_type application/octet-stream; #log_format main '$remote_addr - $remote_user [$time_local] "$request" ' # '$status $body_bytes_sent "$http_referer" ' # '"$http_user_agent" "$http_x_forwarded_for"'; #access_log logs/access.log main; sendfile on; #tcp_nopush on; #keepalive_timeout 0; keepalive_timeout 65; #gzip on; upstream dynamic { //使用upstream定义动态服务器和静态服务器 server 192.168.195.133:80 weight=1; //此处192.168.195.133是动态页面的IP地址 } upstream static { server 192.168.195.137:80 weight=1; //192.168.195.137是静态页面的IP地址 } server { listen 80; server_name localhost; #charset koi8-r; #access_log logs/host.access.log main; location / { proxy_pass http://static; //设置默认访问时,转发到静态页面上去 } #error_page 404 /404.html; # redirect server error pages to the static page /50x.html # error_page 500 502 503 504 /50x.html; location = /50x.html { root html; } # proxy the PHP scripts to Apache listening on 127.0.0.1:80 # location ~ \.php$ { //此处开启php的反向代理 proxy_pass http://dynamic; //当我们访问php动态网页时跳转到动态页面上去 } # pass the PHP scripts to FastCGI server listening on 127.0.0.1:9000 # #location ~ \.php$ { # root html; # fastcgi_pass 127.0.0.1:9000; # fastcgi_index index.php; # fastcgi_param SCRIPT_FILENAME /scripts$fastcgi_script_name; # include fastcgi_params; #} # deny access to .htaccess files, if Apache's document root # concurs with nginx's one # #location ~ /\.ht { # deny all; #} } # another virtual host using mix of IP-, name-, and port-based configuration # #server { # listen 8000; # listen somename:8080; # server_name somename alias another.alias; # location / { # root html; # index index.html index.htm; # } #} # HTTPS server # #server { # listen 443 ssl; # server_name localhost; # ssl_certificate cert.pem; # ssl_certificate_key cert.key; # ssl_session_cache shared:SSL:1m; # ssl_session_timeout 5m; # ssl_ciphers HIGH:!aNULL:!MD5; # ssl_prefer_server_ciphers on; # location / { # root html; # index index.html index.htm; # } #} } [root@NGINX ~]# nginx -s reload //重新加载- 1
- 2
- 3
- 4
- 5
- 6
- 7
- 8
- 9
- 10
- 11
- 12
- 13
- 14
- 15
- 16
- 17
- 18
- 19
- 20
- 21
- 22
- 23
- 24
- 25
- 26
- 27
- 28
- 29
- 30
- 31
- 32
- 33
- 34
- 35
- 36
- 37
- 38
- 39
- 40
- 41
- 42
- 43
- 44
- 45
- 46
- 47
- 48
- 49
- 50
- 51
- 52
- 53
- 54
- 55
- 56
- 57
- 58
- 59
- 60
- 61
- 62
- 63
- 64
- 65
- 66
- 67
- 68
- 69
- 70
- 71
- 72
- 73
- 74
- 75
- 76
- 77
- 78
- 79
- 80
- 81
- 82
- 83
- 84
- 85
- 86
- 87
- 88
- 89
- 90
- 91
- 92
- 93
- 94
- 95
- 96
- 97
- 98
- 99
- 100
- 101
- 102
- 103
- 104
- 105
- 106
- 107
- 108
- 109
- 110
- 111
- 112
- 113
- 114
- 115
- 116
- 117
- 118
- 119
- 120
- 121
- 122
- 123
- 124
- 125
- 126
- 127
测试:在浏览器上访问负载均衡主机ip
默认访问

加上index.php访问
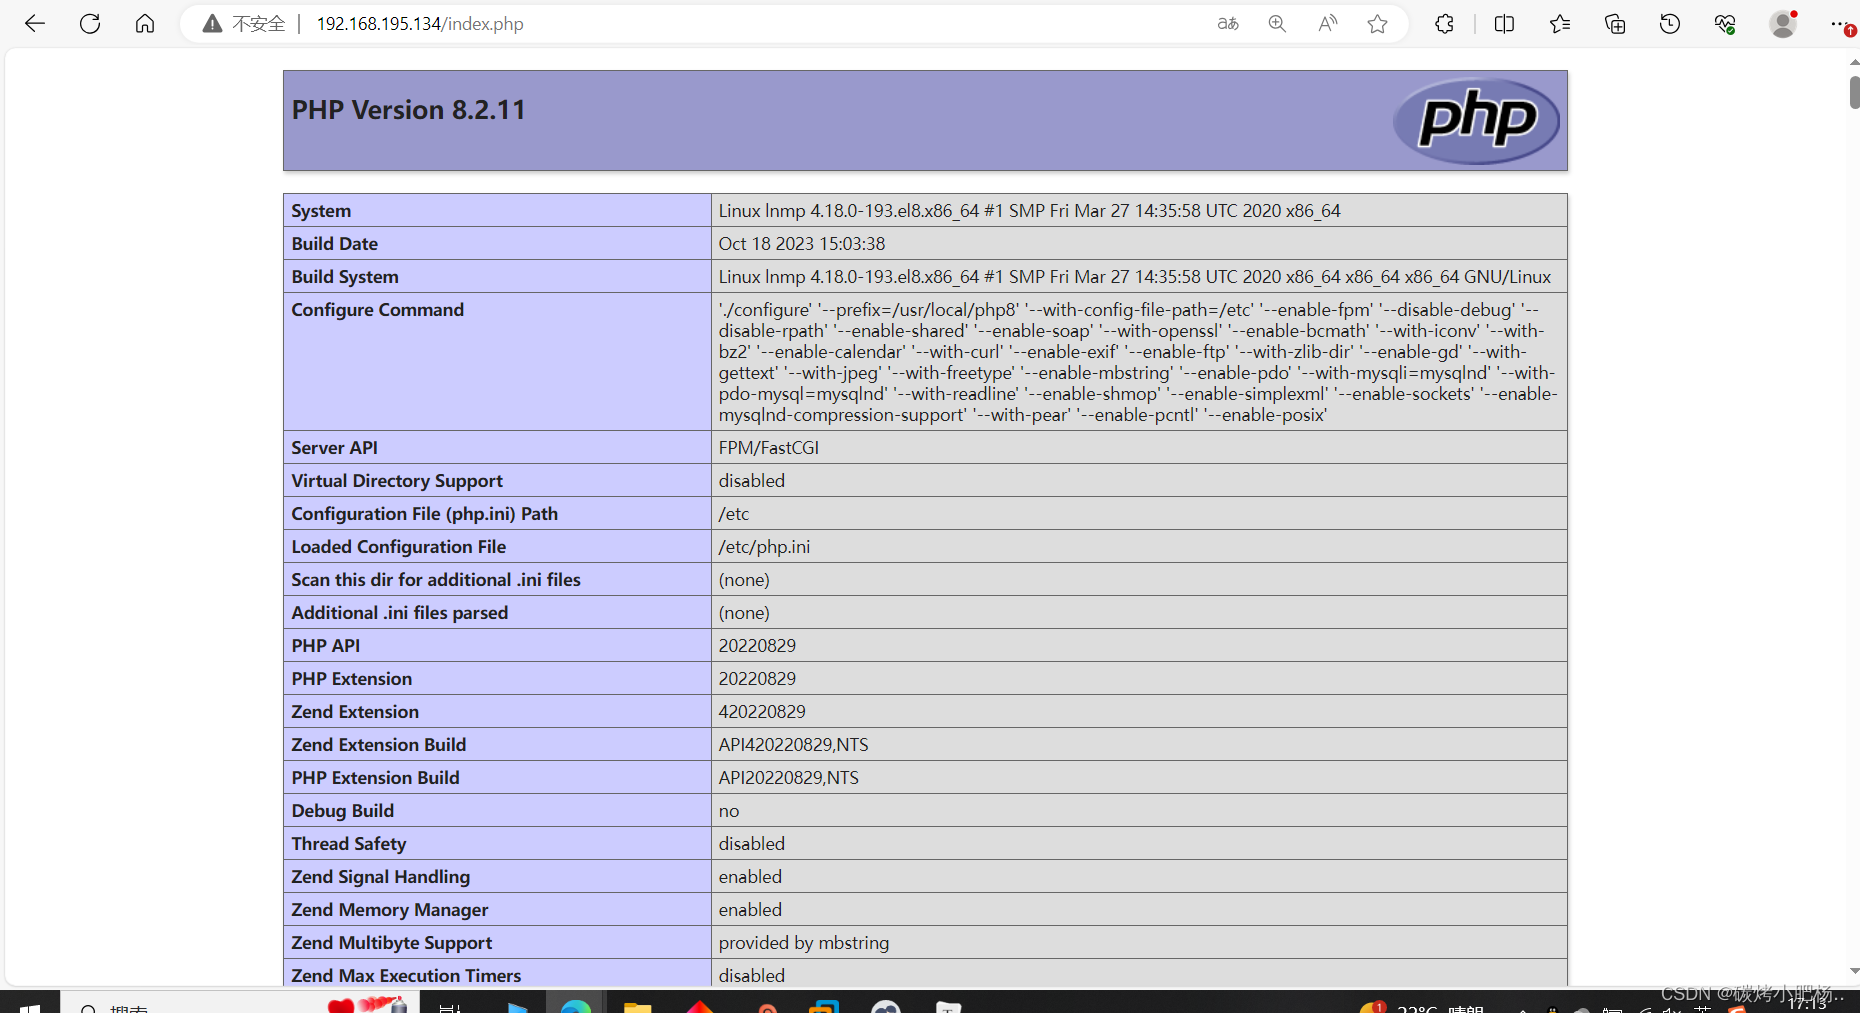
成功实现动静分离
配置多个静态访问网页
若想配置负载均衡多个网页,可以直接在
upstream static选项中添加,如下:在NGINX主机上 [root@NGINX ~]# cat /usr/local/nginx/conf/nginx.conf . . . . . . upstream static { server 192.168.195.137:80 weight=1; server 192.168.195.137:8080 weight=1; //直接在该项中添加我们想要加入负载均衡的ip及端口 } . . . . . . [root@NGINX ~]# nginx -s reload //重新加载 在nginx主机上添加一个server项(也就是虚拟主机) [root@nginx conf]# pwd /usr/local/nginx/conf [root@nginx conf]# vim nginx.conf [root@nginx conf]# cat nginx.conf //添加如下内容 . . . . . server { listen 8080; server_name www.ftx.com; #access_log logs/host.access.log main; location / { root html/www.ftx.com; index index.html index.htm; } } . . . . . [root@nginx conf]# nginx -s reload //重新加载 [root@nginx ~]# ss -antl //查看8080端口是否启用 State Recv-Q Send-Q Local Address:Port Peer Address:Port LISTEN 0 128 0.0.0.0:8080 0.0.0.0:* LISTEN 0 128 0.0.0.0:80 0.0.0.0:* LISTEN 0 128 0.0.0.0:22 0.0.0.0:* LISTEN 0 128 [::]:22 [::]:*- 1
- 2
- 3
- 4
- 5
- 6
- 7
- 8
- 9
- 10
- 11
- 12
- 13
- 14
- 15
- 16
- 17
- 18
- 19
- 20
- 21
- 22
- 23
- 24
- 25
- 26
- 27
- 28
- 29
- 30
- 31
- 32
- 33
- 34
- 35
配置完成
访问静态页面负载均衡测试

配置完成
-
相关阅读:
SpringAOP入门
[MySQL] MySQL库的基础操作
vue3+vuex4
java设计模式(十七)状态模式(State Pattern)
PTA甲级之 字符串处理
自动化设备制造行业常见管理难题及解决方案
【小技巧】在matlab中如何精确统计一段程序的运行时间
ESP8266-Arduino网络编程实例-远程固件升级
CASAIM与南京航空航天大学在自动化叶片曲面分析系统开展合作,推动航空航天发动机零部件自动化3D检测进程
Matlab 实现 信号的基本运算
- 原文地址:https://blog.csdn.net/m0_64505752/article/details/133955523
