-
Vue基础(八)——路由
1、之前讲解的所有的功能都是在一个页面中完成的;
2、真正的web应用一定是有多个页面的,这就需要路由
一、创建template项目
1、创建template项目

按下【空格键】,勾选Router。


剩下全部默认。
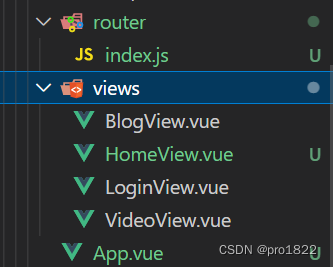
2、创建成功,查看项目目录,发现多了两个文件夹:router、views。
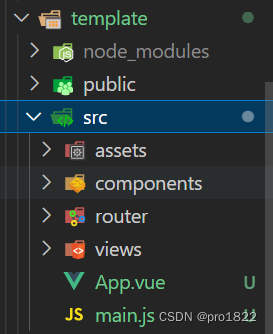
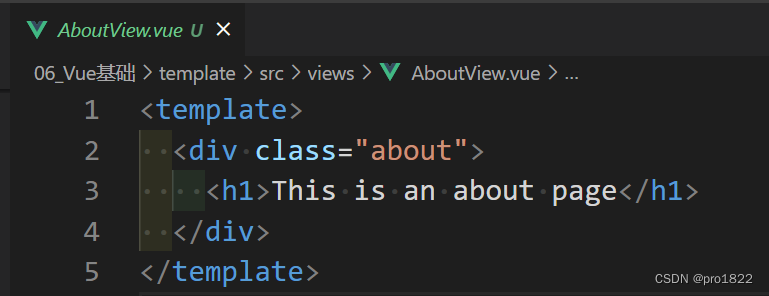
(1)views文件夹里面定义了页面
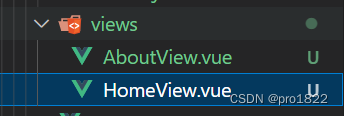
components和views的区别:
整体的页面放在views,小的组件放在component。
(2)router目录下有index.js文件,这里面会定义整体路由跳转的方式。
- import Vue from 'vue'
- import VueRouter from 'vue-router'
- import HomeView from '../views/HomeView.vue'
- Vue.use(VueRouter)
- const routes = [
- {
- path: '/',
- name: 'home',
- component: HomeView
- },
- {
- path: '/about',
- name: 'about',
- // route level code-splitting
- // this generates a separate chunk (about.[hash].js) for this route
- // which is lazy-loaded when the route is visited.
- component: () => import(/* webpackChunkName: "about" */ '../views/AboutView.vue')
- }
- ]
- const router = new VueRouter({
- mode: 'history',
- base: process.env.BASE_URL,
- routes
- })
- export default router
3、查看页面:
(1)App.Vue:
- <template>
- <div id="app">
- <nav>
- <router-link to="/">Homerouter-link> |
- <router-link to="/about">Aboutrouter-link>
- nav>
- <router-view/>
- div>
- template>
(2) 页面

当前页为首页,点击about会跳转到about页面。

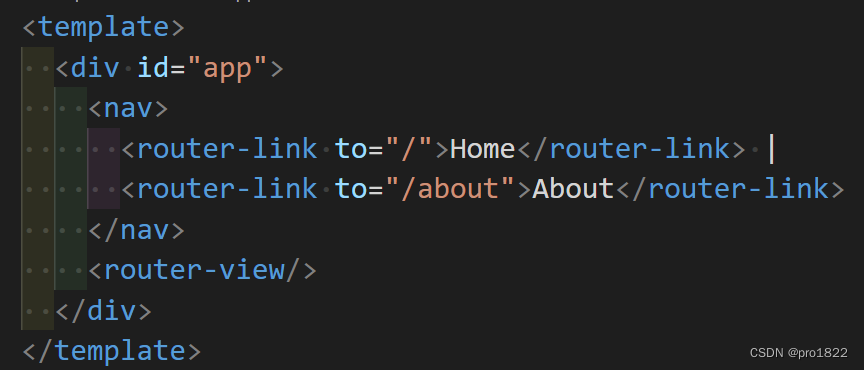
两个链接是【router-link】标签。
点击链接,通过【to】属性,跳转到对应的url。
然后再通过router文件,找到url对应的组件。
把组件从【router-view】标签的位置显示出来。
二、简易博客系统
1、App.vue
- <template>
- <div id="app">
- <nav>
- <router-link to="/">首页router-link> |
- <router-link to="/blog">博客router-link> |
- <router-link to="/video">视频router-link>
- <span v-if="showUser"> || 欢迎:{{username}}
- <button @click="logout">注销button>
- span>
- nav>
- <router-view />
- div>
- template>
- <script>
- export default {
- data() {
- return {
- username: localStorage.getItem("usr"),
- showUser: localStorage.getItem("usr"),
- };
- },
- watch: {
- //路由发生变化时,执行函数
- //这样就不用手动刷新才显示登录名了
- "$route.path": function () {
- this.username = localStorage.getItem("usr");
- this.showUser = localStorage.getItem("usr");
- },
- },
- methods: {
- logout() {
- localStorage.clear();
- this.$router.push("/login");
- },
- },
- };
- script>
2、index.js:
- import Vue from 'vue'
- import VueRouter from 'vue-router'
- import HomeView from '../views/HomeView.vue'
- import Blog from "../views/BlogView.vue"
- import Video from "../views/VideoView.vue"
- import Login from "../views/LoginView.vue"
- Vue.use(VueRouter)
- const routes = [{
- path: '/',
- name: 'home',
- component: HomeView
- }, {
- path: '/blog',
- name: 'Blog',
- component: Blog
- }, {
- path: '/video',
- name: 'Video',
- component: Video
- }, {
- path: '/login',
- name: 'Login',
- component: Login
- }]
- const router = new VueRouter({
- mode: 'history',
- base: process.env.BASE_URL,
- routes
- })
- //导航守卫
- router.beforeEach((to, from, next) => {
- //跳转到非登录页时
- if (to.path != "/login") {
- //如果有值,不拦截
- if (localStorage.getItem("usr")) {
- next();
- } else {
- //重定向到登录页
- next("/login")
- }
- } else {
- //跳转到登录页时,不拦截
- next();
- }
- })
- export default router
3、首页:
- <template>
- <div class="home">
- <h1>首页h1>
- div>
- template>
- <script>
- export default {
- }
- script>
4、博客页:
- <template>
- <div>
- <h1>博客h1>
- <ul>
- <li>
- <router-link to="">JavaScript教程router-link>
- li>
- <li>
- <router-link to="">Python教程router-link>
- li>
- <li>
- <router-link to="">Vue教程router-link>
- li>
- ul>
- div>
- template>
5、视频页:
- <template>
- <div>
- <video src="" controls>video>
- div>
- template>
6、登录页:
- <template>
- <div>
- <form @submit.prevent="doLogin">
- <input type="text" v-model="username">
- <input type="text">
- <button>登录button>
- form>
- div>
- template>
- <script>
- export default {
- data() {
- return {
- username: "",
- };
- },
- methods: {
- doLogin() {
- //本地存储
- localStorage.setItem("usr", this.username);
- //路由跳转,Vue的路由提供了一个编程式导航的功能
- this.$router.push("/");
- },
- },
- };
- script>
7、效果:
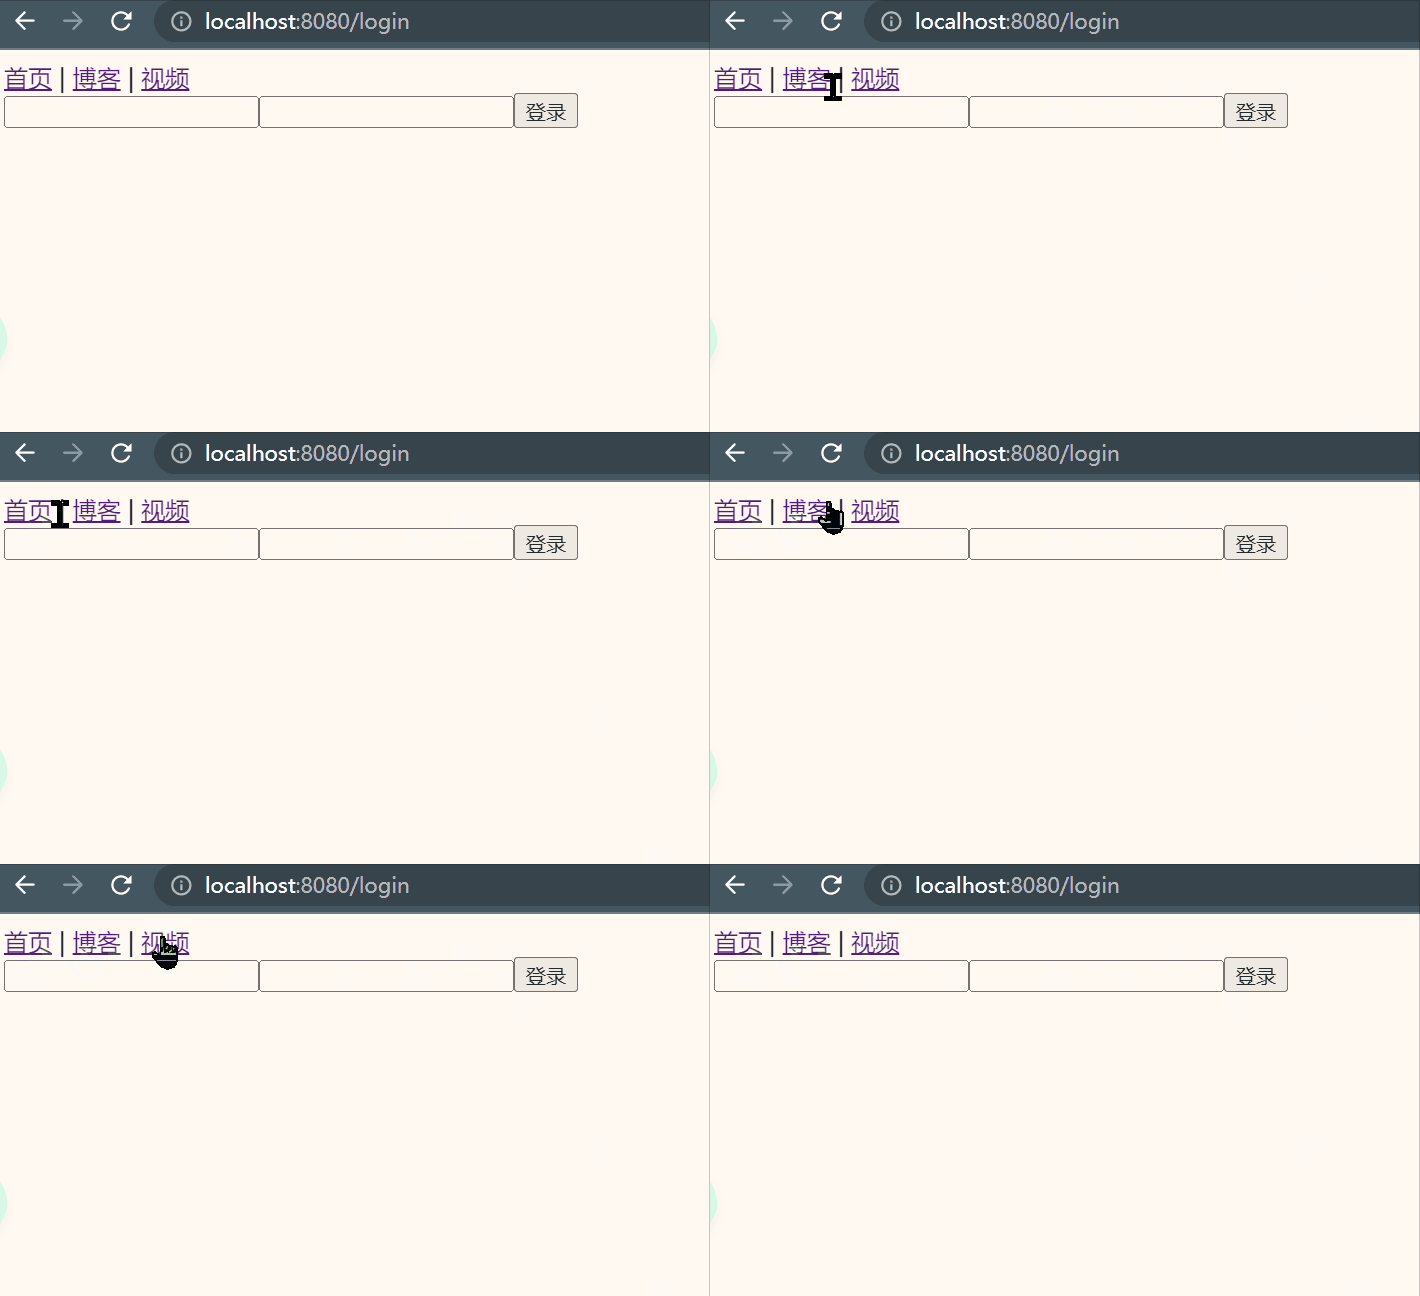
(1)没登录时,无法跳转到首页、博客页、视频页:
关键代码:
- //导航守卫
- router.beforeEach((to, from, next) => {
- //跳转到非登录页时
- if (to.path != "/login") {
- //如果有值,不拦截
- if (localStorage.getItem("usr")) {
- next();
- } else {
- //重定向到登录页
- next("/login")
- }
- } else {
- //跳转到登录页时,不拦截
- next();
- }
- })
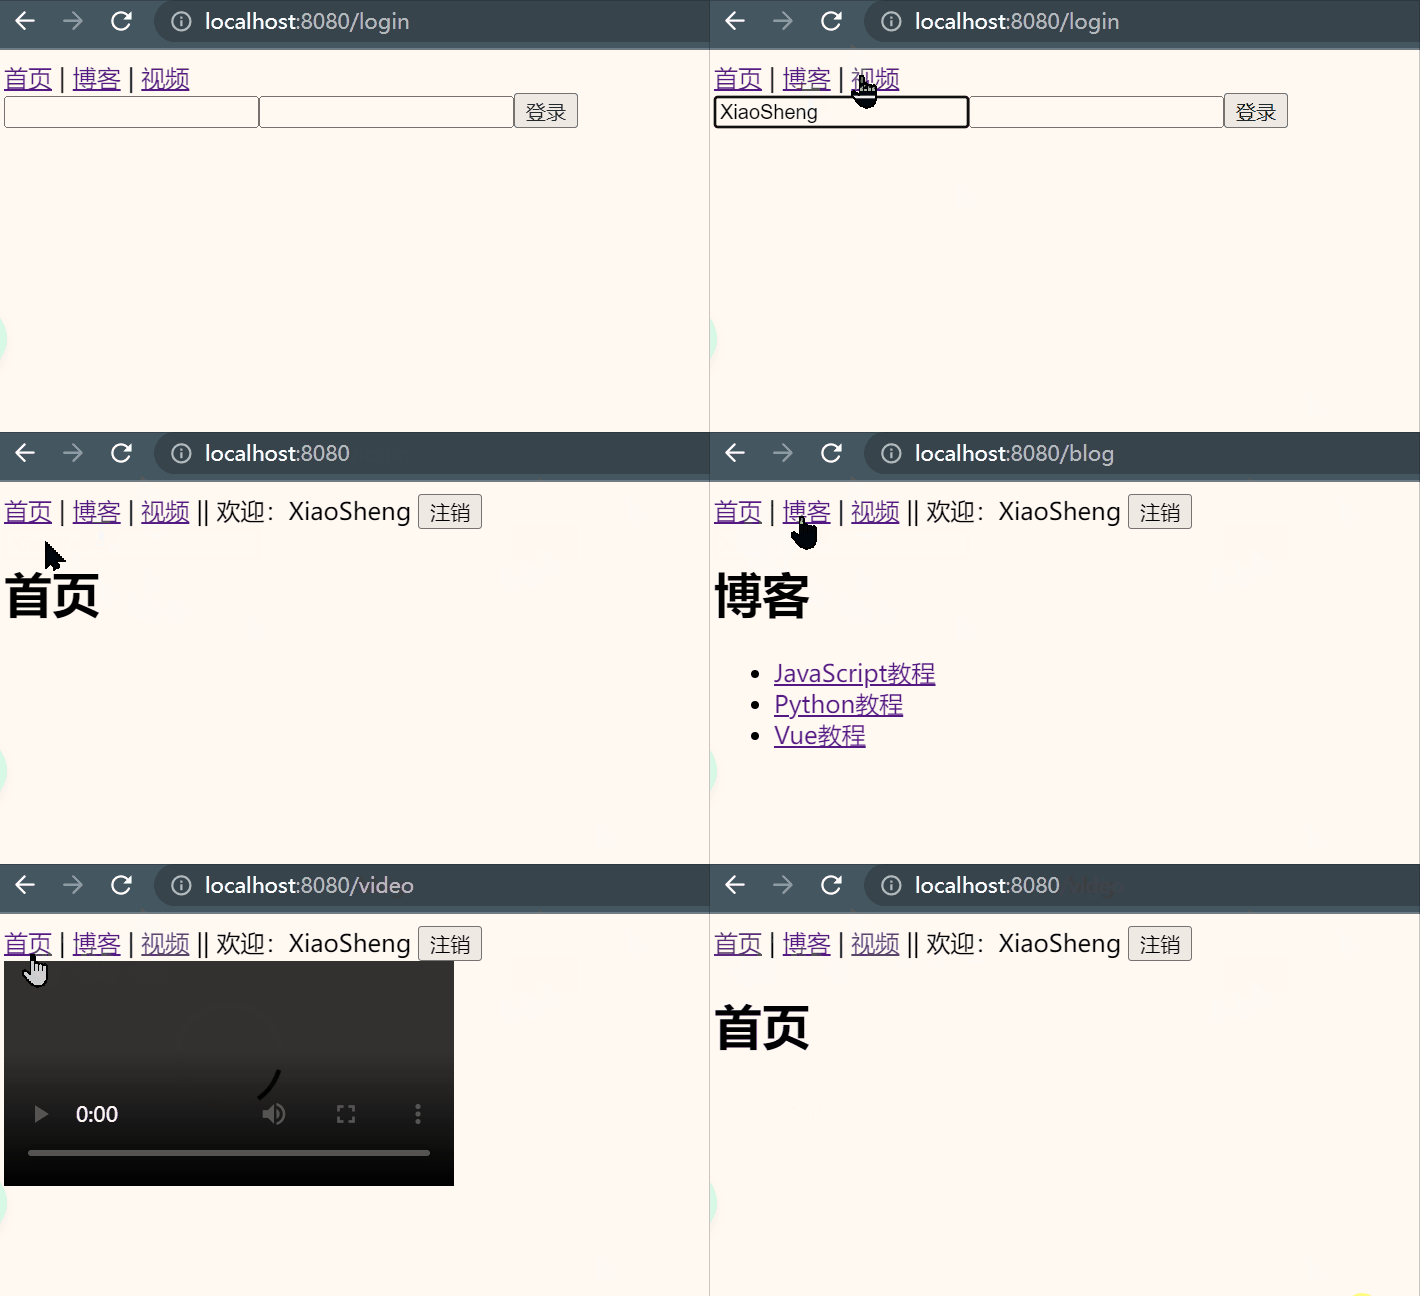
(2)登录成功,显示用户名,并且跳转到首页:
关键代码:
- <span v-if="showUser"> || 欢迎:{{username}}
- <button @click="logout">注销button>
- span>
- <script>
- export default {
- data() {
- return {
- username: localStorage.getItem("usr"),
- showUser: localStorage.getItem("usr"),
- };
- },
- watch: {
- //路由发生变化时,执行函数
- //这样就不用手动刷新才显示登录名了
- "$route.path": function () {
- this.username = localStorage.getItem("usr");
- this.showUser = localStorage.getItem("usr");
- },
- },
- };
- script>
路由跳转:【$router.push("")】
- doLogin() {
- //本地存储
- localStorage.setItem("usr", this.username);
- //路由跳转,Vue的路由提供了一个编程式导航的功能
- this.$router.push("/");
- },
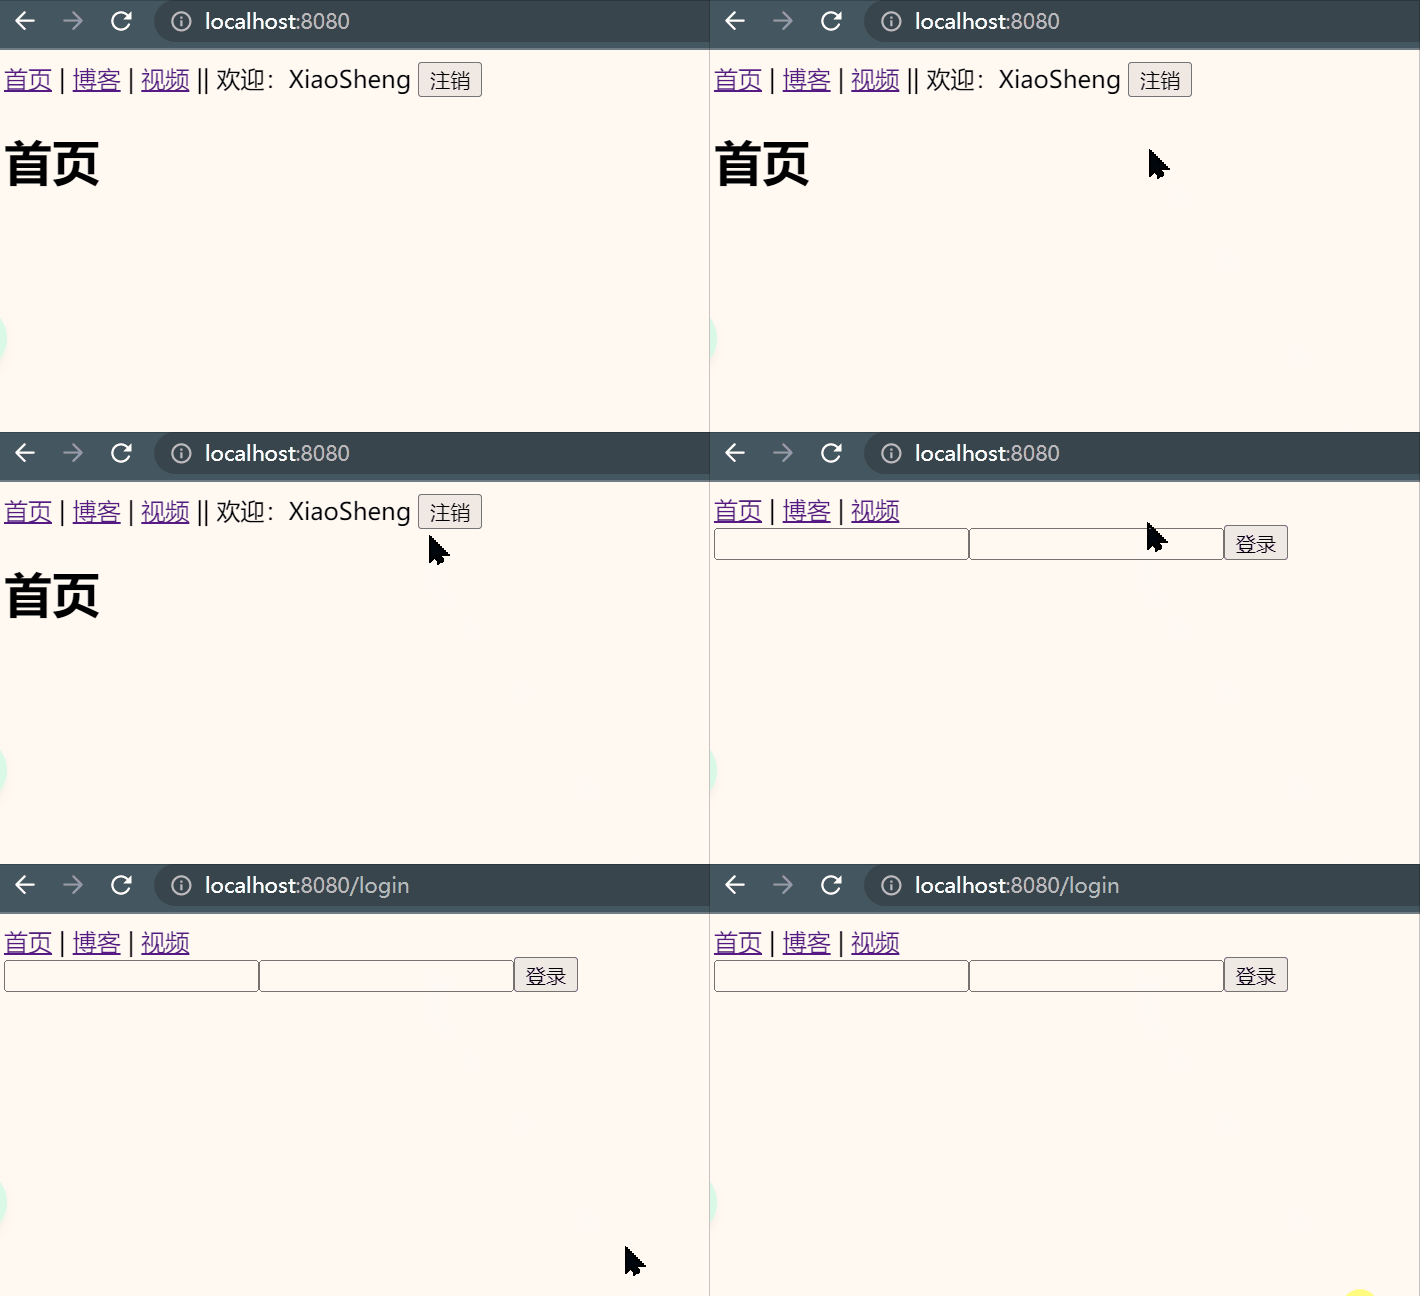
(3)点击注销,返回到登录页:
关键代码:
- logout() {
- localStorage.clear();
- this.$router.push("/login");
- },
8、项目目录:
-
相关阅读:
Redis性能调优:深度剖析与示例解析
python自动化测试之Appium自动化测试环境搭建
ffmpeg批量转换ape/wav为mp3 (linux, mac适用)
【SpringBoot整合 Apache POI 完成复杂表头数据的导出】
MindSpore-GeneratorDataset报错误Unexpected error. Invalid data type
使用jQuery实现简易商城系统
干货 | Web自动化测试中显式等待与隐式等待该怎么用?
Spring 中 bean 是线程安全的吗?
Linux Ubuntu系统中添加磁盘
[newstarctf2023] --RE wp
- 原文地址:https://blog.csdn.net/qq_41523175/article/details/126637196
