-
验证了一遍CVAT的安装(Windows 11)
按照官网的步骤,可行。
中间部分步骤涉及下载的,可能需要vpn
Windows 10(Win 11也适用)
-
Install WSL2 (Windows subsystem for Linux) refer to this official guide. WSL2 requires Windows 10, version 2004 or higher. Note: You may not have to install a Linux distribution unless needed. Win10的话特别注意自己Windows的版本。Win10的话特别注意自己Windows的版本。Win10的话特别注意自己Windows的版本。
-
Download and install Docker Desktop for Windows. Double-click
Docker for Windows Installerto run the installer. More instructions can be found here. Official guide for docker WSL2 backend can be found here. Note: Check that you are specifically using WSL2 backend for Docker. 直接访问Docker官网:Home - Docker,这个无需VPN。点击Products,然后点击Docker Desktop。接着点击Windows,下载安装即可。 -

-

-
Download and install Git for Windows. When installing the package please keep all options by default. More information about the package can be found here. 下载安装Git。
-
Download and install Google Chrome. It is the only browser which is supported by CVAT. 下载Google Chrome浏览器。CVAT只支持Google Chrome浏览器。CVAT只支持Google Chrome浏览器。CVAT只支持Google Chrome浏览器。
-
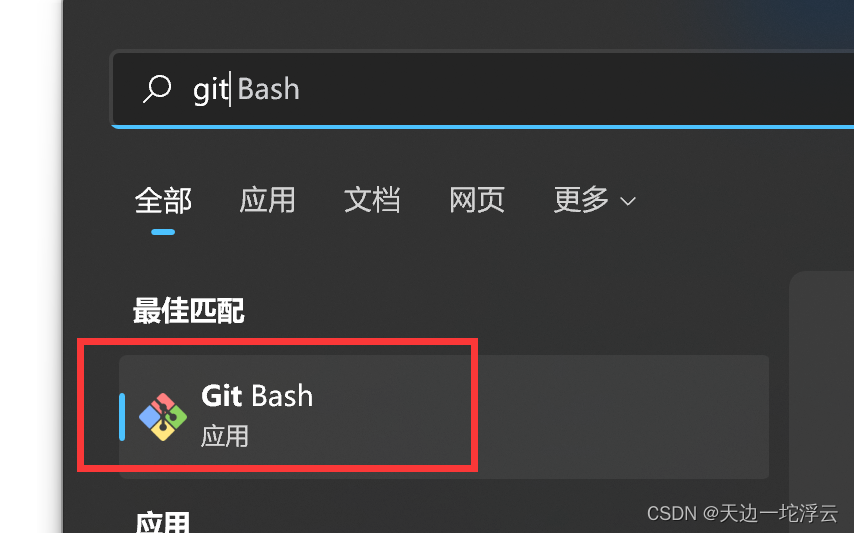
Go to windows menu, find
Git Bashapplication and run it. You should see a terminal window. 打开Git Bash。 -
-
Clone CVAT source code from the GitHub repository. 在打开的Git Bash中照着下面的输入,从这一步开始可能需要VPN,根据自己的情况来。
- git clone https://github.com/opencv/cvat
- cd cvat
Copy
-
Run docker containers. It will take some time to download the latest CVAT release and other required images like postgres, redis, etc. from DockerHub and create containers. 在打开的Git Bash中照着下面的输入。
docker-compose up -dCopy
-
Alternative: if you want to build the images locally with unreleased changes run the following command. It will take some time to build CVAT images. 这一步是本地构建的方案。如果上面的步骤没问题,就不用管这里。
- docker-compose -f docker-compose.yml -f docker-compose.dev.yml build
- docker-compose up -d
Copy
-
You can register a user but by default it will not have rights even to view list of tasks. Thus you should create a superuser. A superuser can use an admin panel to assign correct groups to other users. Please use the command below: 注册超级管理员。
winpty docker exec -it cvat bash -ic 'python3 ~/manage.py createsuperuser'Copy
If you don’t have winpty installed or the above command does not work, you may also try the following: 这一步只是可选方案,如果上面的没问题,不用管这里。
- # enter docker image first
- docker exec -it cvat /bin/bash
- # then run
- python3 ~/manage.py createsuperuser
Copy
Choose a username and a password for your admin account. For more information please read Django documentation. 创建超级管理员的用户名、邮箱地址和密码
-
Open the installed Google Chrome browser and go to localhost:8080. Type your login/password for the superuser on the login page and press the Login button. Now you should be able to create a new annotation task. Please read the CVAT manual for more details. 打开Google Chrome浏览器,输入localhost:8080这个网址,然后输入用户名密码进行登录
-
大功告成
-
-
相关阅读:
docker_01_基础
重学JavaSE 第14章 : 泛型、自定义泛型、泛型通配符
PTA_乙级_1006
RCE远程命令执行web经典题型解答
界面控件DevExpress WinForm v22.2——即将拥有新的HTML & CSS模板
trie树(前缀树)
口袋参谋:生意参谋指数转换工具,比对手更了解对手!
优雅的操作文件:java.nio.file 库介绍
HTML5:七天学会基础动画网页10
VS Code 中使用Git实践,学会了效率翻倍!
- 原文地址:https://blog.csdn.net/ytomc/article/details/126225873