-
maven常见操作
修改setting文件的镜像,放置在mirrors标签下
<mirror> <id>nexus-aliyunid> <mirrorOf>centralmirrorOf> <name>Nexus aliyunname> <url>http://maven.aliyun.com/nexus/content/groups/publicurl> mirror>- 1
- 2
- 3
- 4
- 5
- 6
配置maven工程基础JDK版本
maven默认是jdk1.5. 修改方法是将如下profile文件复制到setting.xml中的profiles标签下
<profile> <id>jdk-1.8id> <activation> <activeByDefault>trueactiveByDefault> <jdk>1.8jdk> activation> <properties> <maven.compiler.source>1.8maven.compiler.source> <maven.compiler.target>1.8maven.compiler.target> <maven.compiler.compilerVersion>1.8maven.compiler.compilerVersion> properties> profile>- 1
- 2
- 3
- 4
- 5
- 6
- 7
- 8
- 9
- 10
- 11
- 12
根据pom坐标找jar包
<groupId>javax.servletgroupId> <artifactId>servlet-apiartifactId> <version>2.5version>- 1
- 2
- 3
以上为例 .m2/javax/servlet/servlet-api/2.5/servlet-api-2.5.jar
常见mvn命令
- mvn clean
- mvn compile / mvn test-compile 主程序编译/测试程序编译 最终会放在target/classes 和 target/test-classes目录中
- mvn test
- mvn package
- mvn install 具体安装位置参考上节提到的根据Pom找jar包 安装操作还会将 pom.xml 文件转换为 XXX.pom 文件一起存入本地仓库。所以我们在 Maven 的本地仓库中想看一个 jar 包原始的 pom.xml 文件时,查看对应 XXX.pom 文件即可,它们是名字发生了改变,本质上是同一个文件
scope依赖范围
scope 可选值 compile(默认) test provided system runtime import
值 定义 compile 表示依赖包都需要参与到项目编译中,包括后续测试、运行周期,强依赖 provided 只在项目的编译和测试阶段启用,目标容器已经提供了该依赖如tomcat容器中已经有个了servlet,避免在打包之后jar冲突.在编写代码和编译的时候会用到这个依赖,最终打包的时候不会携带该依赖 与provided相关的 optional子标签如果为true 该依赖不会打进jar包中,并且不会通过依赖传递到依赖该项目的工程中.例如 A->B->C, C中的依赖为provided且optional为true 则不会传递到A中 runtime 与compile类似,区别在于runtime跳过了编译阶段,打包会包含,比如spring的devtools test 编译运行时不需要,只在测试运行阶段可用,不会打进jar包中 system 表示使用本地系统路径下的jar 和 systemPath配合使用一般用来maven项目引入一个特殊的非仓库的jar包 import import只能在xxxManagement标签中使用一般用于统一版本控制 maven:help 插件的各个goal
goal 说明 help:active-profiles 列出当前已激活的 profile help:all-profiles 列出当前工程所有可用 profile help:describe 描述一个插件和/或 Mojo 的属性 help:effective-pom 以 XML 格式展示有效 POM help:effective-settings 为当前工程以 XML 格式展示计算得到的 settings 配置 help:evaluate 计算用户在交互模式下给出的 Maven 表达式 help:system 显示平台详细信息列表,如系统属性和环境变量 常用的help:evaluate 查看maven变量值
[INFO] Enter the Maven expression i.e. ${project.groupId} or 0 to exit?: ${project.modelVersion} [INFO] 4.0.0- 1
- 2
- 3
- 4
maven也可以访问系统属性和系统环境变量
具体系统属性可以通过Properties properties = System.getProperties();获取 如user.home = C:\Users\Administrator
系统变量如JAVA_HOME
maven指定JDK编译版本
方式一
<build> <plugins> <plugin> <groupId>org.apache.maven.pluginsgroupId> <artifactId>maven-compiler-pluginartifactId> <version>3.1version> <configuration> <source>1.8source> <target>1.8target> <encoding>UTF-8encoding> configuration> plugin> plugins> build>- 1
- 2
- 3
- 4
- 5
- 6
- 7
- 8
- 9
- 10
- 11
- 12
- 13
- 14
- 15
- 16
- 17
方式二
<properties> <maven.compiler.source>1.8maven.compiler.source> <maven.compiler.target>1.8maven.compiler.target> <project.build.sourceEncoding>UTF-8project.build.sourceEncoding> properties>- 1
- 2
- 3
- 4
- 5
springboot的mvn插件
<build> <plugins> <plugin> <groupId>org.springframework.bootgroupId> <artifactId>spring-boot-maven-pluginartifactId> <version>2.5.5version> plugin> plugins> build>- 1
- 2
- 3
- 4
- 5
- 6
- 7
- 8
- 9
springboot mvn插件最常用的goal spring-boot:repackage
版本仲裁
-
最短路径仲裁 如下log4j 1.2.12 胜出

-
路径相同先声明者胜出 如下 谁的dependency 声明在前胜出

自定义maven插件
-
修改打包方式为 maven-plugin
<packaging>maven-pluginpackaging>- 1
-
添加依赖 二选一即可
<dependency> <groupId>org.apache.mavengroupId> <artifactId>maven-plugin-apiartifactId> <version>3.5.2version> dependency> <dependency> <groupId>org.apache.maven.plugin-toolsgroupId> <artifactId>maven-plugin-annotationsartifactId> <version>3.5.2version> <scope>providedscope> dependency>- 1
- 2
- 3
- 4
- 5
- 6
- 7
- 8
- 9
- 10
- 11
- 12
完整的pom
<project xmlns="http://maven.apache.org/POM/4.0.0" xmlns:xsi="http://www.w3.org/2001/XMLSchema-instance" xsi:schemaLocation="http://maven.apache.org/POM/4.0.0 http://maven.apache.org/xsd/maven-4.0.0.xsd"> <modelVersion>4.0.0modelVersion> <groupId>com.corngroupId> <artifactId>hello-maven-pluginartifactId> <version>1.0-SNAPSHOTversion> <packaging>maven-pluginpackaging> <dependencies> <dependency> <groupId>org.apache.mavengroupId> <artifactId>maven-plugin-apiartifactId> <version>3.5.2version> dependency> <dependency> <groupId>org.apache.maven.plugin-toolsgroupId> <artifactId>maven-plugin-annotationsartifactId> <version>3.5.2version> <scope>providedscope> dependency> dependencies> project>- 1
- 2
- 3
- 4
- 5
- 6
- 7
- 8
- 9
- 10
- 11
- 12
- 13
- 14
- 15
- 16
- 17
- 18
- 19
- 20
- 21
- 22
- 23
- 24
- 25
- 26
- 27
-
编写mvn的mojo
@Mojo(name = "hello") public class MyMavenMojo extends AbstractMojo { @Parameter private String name; @Override public void execute() throws MojoExecutionException, MojoFailureException { getLog().info("==== my first " + name + " maven plugin ===="); } }- 1
- 2
- 3
- 4
- 5
- 6
- 7
- 8
- 9
- 10
-
需要将插件坐标中的 groupId 部分注册到 settings.xml 中
<pluginGroups> <pluginGroup>com.cornpluginGroup> pluginGroups>- 1
- 2
- 3
- 4
- 5
- 6
- 7
-
安装插件 mvn install
-
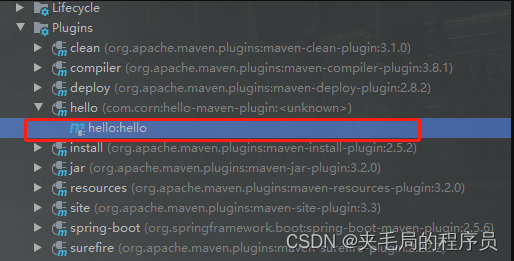
使用插件
-
识别插件前缀 Maven 根据插件的 artifactId 来识别插件前缀
-
[1]前置匹配
- 匹配规则:${prefix}-maven-plugin
- artifactId:hello-maven-plugin
- 前缀:hello
[2]中间匹配
- 匹配规则:maven-${prefix}-plugin
- artifactId:maven-good-plugin
- 前缀:good
-
-
安装到工程中
<plugin> <groupId>com.corngroupId> <artifactId>hello-maven-pluginartifactId> <configuration> <name>${project.name}name> configuration> <executions> <execution> <id>helloid> <phase>cleanphase> <goals> <goal>hellogoal> goals> execution> executions> plugin>- 1
- 2
- 3
- 4
- 5
- 6
- 7
- 8
- 9
- 10
- 11
- 12
- 13
- 14
- 15
- 16
- 17
-
IDEA中查看使用

maven私服Nexus搭建
-
nexus基于java开发所以需要安装JDK
-
下载nexus相关包 https://download.sonatype.com/nexus/3/latest-unix.tar.gz
-
解压缩 tar -zxvf nexus-3.20.1-01-unix.tar.gz
-
启动nexus并查看状态 start status
[root@node1 bin]# ./nexus start WARNING: ************************************************************ WARNING: Detected execution as "root" user. This is NOT recommended! WARNING: ************************************************************ Starting nexus [root@node1 bin]# ./nexus status WARNING: ************************************************************ WARNING: Detected execution as "root" user. This is NOT recommended! WARNING: ************************************************************ nexus is running.- 1
- 2
- 3
- 4
- 5
- 6
- 7
- 8
- 9
- 10
-
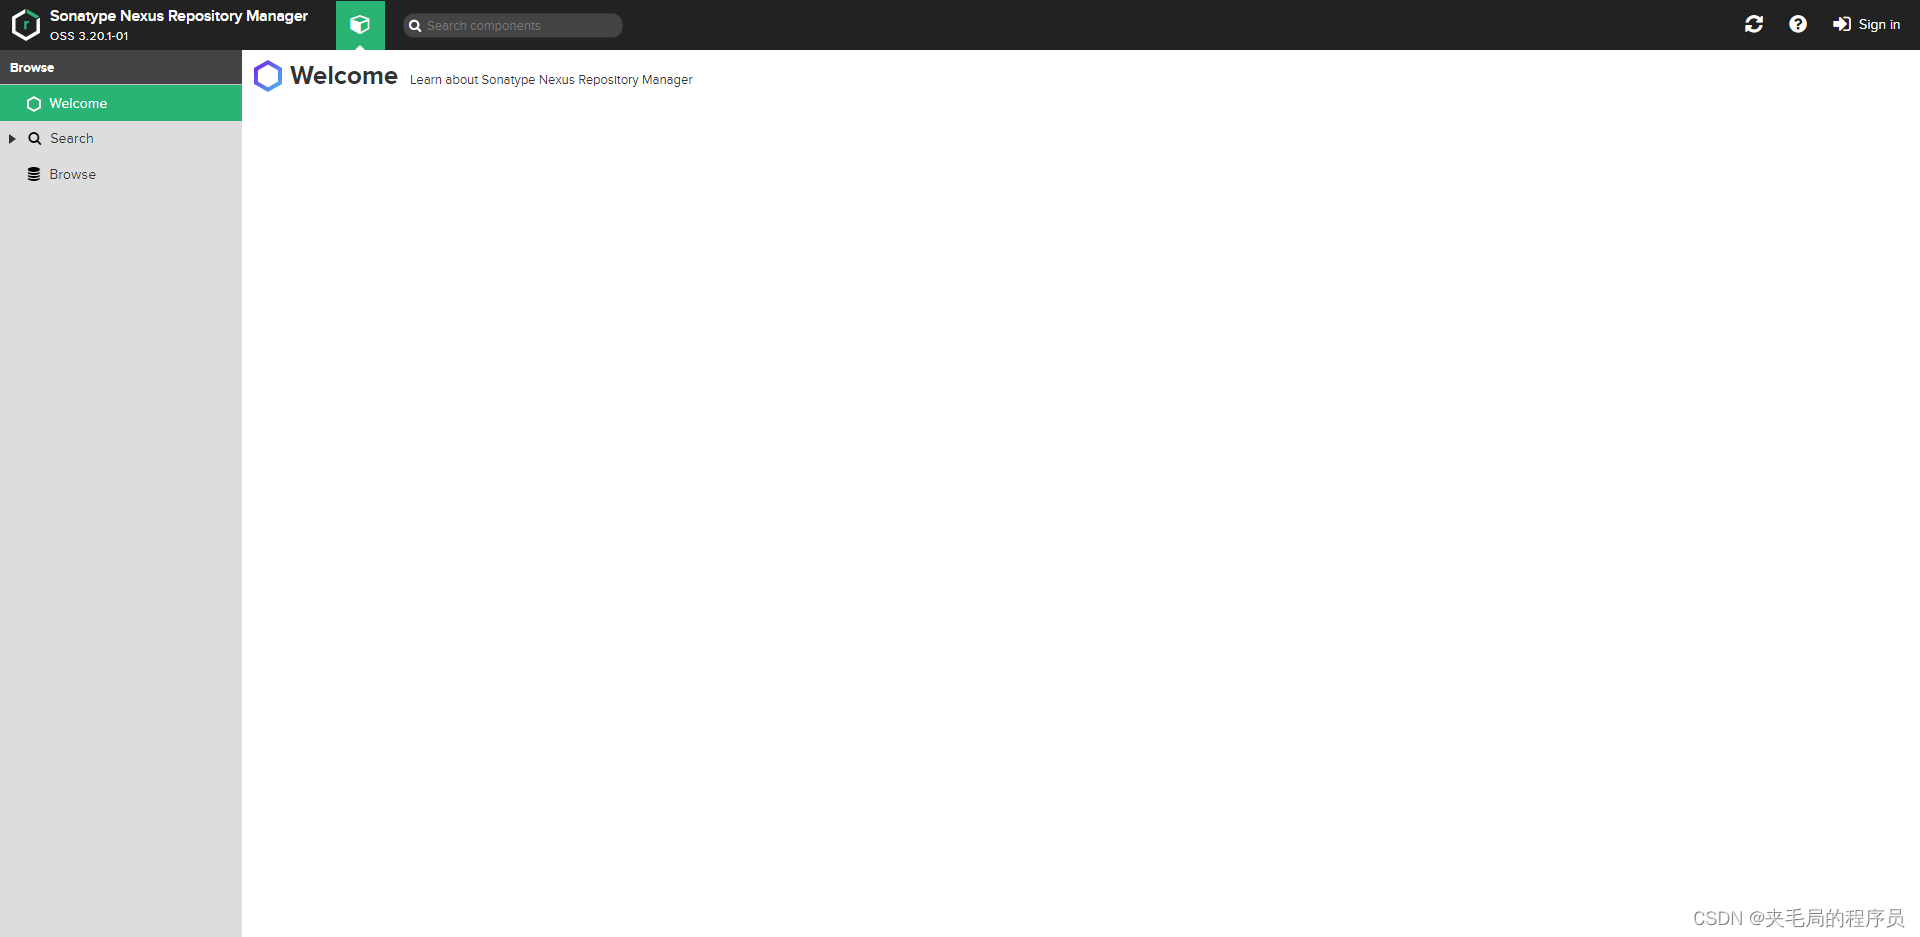
访问nexus首页 8081端口

-
登陆admin用户进行初始化操作 admin 的密码 默认会在你nexus解压缩目录下的 /nexus/sonatype-work/nexus3/admin.password中

-
修改admin的密码
-
是否开启匿名访问
-
nexus相关说明
Type Description proxy 某个远程仓库的代理 group 存放:通过 Nexus 获取的第三方 jar 包 hosted 存放:本团队其他开发人员部署到 Nexus 的 jar 包 Name Description maven-central Nexus 对 Maven 中央仓库的代理 maven-public Nexus 默认创建,供开发人员下载使用的组仓库 maven-releasse Nexus 默认创建,供开发人员部署自己 jar 包的宿主仓库
要求 releasse 版本maven-snapshots Nexus 默认创建,供开发人员部署自己 jar 包的宿主仓库
要求 snapshots 版本 -
配置nexus 中央仓库阿里云镜像

-
修改setting.xml文件 指定为新建的nexus服务 并配置登陆用户名

<mirror> <id>my-nexusid> <mirrorOf>centralmirrorOf> <name>My Nexusname> <url>http://192.168.209.100:8081/repository/maven-public/url> mirror> <server> <id>my-nexusid> <username>adminusername> <password>123456password> server>- 1
- 2
- 3
- 4
- 5
- 6
- 7
- 8
- 9
- 10
- 11
- 12
-
执行mvn 相关命令下载包
-
执行mvn 命令部署deploy我们自己的依赖包 注意nexus 默认如果磁盘容量小与4G不允许deploy
在POM文件中配置distributionManagement
<distributionManagement> <snapshotRepository> <id>nexus-mineid> <name>Nexus Snapshotname> <url>http://192.168.209.100:8081/repository/maven-snapshots/url> snapshotRepository> <repository> <id>nexus-releasesid> <name>Internal Release Repositoryname> <url>http://192.168.209.100:8081/repository/maven-releases/url> repository> distributionManagement>- 1
- 2
- 3
- 4
- 5
- 6
- 7
- 8
- 9
- 10
- 11
- 12
Uploading to my-nexus: http://192.168.209.100:8081/repository/maven-snapshots/com/corn/leetcode/maven-metadata.xml Uploaded to my-nexus: http://192.168.209.100:8081/repository/maven-snapshots/com/corn/leetcode/maven-metadata.xml (276 B at 5.8 kB/s) [INFO] ------------------------------------------------------------------------ [INFO] BUILD SUCCESS [INFO] ------------------------------------------------------------------------ [INFO] Total time: 3.456 s [INFO] Finished at: 2022-07-21T16:32:04+08:00 [INFO] ------------------------------------------------------------------------- 1
- 2
- 3
- 4
- 5
- 6
- 7
- 8

maven中引入外部Jar包
方式一: scope=system + systemPath的方式 将Jar包放置在工程中 通过dependency设置scope为system + systemPath的方式
方式二: 安装jar包到本地Maven仓库中 推荐
mvn install:install-file -Dfile=[体系外 jar 包路径] \ -DgroupId=[给体系外 jar 包强行设定坐标] \ -DartifactId=[给体系外 jar 包强行设定坐标] \ -Dversion=1 \ -Dpackage=jar- 1
- 2
- 3
- 4
- 5
-
相关阅读:
Java 基础面试题,JVM 内存模型?
打造 Web3 品牌灵魂三问:Why、What、How?
使用4G模块(EC200T)发送UDP数据到内网PC端(内网穿透)
CDGA|到底怎么才能做好数据治理呢?
【Java】Stream流水线实现
(八)fastai 目标检测 object detection
教程 - 深度探讨在 Vue3 中引入 CesiumJS 的最佳方式
从发现问题到创造价值 数据智能如何助力商家双11高质量增长?
Python 图形化界面基础篇:监听按钮点击事件
【网络安全无小事】汽车网络安全:只有开局,没有尽头,聚光向前,安全到达
- 原文地址:https://blog.csdn.net/woshiwjma956/article/details/125916538
