-
【iOS开发】-自定义Cell
自定义cell是什么
- 在用系统默认的UITableViewCell的几种样式时,所固定的排版模式可能会于与所想要的UI界面格式不同,因此需要自定义cell
自定义一个Cell
-
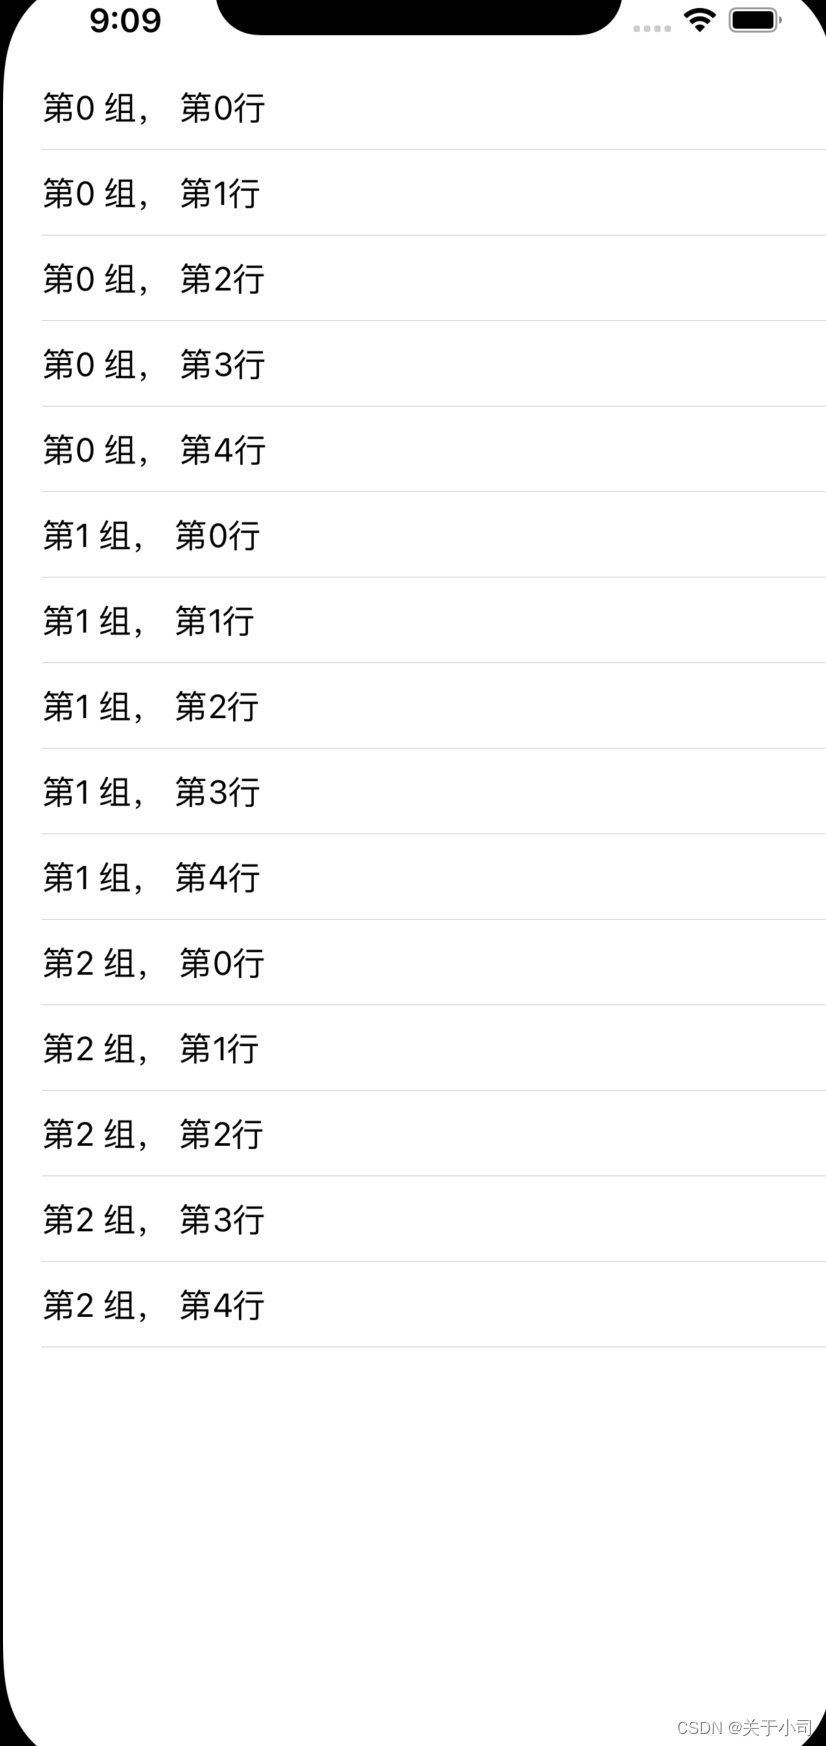
对于系统自带的cell我们只能简单的设置其属性,不能添加多个UI控件,这对于一些界面的开发来说是很麻烦的事情

-
和上述图片所示 只能简单的添加一些文字呀什么的,不过iOS提供了自定义的Cell创建来帮助开发者更好的使用
自定义Cell的步骤
通过代码自定义cell
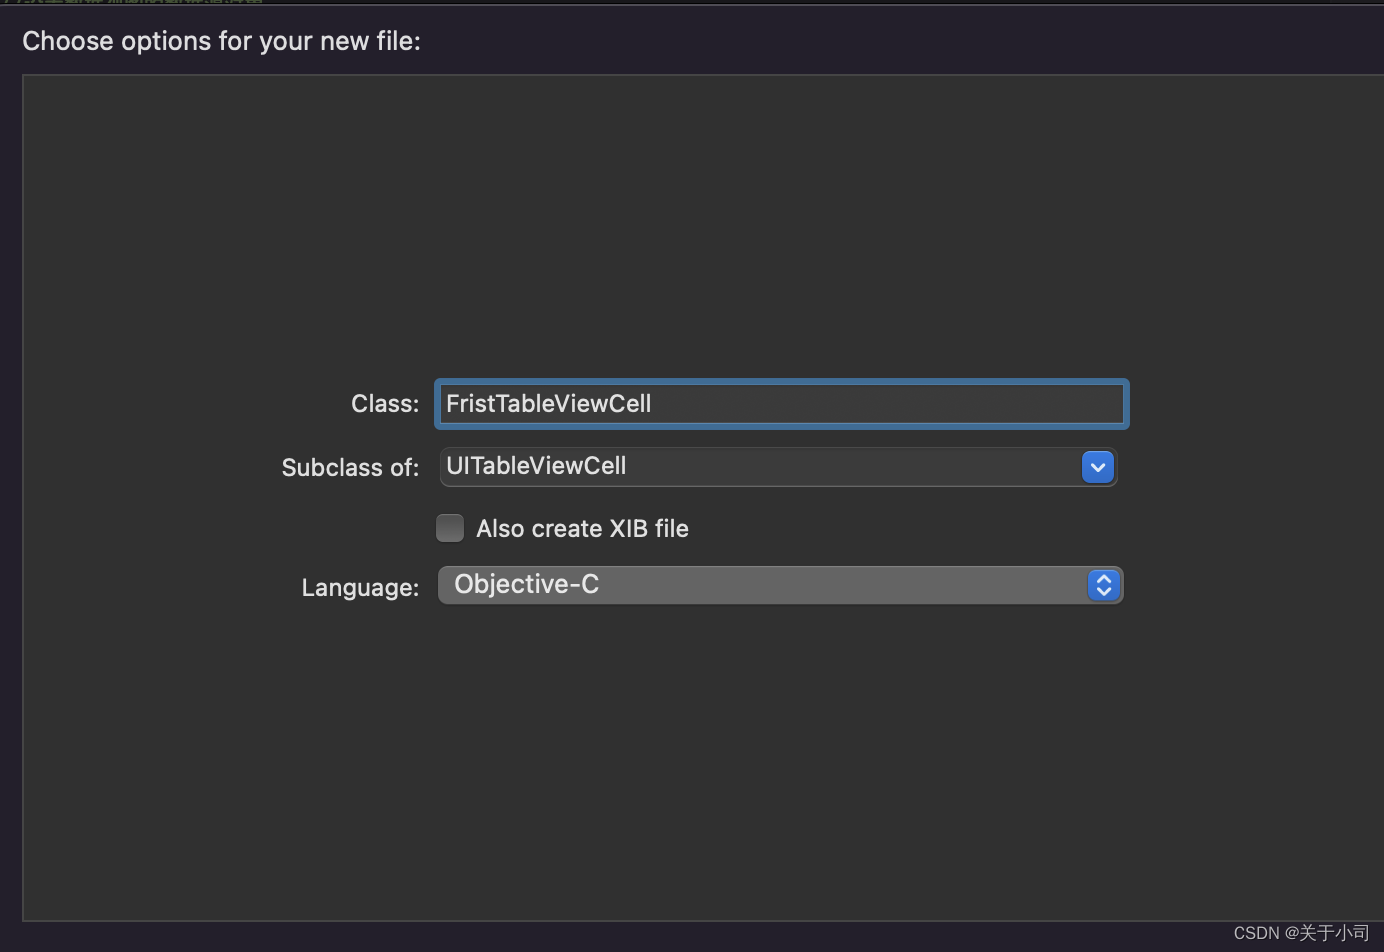
- new一个继承自UITableViewCell的类
- 重写initWithStyle: reuseIndentifier: 方法(对子控件的属性进行一次性赋值)
- 有些属性只须设置一次,例如字体、固定的图片
并添加需要显示的子控件到contentView中提供数据模型、frame模型数据模型用于存放文字、图片数据;frame模型存放数据模型、所有子控件的frame、cell的高度 - cell拥有一个frame模型
重写frame模型的setter方法(设置子控件的显示数frame);对frame的对象实例化采用懒加载方法,即进行getter方法的重写
一.创建一个继承于UITableViewCell的子类

二.在该类的h文件里写需要用到的控件

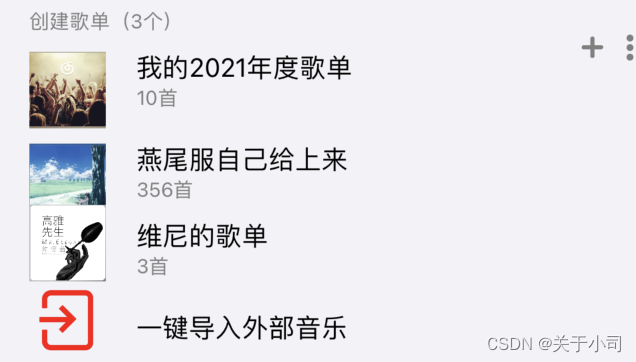
- 例如如上的一个图,这个图片的控件很多。可以看到的有UILabel,UIButton,ImageView,系统的自带Cell无法满足这些要求,这时候我们就需要自定义Cell
property (nonatomic, strong) UILabel* labelOne; @property (nonatomic, strong) UILabel* labelTwo; @property (nonatomic, strong) UILabel* labelThree; @property (nonatomic, strong) UILabel* labelFour; @property (nonatomic, strong) UILabel* labelFive; @property (nonatomic, strong) UILabel* labelSix; @property (nonatomic, strong) UILabel* labelSeven; @property (nonatomic, strong) UILabel* labelEight; @property(nonatomic, strong) UIButton* buttonOne; @property(nonatomic, strong) UIButton* buttonTwo; @property(nonatomic, strong) UIButton* buttonThree; @property (strong, nonatomic) UIImageView* imageViewOne; @property (strong, nonatomic) UIImageView* imageViewTwo; @property (strong, nonatomic) UIImageView* imageViewThree;- 1
- 2
- 3
- 4
- 5
- 6
- 7
- 8
- 9
- 10
- 11
- 12
- 13
- 14
- 15
三–在m文件实现方法
- 在-
FirstTableViewCell.m文件中主要实现以下两种方法 -
- 要实现的方法一
- (instancetype)initWithStyle:(UITableViewCellStyle)style reuseIdentifier:(NSString *)reuseIdentifier { self = [super initWithStyle:style reuseIdentifier:reuseIdentifier];- 1
- 2
-
- 该方法主要实现对刚才属性的赋值和添加标识符号
if ([self.reuseIdentifier isEqualToString:@"five"]) { _labelOne = [[UILabel alloc] init]; _labelOne.text = @"创建歌单(3个)"; _labelOne.textColor = [UIColor grayColor]; _labelOne.font = [UIFont systemFontOfSize:13]; } // 添加到Cell上 [self.contentView addSubview:_labelOne]; 这样就把一个简单的自定义属性添加完成- 1
- 2
- 3
- 4
- 5
- 6
- 7
- 8
- 9
- 要实现的方法二
- (void)layoutSubviews { _labelOne.frame = CGRectMake( (self.frame.size.width) / 4 - 80, (self.frame.size.height) / 3 - 70 , 160, 20); }- 1
- 2
- 3
- 这个方法主要实现添加属性的位置
四。在根视图里需要添加的东西
- ViewContrller.h 文件需要添加
@interface UIViewSet : UIViewController<UITableViewDelegate, UITableViewDataSource> @property( nonatomic, strong) UITableView* tableView; @end- 1
- 2
- 3
- 4
- 5
- ViewContrller.m 文件需要添加
- 代理赋值
self.tableView = [[UITableView alloc] initWithFrame:self.view.frame style:UITableViewStyleGrouped]; self.tableView.delegate = self; self.tableView.dataSource = self; [self.view addSubview: _tableView];- 1
- 2
- 3
- 4
- 标签 这里面的five和在刚才方法一里面的 -
if ([self.reuseIdentifier isEqualToString:@"five"])的标签是要一致的,这样系统才能根据标签来运行需要的Cell
[_tableView registerClass:[FristTableViewCell class] forCellReuseIdentifier:@"five"];- 1
- 完成必要的代理方法
- TableVIew有一些必须实现的代理方法
- (NSInteger)numberOfSectionsInTableView:(UITableView *)tableView { return 2; } - (NSInteger)tableView:(UITableView *)tableView numberOfRowsInSection:(NSInteger)section { return 2; } - (CGFloat)tableView:(UITableView *)tableView heightForRowAtIndexPath:(NSIndexPath *)indexPath { return 70; } (UITableViewCell *)tableView:(UITableView *)tableView cellForRowAtIndexPath:(NSIndexPath *)indexPath { FiveTableViewCell* cell = [self.tableView dequeueReusableCellWithIdentifier:@"five" forIndexPath:indexPath]; // cell.backgroundColor = [UIColor redColor]; cell.accessoryType = UITableViewCellAccessoryNone; return cell; }- 1
- 2
- 3
- 4
- 5
- 6
- 7
- 8
- 9
- 10
- 11
- 12
- 13
- 14
- 15
- 16
- 17
- 18
- 19
- 20
- 这样即可实现一个注册的自定义Cell
非注册的自定义cell
- 对于上面的操作是注册下的自定义cell
- 注册与不注册本质上其实是是否可以返回一个可用的cell,注册后,有一个class与identifier绑定,所以在获取时,系统就可以自动创建出指定样式的cell;如果没有注册就需要手动判断返回的cell是否为空,若为空,则手动创建一个新的cell,也就是说当注册后就不需要去考虑cell的新建问题了。
- 创建不注册的cell代码如下
NSString* str = @"cell 3G"; UITableViewCell* cell = [_tableView dequeueReusableCellWithIdentifier:str]; if(cell == nil) { cell =[[UITableViewCell alloc] initWithStyle:UITableViewCellStyleSubtitle reuseIdentifier:str]; }- 1
- 2
- 3
- 4
- 5
- 6
- 7
- 8
- 9
- 如果只是简单的文字配合一些小图标 我觉得不注册的Cell更为方便,但是当我们在一个界面画许多控件的时候就需要我们去创建注册的自定义Cell编写合理的控件
-
相关阅读:
省钱兄短剧短视频小程序是如何运营的?
精心整理16条MySQL使用规范,减少80%问题,推荐分享给团队
与六年测试工程师促膝长谈,他分享的这些让我对软件测试工作有了全新的认知~
JS截取url上面的参数
基础会计学知识点汇总
3.16 - 传值与传址
sonarqube的基本使用
让历史文化“活”起来,北京河图“万象中轴”助力打造北京城市金名片
F5服务器负载均衡能力如何?一文了解
MS5228数模转换器可pin对pin兼容AD5628
- 原文地址:https://blog.csdn.net/weixin_61639290/article/details/125900742
