-
SpringCloud之Gateway整合Sentinel服务降级和限流
1.下载Sentinel.jar可以图形界面配置限流和降级规则
地址:可能需要翻墙
下载jar文件
2.引入maven依赖<dependency> <groupId>com.alibaba.cloudgroupId> <artifactId>spring-cloud-alibaba-sentinel-gatewayartifactId> <version>2.2.2.RELEASEversion> dependency> <dependency> <groupId>com.alibaba.cloudgroupId> <artifactId>spring-cloud-starter-alibaba-sentinelartifactId> <version>2.2.2.RELEASEversion> dependency> <dependency> <groupId>com.alibaba.cspgroupId> <artifactId>sentinel-spring-cloud-gateway-adapterartifactId> <version>1.8.0version> dependency>- 1
- 2
- 3
- 4
- 5
- 6
- 7
- 8
- 9
- 10
- 11
- 12
- 13
- 14
- 15
- 16
- 17
- 18
3.写个自动注入Resource的过滤器类(可以不写注解直接使用)
@Configuration public class GatewayConfiguration { private final List<ViewResolver> viewResolvers; private final ServerCodecConfigurer serverCodecConfigurer; public GatewayConfiguration(ObjectProvider<List<ViewResolver>> viewResolversProvider, ServerCodecConfigurer serverCodecConfigurer) { this.viewResolvers = viewResolversProvider.getIfAvailable(Collections::emptyList); this.serverCodecConfigurer = serverCodecConfigurer; } @Bean @Order(Ordered.HIGHEST_PRECEDENCE) public SentinelGatewayBlockExceptionHandler sentinelGatewayBlockExceptionHandler() { // Register the block exception handler for Spring Cloud Gateway. return new SentinelGatewayBlockExceptionHandler(viewResolvers, serverCodecConfigurer); } @Bean @Order(Ordered.HIGHEST_PRECEDENCE) public GlobalFilter sentinelGatewayFilter() { return new SentinelGatewayFilter(); } }- 1
- 2
- 3
- 4
- 5
- 6
- 7
- 8
- 9
- 10
- 11
- 12
- 13
- 14
- 15
- 16
- 17
- 18
- 19
- 20
- 21
- 22
- 23
- 24
- 25
4.写配置文件 application.properties
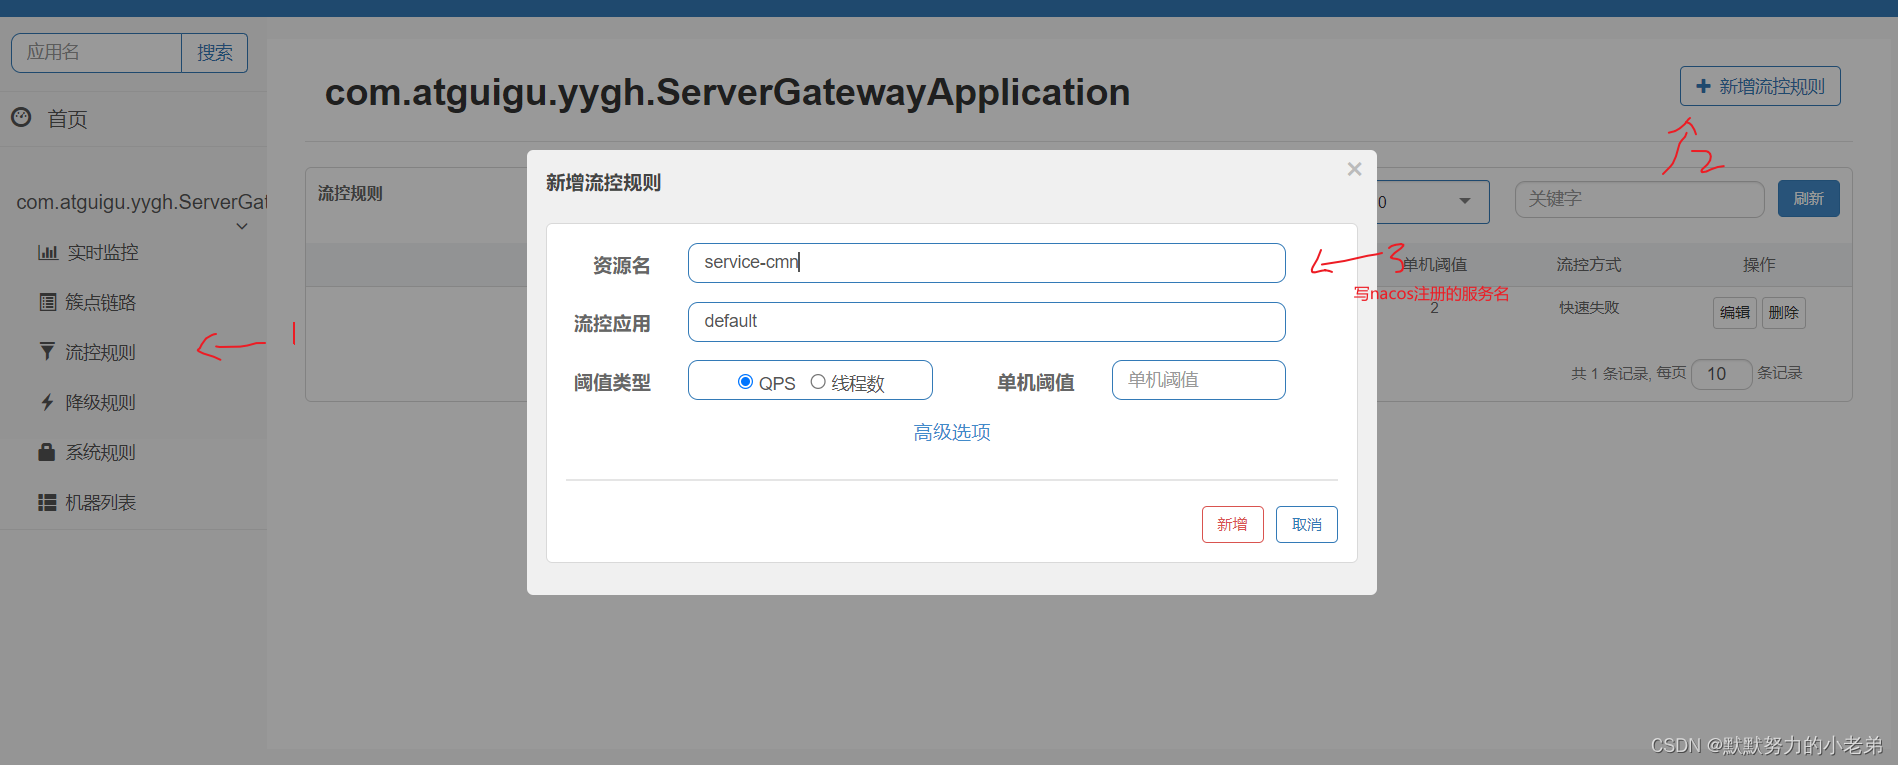
# 服务端口 server.port=80 # 服务名 spring.application.name=service-gateway #服务熔断 spring.cloud.sentinel.transport.dashboard=localhost:18080 # nacos服务地址 spring.cloud.nacos.discovery.server-addr=192.168.56.1:8848 spring.main.allow-bean-definition-overriding=true spring.profiles.active=dev #使用服务发现路由 spring.cloud.gateway.discovery.locator.enabled=true #设置路由id spring.cloud.gateway.routes[0].id=service-cmn #设置路由的uri spring.cloud.gateway.routes[0].uri=lb://service-cmn #设置路由断言,代理servicerId为auth-service的/auth/路径 spring.cloud.gateway.routes[0].predicates= Path=/*/cmn/**- 1
- 2
- 3
- 4
- 5
- 6
- 7
- 8
- 9
- 10
- 11
- 12
- 13
- 14
- 15
- 16
- 17
- 18
- 19
- 20
5.cmd命令行启动jar文件访问localhost:18080页面,自己设置QPS
java -jar -server.port=18080 sentinel-dashboard.jar

--------不在微服务中使用,在普通springboot也可以使用--------
1.maven依赖<dependency> <groupId>org.springframework.bootgroupId> <artifactId>spring-boot-starter-webartifactId> dependency> <dependency> <groupId>com.alibaba.cloudgroupId> <artifactId>spring-cloud-starter-alibaba-sentinelartifactId> dependency> <dependency> <groupId>org.projectlombokgroupId> <artifactId>lombokartifactId> <optional>trueoptional> dependency> <dependency> <groupId>org.springframework.bootgroupId> <artifactId>spring-boot-starter-testartifactId> <scope>testscope> dependency>- 1
- 2
- 3
- 4
- 5
- 6
- 7
- 8
- 9
- 10
- 11
- 12
- 13
- 14
- 15
- 16
- 17
- 18
- 19
2.service中写
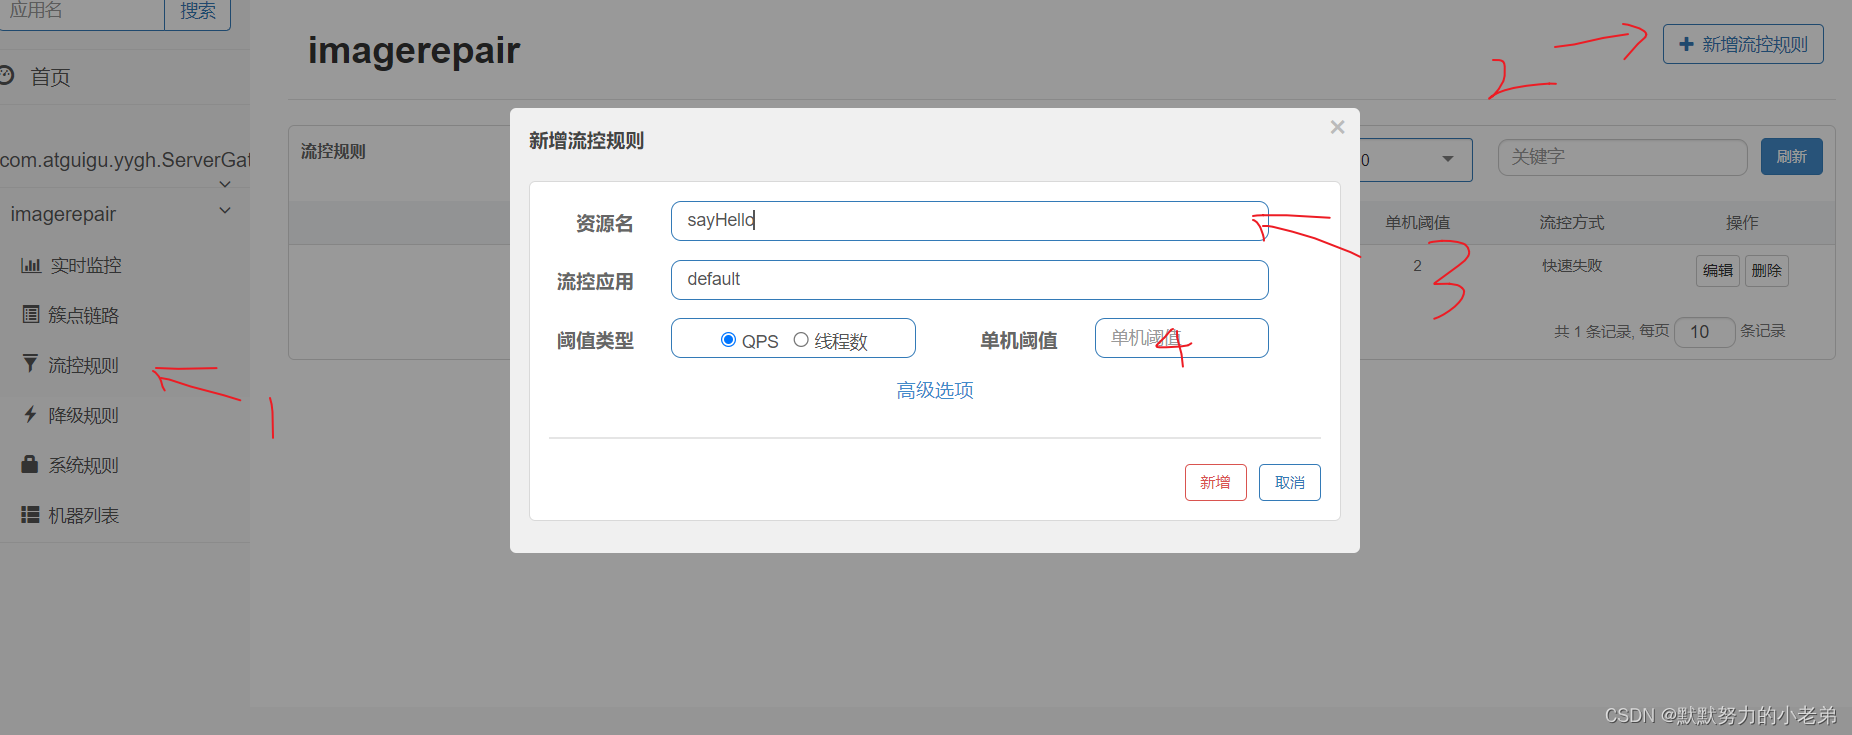
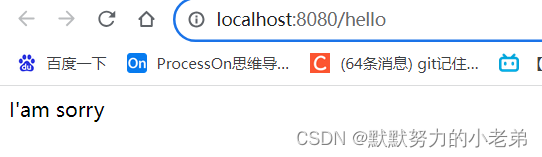
@Service public class UserService { //不可以用在类上 @SentinelResource(value = "sayHello",fallback = "sayHellofail") public String sayHello(){ return "Hello,World"; } public String sayHellofail(){ //限流的方法 return "I'am sorry"; } }- 1
- 2
- 3
- 4
- 5
- 6
- 7
- 8
- 9
- 10
- 11
- 12
- 13
- 14
- 15
3.controller
@RestController public class UserController { @Autowired UserService userService; @RequestMapping("/hello") public String hello(){ return userService.sayHello(); } }- 1
- 2
- 3
- 4
- 5
- 6
- 7
- 8
- 9
- 10
- 11
3.sentinel控制台查看
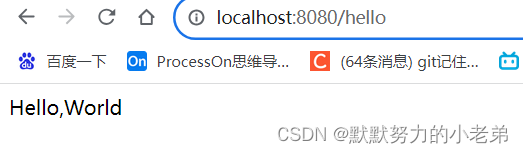
//快速访问
-
相关阅读:
Pr:导出设置之高级设置及 VR 视频
第11章 虚拟实验室概述
机器人上位机探索
SpringBoot-关于ContextRefreshedEvent 和 ApplicationReadyEvent 触发时间以及触发机制的研究
图解网络(三)——TCP篇04
7. Spring Boot2.5 安全机制与 REST API 身份验证实战
day33 文件上传&中间件解析漏洞&编辑器安全
OA项目之会议排座和送审
计算机组成和体系结构[备考]
Linux内核中container_of宏定义讲解
- 原文地址:https://blog.csdn.net/weixin_47039303/article/details/133846086
