-
SpringBoot 整合 RabbitMQ
1. 创建 SpringBoot 工程

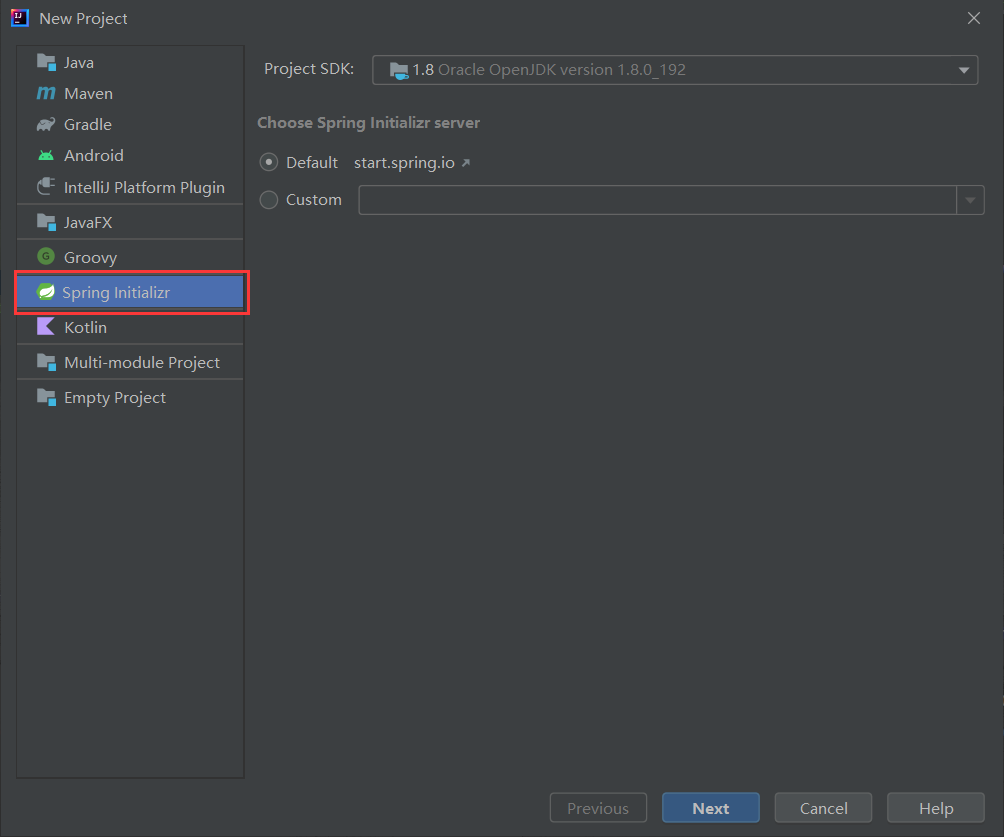

由于有的 Idea 不选择插线无法创建 Spring Boot 项目,这里我们先随便选一个插件,大家也可以根据需求选择~~
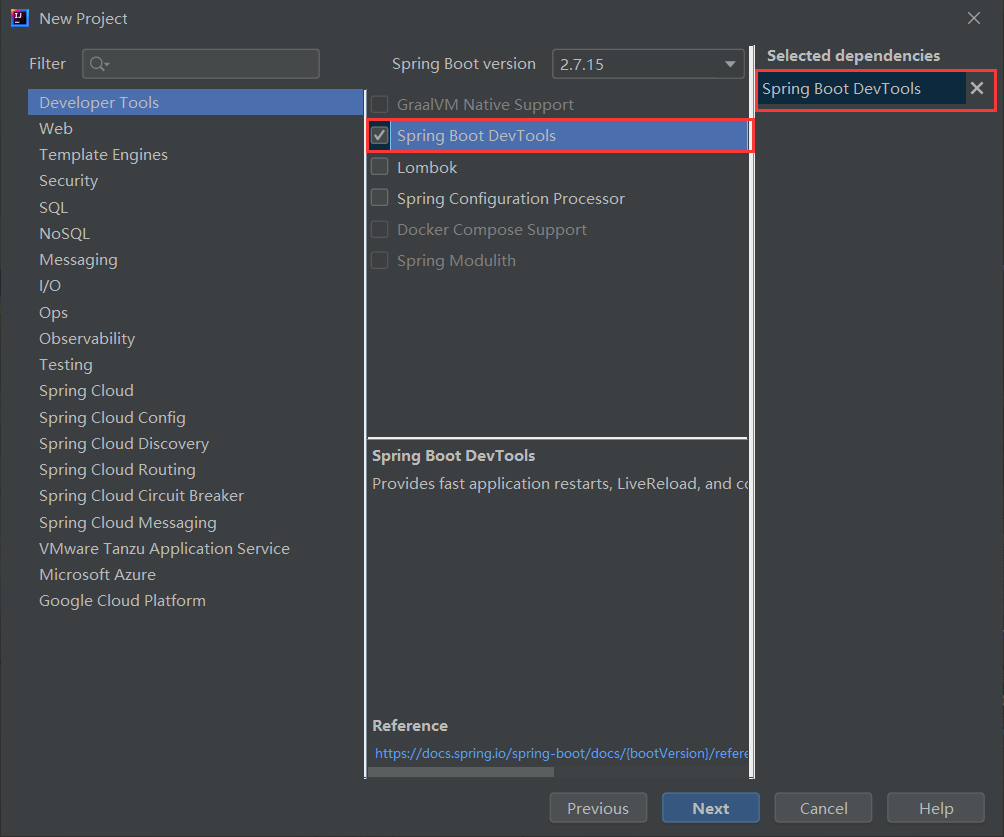


把版本改为 2.7.14

引入这两个依赖:
- <dependency>
- <groupId>org.springframework.bootgroupId>
- <artifactId>spring-boot-starter-amqpartifactId>
- dependency>
- <dependency>
- <groupId>org.springframework.bootgroupId>
- <artifactId>spring-boot-starter-testartifactId>
- <scope>testscope>
- dependency>
配置 application.yml文件

2. 编写代码
生产者 :
Config 类 : RabbitMQConfig

- package com.lqf.rabbitmq.springbootrabbitmq.config;
- import org.springframework.amqp.core.*;
- import org.springframework.beans.factory.annotation.Qualifier;
- import org.springframework.context.annotation.Bean;
- import org.springframework.context.annotation.Configuration;
- @Configuration
- public class RabbitMQConfig {
- public static final String EXCHANGE_NAME = "boot_topic_exchange";
- public static final String QUEUE_NAME = "boot_queue";
- //1.交换机
- @Bean("bootExchange")
- public Exchange bootExchange(){
- return ExchangeBuilder.topicExchange(EXCHANGE_NAME).durable(true).build();
- }
- //2.Queue 队列
- @Bean("bootQueue")
- public Queue bootQueue(){
- return QueueBuilder.durable(QUEUE_NAME).build();
- }
- //3. 队列和交互机绑定关系 Binding
- /*
- 1. 知道哪个队列
- 2. 知道哪个交换机
- 3. routing key
- */
- @Bean
- public Binding bindQueueExchange(@Qualifier("bootQueue") Queue queue, @Qualifier("bootExchange") Exchange exchange){
- return BindingBuilder.bind(queue).to(exchange).with("boot.#").noargs();
- }
- }
测试类: RabbitMQConfigTests

- package com.lqf.rabbitmq.springbootrabbitmq;
- import com.lqf.rabbitmq.springbootrabbitmq.config.RabbitMQConfig;
- import org.junit.Test;
- import org.junit.runner.RunWith;
- import org.springframework.amqp.rabbit.core.RabbitTemplate;
- import org.springframework.beans.factory.annotation.Autowired;
- import org.springframework.boot.test.context.SpringBootTest;
- import org.springframework.test.context.junit4.SpringRunner;
- @SpringBootTest
- @RunWith(SpringRunner.class)
- public class RabbitMQConfigTests {
- //1.注入RabbitTemplate
- @Autowired
- private RabbitTemplate rabbitTemplate;
- @Test
- public void testSend(){
- rabbitTemplate.convertAndSend(RabbitMQConfig.EXCHANGE_NAME,"boot.haha","boot mq hello~~~");
- }
- }
结果
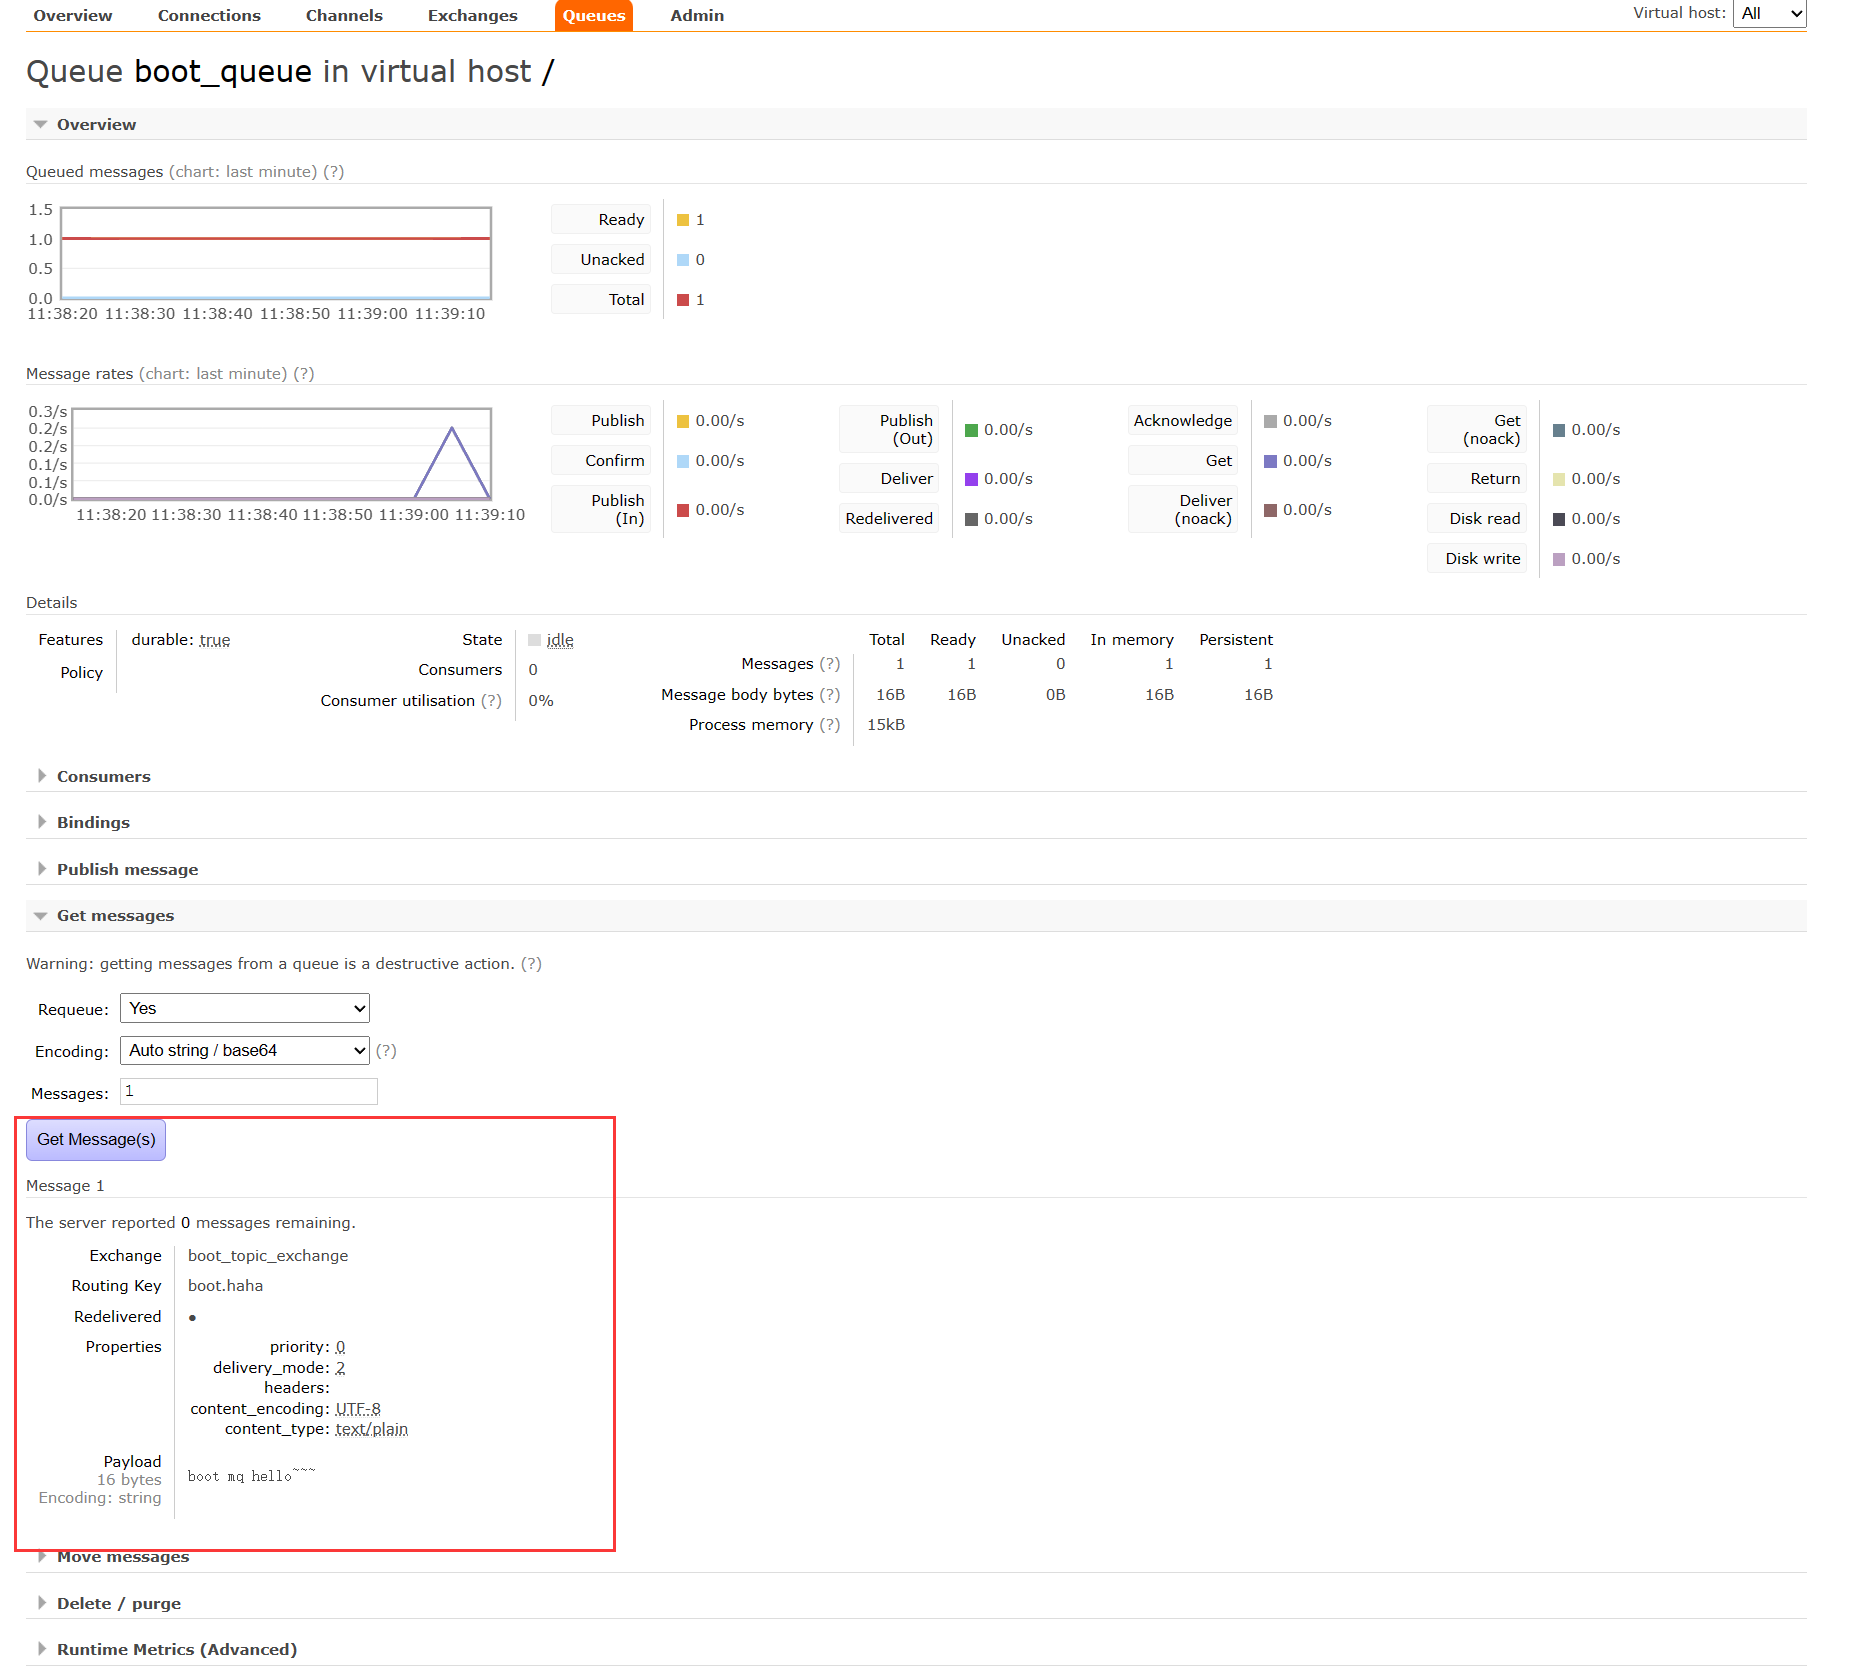
当我们启动 测试类 之后就可以发现我们的 rabbitmq 界面里的 Exchange 里多了一个

Queue 中多了一个消息:
消费者:
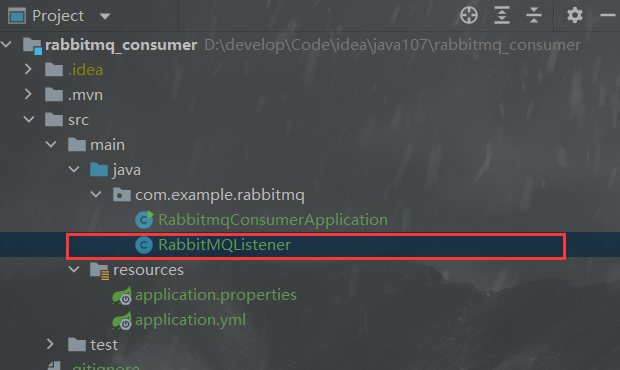
消费者的创建与生产者一样
Component 类 :
- package com.example.rabbitmq;
- import org.springframework.amqp.core.Message;
- import org.springframework.amqp.rabbit.annotation.RabbitListener;
- import org.springframework.stereotype.Component;
- @Component
- public class RabbitMQListener {
- @RabbitListener(queues = "boot_queue")
- public void ListenerQueue(Message message) {
- System.out.println("Message : ");
- System.out.println(message);
- }
- }
结果
启动核心类:

之后我们就收到消息了

-
相关阅读:
Java连接Redis并操作Redis中的常见数据类型
DW大学生网页作业制作设计 中华饮食文化(HTML+CSS+JavaScript) Web前端大作业
Vue:组件缓存
基于音频指纹的听歌识曲系统
vue项目中如何关闭eslint
Spring Cloud 面试题
提升格局,淡定看待常态化波动
从零开始Blazor Server(15)--总结
浅理解java中的泛型
遗留代码处理技巧与案例演示
- 原文地址:https://blog.csdn.net/m0_64247824/article/details/132635964

- 最新文章
-
沪漂五周年了:我越来越迷茫了
Agentic Skill Routing 实战:别再把所有 Skill 塞进 AI Agent 上下文
MySQL-Seconds_behind_master的精度误差
[MAF预定义ChatClient中间件-03]CachingChatClient——利用缓存省钱省时间
AI的至暗历史:从万众期待到被政府撤资,AI的两次死亡徘徊
Agent OS :五种驯服不确定性的范式
PortSwigger SQL注入LAB11
数据库即时编译JIT
[Begin]AI Learn Data Day 0
深度学习进阶(二十七)现代 LLM 的核心架构设计其二:SwiGLU