-
SpringBoot SpringBoot 原理篇 1 自动配置 1.6 bean 的加载方式【四】
SpringBoot
【黑马程序员SpringBoot2全套视频教程,springboot零基础到项目实战(spring boot2完整版)】
SpringBoot 原理篇
1 自动配置
1.6 bean 的加载方式【四】
1.6.1 @Import
OK,前面咱们已经学习了三种初始化bean 的方式了,中间还学习了关于 proxyBeanMethods 属性的知识
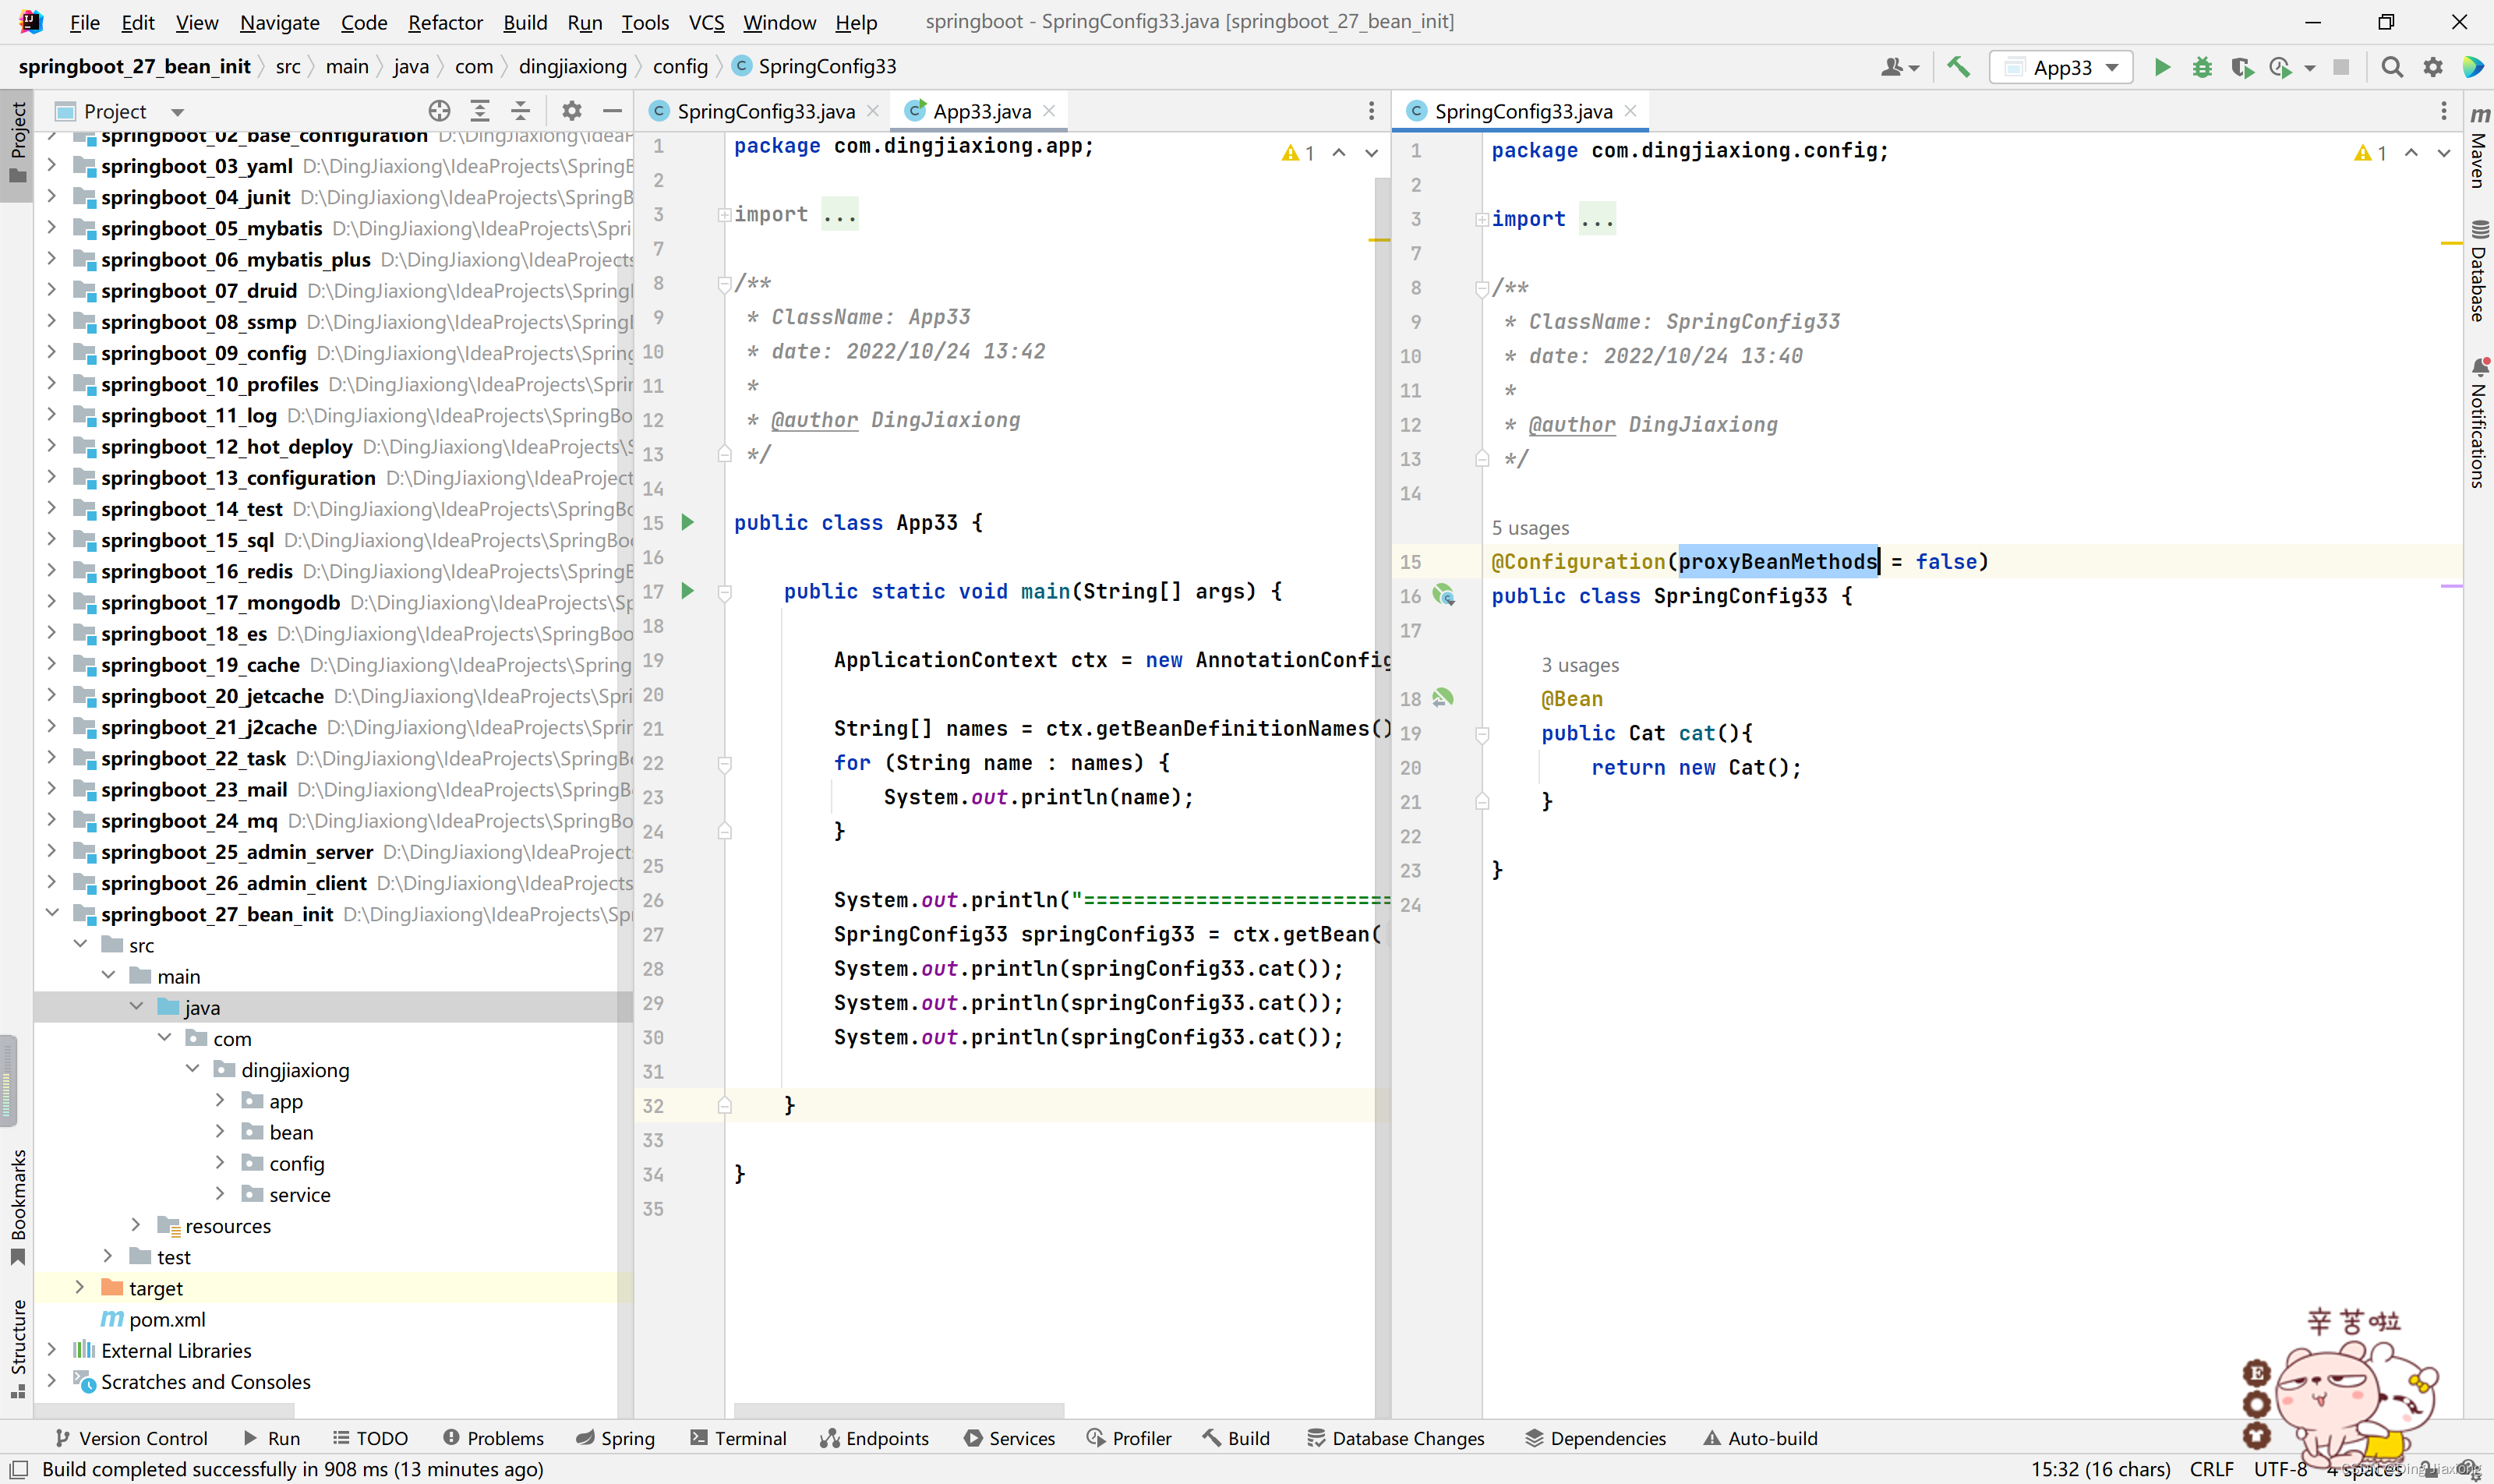
接下来就来看看第四种
先来一个新的配置类
package com.dingjiaxiong.config; /** * ClassName: SpringConfig4 * date: 2022/10/24 14:52 * * @author DingJiaxiong */ public class SpringConfig4 { }- 1
- 2
- 3
- 4
- 5
- 6
- 7
- 8
- 9
- 10
- 11
- 12
非常干净的配置类
再来一个新的运行类
package com.dingjiaxiong.app; import com.dingjiaxiong.config.SpringConfig33; import com.dingjiaxiong.config.SpringConfig4; import org.springframework.context.ApplicationContext; import org.springframework.context.annotation.AnnotationConfigApplicationContext; /** * ClassName: App4 * date: 2022/10/24 13:42 * * @author DingJiaxiong */ public class App4 { public static void main(String[] args) { ApplicationContext ctx = new AnnotationConfigApplicationContext(SpringConfig4.class); String[] names = ctx.getBeanDefinitionNames(); for (String name : names) { System.out.println(name); } } }- 1
- 2
- 3
- 4
- 5
- 6
- 7
- 8
- 9
- 10
- 11
- 12
- 13
- 14
- 15
- 16
- 17
- 18
- 19
- 20
- 21
- 22
- 23
- 24
- 25
- 26
- 27
直接运行看看

OK, 没啥问题
第四种方式是使用 @Import
package com.dingjiaxiong.config; import com.dingjiaxiong.bean.Dog; import org.springframework.context.annotation.Import; /** * ClassName: SpringConfig4 * date: 2022/10/24 14:52 * * @author DingJiaxiong */ @Import(Dog.class) public class SpringConfig4 { }- 1
- 2
- 3
- 4
- 5
- 6
- 7
- 8
- 9
- 10
- 11
- 12
- 13
- 14
- 15
再次运行

可以看到,这个东西确实上来了
看看是不是真的加载到了

OK,没问题,确实加载到了Dog
而且这种方式加载出来的类是一个非常标准的全路径类名,而且是大写开头的
【所以这种方式的作用体现在哪里?】
之前我们加注解、写配置,现在使用直接导入,原本的类咱们压根儿没动过
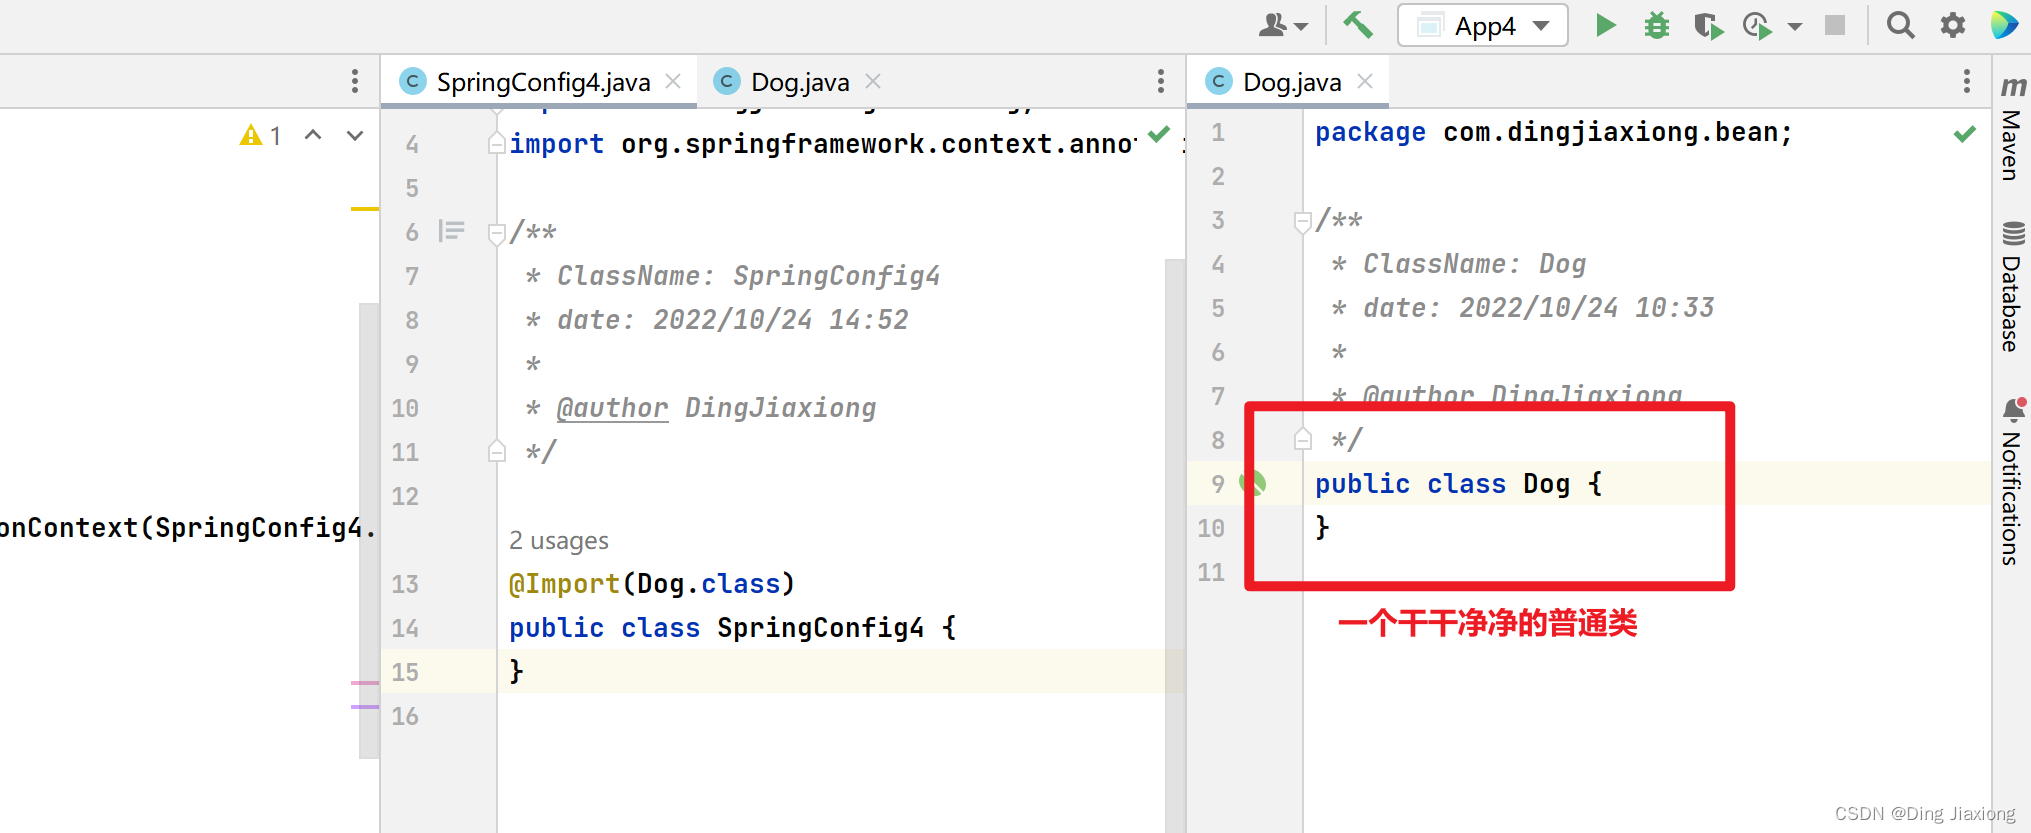
可以进行有效的解耦
Spring 倡导无侵入式 编程或者叫无入侵式编程
说加就加、看不到动过的痕迹
就现在这种直接导入的方式会是一种非常好用的最佳实践,以后咱们有了一个外部类,可以完全不做改变的把搞成一个bean放入我们的容器
OK, 回顾一下
使用@Import注解导入要注入的bean对应的字节码

【@Import 的扩展】
我现在给它导入一个配置类

package com.dingjiaxiong.config; import com.dingjiaxiong.bean.Dog; import org.springframework.context.annotation.Import; /** * ClassName: SpringConfig4 * date: 2022/10/24 14:52 * * @author DingJiaxiong */ @Import({Dog.class, DbConfig.class}) public class SpringConfig4 { }- 1
- 2
- 3
- 4
- 5
- 6
- 7
- 8
- 9
- 10
- 11
- 12
- 13
- 14
- 15
直接运行

可以看到直接就上来了俩,而且是全路径类名,而且它里面的bean 也被加载了
如果把配置类上的注解拿掉

这就变成Dog 了
直接运行看看效果

DbConfig 上来是应该的,和Dog 原理一样,而且可以看到,它里面定义的bean 还是上来了
就是这样

OK,就是这样
-
相关阅读:
【车辆动力】基于Matlab模拟停车动力学
ORA-22922:不存在的 LOB 值
ADB日常使用命令
centos7的忘记root管理员账号的登录密码
【图文并茂】Win11正式版如何一键重装系统
C/C++ 实现获取硬盘序列号
水库大坝安全监测预警系统的重要作用
Oracle dblink 跨库查询详解
BI神器Power Query(26)-- 使用PQ实现表格多列转换(2/3)
vue-element-admin 综合开发一:搭建环境:vue-cli创建项目,整合element、vue-router。
- 原文地址:https://blog.csdn.net/weixin_44226181/article/details/128031735
- 最新文章
-
沪漂五周年了:我越来越迷茫了
Agentic Skill Routing 实战:别再把所有 Skill 塞进 AI Agent 上下文
MySQL-Seconds_behind_master的精度误差
[MAF预定义ChatClient中间件-03]CachingChatClient——利用缓存省钱省时间
AI的至暗历史:从万众期待到被政府撤资,AI的两次死亡徘徊
Agent OS :五种驯服不确定性的范式
PortSwigger SQL注入LAB11
数据库即时编译JIT
[Begin]AI Learn Data Day 0
深度学习进阶(二十七)现代 LLM 的核心架构设计其二:SwiGLU