-
Game101作业5以及光线追踪笔记
Witted Style 光线追踪
最基础最原始的光线追踪算法。根据光路的可逆性,我们从眼睛处朝着像素点发射一道光线,这道光线与场景中的物体相交会发生反射和折射,这里我们默认反射是镜面反射,产生的两道光线会继续和场景中的物体相交产生新的折射光线和反射光线,这就是光线追踪的基本原理。如果不加以限制,光路的反射和折射会不断进行下去,所以我们需要设置一个反射深度限制。

接下来就是如何与场景中的物体求交的问题了,光线的方程为 r ( t ) = o + t d \bold{r}(t)=\bold{o}+t\bold{d} r(t)=o+td, o \bold{o} o表示发射出光线的点, d \bold{d} d表示光线发射的方向单位向量, t ( t > 0 ) t(t>0 ) t(t>0)可以理解为“时间”,代表从发射光线的点到交点的距离。如果是和规则的可以用方程表示出来的物体比如说球型等进行求交,那么可以直接联立光线和物体表面的方程算出解即可。但是实际情况中大部分的物体都是采用Mesh的方式,所以我们的光线就需要和场景中的一个个三角形表面进行求交,这个时候就需要用到Moller Trumbore Algorithm。
O ⃗ + t D ⃗ = ( 1 − b 1 − b 2 ) P 0 ⃗ + b 1 P 1 ⃗ + b 2 P 2 ⃗ \vec{\bold{O}}+t\vec{\bold{D}}=(1-b_1-b_2)\vec{\bold{P_0}}+b_1\vec{\bold{P_1}}+b_2\vec{\bold{P_2}} O+tD=(1−b1−b2)P0+b1P1+b2P2 [ t b 1 b 2 ] = 1 S 1 ⃗ ⋅ E 1 ⃗ [ S 2 ⃗ ⋅ E 2 ⃗ S 1 ⃗ ⋅ S ⃗ S 2 ⃗ ⋅ D ⃗ ] , \left[\right] =\frac{1}{\bold{\vec{S_1}\cdot\vec{E_1}}} \left[t b 1 b 2 \right], \\ ⎣ ⎡tb1b2⎦ ⎤=S1⋅E11⎣ ⎡S2⋅E2S1⋅SS2⋅D⎦ ⎤, where E 1 ⃗ = P 1 ⃗ − P 0 ⃗ , E 2 ⃗ = P 2 ⃗ − P 0 ⃗ , S ⃗ = O ⃗ − P 0 ⃗ , S 1 ⃗ = D ⃗ − E 2 ⃗ , S 2 ⃗ = S ⃗ − E 1 ⃗ , \text{where } \vec{\bold{E_1}} =\bold{\vec{P_1}-\vec{P_0}}, \\ \vec{\bold{E_2}} = \vec{\bold{P_2}}-\vec{\bold{P_0}},\\ \vec{\bold{S}} = \vec{\bold{O}}-\vec{\bold{P_0}},\\ \vec{\bold{S_1}} = \vec{\bold{D}}-\vec{\bold{E_2}},\\ \vec{\bold{S_2}} = \vec{\bold{S}}-\vec{\bold{E_1}},\\ where E1=P1−P0,E2=P2−P0,S=O−P0,S1=D−E2,S2=S−E1,\bold S 2 → ⋅ E 2 → \bold S 1 → ⋅ S → \bold S 2 → ⋅ D → 其中 P 0 , P 1 , P 2 P_0,P_1,P_2 P0,P1,P2是三角形的三个顶点,这里使用了重心坐标来表示三角形内的任意一点。利用这个等式解出正数 t t t,就可以得到交点坐标,这也就是作业5中我们需要实现的算法。
作业5相关代码实现
本次作业主要实现两个函数
-
Triangle.hpp的rayTriangleIntersect()函数,这个函数就是用来计算光线和三角形求交的,代码如下bool rayTriangleIntersect(const Vector3f& v0, const Vector3f& v1, const Vector3f& v2, const Vector3f& orig, const Vector3f& dir, float& tnear, float& u, float& v) { // Implement this function that tests whether the triangle // that's specified bt v0, v1 and v2 intersects with the ray (whose // origin is *orig* and direction is *dir*) // Also don't forget to update tnear, u and v. auto S = orig - v0; auto E_1 = v1 - v0; auto E_2 = v2 - v0; auto S_1 = crossProduct(dir, E_2); auto S_2 = crossProduct(S, E_1); auto S1E1 = dotProduct(S_1, E_1); float t = dotProduct(S_2, E_2) / S1E1; float b_1 = dotProduct(S_1, S) / S1E1; float b_2 = dotProduct(S_2, dir) / S1E1; if (t >= 0.0f && b_1 >= 0.0f && b_2 >= 0.0f && (1 - b_1 - b_2) >= 0.0f) { tnear = t; u = b_1; v = b_2; return true; } return false; }- 1
- 2
- 3
- 4
- 5
- 6
- 7
- 8
- 9
- 10
- 11
- 12
- 13
- 14
- 15
- 16
- 17
- 18
- 19
- 20
- 21
- 22
- 23
- 24
-
第二个函数是
Renderer.cpp中的Render(),主要是考察屏幕空间和世界空间之间的转化问题,代码如下// [comment] // The main render function. This where we iterate over all pixels in the image, generate // primary rays and cast these rays into the scene. The content of the framebuffer is // saved to a file. // [/comment] void Renderer::Render(const Scene& scene) { std::vector<Vector3f> framebuffer(scene.width * scene.height); float scale = std::tan(deg2rad(scene.fov * 0.5f)); float imageAspectRatio = scene.width / (float)scene.height; // Use this variable as the eye position to start your rays. Vector3f eye_pos(0); int m = 0; for (int j = 0; j < scene.height; ++j) { for (int i = 0; i < scene.width; ++i) { // generate primary ray direction // Find the x and y positions of the current pixel to get the direction // vector that passes through it. // Also, don't forget to multiply both of them with the variable *scale*, and // x (horizontal) variable with the *imageAspectRatio* float x = (2 * (i + 0.5f) / (float)(scene.width-1) - 1.0f) * imageAspectRatio * scale; float y = (1 - 2 * (j + 0.5f) / (float)(scene.height-1)) * scale; Vector3f dir = normalize(Vector3f(x, y, -1)); // Don't forget to normalize this direction! framebuffer[m++] = castRay(eye_pos, dir, scene, 0); } UpdateProgress(j / (float)scene.height); } // save framebuffer to file FILE* fp = fopen("binary-test.ppm", "wb"); (void)fprintf(fp, "P6\n%d %d\n255\n", scene.width, scene.height); for (auto i = 0; i < scene.height * scene.width; ++i) { static unsigned char color[3]; color[0] = (char)(255 * clamp(0, 1, framebuffer[i].x)); color[1] = (char)(255 * clamp(0, 1, framebuffer[i].y)); color[2] = (char)(255 * clamp(0, 1, framebuffer[i].z)); fwrite(color, 1, 3, fp); } fclose(fp); }- 1
- 2
- 3
- 4
- 5
- 6
- 7
- 8
- 9
- 10
- 11
- 12
- 13
- 14
- 15
- 16
- 17
- 18
- 19
- 20
- 21
- 22
- 23
- 24
- 25
- 26
- 27
- 28
- 29
- 30
- 31
- 32
- 33
- 34
- 35
- 36
- 37
- 38
- 39
- 40
- 41
- 42
- 43
- 44
- 45
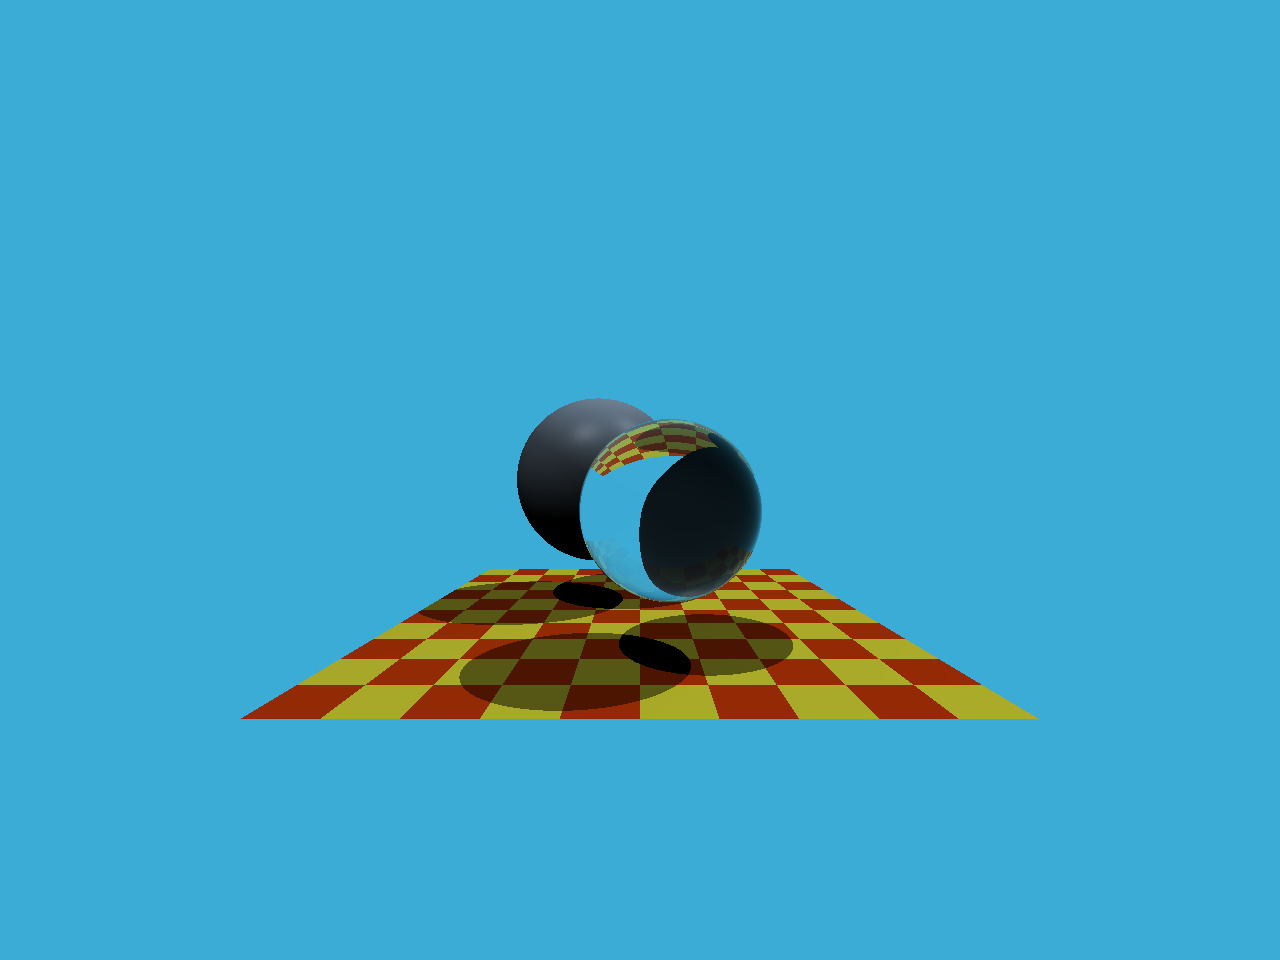
最终生成的结果如下
参考资料
-
-
相关阅读:
安卓10添加修改serial串口的服务
Git使用教程
spring5.0 源码解析(day07) registerListeners();
前端文件上传
python算法调用方案
unity面试题(性能优化篇)
阿里Java老鸟总结10W字年最新大厂面试手册,金九银十涨薪稳了
兼容并蓄广纳百川,Go lang1.18入门精炼教程,由白丁入鸿儒,go lang复合容器类型的声明和使用EP04
WPF数据绑定Binding对数据的转换与效验(四)
图像分割 人脸分割CVPR2023笔记
- 原文地址:https://blog.csdn.net/weixin_45951701/article/details/126811756
