-
K8S安装过程七:Kubernetes 节点配置调整
1 关闭防火墙
关闭 kubernetes 所有节点的防火墙服务。
1.1 关闭 firewalld 防火墙服务
systemctl stop firewalld systemctl disable firewalld- 1
- 2
1.2 修改 /etc/selinux/config
# This file controls the state of SELinux on the system. # SELINUX= can take one of these three values: # enforcing - SELinux security policy is enforced. # permissive - SELinux prints warnings instead of enforcing. # disabled - No SELinux policy is loaded. SELINUX=disabled # SELINUXTYPE= can take one of three values: # targeted - Targeted processes are protected, # minimum - Modification of targeted policy. Only selected processes are protected. # mls - Multi Level Security protection. SELINUXTYPE=targeted- 1
- 2
- 3
- 4
- 5
- 6
- 7
- 8
- 9
- 10
- 11
将上边配置文件中 SELINUX 设置成 disabled。可通过 getenforce 指令来获取 selinux 的状态。
getenforce- 1
输出信息是:
Disabled。表示当前系统 selinux 已经被设置为 disabled。2. 调整节点名称
2.1 修改 /etc/hosts 配置
::1 localhost localhost.localdomain localhost6 localhost6.localdomain6 127.0.0.1 localhost localhost.localdomain localhost4 localhost4.localdomain4 127.0.0.1 hecs-92531-0003 hecs-92531-0003 192.168.0.200 k8s-master1 192.168.0.145 k8s-master2 192.168.0.233 k8s-node1- 1
- 2
- 3
- 4
- 5
- 6
- 7
2.2 修改节点名称
hostnamectl set-hostname 节点名称- 1
切记将节点名称与 /etc/hosts 配置文件中的节点名称与IP地址对应上。
3. 添加 NetworkManager 配置
cat > /etc/NetworkManager/conf.d/calico.conf <- 1
- 2
- 3
- 4
4. 安装基础软件包
yum install curl conntrack ipvsadm ipset iptables jq sysstat libseccomp rsync wget jq psmisc vim net-tools -y- 1
5. 加载 ip_netfilter 模块
modprobe overlay modprobe br_netfilter lsmod | grep br_netfilter- 1
- 2
- 3
6. 修改系统配置
- 添加 ivps 配置信息
cat >/etc/modules-load.d/ipvs.conf <- 1
- 2
- 3
- 4
- 5
- 6
- 7
- 8
- 9
- 10
- 11
- 12
- 13
- 14
- 15
- 16
- 17
- 18
- 19
- 20
- 21
- 22
- 23
- 24
- 执行下面命令让配置生效
systemctl enable --now systemd-modules-load.service- 1
- 添加 ipvs.module 配置
cat > /etc/sysconfig/modules/ipvs.module <
- 1
- 2
- 3
- 4
- 5
- 6
- 7
- 执行下边命令让配置生效
chmod 755 /etc/sysconfig/modules/ipvs.module
/etc/sysconfig/modules/ipvs.module
- 1
- 2
- 创建 /etc/sysctl.d/k8s.conf 配置
net.ipv4.tcp_keepalive_time=600
net.ipv4.tcp_keepalive_intvl=30
net.ipv4.tcp_keepalive_probes=10
net.ipv6.conf.all.disable_ipv6=1
net.ipv6.conf.default.disable_ipv6=1
net.ipv6.conf.lo.disable_ipv6=1
net.ipv4.neigh.default.gc_stale_time=120
net.ipv4.conf.all.rp_filter=0
net.ipv4.conf.default.rp_filter=0
net.ipv4.conf.default.arp_announce=2
net.ipv4.conf.lo.arp_announce=2
net.ipv4.conf.all.arp_announce=2
net.ipv4.ip_nonlocal_bind=1
net.ipv4.ip_local_port_range=45001 65000
net.ipv4.ip_forward=1
net.ipv4.tcp_max_tw_buckets=6000
net.ipv4.tcp_syncookies=1
net.ipv4.tcp_synack_retries=2
net.bridge.bridge-nf-call-ip6tables=1
net.bridge.bridge-nf-call-iptables=1
net.netfilter.nf_conntrack_max=2310720
net.ipv6.neigh.default.gc_thresh1=8192
net.ipv6.neigh.default.gc_thresh2=32768
net.ipv6.neigh.default.gc_thresh3=65536
net.core.netdev_max_backlog=16384
net.core.rmem_max=16777216
net.core.wmem_max=16777216
net.ipv4.tcp_max_syn_backlog = 8096
net.core.somaxconn=32768
fs.inotify.max_user_instances=8192
fs.inotify.max_user_watches=524288
fs.file-max=52706963
fs.nr_open=52706963
kernel.pid_max = 4194303
net.bridge.bridge-nf-call-arptables=1
vm.swappiness=0
vm.overcommit_memory=1
vm.panic_on_oom=0
vm.max_map_count=262144
- 1
- 2
- 3
- 4
- 5
- 6
- 7
- 8
- 9
- 10
- 11
- 12
- 13
- 14
- 15
- 16
- 17
- 18
- 19
- 20
- 21
- 22
- 23
- 24
- 25
- 26
- 27
- 28
- 29
- 30
- 31
- 32
- 33
- 34
- 35
- 36
- 37
- 38
- 39
- 执行下边命令让配置生效
sysctl -p /etc/sysctl.d/k8s.conf
- 1
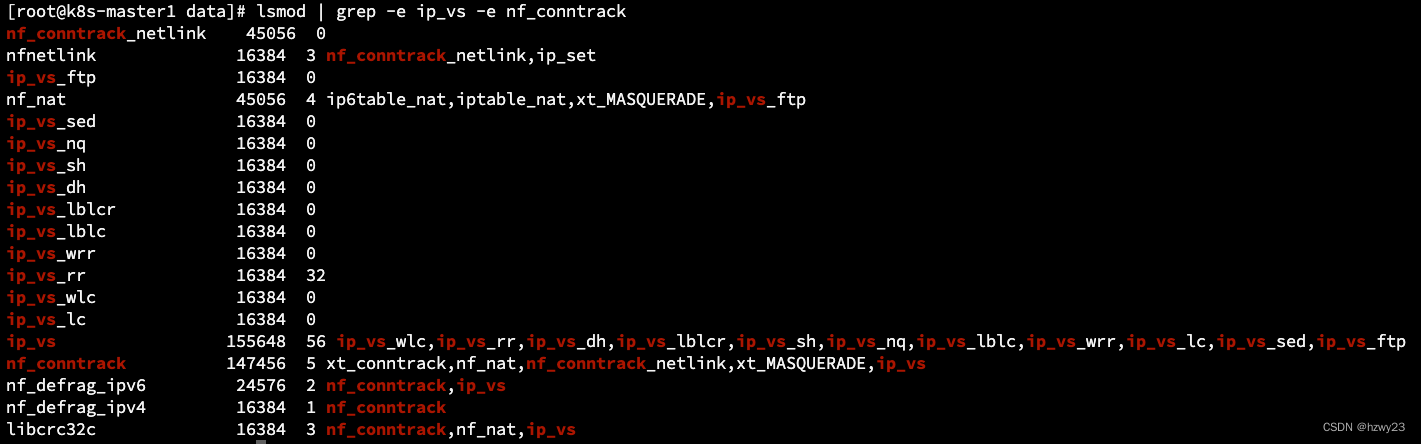
7. 检查已加载模块信息
lsmod | grep -e ip_vs -e nf_conntrack
- 1
8 修改资源限制配置
修改 /etc/security/limits.conf 文件,添加如下内容,修改完成后的效果如下图所示。
*       soft        core        unlimited
*       hard        core        unlimited
*       soft        nproc       1000000
*       hard        nproc       1000000
*       soft        nofile      1000000
*       hard        nofile      1000000
*       soft        memlock     32000
*       hard        memlock     32000
*       soft        msgqueue    8192000
- 1
- 2
- 3
- 4
- 5
- 6
- 7
- 8
- 9

9. 重启系统
reboot
- 1