-
【微信小程序入门到精通】— swiper 超详细的属性值讲解!确定不来看看?

前言
对于目前形式,微信小程序是一个热门,那么我们该如何去学习并且掌握之后去做实际项目呢?
为此我特意开设此专栏,在我学习的同时也将其分享给大家!本篇文章主要介绍我们微信小程序 swiper 的常用属性,接下来我们将逐一讲解。
如果在往下阅读的过程中,有什么错误的地方,期待大家的指点!swiper 组件的常用属性值
大家可以先看一下下面的列表了解一下相关属性值,然后我们逐一介绍属性 类型 默认值 说明 indicator-dots boolean false 面板指示点的显示 indicator-color color rgba(0,0,0,.3) 指示点颜色 indicator-active-color color #000000 当前选中的指示点颜色 autoplay boolean false 自动切换 interval number 5000 自动切换时间间隔 circular boolean false 衔接滑动 轮播图指示点显示(indicator-dots)
-
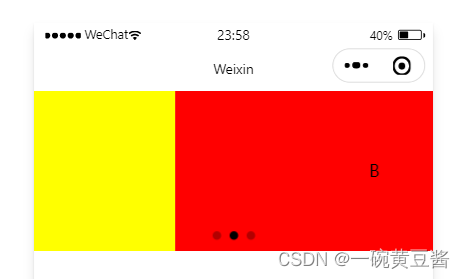
指示点构建
<swiper class=" swiper-container " indicator-dots> <!-- 第一个轮播图 --> <swiper-item class="item"> <view>A</view> </swiper-item> <!-- 第二个轮播图 --> <swiper-item class="item"> <view>B</view> </swiper-item> <!-- 第三个轮播图 --> <swiper-item class="item"> <view>C</view> </swiper-item> </swiper> -
效果展示
指示点颜色(indicator-color)
-
设置指示点颜色为红色
<swiper class=" swiper-container " indicator-dots indicator-color="write"> <!-- 第一个轮播图 --> <swiper-item class="item"> <view>A</view> </swiper-item> <!-- 第二个轮播图 --> <swiper-item class="item"> <view>B</view> </swiper-item> <!-- 第三个轮播图 --> <swiper-item class="item"> <view>C</view> </swiper-item> </swiper> -
效果展示
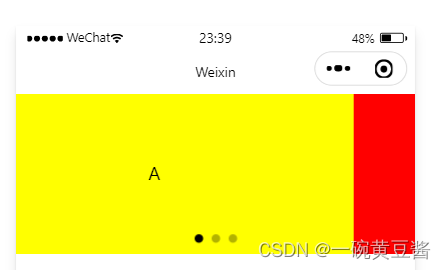
我们可以看到未轮播的指示点的颜色为白色
改变当前指示点颜色(indicator-active-color)
-
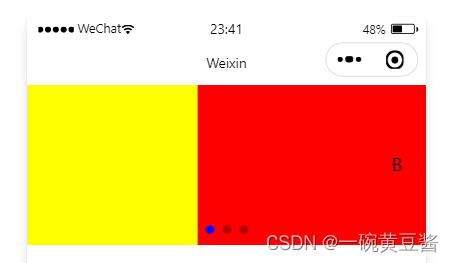
设置当前指示点颜色为蓝色
<swiper class=" swiper-container " indicator-dots indicator-color="write" > <!-- 第一个轮播图 --> <swiper-item class="item"> <view>A</view> </swiper-item> <!-- 第二个轮播图 --> <swiper-item class="item"> <view>B</view> </swiper-item> <!-- 第三个轮播图 --> <swiper-item class="item"> <view>C</view> </swiper-item> </swiper> -
效果展示
轮播图自动播放(autoplay )
-
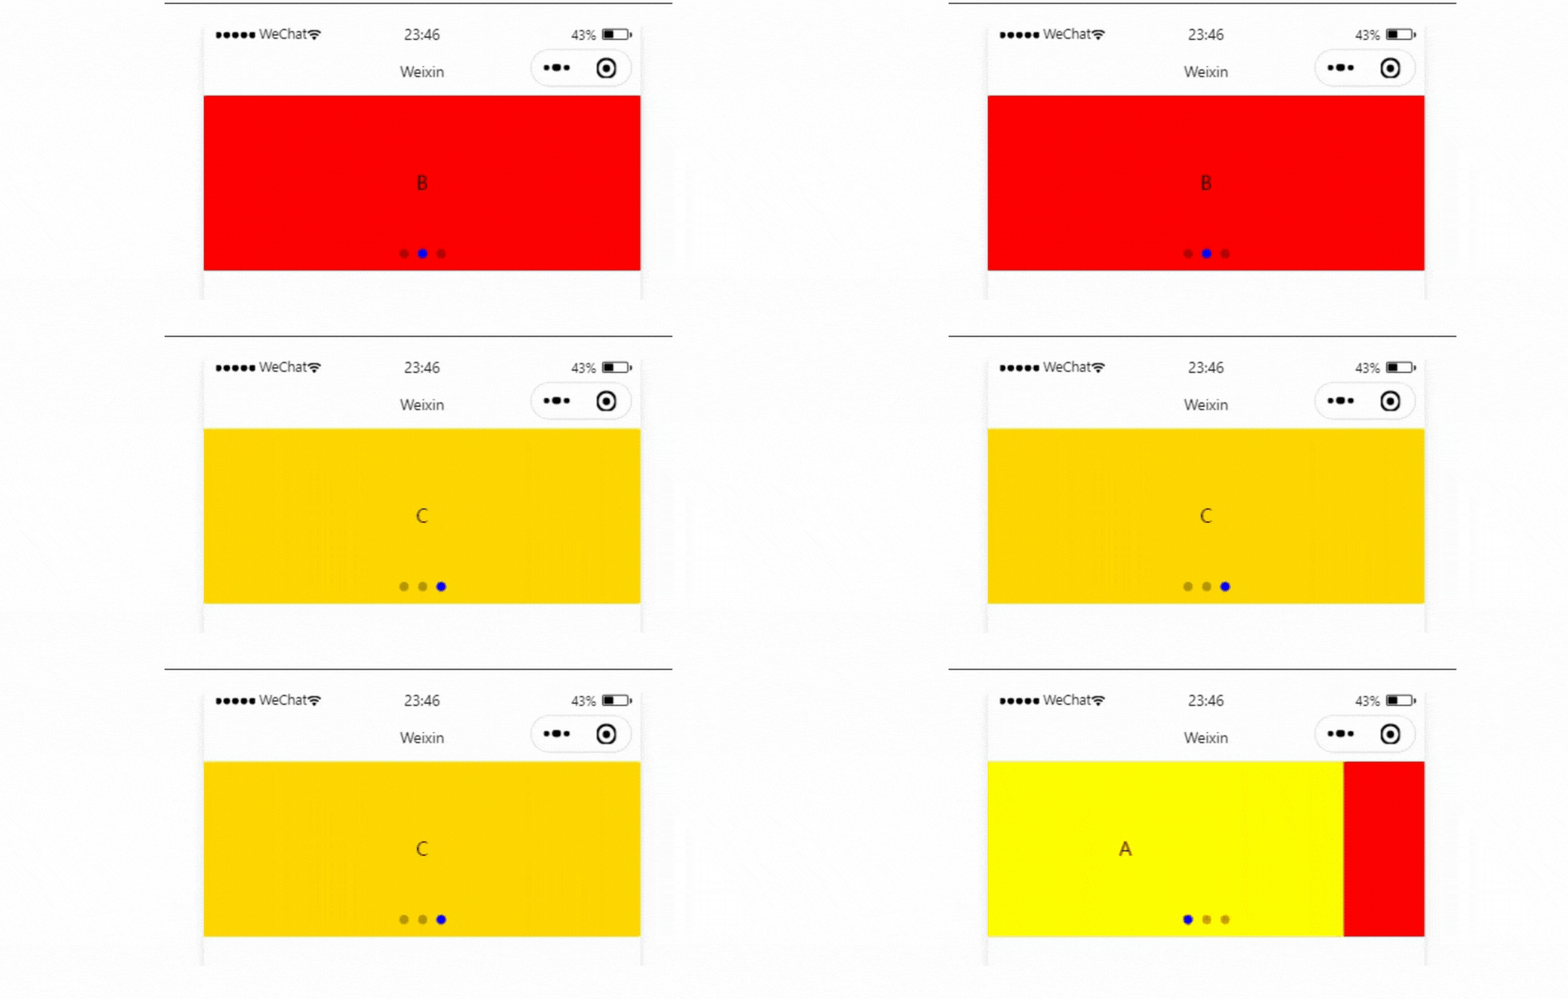
设置轮播图自动播放
<swiper class=" swiper-container " indicator-dots indicator-color="write" indicator-active-color="blue" autoplay> <!-- 第一个轮播图 --> <swiper-item class="item"> <view>A</view> </swiper-item> <!-- 第二个轮播图 --> <swiper-item class="item"> <view>B</view> </swiper-item> <!-- 第三个轮播图 --> <swiper-item class="item"> <view>C</view> </swiper-item> </swiper> -
效果展示
修改自动轮播速度(interval )
-
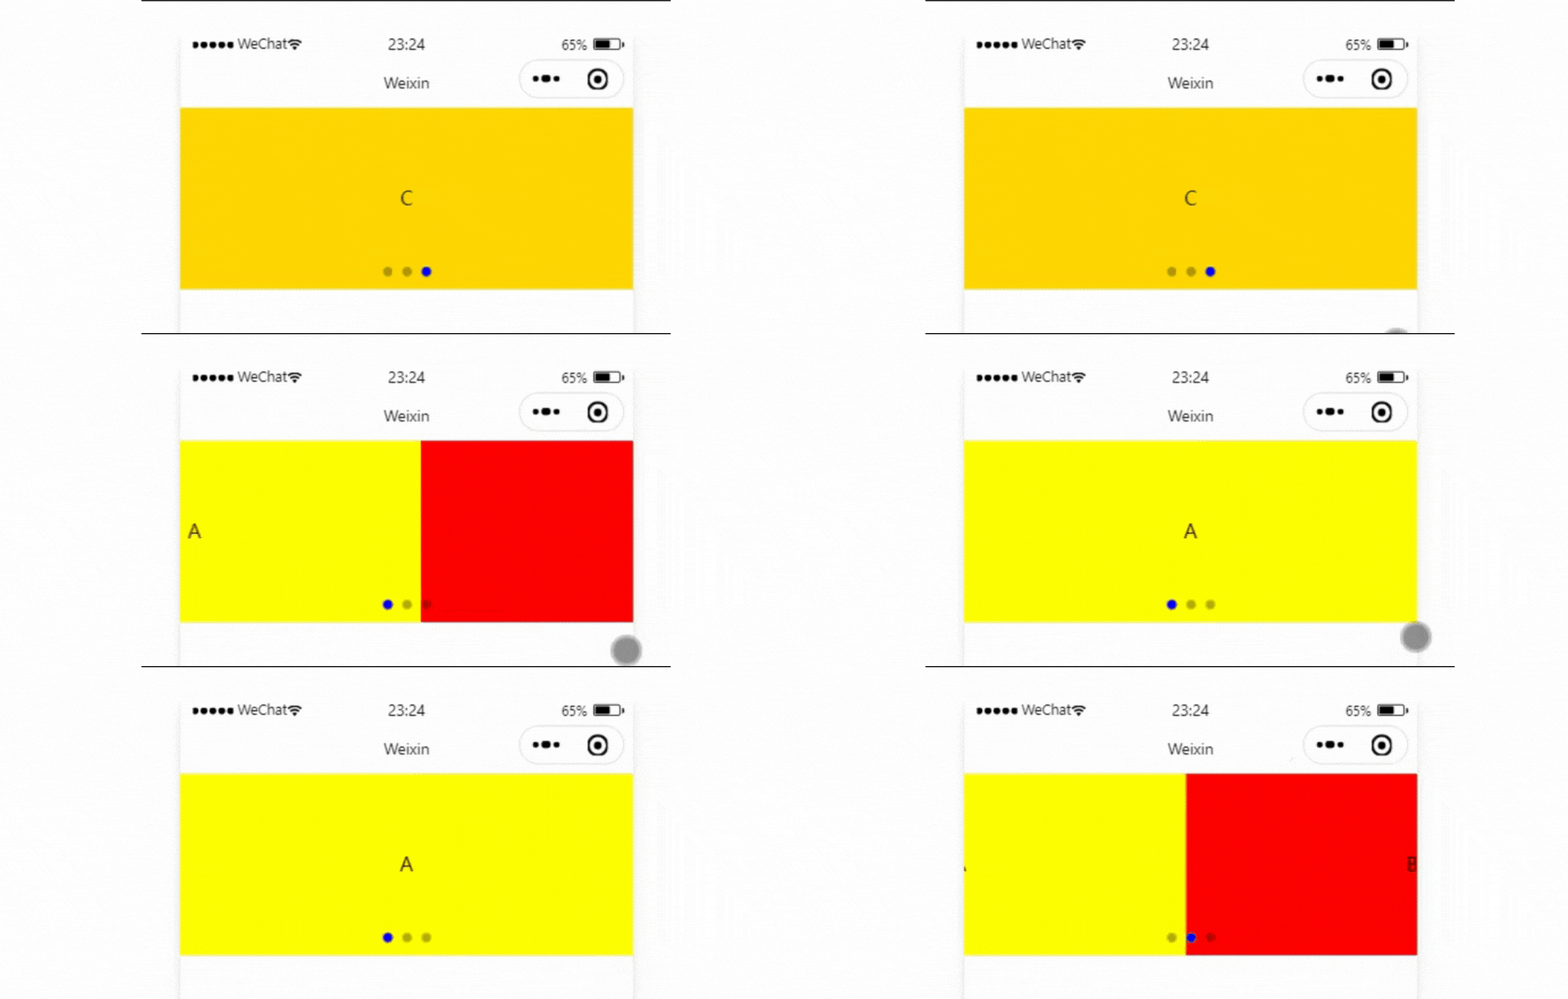
设置切换时间为2秒(interval 的单位是 ms)
<swiper class=" swiper-container " indicator-dots indicator-color="write" indicator-active-color="blue" autoplay interval="2000"> <!-- 第一个轮播图 --> <swiper-item class="item"> <view>A</view> </swiper-item> <!-- 第二个轮播图 --> <swiper-item class="item"> <view>B</view> </swiper-item> <!-- 第三个轮播图 --> <swiper-item class="item"> <view>C</view> </swiper-item> </swiper> -
效果展示
设置衔接滑动(circular )
-
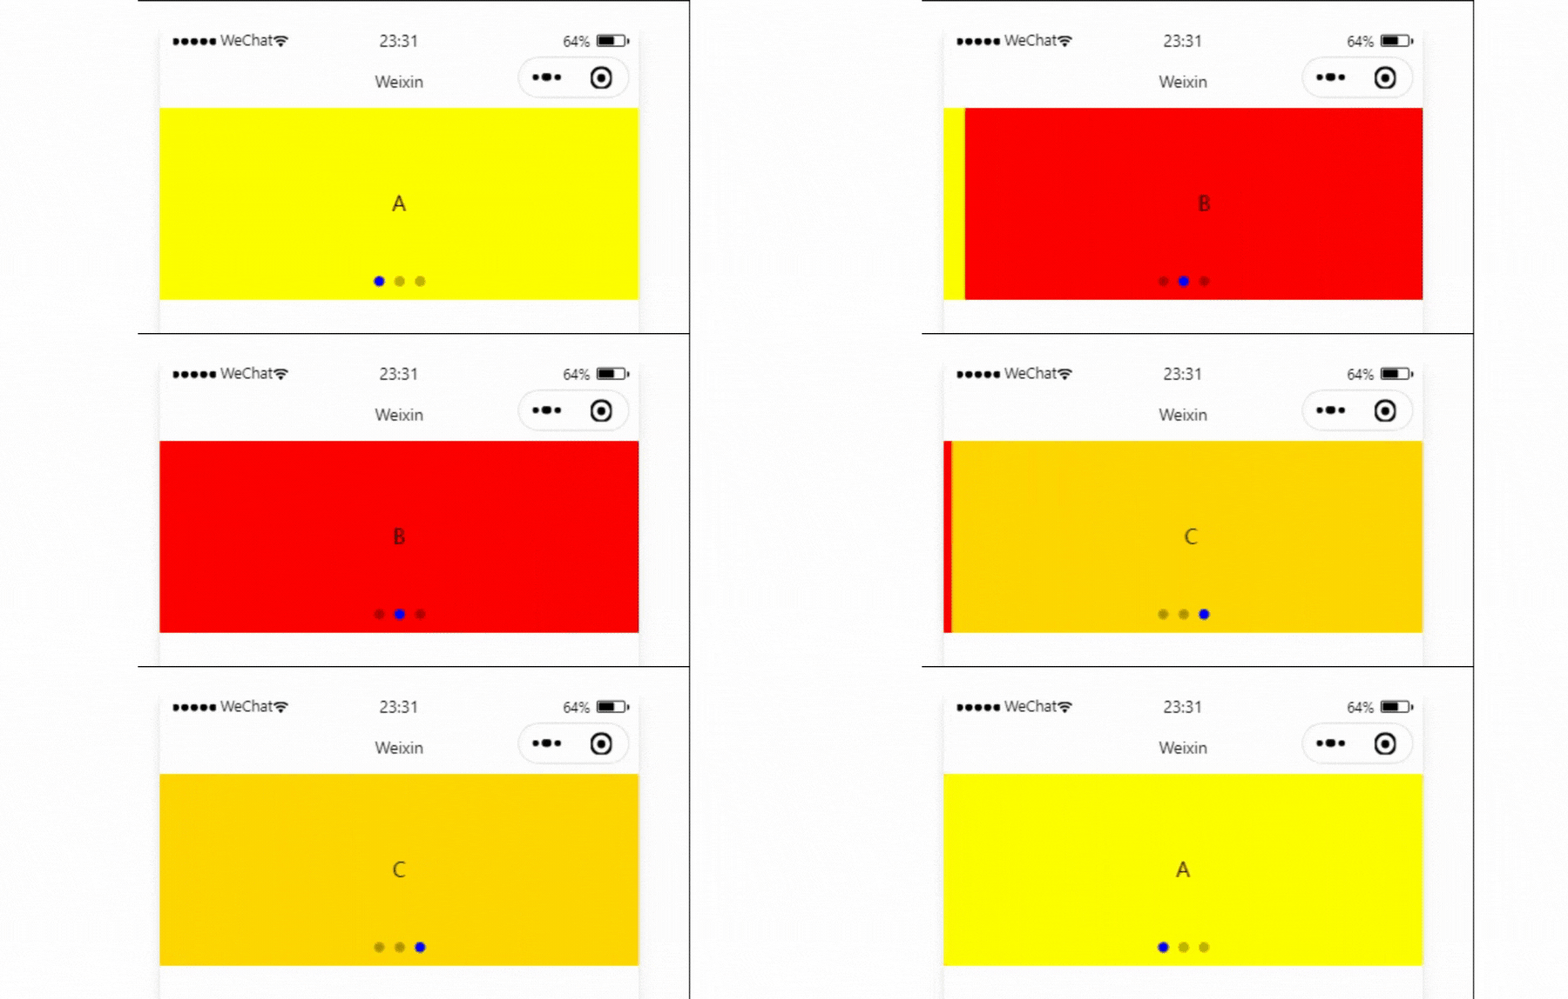
设置衔接滑动(原来我们的图片轮播到 C 的时候就会跳转到 A,而不是滑动到 C)
<swiper class=" swiper-container " indicator-dots indicator-color="write" indicator-active-color="blue" autoplay interval="2000" circular > <!-- 第一个轮播图 --> <swiper-item class="item"> <view>A</view> </swiper-item> <!-- 第二个轮播图 --> <swiper-item class="item"> <view>B</view> </swiper-item> <!-- 第三个轮播图 --> <swiper-item class="item"> <view>C</view> </swiper-item> </swiper> -
效果展示
总结
大家每天都要开开心心的喔,让我们一起快乐的学习吧!

-
-
相关阅读:
linux c++ 开发 - 05- 使用CMake创建一个动态库
Oracle创建DBlink
MFC基础-单选框和多选框
Java中super方法
深度学习网络模型——DenseNet模型详解与代码复现
HTTP1.x协议详解和HTTP2.0
Shell借助curl调用接口结合Python解析Python案例
Python高校学生档案管理系统毕业设计源码071528
报错处理:Nginx端口被占用
JVM-字节码
- 原文地址:https://blog.csdn.net/fsadagds/article/details/126925275