-
Vuex
目录
2、导入Vuex的核心4个组件,然后通过index.js加载进来
3、将Vuex对应的index.js挂载到main.js中的vue实例中
一、Vuex
1、Vuex简介
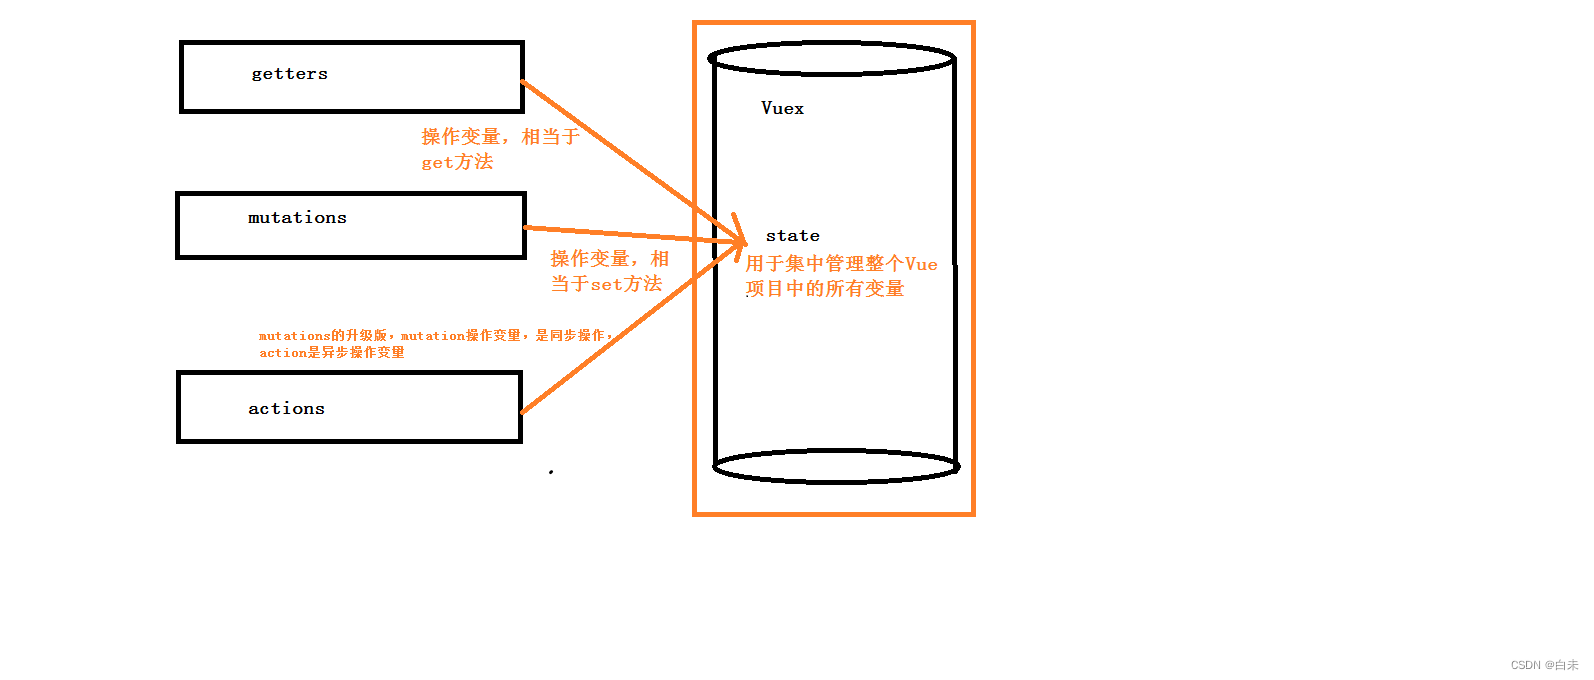
官方解释:Vuex 是一个专为 Vue.js 应用程序开发的状态管理模式。可以想象为一个“前端数据库”(数据仓库),让其在各个页面上实现数据的共享包括状态,并且可操作
2、核心组件
①State:单一状态树
②Getters:状态获取
③Mutations:触发同步事件
④Actions:提交mutation,可以包含异步操作
⑤Module:将vuex进行分模块
3、变量传值的演变形式
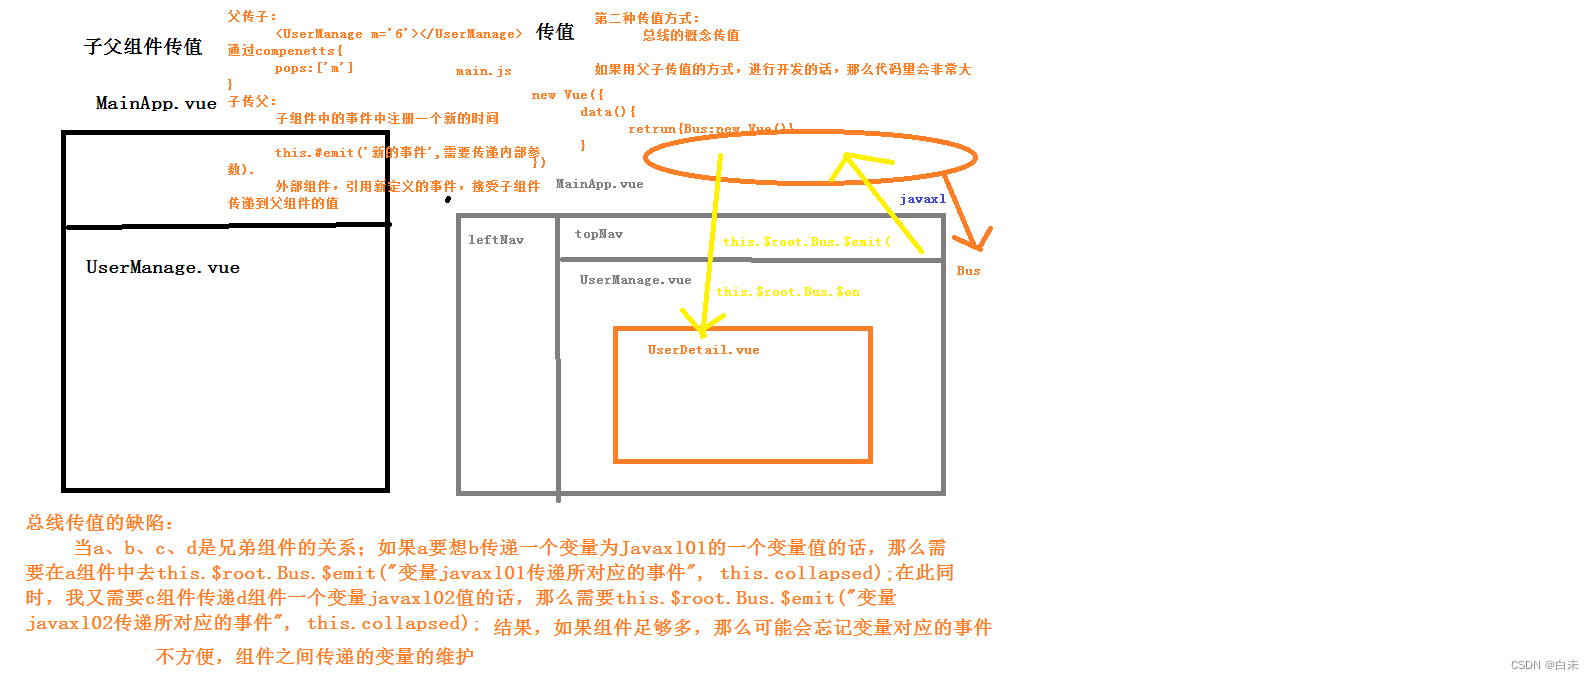
4、图解Vuex各组件
二、Vuex的使用步骤
1、加载依赖
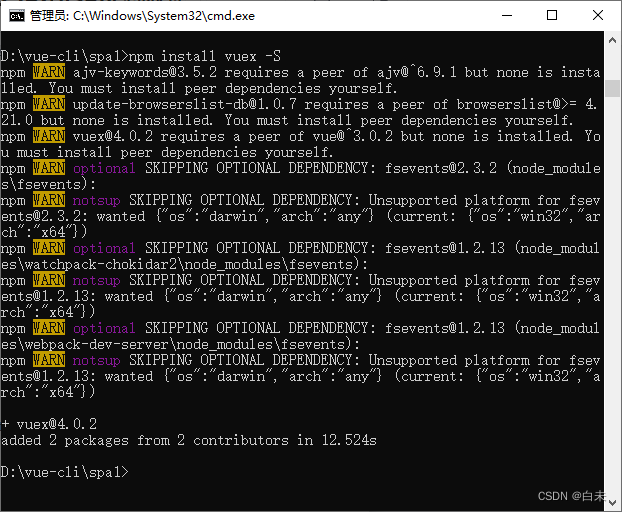
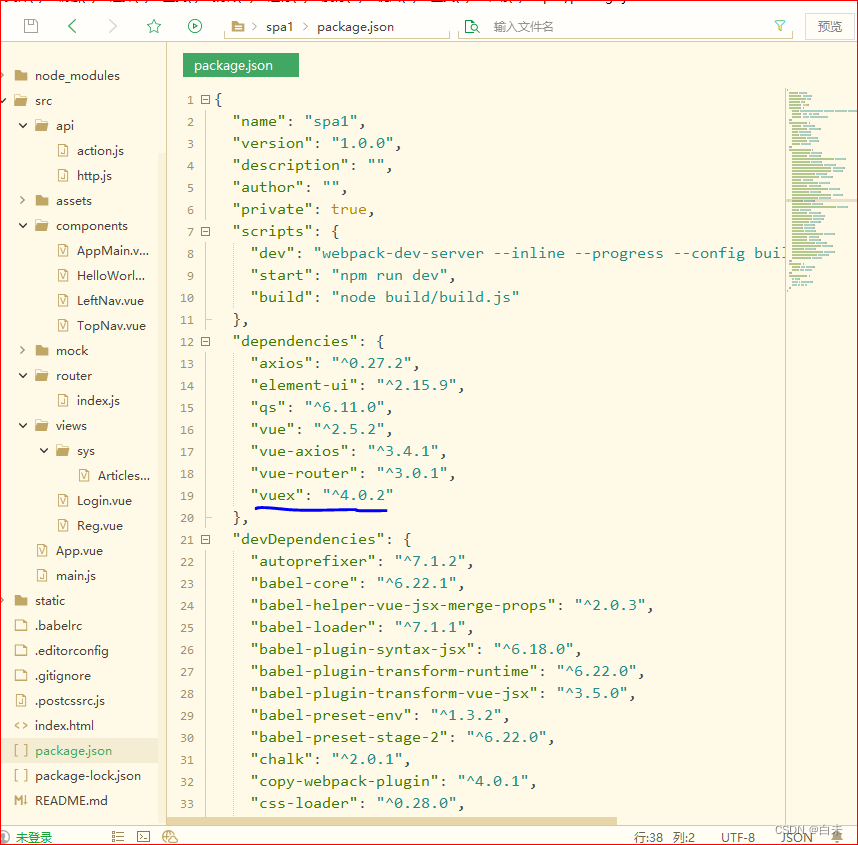
在项目目录cmd执行 npm install vuex -S 指令(下载Vuex最新版本的依赖)
2、导入Vuex的核心4个组件,然后通过index.js加载进来
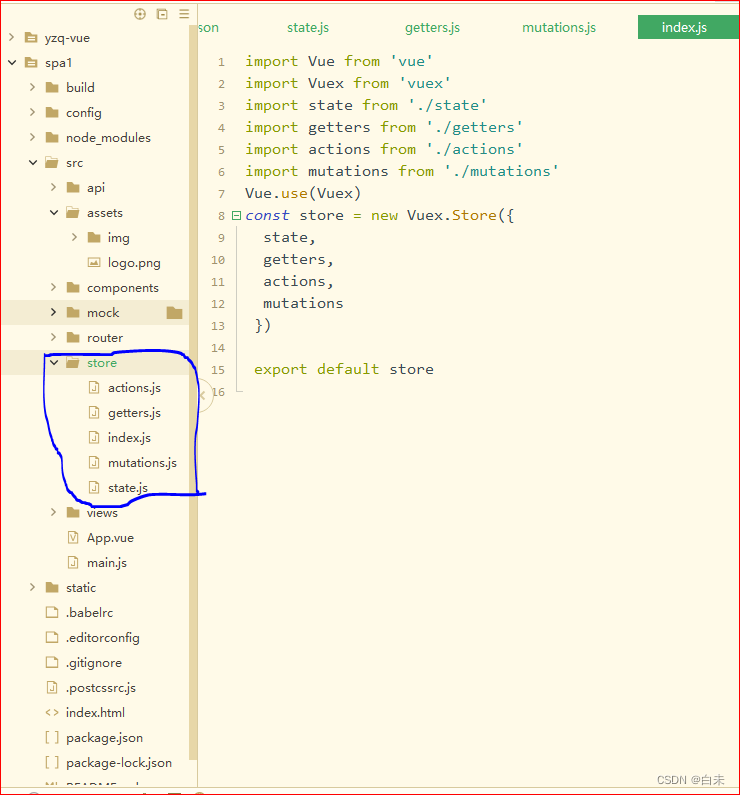
state.js
- export default {
- }
actions.js
- export default {
- }
mutations.js
- export default {
- }
getters.js
- export default {
- }
index.js
- import Vue from 'vue'
- import Vuex from 'vuex'
- import state from './state'
- import getters from './getters'
- import actions from './actions'
- import mutations from './mutations'
- Vue.use(Vuex)
- const store = new Vuex.Store({
- state,
- getters,
- actions,
- mutations
- })
- export default store
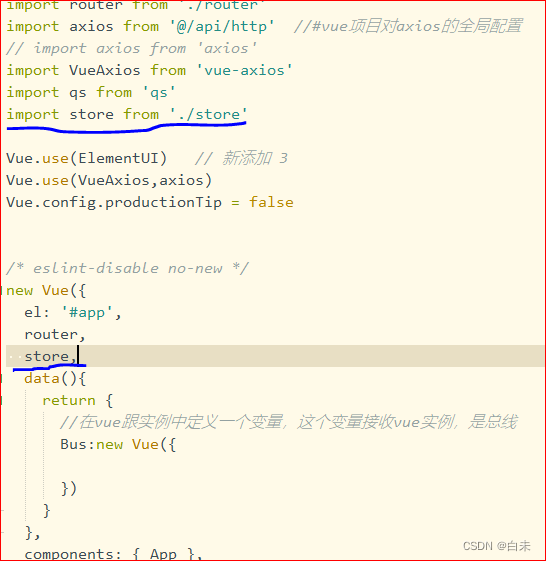
3、将Vuex对应的index.js挂载到main.js中的vue实例中
main.js
- // The Vue build version to load with the `import` command
- // (runtime-only or standalone) has been set in webpack.base.conf with an alias.
- import Vue from 'vue'
- //process.env.MOCK 为 false,那么require('@/mock')不执行,process.env.MOCK在生产环境下为false
- // process.env.MOCK && require('@/mock')
- import ElementUI from 'element-ui' // 新添加 1
- import 'element-ui/lib/theme-chalk/index.css' // 新添加 2 ,避免后期打包样式不同,要放在import App from './App'; 之前
- import App from './App'
- import router from './router'
- import axios from '@/api/http' //#vue项目对axios的全局配置
- // import axios from 'axios'
- import VueAxios from 'vue-axios'
- import qs from 'qs'
- import store from './store'
- Vue.use(ElementUI) // 新添加 3
- Vue.use(VueAxios,axios)
- Vue.config.productionTip = false
- /* eslint-disable no-new */
- new Vue({
- el: '#app',
- router,
- store,
- data(){
- return {
- //在vue跟实例中定义一个变量,这个变量接收vue实例,是总线
- Bus:new Vue({
- })
- }
- },
- components: { App },
- template: '
' - })
4、测试Vuex的存储变量的功能
定义变量
state.js
- export default {
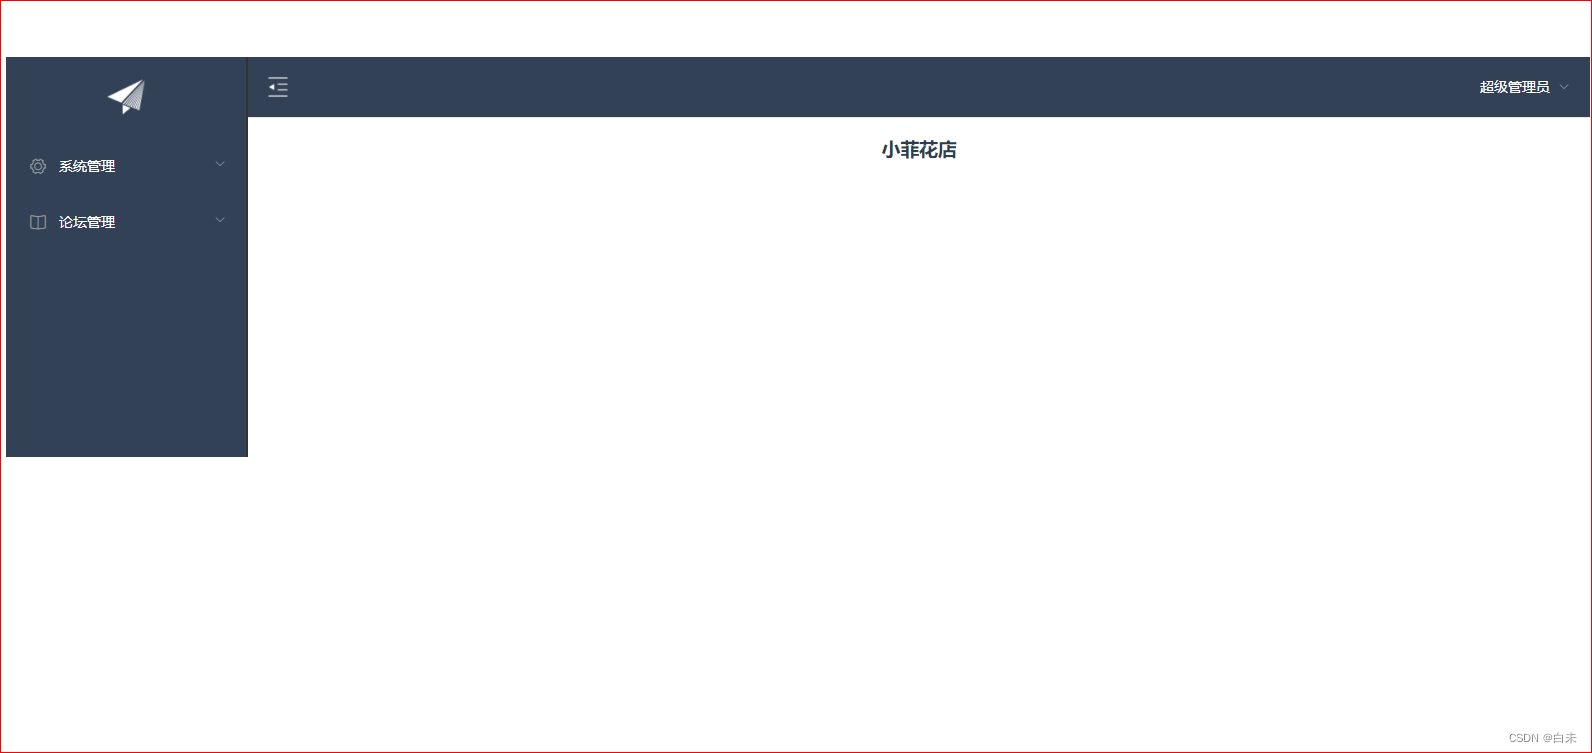
- resName:'小菲花店'
- }
设置界面
VuexPage1
- <template>
- <div>
- <h3>{{msg}}h3>
- div>
- template>
- <script>
- export default {
- name: 'VuexPage1',
- data() {
- return {}
- },
- computed: {
- msg() {
- // 不推荐 不安全
- return this.$store.state.resName;
- }
- }
- }
- script>
配置路由
- import Vue from 'vue'
- import Router from 'vue-router'
- import HelloWorld from "@/components/HelloWorld";
- import AppMain from "@/components/AppMain";
- import LeftNav from "@/components/LeftNav";
- import TopNav from "@/components/TopNav";
- import Login from "@/views/Login";
- import Reg from "@/views/Reg";
- import Articles from "@/views/sys/Articles";
- import VuexPage1 from "@/views/sys/VuexPage1";
- Vue.use(Router)
- export default new Router({
- routes: [
- {
- path: '/',
- name: 'Login',
- component: Login
- },
- {
- path: '/Login',
- name: 'Login',
- component: Login
- },
- {
- path: '/Reg',
- name: 'Reg',
- component: Reg
- },
- {
- path: '/AppMain',
- name: 'AppMain',
- component: AppMain,
- children:[
- {
- path: '/LeftNav',
- name: 'LeftNav',
- component: LeftNav
- },
- {
- path: '/TopNav',
- name: 'TopNav',
- component: TopNav
- },
- {
- path: '/sys/Articles',
- name: 'Articles',
- component: Articles
- },
- {
- path: '/sys/VuexPage1',
- name: 'VuexPage1',
- component: VuexPage1
- }
- ]
- }
- ]
- })
运行

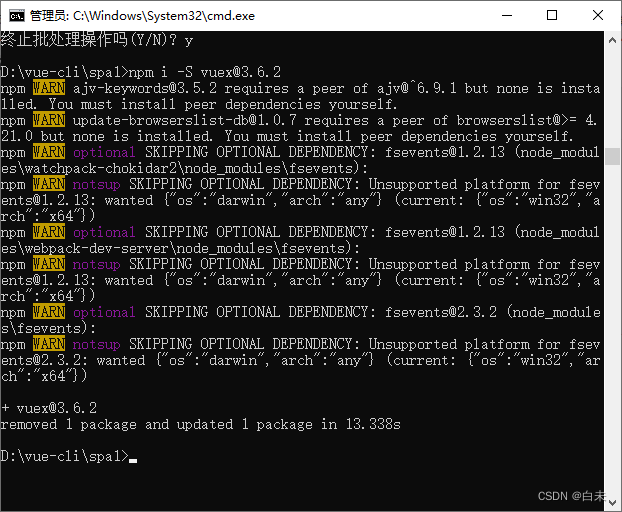
版本不兼容报错
关闭项目更改版本执行 npm i -S vuex@3.6.2 指令 重启项目
重新运行
三、Vuex中的设置及获取变量值
1、设置变量值
mutations.js
- export default {
- setResName:(state,payload)=>{
- // state对象就对应了state.js中的对象
- // payload载荷 对应的 传递的 json对象参数
- state.resName=payload.resName;
- }
- }
2、获取变量值
- export default {
- getResName:(state)=>{
- return state.resName;
- }
- }
VuexPage1.vue
- <template>
- <div>
- <h3>页面一 {{msg}}h3>
- <button @click="buy">买他button>
- div>
- template>
- <script>
- export default {
- name: 'VuexPage1',
- data() {
- return {}
- },
- methods:{
- buy(){
- //通过commit方法会调用mutations.js中定义好的方法
- this.$store.commit("setResName",{
- resName:'小祺杂货铺'
- })
- }
- },
- computed: {
- msg() {
- // 不推荐 不安全
- // return this.$store.state.resName;
- //通过getters.js文件获取state.js中定义的变量值
- return this.$store.getters.getResName;
- }
- }
- }
- script>
VuexPage2.vue
- <template>
- <div>
- <h3>页面二 {{msg}}h3>
- div>
- template>
- <script>
- export default {
- name: 'VuexPage2',
- data() {
- return {}
- },
- computed: {
- msg() {
- // 不推荐 不安全
- // return this.$store.state.resName;
- //通过getters.js文件获取state.js中定义的变量值
- return this.$store.getters.getResName;
- }
- }
- }
- script>
router/index.js
- import Vue from 'vue'
- import Router from 'vue-router'
- import HelloWorld from "../components/HelloWorld";
- import AppMain from "../components/AppMain";
- import LeftNav from "../components/LeftNav";
- import TopNav from "../components/TopNav";
- import Login from "../views/Login";
- import Reg from "../views/Reg";
- import Articles from "../views/sys/Articles";
- import VuexPage1 from "../views/sys/VuexPage1";
- import VuexPage2 from "../views/sys/VuexPage2";
- Vue.use(Router)
- export default new Router({
- routes: [
- {
- path: '/',
- name: 'Login',
- component: Login
- },
- {
- path: '/Login',
- name: 'Login',
- component: Login
- },
- {
- path: '/Reg',
- name: 'Reg',
- component: Reg
- },
- {
- path: '/AppMain',
- name: 'AppMain',
- component: AppMain,
- children:[
- {
- path: '/LeftNav',
- name: 'LeftNav',
- component: LeftNav
- },
- {
- path: '/TopNav',
- name: 'TopNav',
- component: TopNav
- },
- {
- path: '/sys/Articles',
- name: 'Articles',
- component: Articles
- },
- {
- path: '/sys/VuexPage1',
- name: 'VuexPage1',
- component: VuexPage1
- },
- {
- path: '/sys/VuexPage2',
- name: 'VuexPage2',
- component: VuexPage2
- }
- ]
- }
- ]
- })
3、效果
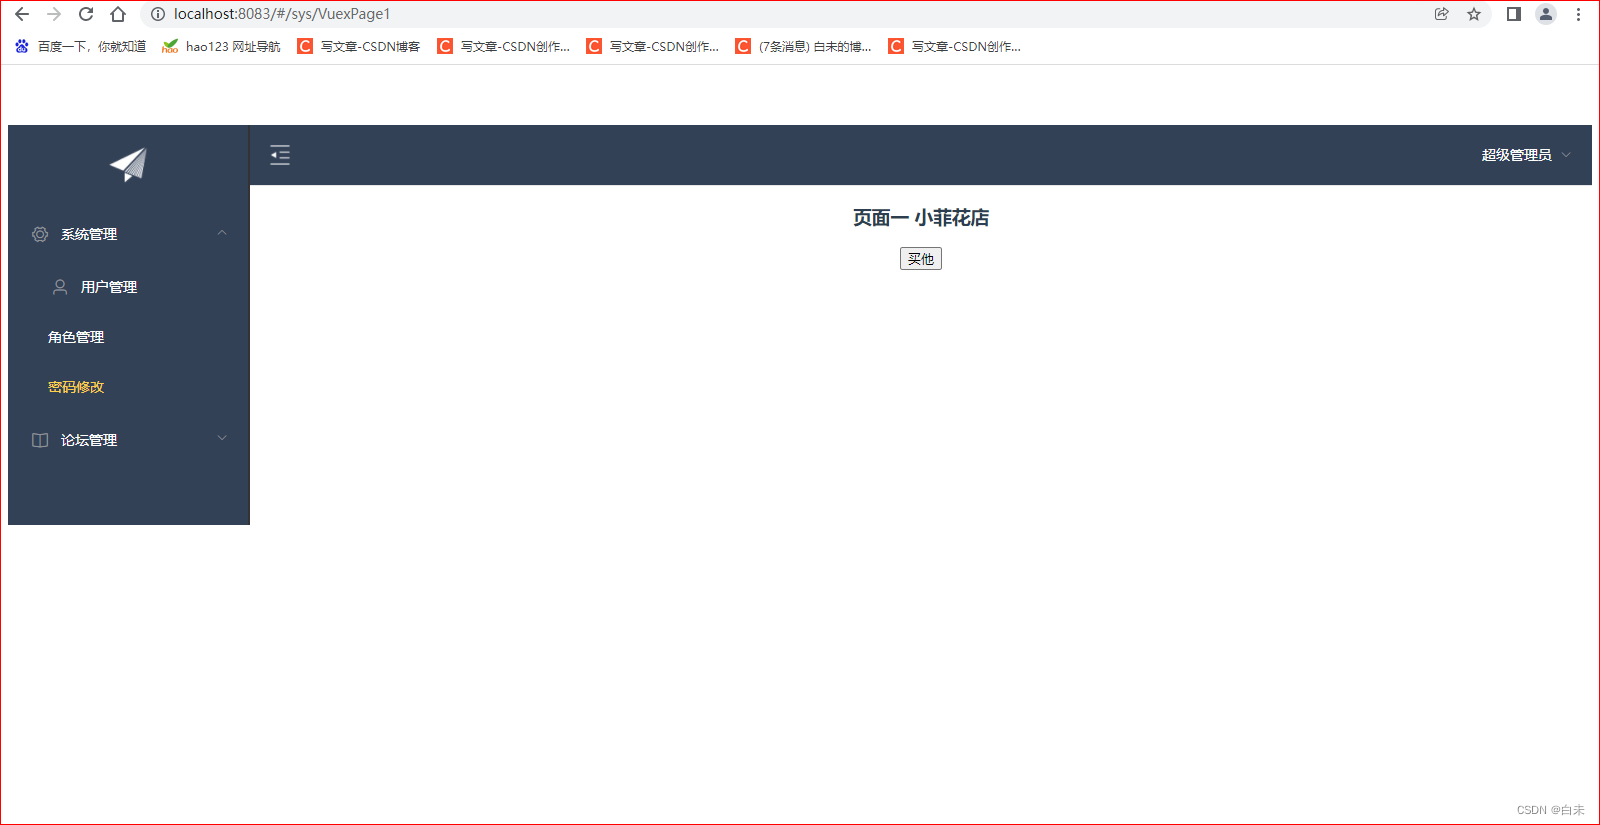
点击买他
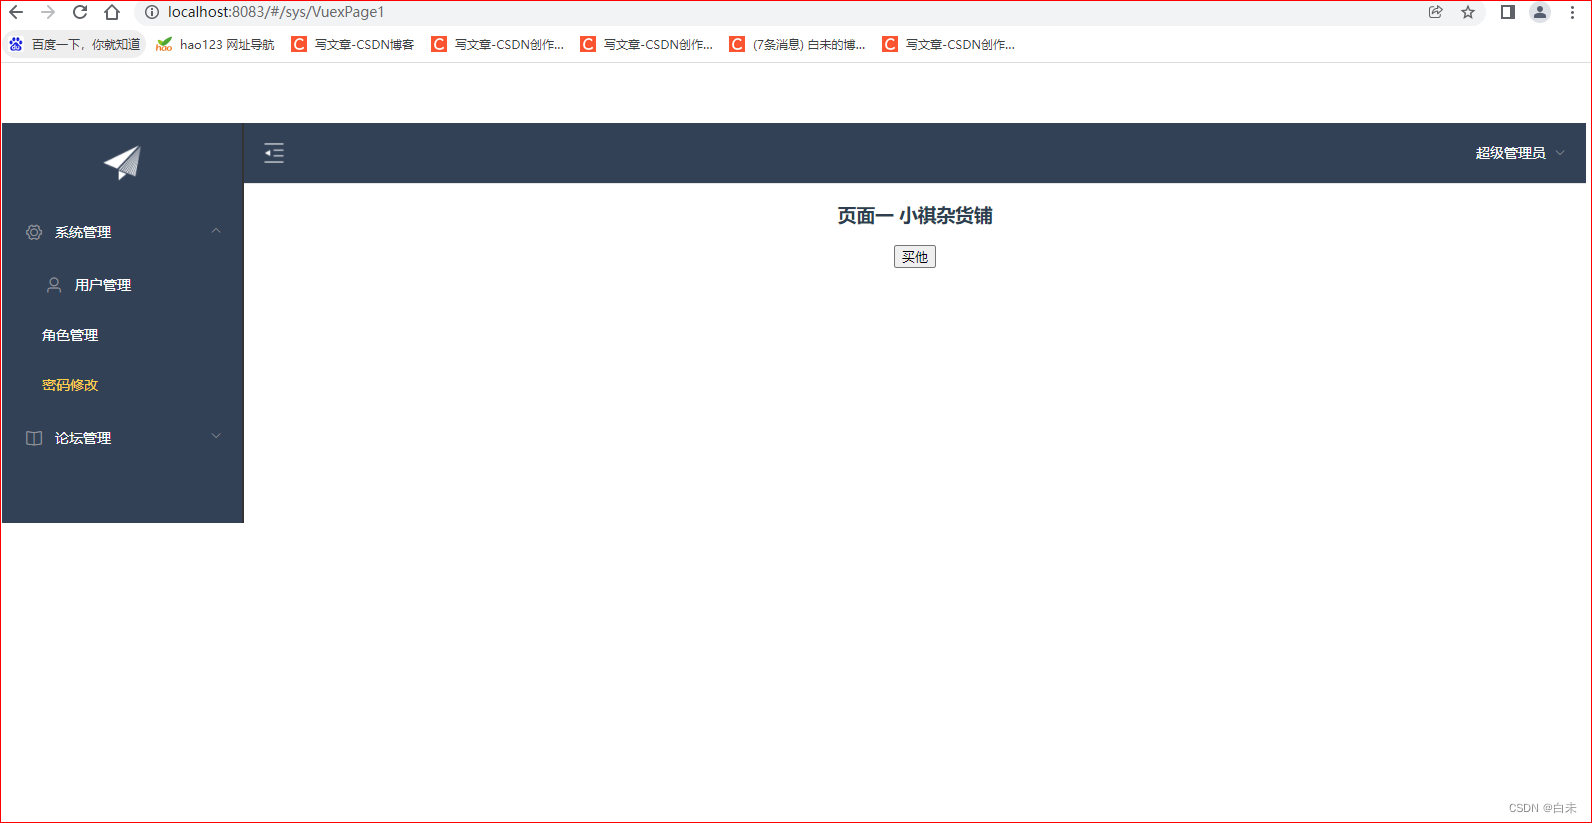
页面二
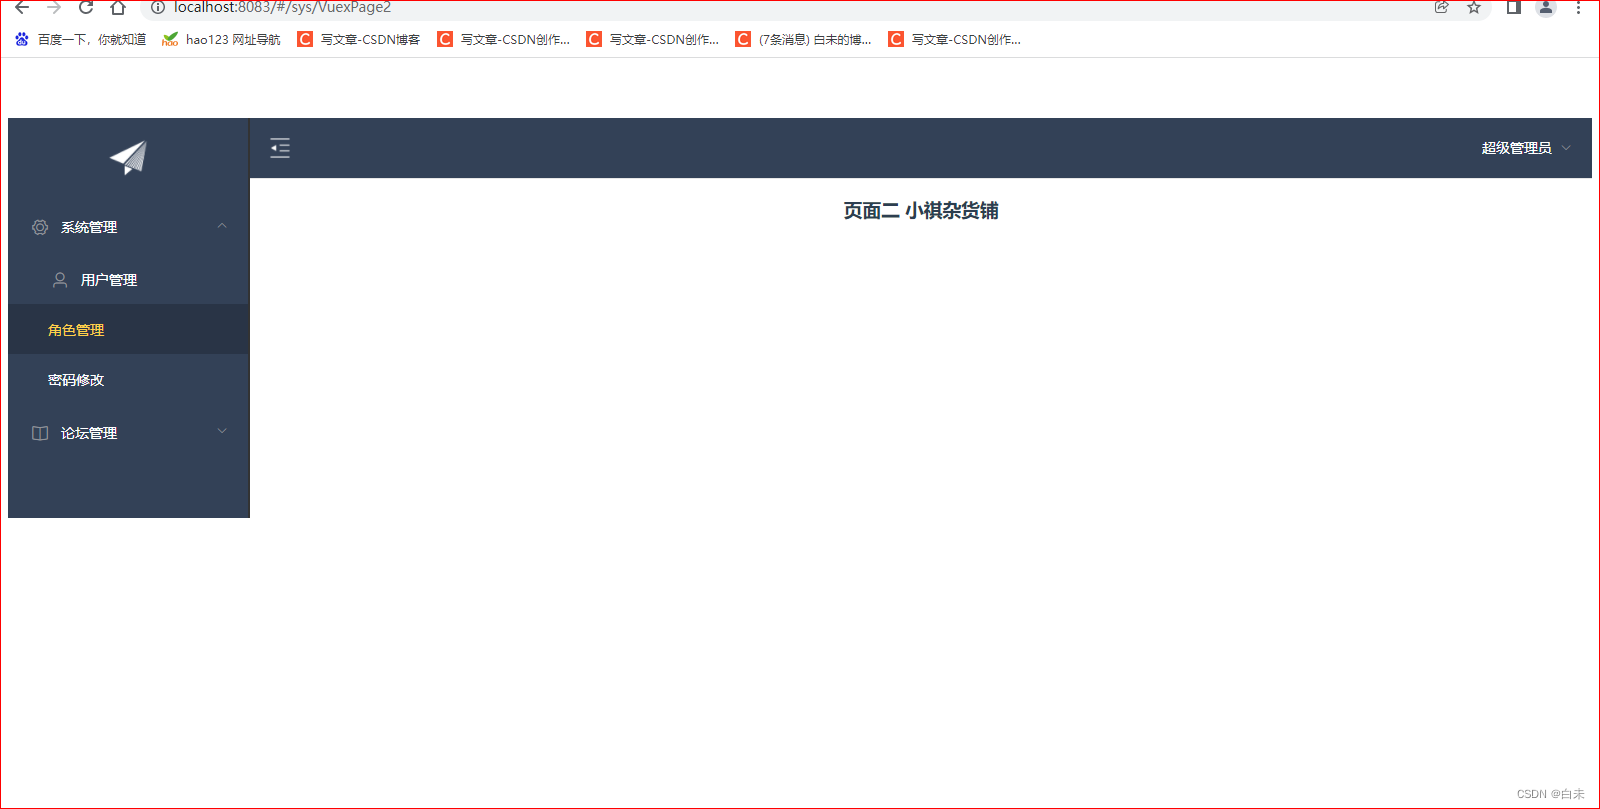
页面一页面二共享
四、Vuex中的异步同步操作
1、异步方法
actions.js
- export default {
- setResNameAsync:(context,payload)=>{
- // 异步修改值 在异步方法中调用了同步方法
- // context指的是Vuex的上下文,相当于 this.$store
- // 6秒后执行
- setTimeout(function (){
- context.commit("setResName",payload);
- },6000);
- }
- }
2、调用
VuexPage1.vue
- <template>
- <div>
- <h3>页面一 {{msg}}h3>
- <button @click="buy">买他button>
- <button @click="buyAsync">最终的店长button>
- div>
- template>
- <script>
- export default {
- name: 'VuexPage1',
- data() {
- return {}
- },
- methods: {
- buy() {
- //通过commit方法会调用mutations.js中定义好的方法
- this.$store.commit("setResName", {
- resName: '小祺杂货铺'
- })
- },
- buyAsync() {
- this.$store.dispatch("setResNameAsync", {
- resName: '颠颠'
- })
- }
- },
- computed: {
- msg() {
- // 不推荐 不安全
- // return this.$store.state.resName;
- //通过getters.js文件获取state.js中定义的变量值
- return this.$store.getters.getResName;
- }
- }
- }
- script>
3、效果

先点击最终的店长再点击他
先出现
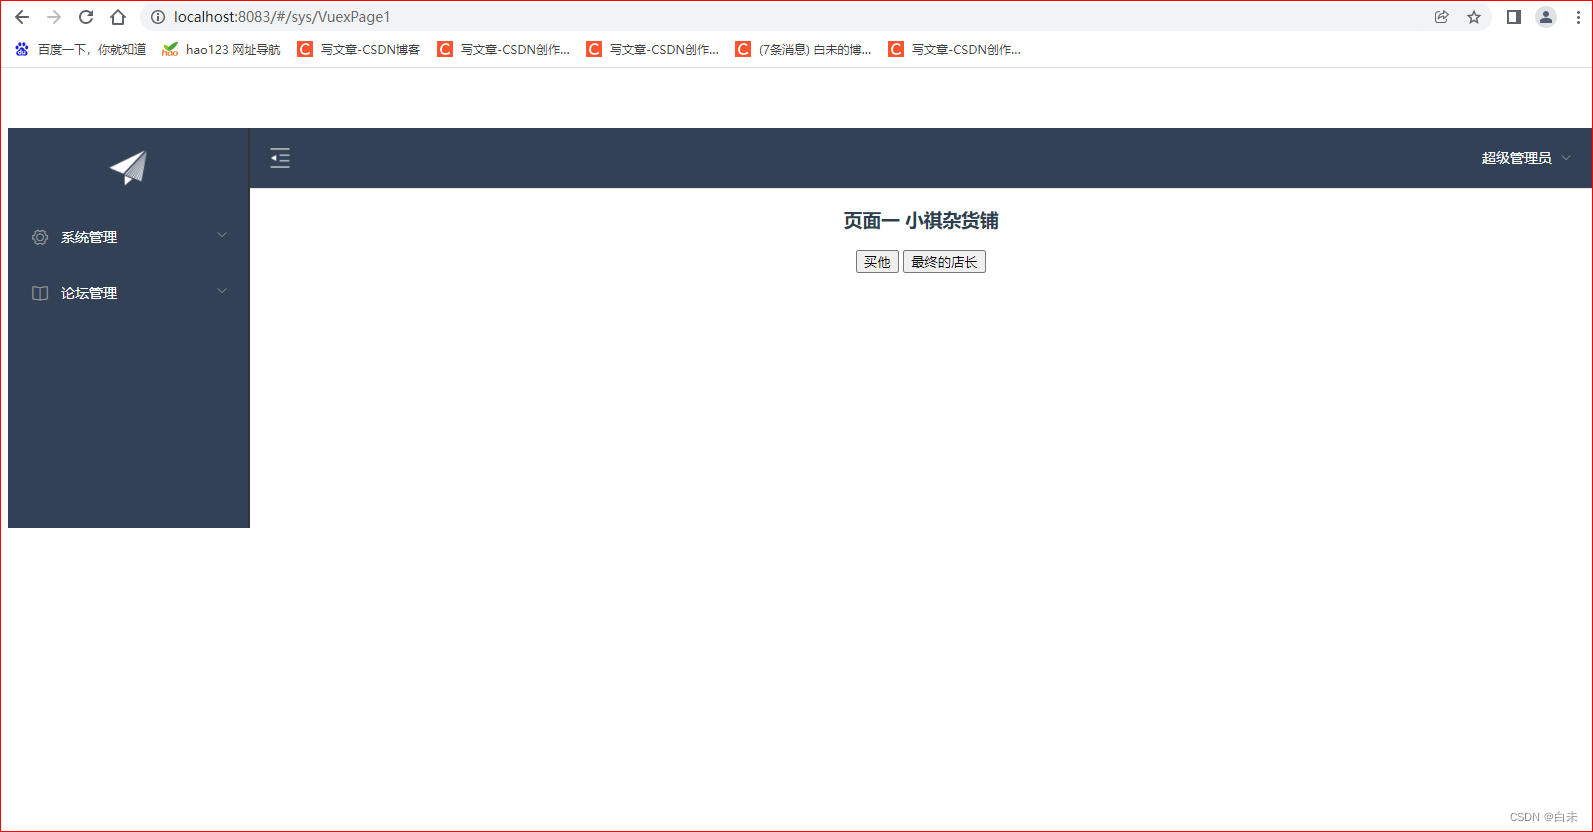
6s后改变

同时执行
五、Vuex后台交互
将this传递
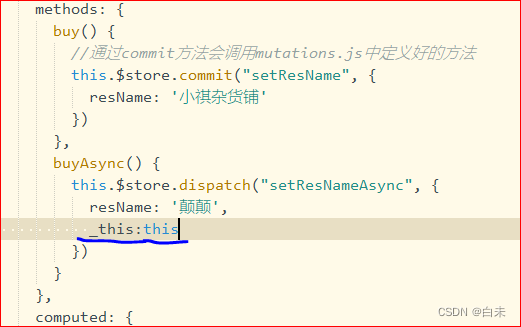
actions.js
- export default {
- setResNameAsync:(context,payload)=>{
- // 异步修改值 在异步方法中调用了同步方法
- // context指的是Vuex的上下文,相当于 this.$store
- // 6秒后执行
- setTimeout(function (){
- context.commit("setResName",payload);
- },6000);
- let _this=payload._this;
- let url=_this.axios.urls.SYSTEM_MENU_TREE;
- _this.axios.post(url,{}).then(r=>{
- console.log(r);
- }).catch(e=>{
- });
- }
- }
效果(拿到后台数据)
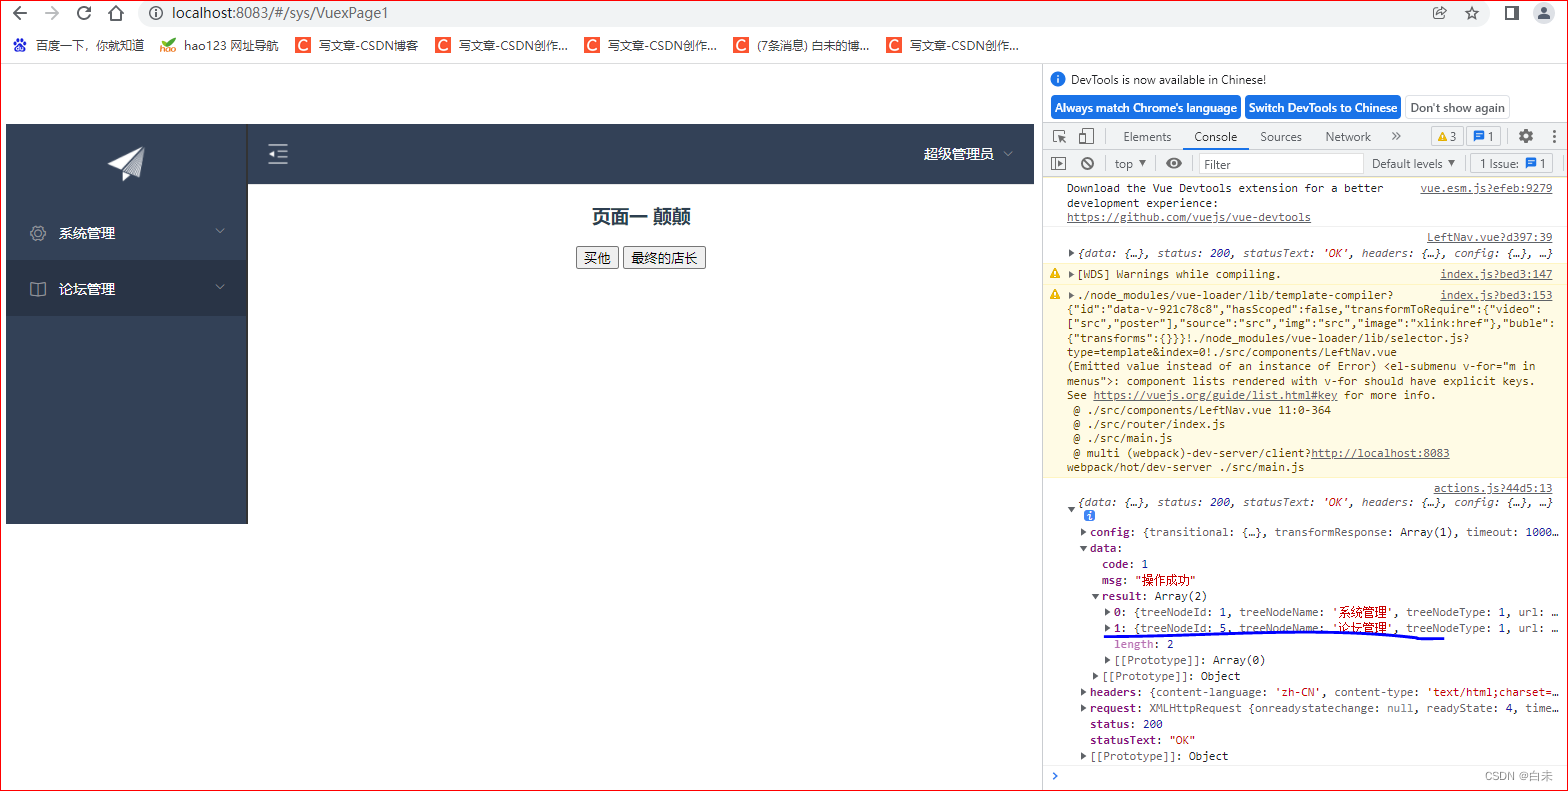
-
相关阅读:
Java集成支付宝支付流程
足底筋膜炎最好的恢复办法
ui自动化-appium
C++删数问题标程
MATLAB算法实战应用案例精讲-【工具篇】运筹优化工具OR-TOOLS(补充篇)(附实战案例及代码实现)
如何做好测试用例设计
硅芯思见:【145】问芯吾跬(IC设计验证常见问题汇总三)
docker和k8s之间的关系
【高阶篇】Redis协议(RESP )详解
自动控制原理7.7---离散系统的数字校正
- 原文地址:https://blog.csdn.net/yzq102873/article/details/126859286
