-
Jetpack Compose 从入门到入门(九)
本篇是Compose的手势部分。
点击
添加
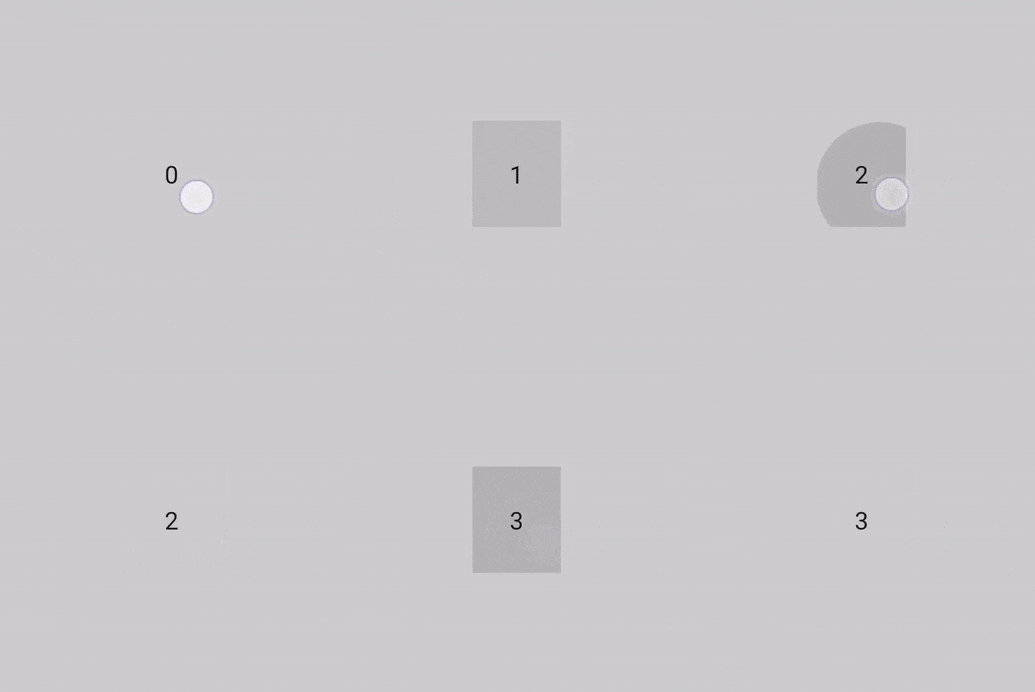
clickable修饰符就可以轻松实现元素的点击。此外它还提供无障碍功能,并在点按时显示水波纹效果。@Composable fun ClickableSample() { val count = remember { mutableStateOf(0) } // content that you want to make clickable Text( text = count.value.toString(), modifier = Modifier.clickable { count.value += 1 } ) }- 1
- 2
- 3
- 4
- 5
- 6
- 7
- 8
- 9

如果你想去除水波纹,可以将
indication设为null。@Composable fun ClickableSample() { val count = remember { mutableStateOf(0) } Text( text = count.value.toString(), modifier = Modifier.clickable( indication = null, interactionSource = remember { MutableInteractionSource() } ) { count.value += 1 }, ) }- 1
- 2
- 3
- 4
- 5
- 6
- 7
- 8
- 9
- 10
- 11
- 12
- 13
还可以使用
pointerInput修饰符,它是没有水波纹效果的。同时它也支持各种手势检测。Modifier.pointerInput(Unit) { detectTapGestures( onPress = { /* Called when the gesture starts */ }, onDoubleTap = { /* Called on Double Tap */ }, onLongPress = { /* Called on Long Press */ }, onTap = { /* Called on Tap */ } ) }- 1
- 2
- 3
- 4
- 5
- 6
- 7
- 8
滚动
滚动修饰符
添加
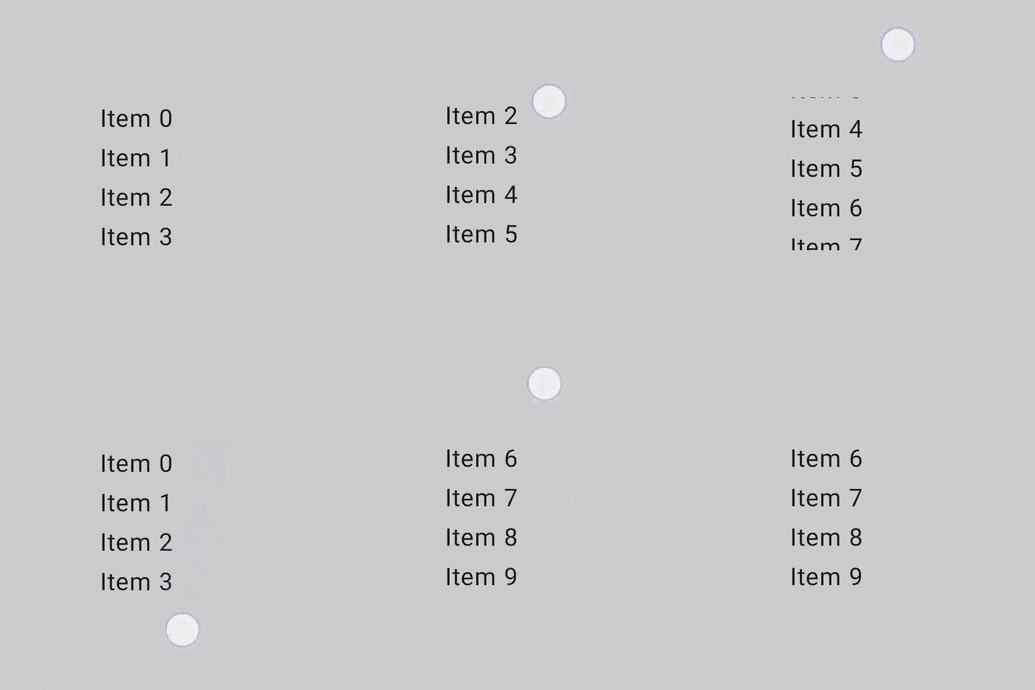
verticalScroll或horizontalScroll修饰符,可让用户在元素内容边界大于最大尺寸约束时滚动元素。@Composable fun ScrollBoxes() { Column( modifier = Modifier .background(Color.LightGray) .size(100.dp) .verticalScroll(rememberScrollState()) ) { repeat(10) { Text("Item $it", modifier = Modifier.padding(2.dp)) } } }- 1
- 2
- 3
- 4
- 5
- 6
- 7
- 8
- 9
- 10
- 11
- 12
- 13
上面的示例代码中,
Column高度为100dp,里面有十个Text垂直方向排列。因为添加了verticalScroll,这个时候就可以垂直方向滚动了。
在
verticalScroll修饰符中会传入rememberScrollState()。它是ScrollState类型,通过它可以更改滚动位置或着获取当前状态。@Composable private fun ScrollBoxesSmooth() { // 初始滚动100px val state = rememberScrollState() LaunchedEffect(Unit) { state.animateScrollTo(100) } Column( modifier = Modifier .background(Color.LightGray) .size(100.dp) .verticalScroll(state) ) { repeat(10) { Text("Item $it", modifier = Modifier.padding(2.dp)) } } }- 1
- 2
- 3
- 4
- 5
- 6
- 7
- 8
- 9
- 10
- 11
- 12
- 13
- 14
- 15
- 16
- 17
- 18
可滚动的修饰符
可滚动的修饰符
scrollable与滚动修饰符区别在于scrollable可检测滚动手势,但不会偏移其内容。所以它实际是添加了一个滚动的监听,并不是真正的让元素滚动。以下代码可检测手势并显示偏移量的数值,但不会偏移任何元素:
@Composable fun ScrollableSample() { // actual composable state var offset by remember { mutableStateOf(0f) } Box( Modifier .size(150.dp) .scrollable( orientation = Orientation.Vertical, // Scrollable state: describes how to consume // scrolling delta and update offset state = rememberScrollableState { delta -> offset += delta delta } ) .background(Color.LightGray), contentAlignment = Alignment.Center ) { Text(offset.toString()) } }- 1
- 2
- 3
- 4
- 5
- 6
- 7
- 8
- 9
- 10
- 11
- 12
- 13
- 14
- 15
- 16
- 17
- 18
- 19
- 20
- 21
- 22

嵌套滚动
简单的嵌套滚动无需您执行任何操作。滚动操作的手势会自动从子级传播到父级,这样一来,当子级无法进一步滚动时,手势就会由其父元素处理。
直接看文档的demo:
val gradient = Brush.verticalGradient(0f to Color.Gray, 1000f to Color.White) Box( modifier = Modifier .background(Color.LightGray) .verticalScroll(rememberScrollState()) .padding(32.dp) ) { Column { repeat(6) { Box( modifier = Modifier .height(128.dp) .verticalScroll(rememberScrollState()) ) { Text( "Scroll here", modifier = Modifier .border(12.dp, Color.DarkGray) .background(brush = gradient) .padding(24.dp) .height(150.dp) ) } } } }- 1
- 2
- 3
- 4
- 5
- 6
- 7
- 8
- 9
- 10
- 11
- 12
- 13
- 14
- 15
- 16
- 17
- 18
- 19
- 20
- 21
- 22
- 23
- 24
- 25
- 26

如果需要在多个元素之间创建高级协调滚动,可以使用
nestedScroll修饰符定义嵌套滚动层次结构来提高灵活性。fun Modifier.nestedScroll( connection: NestedScrollConnection, dispatcher: NestedScrollDispatcher? = null ): Modifier- 1
- 2
- 3
- 4
connection:当子view滚动时接收事件。dispatcher:分发嵌套滚动,用来通知父View中子View的消耗,可选参数。
NestedScrollConnection有四个回调方法,也代表着四个不同的阶段。fun onPreScroll(available: Offset, source: NestedScrollSource): Offset = Offset.Zero,子View将要滚动时会触发此回调,返回值是需要消耗的滚动值,默认是0不消耗。available是将要滚动的值,source是滚动事件的来源,比如拖动,抛掷(Fling)。fun onPostScroll(consumed: Offset, available: Offset, source: NestedScrollSource): Offset = Offset.Zero,当子View已经消耗后触发此回调。consumed是层次结构下所有嵌套滚动节点所消费的数量。available是可用增量。suspend fun onPreFling(available: Velocity): Velocity = Velocity.Zero,停止拖动后,会以一定的速度滚动时触发。这个回调允许父View消耗部分速度。suspend fun onPostFling(consumed: Velocity, available: Velocity): Velocity = Velocity.Zero,当子View完成了滑动的消耗,会触发此回调。这里你可以继续消耗滑动速度。
NestedScrollDispatcher下有四个调用方法,对应触发NestedScrollConnection的四个回调方法。dispatchPreScroll->onPreScrolldispatchPostScroll->onPostScrolldispatchPreFling->onPreFlingdispatchPostFling->onPostFling
示例代码,可以看nestedscroll文档,这里就不详细说明了。
拖动
draggable修饰符可以实现单一方向拖动手势,并且会返回拖动距离(以像素为单位)。请务必注意,此修饰符与
scrollable类似,仅检测手势。实际的元素移动需要通过offset修饰符处理。var offsetX by remember { mutableStateOf(0f) } Text( modifier = Modifier .offset { IntOffset(offsetX.roundToInt(), 0) } .draggable( orientation = Orientation.Horizontal, state = rememberDraggableState { delta -> offsetX += delta } ), text = "Drag me!" )- 1
- 2
- 3
- 4
- 5
- 6
- 7
- 8
- 9
- 10
- 11
- 12
注意单一方向这个限制,上面的示例代码中只能实现
Text的左右移动。如果需要控制整个拖动手势,请考虑改为通过
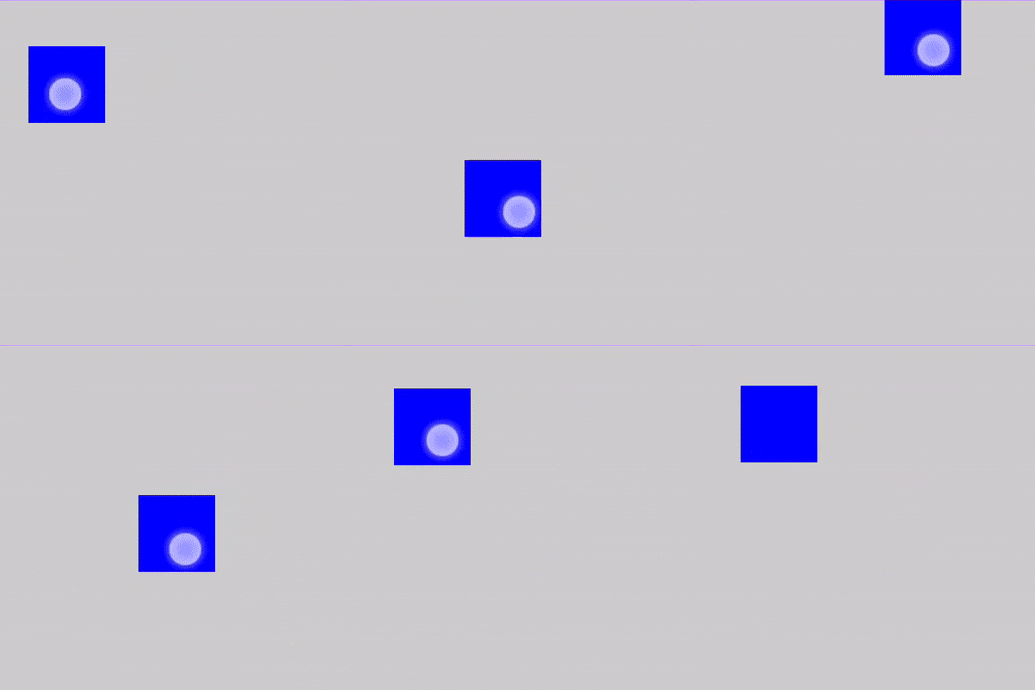
pointerInput修饰符的拖动手势检测器。Box(modifier = Modifier.fillMaxSize()) { var offsetX by remember { mutableStateOf(0f) } var offsetY by remember { mutableStateOf(0f) } Box( Modifier .offset { IntOffset(offsetX.roundToInt(), offsetY.roundToInt()) } .background(Color.Blue) .size(50.dp) .pointerInput(Unit) { detectDragGestures { change, dragAmount -> change.consumeAllChanges() offsetX += dragAmount.x offsetY += dragAmount.y } } ) }- 1
- 2
- 3
- 4
- 5
- 6
- 7
- 8
- 9
- 10
- 11
- 12
- 13
- 14
- 15
- 16
- 17
- 18

滑动
使用
swipeable修饰符滑动元素。释放后,这些元素会朝一个方向定义的两个或多个锚点呈现动画效果。其常见用途是实现“滑动关闭”模式。请务必注意,此修饰符不会移动元素,而只检测手势。实际的元素移动需要通过
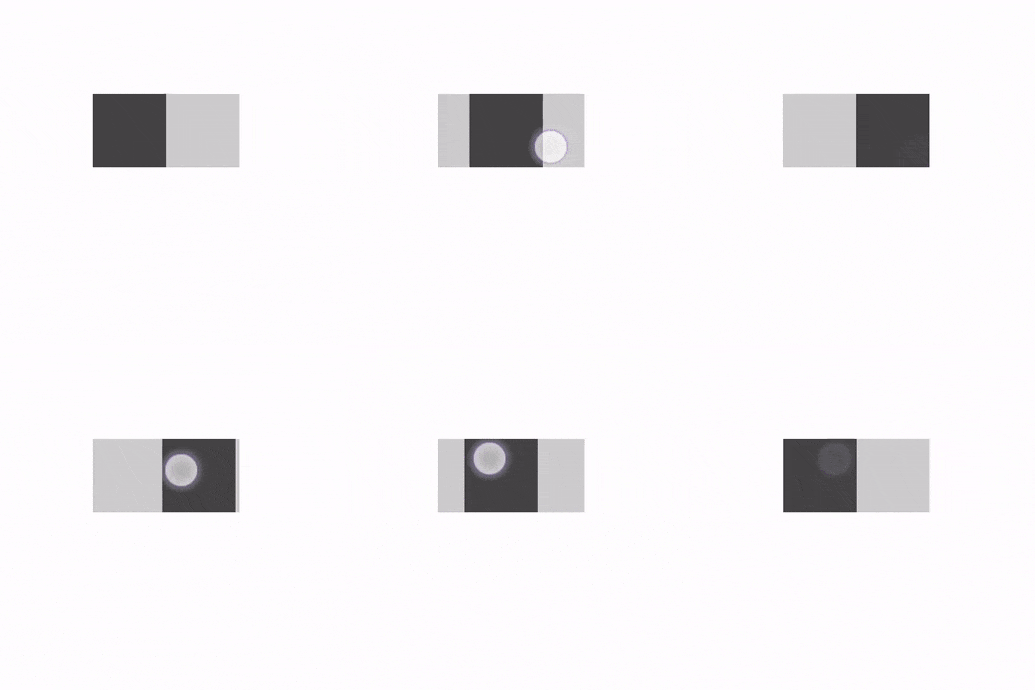
offset修饰符处理。@Composable fun SwipeableSample() { val width = 96.dp val squareSize = 48.dp val swipeableState = rememberSwipeableState(0) val sizePx = with(LocalDensity.current) { squareSize.toPx() } val anchors = mapOf(0f to 0, sizePx to 1) // Maps anchor points (in px) to states Box( modifier = Modifier .width(width) .swipeable( state = swipeableState, anchors = anchors, thresholds = { _, _ -> FractionalThreshold(0.3f) }, orientation = Orientation.Horizontal ) .background(Color.LightGray) ) { Box( Modifier .offset { IntOffset(swipeableState.offset.value.roundToInt(), 0) } .size(squareSize) .background(Color.DarkGray) ) } }- 1
- 2
- 3
- 4
- 5
- 6
- 7
- 8
- 9
- 10
- 11
- 12
- 13
- 14
- 15
- 16
- 17
- 18
- 19
- 20
- 21
- 22
- 23
- 24
- 25
- 26
- 27
- 28

解释一下示例代码:
state:滑动状态,通过rememberSwipeableState()创建。可以获得当前的偏移量,滑动到指定位置等。anchors:锚点。代码中0f为起始位置,sizePx为终点位置。当然也可以设置多个锚点,实现分段滑动。orientation:滑动方向。thresholds:指定状态之间阈值的位置。阈值将用于确定滑动停止时动画的状态。FractionalThreshold(0.3f)表示在锚点之间,滑动距离小于30%会自动滑回到锚点的初始位置。大于30%会自动滑回到锚点结束位置。
除了上面的属性,还可以配置滑动越过边界时的
resistance阻力。
还有velocityThreshold,比如滑动的30%是20dp,如果你设置velocityThreshold是5dp,那么滑动距离大于5dp时也可以触发动画向下一个状态滑动。多点触控:平移、缩放、旋转
如需检测用于平移、缩放和旋转的多点触控手势,可以使用
transformable修饰符。此修饰符本身不会转换元素,只会检测手势。@Composable fun TransformableSample() { // set up all transformation states var scale by remember { mutableStateOf(1f) } var rotation by remember { mutableStateOf(0f) } var offset by remember { mutableStateOf(Offset.Zero) } val state = rememberTransformableState { zoomChange, offsetChange, rotationChange -> scale *= zoomChange rotation += rotationChange offset += offsetChange } Box( Modifier // apply other transformations like rotation and zoom // on the pizza slice emoji .graphicsLayer( scaleX = scale, scaleY = scale, rotationZ = rotation, translationX = offset.x, translationY = offset.y ) // add transformable to listen to multitouch transformation events // after offset .transformable(state = state) .background(Color.Blue) .fillMaxSize() ) }- 1
- 2
- 3
- 4
- 5
- 6
- 7
- 8
- 9
- 10
- 11
- 12
- 13
- 14
- 15
- 16
- 17
- 18
- 19
- 20
- 21
- 22
- 23
- 24
- 25
- 26
- 27
- 28
- 29

rememberTransformableState会返回缩放变化,平移变化,旋转变化这三个值,用于我们操作元素。如果您需要将缩放、平移和旋转与其他手势结合使用,可以使用
PointerInputScope.detectTransformGestures检测器。@Composable fun TransformableSample() { var scale by remember { mutableStateOf(1f) } var rotation by remember { mutableStateOf(0f) } var offset by remember { mutableStateOf(Offset.Zero) } Box( Modifier .graphicsLayer( scaleX = scale, scaleY = scale, rotationZ = rotation, translationX = offset.x, translationY = offset.y ) .pointerInput(Unit) { detectTransformGestures( panZoomLock = false, onGesture = { _, offsetChange, zoomChange, rotationChange-> scale *= zoomChange rotation += rotationChange offset += offsetChange } ) } .background(Color.Blue) .fillMaxSize() ) }- 1
- 2
- 3
- 4
- 5
- 6
- 7
- 8
- 9
- 10
- 11
- 12
- 13
- 14
- 15
- 16
- 17
- 18
- 19
- 20
- 21
- 22
- 23
- 24
- 25
- 26
- 27
- 28
参考
-
相关阅读:
【ScrollView】Android ScrollView无法滚动到底部
借鉴前端事件机制的Spring AOP
spring、tomcat是如何配合完成websocket
springboot校园安全通事件报告小程序-计算机毕业设计源码02445
【数据结构初阶】算法的时间复杂度和空间复杂度
Spark---持久化,共享变量和RDD之间的依赖关系详解
网络爬虫实践小结
HTuple HObject使用记录
SpringBoot启动时加载
mac环境下搭建frida环境并连接网易mumu模拟器
- 原文地址:https://blog.csdn.net/qq_17766199/article/details/126391449
