-
vue+vite+ts添加eslint校验和代码提交校验
一.初始化项目
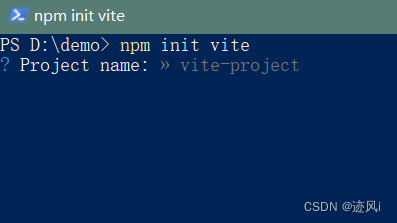
npm init vite- 1
-
然后会出现请输入项目名称: 输入你的项目名称
-
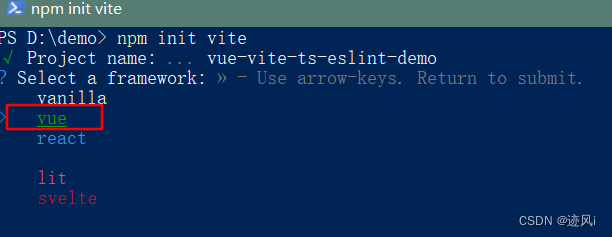
然后选择vue
-
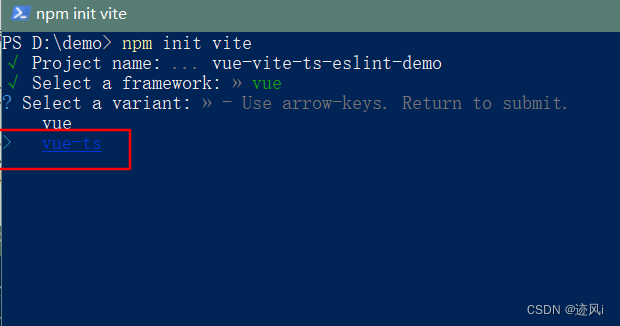
然后选择vue-ts, 根据你的项目是否需要ts
-
然后就生成了模板文件

二. 打开项目
- 先安装eslint
# npm npm install eslint --save-dev # yarn yarn add eslint --dev- 1
- 2
- 3
- 4
- 5
- 初始化eslint
# npm npx eslint --init # yarn yarn run eslint --init- 1
- 2
- 3
- 4
- 5
- 选择eslint初始化配置
# 选择 帮我们找到不规范的语法,并且强制应用代码规范 选第三个 ? How would you like to use ESLint? ... To check syntax only To check syntax and find problems > To check syntax, find problems, and enforce code style # 选择 (import/export)代码规范(ES6 代码规范) 选第一个 ? What type of modules does your project use? ... > JavaScript modules (import/export) CommonJS (require/exports) None of these # 选择 项目中使用的前端框架 Vue.js ? Which framework does your project use? ... React > Vue.js None of these # 是否验证 ts 代码规范 yes ? Does your project use TypeScript? » No / Yes # 代码的运行环境是 浏览器/node Browser(浏览器) ? Where does your code run? ... (Press <space> to select, <a> to toggle all, <i> to invert selection) √ Browser Node # 选择一个流行的代码规范 选Use a popular style guide ? How would you like to define a style for your project? ... > Use a popular style guide Answer questions about your style # 选择 Standard 代码规范 ? Which style guide do you want to follow? ... Airbnb: https://github.com/airbnb/javascript > Standard: https://github.com/standard/standard Google: https://github.com/google/eslint-config-google XO: https://github.com/xojs/eslint-config-xo # ESLint配置文件 代码的保存格式 ? What format do you want your config file to be in? ... > JavaScript YAML JSON Checking peerDependencies of eslint-config-standard@latest The config that you've selected requires the following dependencies: eslint-plugin-vue@latest @typescript-eslint/eslint-plugin@latest eslint-config-standard@latest eslint@^8.0.1 eslint-plugin-import@^2.25.2 eslint-plugin-n@^15.0.0 eslint-plugin-promise@^6.0.0 @typescript-eslint/parser@latest # 选择 yes 安装依赖 ? Would you like to install them now? » No / Yes # 选择你的安装方式 npm ? Which package manager do you want to use? ... > npm yarn pnpm- 1
- 2
- 3
- 4
- 5
- 6
- 7
- 8
- 9
- 10
- 11
- 12
- 13
- 14
- 15
- 16
- 17
- 18
- 19
- 20
- 21
- 22
- 23
- 24
- 25
- 26
- 27
- 28
- 29
- 30
- 31
- 32
- 33
- 34
- 35
- 36
- 37
- 38
- 39
- 40
- 41
- 42
- 43
- 44
- 45
- 46
- 47
- 48
- 49
- 50
- 51
- 52
- 53
- 54
- 55
- 56
- 57
- 58
- 59
- 60
随后安装完成会生成 .eslintrc.cjs文件
-
在.eslintrc.cjs 文件中添加rules规则
module.exports = { env: { browser: true, es2021: true }, extends: [ 'plugin:vue/vue3-essential', 'standard' ], parserOptions: { ecmaVersion: 'latest', parser: '@typescript-eslint/parser', sourceType: 'module' }, plugins: [ 'vue', '@typescript-eslint' ], rules: { // 禁止出现console 'no-console': 'warn', // 禁用debugger 'no-debugger': 'error' } }- 1
- 2
- 3
- 4
- 5
- 6
- 7
- 8
- 9
- 10
- 11
- 12
- 13
- 14
- 15
- 16
- 17
- 18
- 19
- 20
- 21
- 22
- 23
- 24
- 25
- 26
此时eslint配置的规则已经生效
-
设置eslint忽略文件
在根目录创建.eslintignore 文件
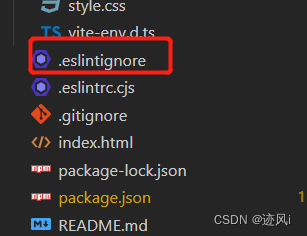
添加要忽略的文件# eslint 忽略检查 (根据项目需要自行添加) node_modules dist- 1
- 2
- 3
-
添加vscode保存自动解决eslint报错问题
打开vscode设置
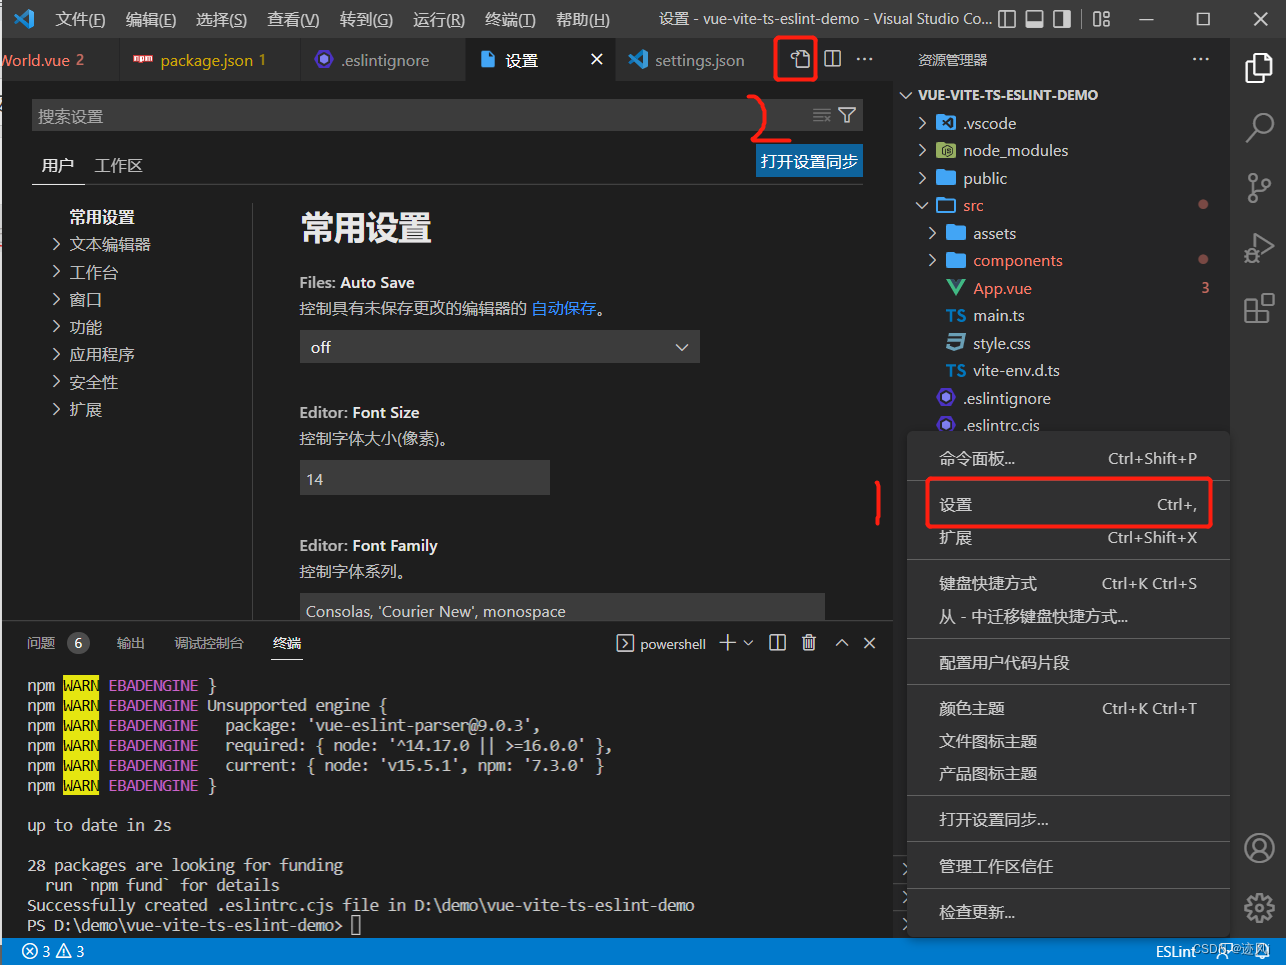
在 setting.json 添加一下配置{ "eslint.format.enable": true, "eslint.alwaysShowStatus": true, // 保存自动解决eslint报错 "editor.codeActionsOnSave": { "source.fixAll": true, "eslint.autoFixOnSave" : false, }, }- 1
- 2
- 3
- 4
- 5
- 6
- 7
- 8
- 9
-
添加提交代码校验代码规范
安装 lint-staged mrm// 安装完成会自动生成 .husky 文件夹 npx husky install npx mrm@2 lint-staged- 1
- 2
- 3
- 4
配置 git commit hook:
在package.json添加以下内容// eslint 需要验证 src目录下所有的 js、jsx、vue、ts、tsx 后缀的文件资源,对他们进行代码规范验证 // --fix 是指对于不符合要求的代码会自动格式化(简单的自动优化) // "git add" 自动修复eslint错误后自动提交 { "scripts": { "lint": "eslint src/**/*.{js,jsx,vue,ts,tsx} --fix", "prepare": "husky install" }, "devDependencies": { "husky": "^8.0.1", "lint-staged": "^12.3.5", }, "lint-staged": { "src/**/*.{js,jsx,vue,ts,tsx}": [ "eslint --fix", "git add" ] } }- 1
- 2
- 3
- 4
- 5
- 6
- 7
- 8
- 9
- 10
- 11
- 12
- 13
- 14
- 15
- 16
- 17
- 18
- 19
- 20
如果安装失败 删掉node_modules文件重新安装
快速删除node_nodules
安装npm install rimraf -g
控制台输入rimraf node_modules执行完之后根目录就会出现
.husky文件夹, 修改pre-commit 文件里面的代码为#!/bin/sh . "$(dirname "$0")/_/husky.sh" npx lint-staged- 1
- 2
- 3
可以尝试输入错误让eslint检验,再来commit 测试
最后就大功告成了!!!
-
相关阅读:
vue自建h5应用,接入企业微信JDK(WECOM-JSSDK),实现跳转添加好友功能
ffmpeg的下载和编译(vs2022)
R语言STAN贝叶斯线性回归模型分析气候变化影响北半球海冰范围和可视化检查模型收敛性...
vue:项目开发:在请求拦截器中处理loading加载 && 请求头(headers)的检验配置 && 接口文档出现的特殊符号处理的方式
五、C++ 函数重载
JavaFx之Hello, World!
多线程相关面试题
selenium-XPATH定位
数据结构(5)树形结构——二叉搜索树(JAVA代码实现)
04-对原生app应用中的元素进行定位
- 原文地址:https://blog.csdn.net/m0_50864962/article/details/126525914
