-
Springboot构建多模块项目
首先新建一个springboot父项目

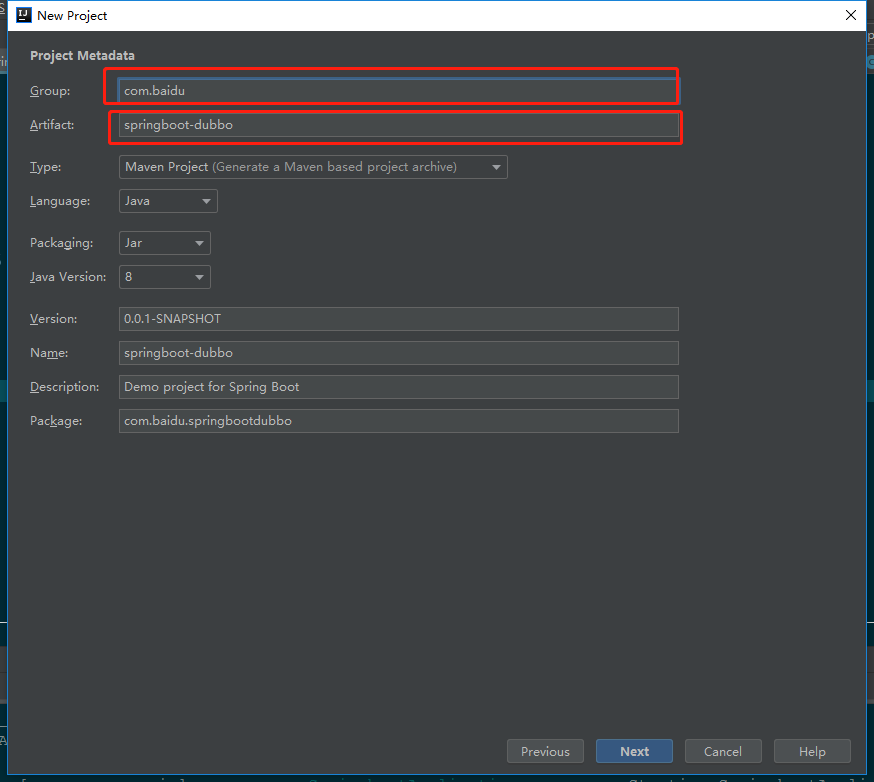
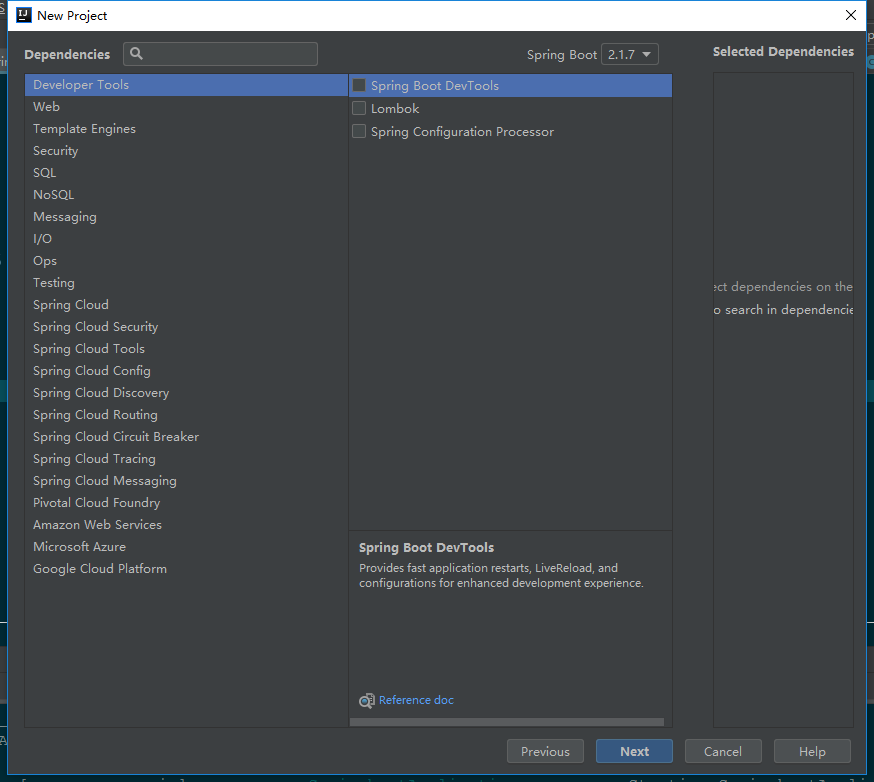
这里不选择其他的,直接next就好了,后续需要再添加。

建立完成后项目结构如下,但是这是一个父项目,做版本控制,什么都不需要,所以我们要删除如下的东西。

选中的全部删除
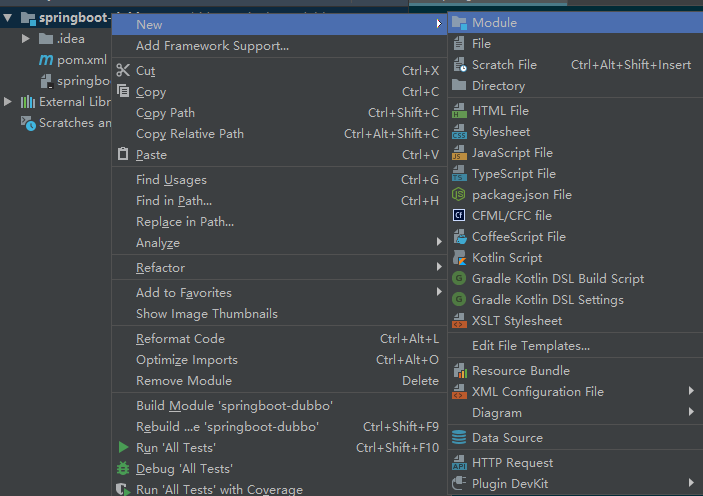
然后开始建立子模块
注意这里需要选中springboot-dubbo然后右键
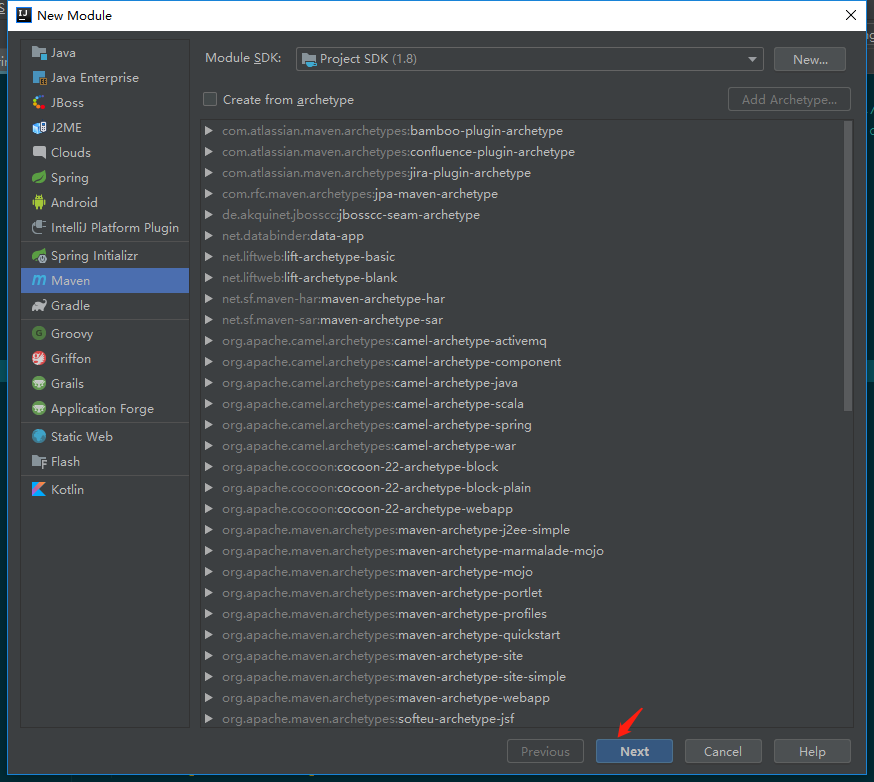
选择其中的quickstart
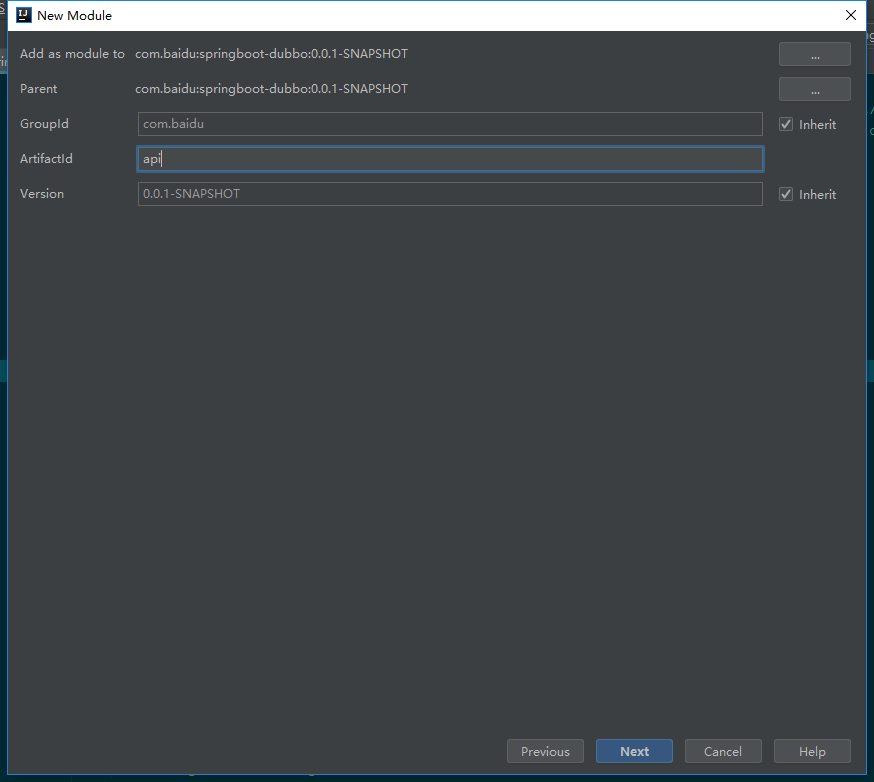
继续创建2个module,分别为module和server,至此多模块springboot项目创建完成。建立完成后的项目结构:
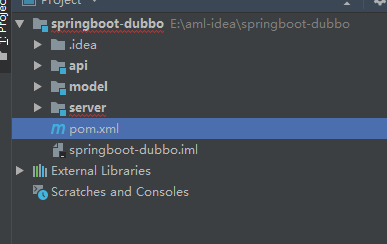
父pom文件:
4.0.0 pom module server org.springframework.boot spring-boot-starter-parent 2.3.0.RELEASE com.example parent 0.0.1-SNAPSHOT parent Demo project for Spring Boot 1.8 org.springframework.boot spring-boot-starter org.springframework.boot spring-boot-starter-test test org.junit.vintage junit-vintage-engine org.springframework.boot spring-boot-maven-plugin - 1
- 2
- 3
- 4
- 5
- 6
- 7
- 8
- 9
- 10
- 11
- 12
- 13
- 14
- 15
- 16
- 17
- 18
- 19
- 20
- 21
- 22
- 23
- 24
- 25
- 26
- 27
- 28
- 29
- 30
- 31
- 32
- 33
- 34
- 35
- 36
- 37
- 38
- 39
- 40
- 41
- 42
- 43
- 44
- 45
- 46
- 47
- 48
- 49
- 50
- 51
- 52
- 53
- 54
- 55
测试
model工程是我们放实体类和xml实现的地方,我们首先创建一个测试实体类user。

public class User { private String name; private Integer age; //省略get set方法 }- 1
- 2
- 3
- 4
- 5
server是我们逻辑处理和controller存放的地方,首先我们在父pom中添加web依赖,即springboot-dubbo的pom:
org.springframework.boot spring-boot-starter-web - 1
- 2
- 3
- 4
- 5
然后创建测试用的启动类,及controller,结构如下:

SpringbootApplication:
@SpringBootApplication public class SpringbootApplication { public static void main(String[] args) { SpringApplication.run(SpringbootApplication.class, args); } } @Controller @RequestMapping("user") public class HelloController { @RequestMapping("/printUser") @ResponseBody public User printUser(User user) { return user; } }- 1
- 2
- 3
- 4
- 5
- 6
- 7
- 8
- 9
- 10
- 11
- 12
- 13
- 14
- 15
- 16
- 17
- 18
- 19
- 20
这里可以我们会报错,引入不了User这个类,因为我们要设置server依赖于工程model,server工程右键
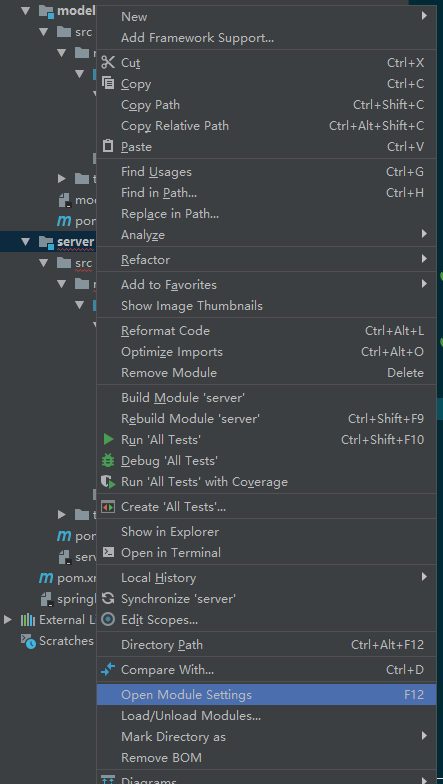

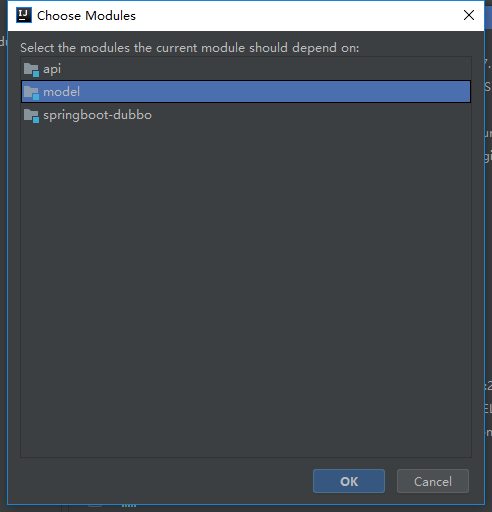
然后apply,这时我们就可以导入User这个类了
但是因为我们是maven项目这种设置我们下次启动还是回丢失对Model的引用,所以我们需要在pom中引入对model的依赖
在server pom中添加如下依赖(可以根据提示,自动导入也是可以的)com.example module 0.0.1-SNAPSHOT compile - 1
- 2
- 3
- 4
- 5
- 6
然后我们开始启动测试,启动 SpringbootApplication,然后看见控制台输出:

可以看到端口号配置生效
然后再浏览器访问:http://localhost:8083/user/printUsername=‘你好’&age=666
浏览器显示:

至此多模块springboot项目构建完成。
-
相关阅读:
海外广告投放保姆级教程,如何使用Quora广告开拓新流量市场?
Java【方法】,方法重载,方法递归,你都会了吗?
抢购狂欢:跨境电商的区域购物节
机器学习笔记之马尔可夫链蒙特卡洛方法(四)吉布斯采样
CANdb++数据库操作
【Qt秘籍】[005]-Qt的首次邂逅-创建
基于docker构建容器镜像
如何使用Javascript复制到剪贴板
【灵魂拷问:读取 excel 测试数据真的慢吗?】
Linux运维常用网络端口(不断补充)
- 原文地址:https://blog.csdn.net/m0_67401545/article/details/126515145