-
React之配置多个代理实现数据请求返回
使用axios以及express框架进行数据传输
react脚手架中src文件配置如下:
App.js:
设置两个按钮,点击第一个获取学生数据,点击第二个获取汽车数据,值得注意的是这两个数据源在不同的服务器中
import React, { Component } from 'react' import axios from "axios" export default class App extends Component { getStudentData = () => { axios.get("http://localhost:3000/api1/students").then( response => {console.log("成功了", response.data);}, error => {console.log("失败了", error);} ) } getCarData = () => { axios.get("http://localhost:3000/api2/cars").then( response => {console.log("成功了", response.data);}, error => {console.log("失败了", error);} ) } render() { return ( <div> <button onClick={this.getStudentData}>点我获取学生数据</button> <button onClick={this.getCarData}>点我获取学生数据</button> </div> ) } }- 1
- 2
- 3
- 4
- 5
- 6
- 7
- 8
- 9
- 10
- 11
- 12
- 13
- 14
- 15
- 16
- 17
- 18
- 19
- 20
- 21
- 22
- 23
- 24
- 25
- 26
index.js:
脚手架入口文件
// 入口文件 //引入react核心库 import React from 'react'; //引入ReactDOM import ReactDOM from 'react-dom/client' //引入App组件 import App from "./App" // import ReactDOM from 'react-dom/client' const root = ReactDOM.createRoot(document.getElementById("root")) root.render(<App/>)- 1
- 2
- 3
- 4
- 5
- 6
- 7
- 8
- 9
- 10
- 11
- 12
- 13
server1.js:
服务器1的代码包含学生数据
const express = require('express') const app = express() app.use((request, response, next) => { console.log("有人请求服务器1"); next(); }) app.get('/students', (request, response) => { const students = [ {id:"001", name:"tom", age:18}, {id:"002", name:"jerry", age:18}, {id:"003", name:"tony", age:8}, ] response.send(students) }) app.listen(5000, (err) => { if(!err)console.log("服务器1启动成功,地址为http://localhost:5000/students") })- 1
- 2
- 3
- 4
- 5
- 6
- 7
- 8
- 9
- 10
- 11
- 12
- 13
- 14
- 15
- 16
- 17
- 18
- 19
server2.js
服务器2的内容,包含汽车的数据
const express = require('express') const app = express() app.use((request, response, next) => { console.log("有人请求服务器2"); next(); }) app.get('/cars', (request, response) => { const cars = [ {id:"001", name:"宝马", price:18}, {id:"002", name:"奔驰", price:18}, {id:"003", name:"保时捷", price:8}, ] response.send(cars) }) app.listen(5001, (err) => { if(!err)console.log("服务器2启动成功,地址为http://localhost:5001/cars") })- 1
- 2
- 3
- 4
- 5
- 6
- 7
- 8
- 9
- 10
- 11
- 12
- 13
- 14
- 15
- 16
- 17
- 18
- 19
setupProxy.js:
分别配置不同的代理(b站尚硅谷视频里那种运行不出来,版本更新了,下面这种目前可以跑出来)
const { createProxyMiddleware } = require('http-proxy-middleware') module.exports = function (app) { app.use( createProxyMiddleware('/api1', { //api1是需要转发的请求(所有带有/api1前缀的请求都会转发给5000) target: 'http://localhost:5000', //配置转发目标地址(能返回数据的服务器地址) changeOrigin: true, //控制服务器接收到的请求头中host字段的值 pathRewrite: { '^/api1': '' }, //去除请求前缀,保证交给后台服务器的是正常请求地址(必须配置) }), createProxyMiddleware('/api2', { target: 'http://localhost:5001', changeOrigin: true, pathRewrite: { '^/api2': '' }, }) ) }- 1
- 2
- 3
- 4
- 5
- 6
- 7
- 8
- 9
- 10
- 11
- 12
- 13
- 14
- 15
- 16
- 17
- 18
- 19
- 20
运行
启动服务器1:
node server1.js- 1
启动服务器2:
node server2.js- 1
启动脚手架:
npm start- 1
访问页面

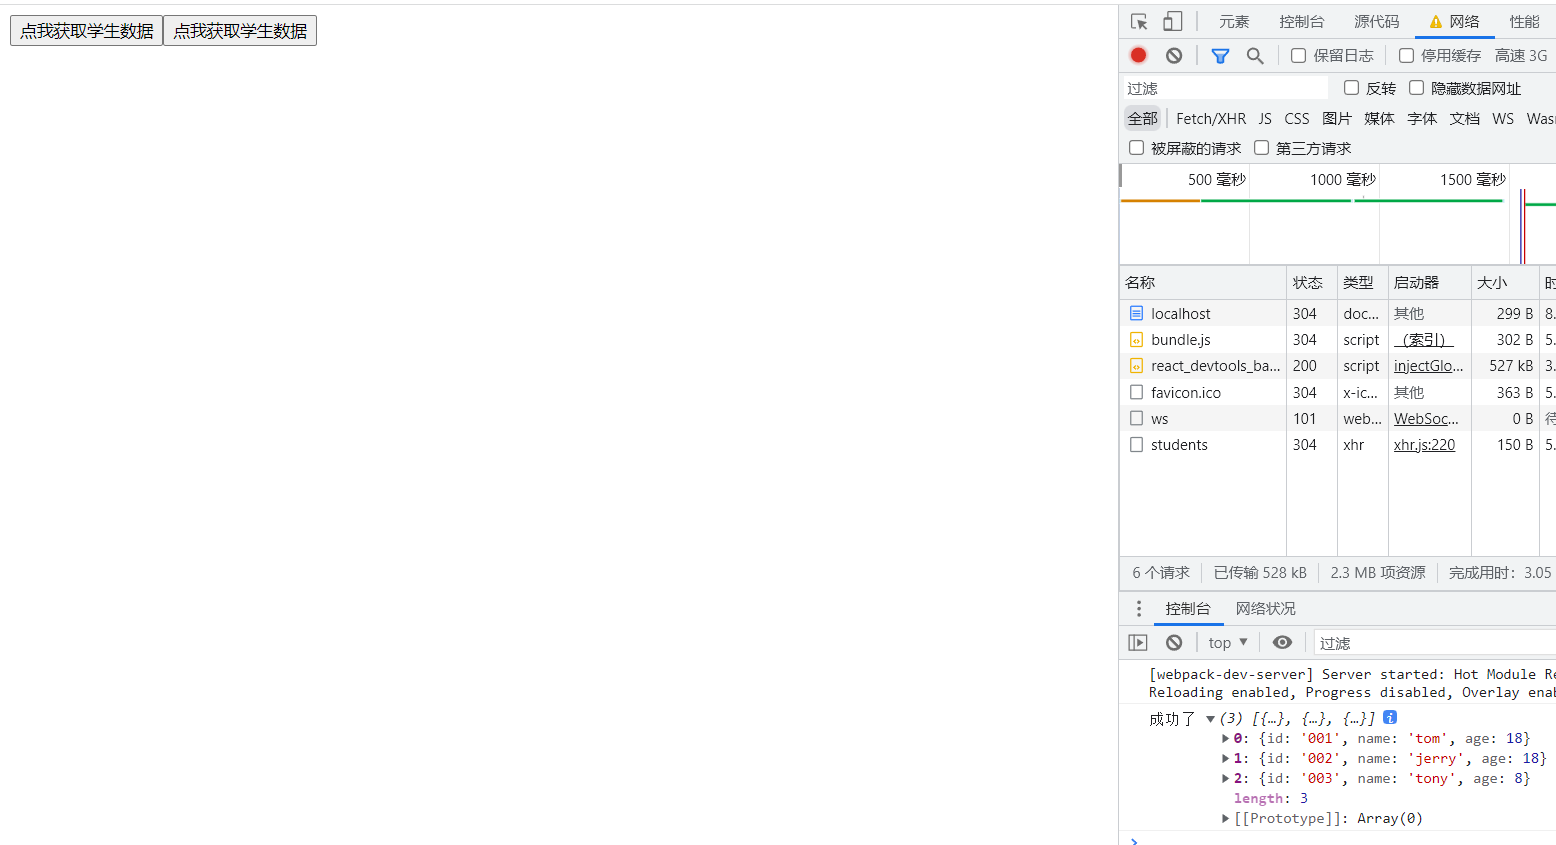
点击第一个按钮:

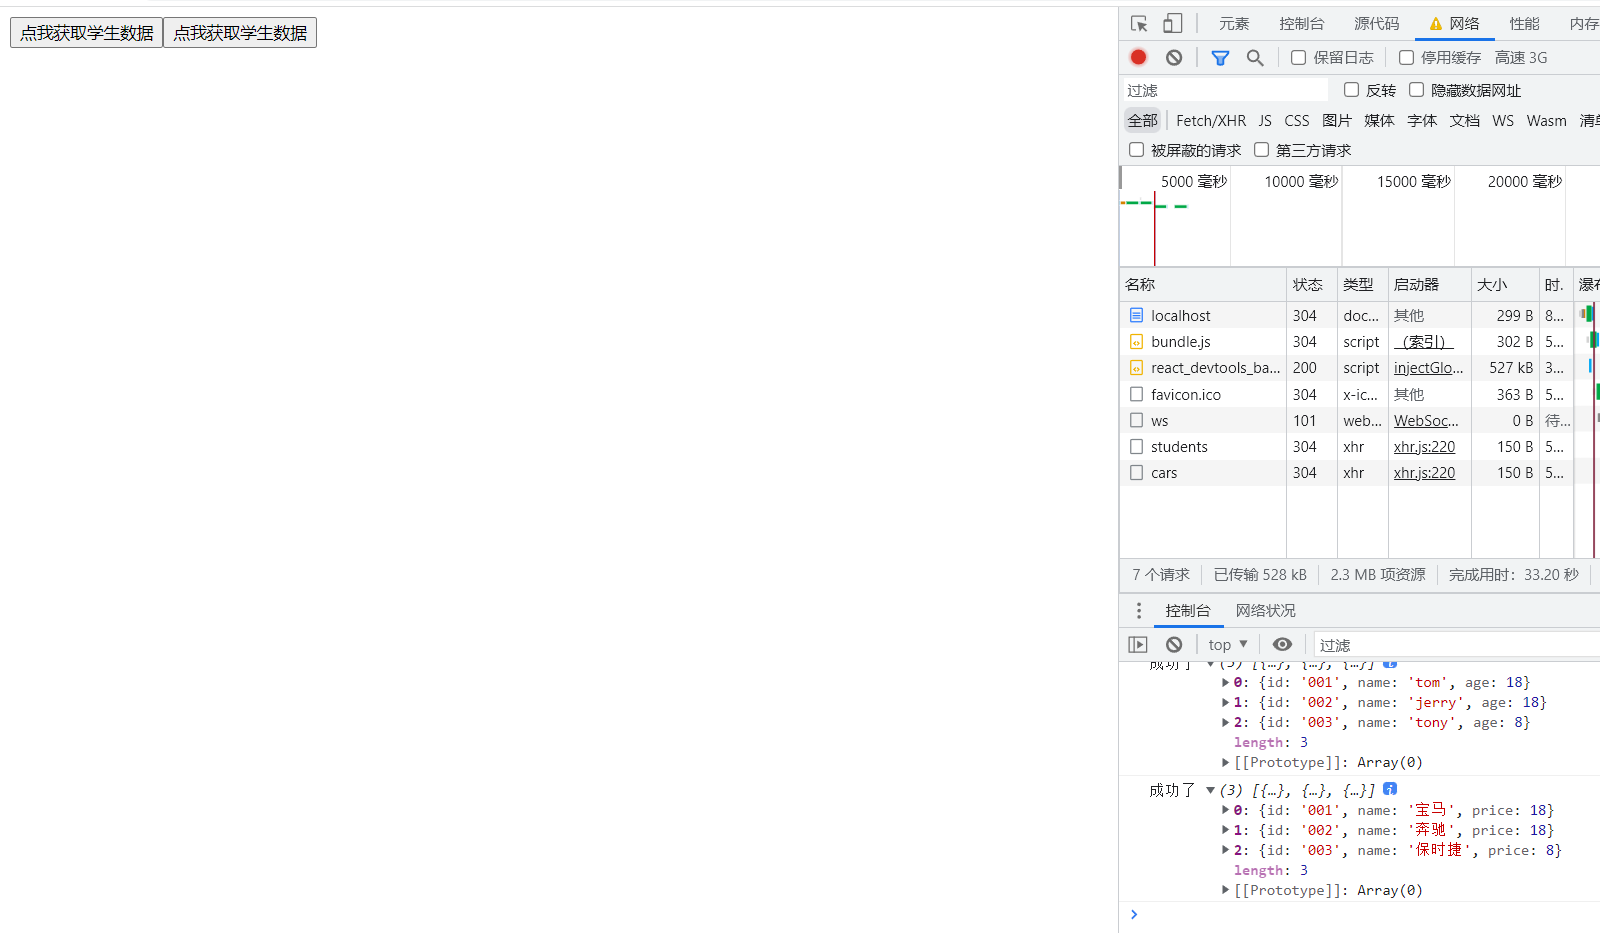
点击第二个按钮:

-
相关阅读:
python 将一列文本或字符串调整成一行 中间用逗号 单引号分隔
【软件】Ubuntu16.04升级git最新版,升级python到3.7.
Linux——Xshell、Xftp实现Linux远程登录与应用
得了糖尿病,千万不能这么做
Java:这个对象还活着吗
Linux学习教程(第三章 Linux文件和目录管理)1
FTP协议
微信管理系统如何助力企业提升效率和业绩!
OCP Java17 SE Developers 复习题06
SLF4J: Class path contains multiple SLF4J bindings.
- 原文地址:https://blog.csdn.net/qq_52785473/article/details/126492201
