-
vue项目分环境部署
vue部署
1、相关配置
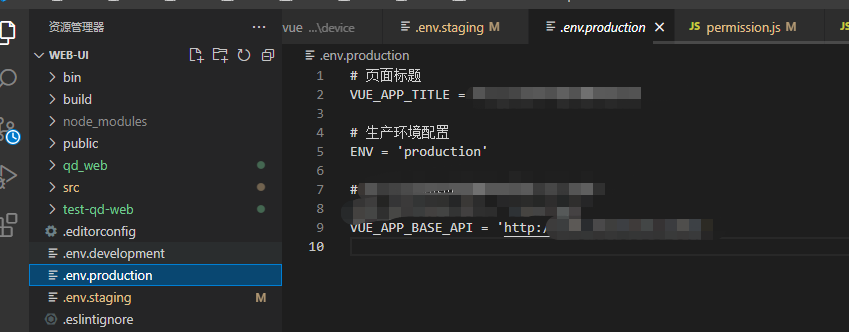
staging可以认为是测试环境,production可以认为是正式环境
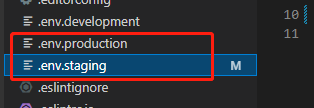
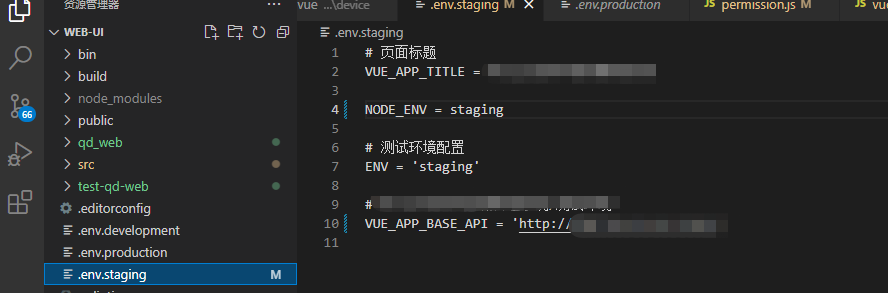
vue.config.js需要进行配置,多环境的时候,这里主要看具体的情况,根据具体情况去设计,我这里是有两个环境,需要部署在同个服务器上,所以需要生成不同的包

2、查看package.json脚本,并执行
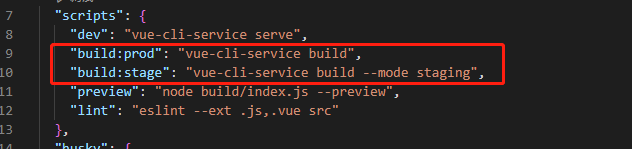
假设我这里是部署测试环境,则使用
npm run build:stage
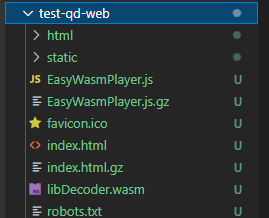
执行之后则会生成一个文件夹
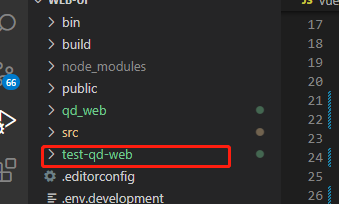
里边存放着编译后的东西
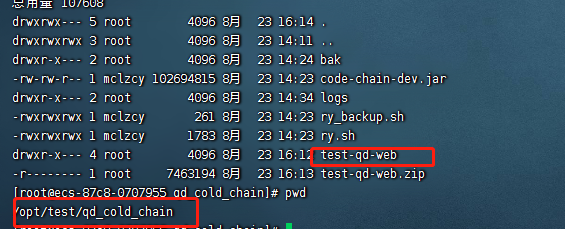
3、将编译后的文件夹放到linux服务器上,并记住存放位置
例如我是放在这个位置的,具体的上传方式很多,可以使用xshell,也可以使用finalShell,这里就不细讲
4、配置nginx
这里自己找一下自己的nginx.conf文件
如果不知道nginx安装在哪的话,使用ps -ef|grep nginx

就可以找到路径了,放在conf/nginx.conf目录下user root; worker_processes 1; events { worker_connections 1024; } http { include mime.types; default_type application/octet-stream; sendfile on; keepalive_timeout 65; server { # 端口 listen 81; server_name localhost; # nginx的默认页面 location / { root html; index index.html index.htm; } # 这里配置的是测试服的,也就是说当你访问 ip:81/test-qd-web的时候, # 他就会/opt/test/qd_cold_chain/test-qd-web 文件夹下查找文件 location /test-qd-web { root /opt/test/qd_cold_chain; index index.html index.htm; } # 同上,正式服的 location /qd_web { root /opt/qd_cold_chain; index index.html index.htm; } } }- 1
- 2
- 3
- 4
- 5
- 6
- 7
- 8
- 9
- 10
- 11
- 12
- 13
- 14
- 15
- 16
- 17
- 18
- 19
- 20
- 21
- 22
- 23
- 24
- 25
- 26
- 27
- 28
- 29
- 30
- 31
- 32
- 33
- 34
- 35
- 36
- 37
- 38
- 39
- 40
- 41
- 42
- 43
- 44
- 45
- 46
- 47
- 48
- 49
- 50
5、重载nginx
进入到nginx的sbin目录下,执行
./nginx -s reload6、访问目录
ip:端口/test-qd-web
访问成功就ok了 -
相关阅读:
docker安装elasticsearch7.8和kibana7.8
全新升级!《云原生架构白皮书 2022 版》重磅发布
leetcode简单题25 N.112 路径总和 rust描述
Windows7 - 永恒之蓝 - 测试
EasyExcel导出包含多个sheet的Excel
royi-vue
Python识别验证码----顶象面积验证
Tiktok上号称能拿百万年薪的Java性能调优笔记,我学完了先去试水
PicoLog软件应用-电动车能耗记录
每日练习------有n个整数,使其前面各数顺序向后移m个位置,最后m个数变成最前面的m个数
- 原文地址:https://blog.csdn.net/Think_and_work/article/details/126488337