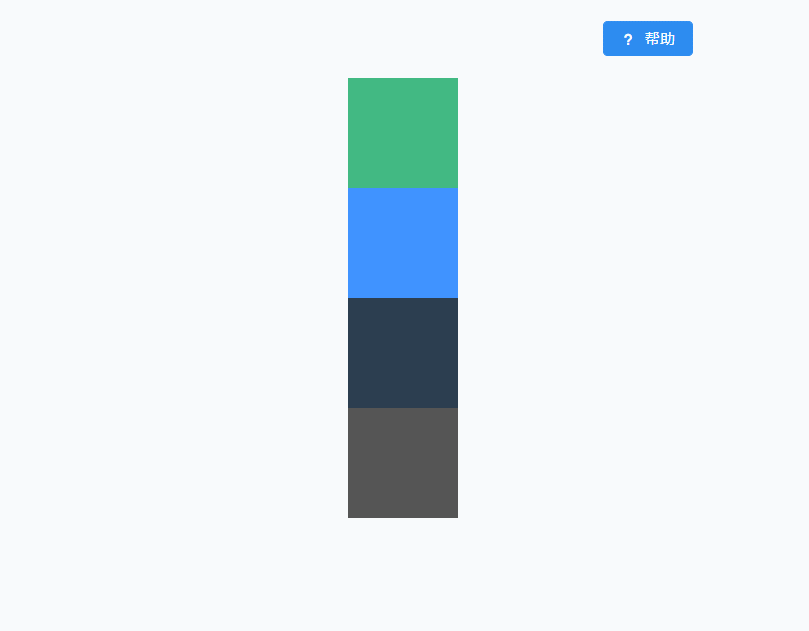
1、效果图
2、实现步骤
(1)安装 driver.js
npm install driver.js --save
(2)在页面引入
import Driver from 'driver.js'
import 'driver.js/dist/driver.min.css'
(3)html添加触发的按钮,调用guide方法
<Button type="primary" icon="md-help" @click.prevent.stop="guide">帮助Button>
(4)html添加几个带有class或者id的元素
<div style="margin-top: 20px">
      <div class="a" style="width: 100px;height: 100px;background-color: #42b983;margin-left: 600px">div>
      <div id="b" style="width: 100px;height: 100px;background-color: #4093ff;margin-left: 600px">div>
      <div class="c" style="width: 100px;height: 100px;background-color: #2c3e50;margin-left: 600px">div>
      <div id="d" style="width: 100px;height: 100px;background-color: #555555;margin-left: 600px">div>
    div>
(5)data中设置包含上面4个元素的属性steps(任意名字即可)
 data(){
    return{
      driver: null,
      steps: [
        {
          element: '.a',
          popover: {
            title: 'a',
            description: 'a',
            position: 'right'
          }
        },
        {
          element: '#b',
          popover: {
            title: 'b',
            description: 'b',
            position: 'right'
          }
        },
        {
          element: '.c',
          popover: {
            title: 'c',
            description: 'c',
            position: 'left'
          }
        },
        {
          element: '#d',
          popover: {
            title: 'd',
            description: 'd',
            position: 'left'
          }
        },

      ]
    }
  },
- 1
- 2
- 3
- 4
- 5
- 6
- 7
- 8
- 9
- 10
- 11
- 12
- 13
- 14
- 15
- 16
- 17
- 18
- 19
- 20
- 21
- 22
- 23
- 24
- 25
- 26
- 27
- 28
- 29
- 30
- 31
- 32
- 33
- 34
- 35
- 36
- 37
- 38
- 39
- 40
(6)按钮点击调用的方法
  methods: {
    guide() {
      this.driver.defineSteps(this.steps)
      this.driver.start()
    }
  }
(7)mounted加载
 mounted() {
    this.driver = new Driver()
  },
完整代码
<template>
<div class="home">
<Button type="primary" icon="md-help" @click.prevent.stop="guide" class="buttonTailStyle">帮助</Button>
<div style="margin-top: 20px">
<div class="a" style="width: 100px;height: 100px;background-color: #42b983;margin-left: 600px"></div>
<div id="b" style="width: 100px;height: 100px;background-color: #4093ff;margin-left: 600px"></div>
<div class="c" style="width: 100px;height: 100px;background-color: #2c3e50;margin-left: 600px"></div>
<div id="d" style="width: 100px;height: 100px;background-color: #555555;margin-left: 600px"></div>
</div>
</div>
</template>
<script>
import Driver from 'driver.js'
import 'driver.js/dist/driver.min.css'
export default {
name: 'Home',
data(){
return{
driver: null,
steps: [
{
element: '.a',
popover: {
title: 'a',
description: 'a',
position: 'right'
}
},
{
element: '#b',
popover: {
title: 'b',
description: 'b',
position: 'right'
}
},
{
element: '.c',
popover: {
title: 'c',
description: 'c',
position: 'left'
}
},
{
element: '#d',
popover: {
title: 'd',
description: 'd',
position: 'left'
}
},
]
}
},
mounted() {
this.driver = new Driver()
},
methods: {
guide() {
this.driver.defineSteps(this.steps)
this.driver.start()
}
}
}
</script>

- 1
- 2
- 3
- 4
- 5
- 6
- 7
- 8
- 9
- 10
- 11
- 12
- 13
- 14
- 15
- 16
- 17
- 18
- 19
- 20
- 21
- 22
- 23
- 24
- 25
- 26
- 27
- 28
- 29
- 30
- 31
- 32
- 33
- 34
- 35
- 36
- 37
- 38
- 39
- 40
- 41
- 42
- 43
- 44
- 45
- 46
- 47
- 48
- 49
- 50
- 51
- 52
- 53
- 54
- 55
- 56
- 57
- 58
- 59
- 60
- 61
- 62
- 63
- 64
- 65
- 66
- 67
- 68
- 69