-
22.C++之类模板
学习目标:
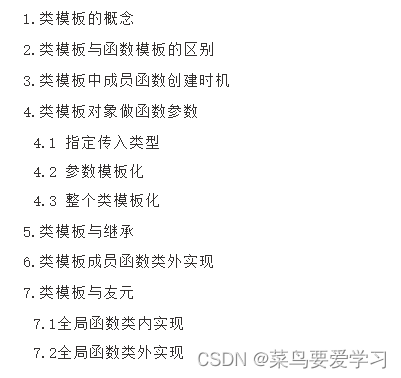
学习内容:
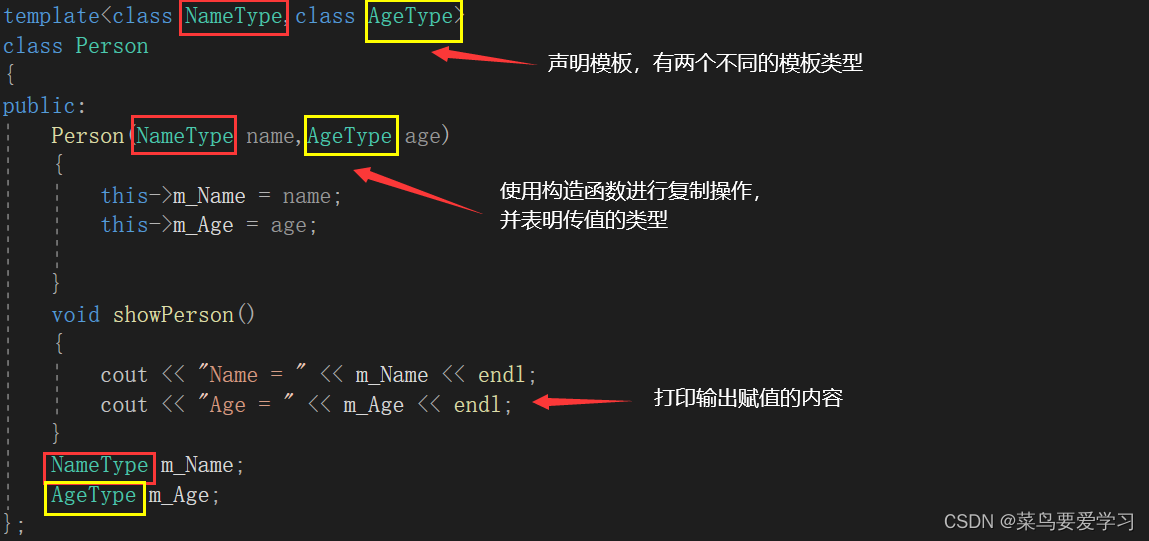
1.类模板的概念类模板的作用:建立一个通用的类,类中的成员和数据类型也不具体指定,用一个虚拟的类型来表示。
语法如下:template<class T> //T可以使用其它的代替 类- 1
- 2
#include#include using namespace std; template<class NameType,class AgeType> class Person { public: Person(NameType name,AgeType age) { this->m_Name = name; this->m_Age = age; } void showPerson() { cout << "Name = " << m_Name << endl; cout << "Age = " << m_Age << endl; } NameType m_Name; AgeType m_Age; }; void test() { Person<string, int>p("孙悟空", 1000); p.showPerson(); } int main() { test(); system("pause"); return 0; } - 1
- 2
- 3
- 4
- 5
- 6
- 7
- 8
- 9
- 10
- 11
- 12
- 13
- 14
- 15
- 16
- 17
- 18
- 19
- 20
- 21
- 22
- 23
- 24
- 25
- 26
- 27
- 28
- 29
- 30
- 31
- 32


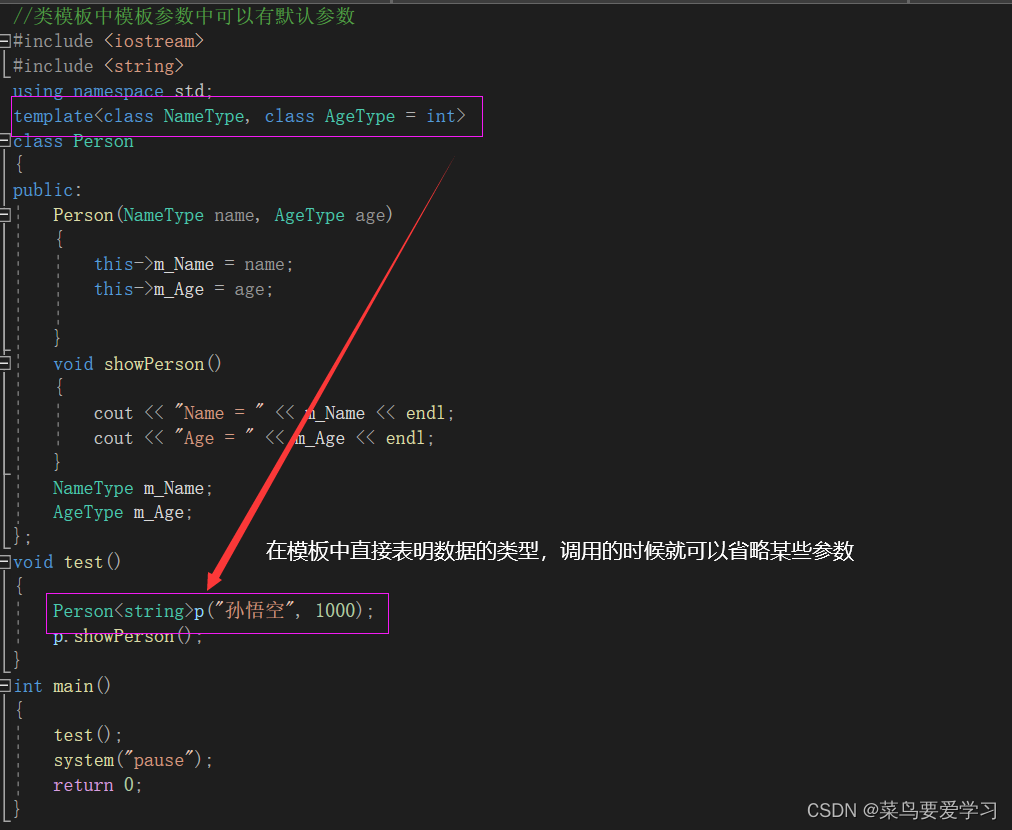
2.类模板与函数模板的区别类模板和函数模板主要有两点区别:
- 类模板中没有自动类型推导的使用方式;
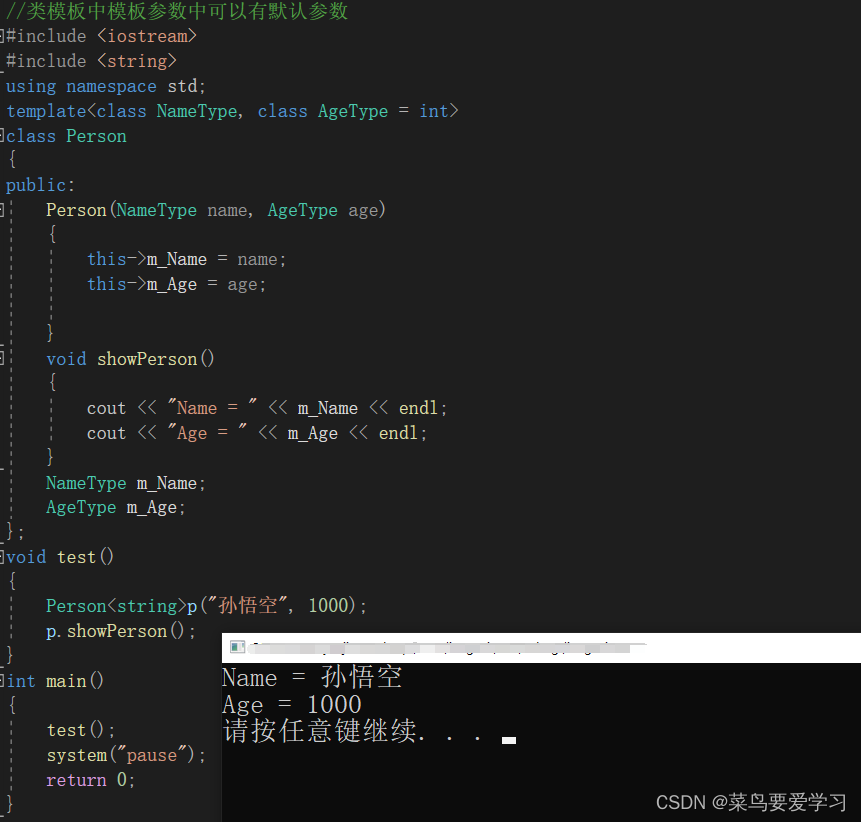
- 类模板在模板参数列表中可以有默认参数。
//类模板中模板参数中可以有默认参数 #include#include using namespace std; template<class NameType, class AgeType = int> class Person { public: Person(NameType name, AgeType age) { this->m_Name = name; this->m_Age = age; } void showPerson() { cout << "Name = " << m_Name << endl; cout << "Age = " << m_Age << endl; } NameType m_Name; AgeType m_Age; }; void test() { Person<string>p("孙悟空", 1000); p.showPerson(); } int main() { test(); system("pause"); return 0; } - 1
- 2
- 3
- 4
- 5
- 6
- 7
- 8
- 9
- 10
- 11
- 12
- 13
- 14
- 15
- 16
- 17
- 18
- 19
- 20
- 21
- 22
- 23
- 24
- 25
- 26
- 27
- 28
- 29
- 30
- 31
- 32
- 33
3.类模板中成员函数创建时机类模板中成员函数与普通类中的成员函数创建时机不同:
- 普通类中成员函数一开始就创建了;
- 类模板中成员函数在调用的时候才创建;
//类模板中成员函数的创建时机 #includeusing namespace std; class Person1 { public: void showPerson1() { cout << "showPerson1" << endl; } }; class Person2 { public: void showPerson2() { cout << "showPerson2" << endl; } }; template<class T> class MyClass { public: T obj; void func1() { obj.showPerson1(); } void func2() { obj.showPerson2(); } }; void test() { MyClass<Person1>p;//类模板只有在调用时才会创建,指定为Person1就只能调用Person1下的函数 p.func1(); } int main() { test(); system("pause"); return 0; } - 1
- 2
- 3
- 4
- 5
- 6
- 7
- 8
- 9
- 10
- 11
- 12
- 13
- 14
- 15
- 16
- 17
- 18
- 19
- 20
- 21
- 22
- 23
- 24
- 25
- 26
- 27
- 28
- 29
- 30
- 31
- 32
- 33
- 34
- 35
- 36
- 37
- 38
- 39
- 40
- 41
- 42
- 43
- 44
- 45
- 46
4.类模板对象做函数参数类模板实例化出的对象,向函数传参的方式:
- 指定传入类型------直接显示对象的数据类型(最常用);
- 参数模板化---------将对象中参数变成模板进行传递;
- 整个类模板化------将这个类对象类型模板化进行传递;
4.1 指定传入类型//指定传入类型 #include#include using namespace std; template<class T1, class T2> class Person { public: Person(T1 name, T2 age) { this->m_Name = name; this->m_Age = age; } T1 m_Name; T2 m_Age; void showPerson() { cout << "name = " << m_Name << endl; cout << "age = " << m_Age << endl; } }; void printPerson(Person<string, int>& p) { p.showPerson(); } void test() { Person<string, int>p("孙悟空", 18); printPerson(p); } int main() { test(); system("pause"); return 0; } - 1
- 2
- 3
- 4
- 5
- 6
- 7
- 8
- 9
- 10
- 11
- 12
- 13
- 14
- 15
- 16
- 17
- 18
- 19
- 20
- 21
- 22
- 23
- 24
- 25
- 26
- 27
- 28
- 29
- 30
- 31
- 32
- 33
- 34
- 35
- 36
- 37

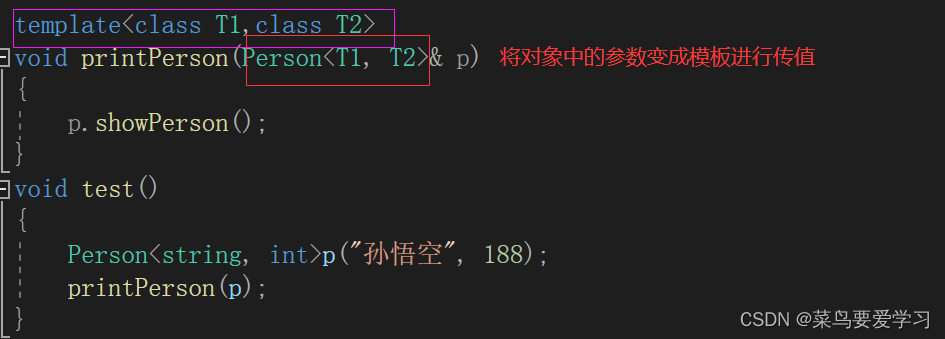
4.2 参数模板化//参数模板化 #include#include using namespace std; template<class T1, class T2> class Person { public: Person(T1 name, T2 age) { this->m_Name = name; this->m_Age = age; } T1 m_Name; T2 m_Age; void showPerson() { cout << "name = " << m_Name << endl; cout << "age = " << m_Age << endl; } }; template<class T1,class T2> void printPerson(Person<T1, T2>& p) { p.showPerson(); } void test() { Person<string, int>p("孙悟空", 188); printPerson(p); } int main() { test(); system("pause"); return 0; } - 1
- 2
- 3
- 4
- 5
- 6
- 7
- 8
- 9
- 10
- 11
- 12
- 13
- 14
- 15
- 16
- 17
- 18
- 19
- 20
- 21
- 22
- 23
- 24
- 25
- 26
- 27
- 28
- 29
- 30
- 31
- 32
- 33
- 34
- 35
- 36
- 37
- 38
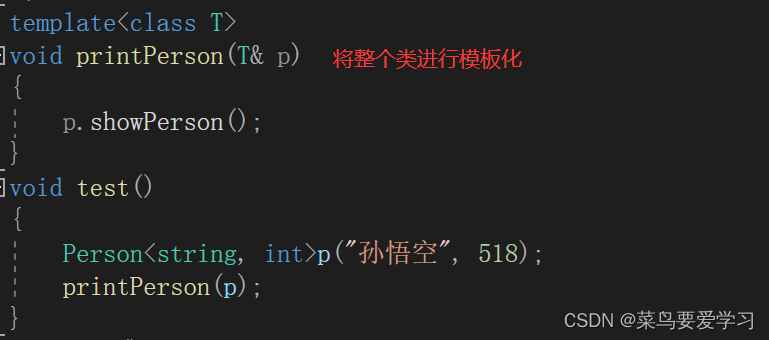
4.3 整个类模板化//整个类进行模板化 #include#include using namespace std; template<class T1, class T2> class Person { public: Person(T1 name, T2 age) { this->m_Name = name; this->m_Age = age; } T1 m_Name; T2 m_Age; void showPerson() { cout << "name = " << m_Name << endl; cout << "age = " << m_Age << endl; } }; template<class T> void printPerson(T& p) { p.showPerson(); } void test() { Person<string, int>p("孙悟空", 518); printPerson(p); } int main() { test(); system("pause"); return 0; } - 1
- 2
- 3
- 4
- 5
- 6
- 7
- 8
- 9
- 10
- 11
- 12
- 13
- 14
- 15
- 16
- 17
- 18
- 19
- 20
- 21
- 22
- 23
- 24
- 25
- 26
- 27
- 28
- 29
- 30
- 31
- 32
- 33
- 34
- 35
- 36
- 37
5.类模板与继承当类模板遇到继承时,需要注意以下几点:
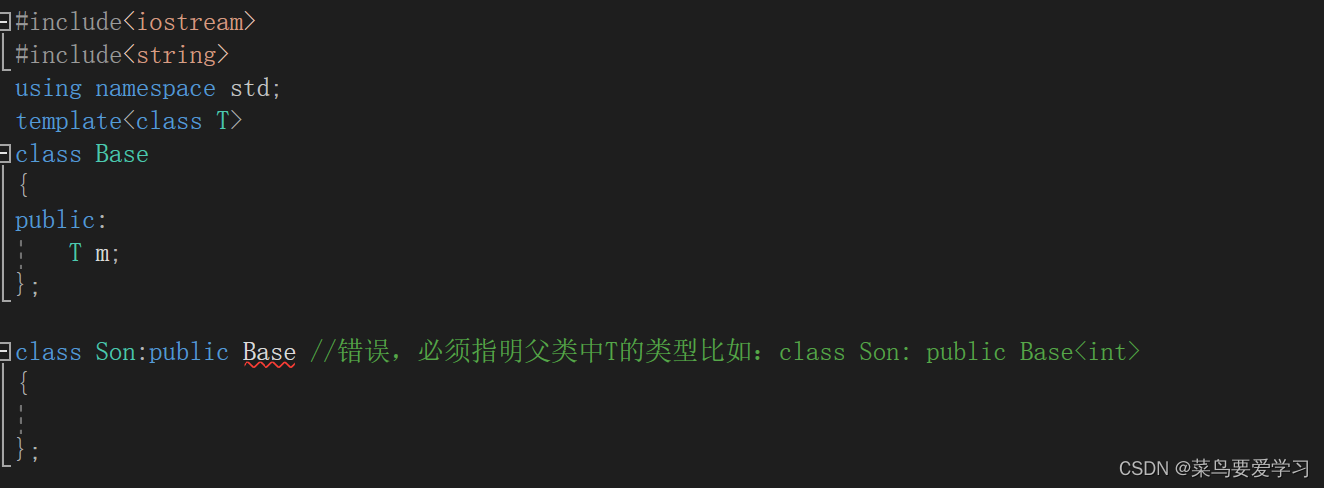
- 当子类继承的父类是一个类模板时,子类在声明时必须指明父类中T的类型,若不指定就无法分配内存;
- 若想灵活的指出父类中T的类型,子类也必须变成类模板;
//类模板和继承 #include#include using namespace std; template<class T> class Base { public: T m; }; class Son:public Base //错误,必须指明父类中T的类型比如:class Son: public Base { }; int main() { system("pause"); return 0; } - 1
- 2
- 3
- 4
- 5
- 6
- 7
- 8
- 9
- 10
- 11
- 12
- 13
- 14
- 15
- 16
- 17
- 18
- 19
- 20
- 21
以上代码无法运行,存在错误,作为例子进行说明…………
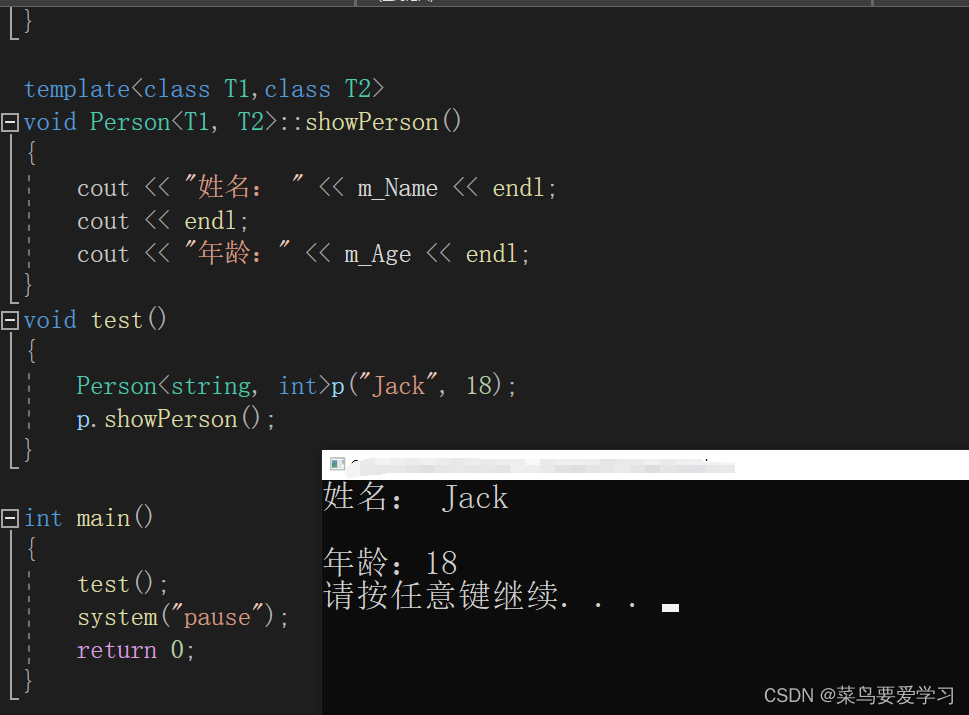
6.类模板成员函数类外实现类模板成员函数类外实现:需要加上模板参数列表//类模板成员函数类外实现 #include#include using namespace std; template<class T1,class T2> class Person { public: Person(T1 name, T2 age); void showPerson(); T1 m_Name; T2 m_Age; }; template<class T1,class T2> Person<T1,T2>::Person(T1 name,T2 age) { this->m_Name = name; this->m_Age = age; } template<class T1,class T2> void Person<T1, T2>::showPerson() { cout << "姓名: " << m_Name << endl; cout << endl; cout << "年龄:" << m_Age << endl; } void test() { Person<string, int>p("Jack", 18); p.showPerson(); } int main() { test(); system("pause"); return 0; } - 1
- 2
- 3
- 4
- 5
- 6
- 7
- 8
- 9
- 10
- 11
- 12
- 13
- 14
- 15
- 16
- 17
- 18
- 19
- 20
- 21
- 22
- 23
- 24
- 25
- 26
- 27
- 28
- 29
- 30
- 31
- 32
- 33
- 34
- 35
- 36
- 37
- 38
- 39


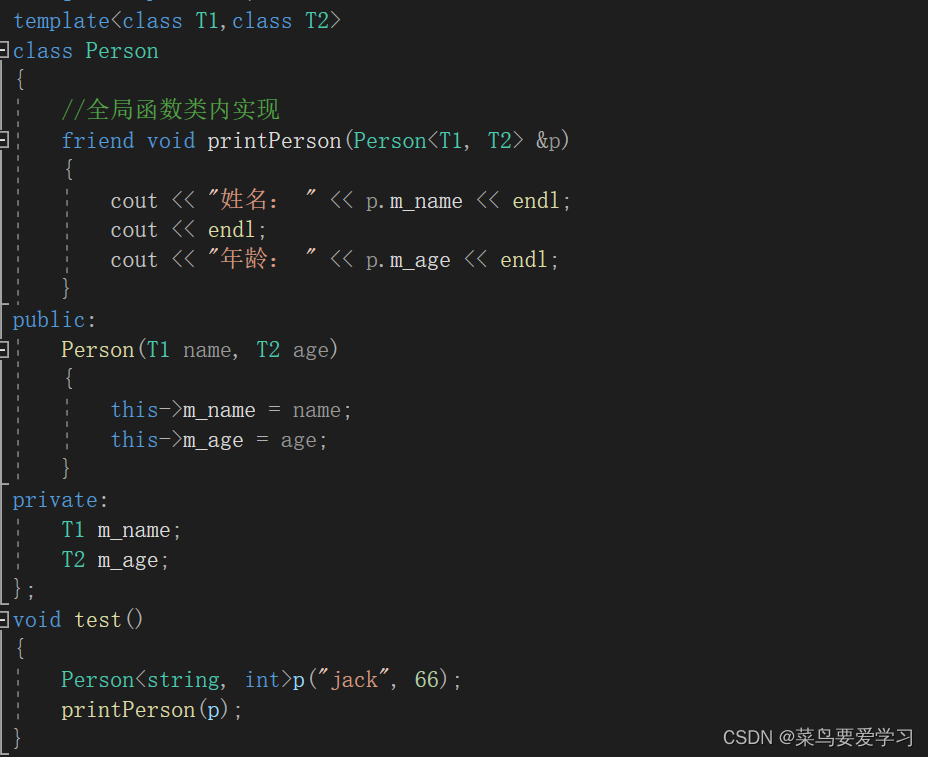
7.类模板与友元全局函数类内实现------直接在类内声明友元即可;
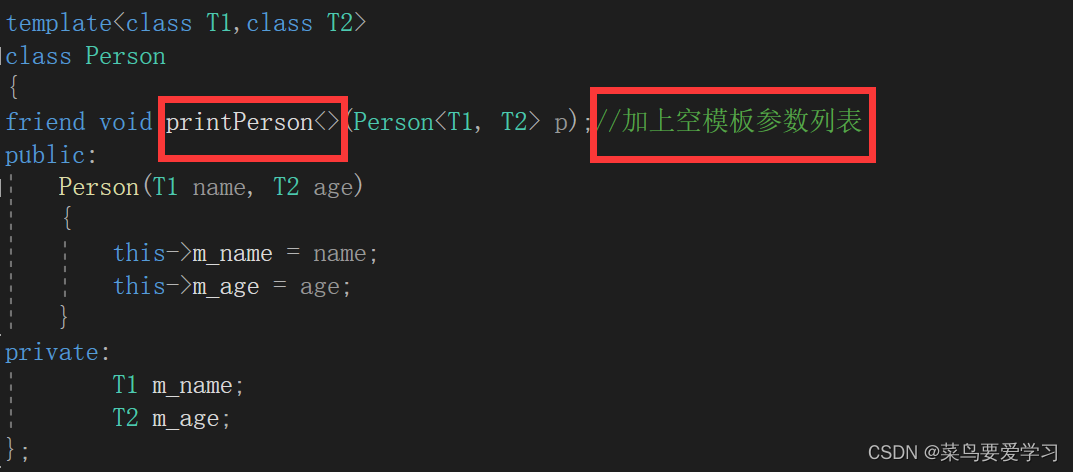
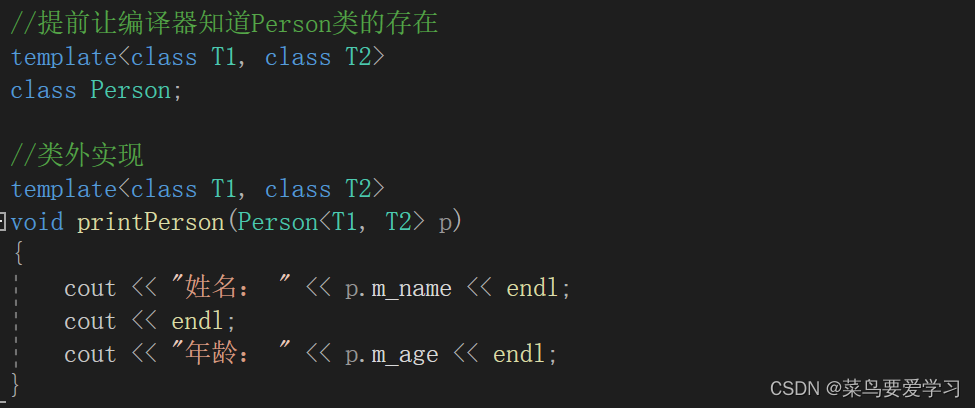
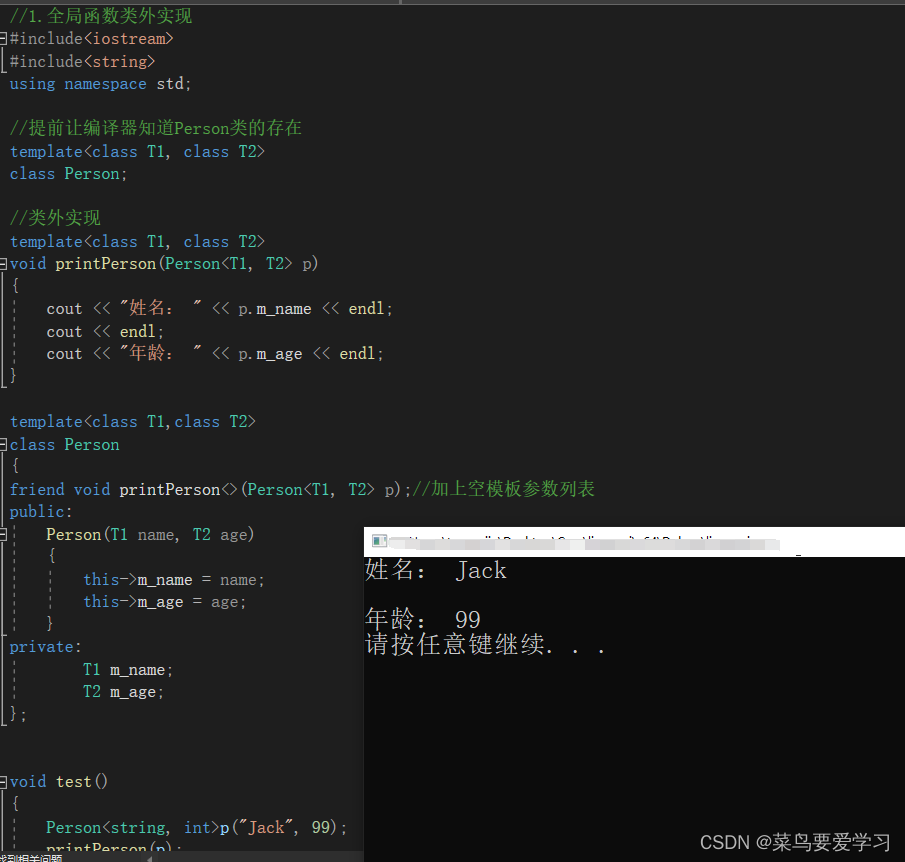
全局函数类外实现------需提前让编译器知道全局函数的存在(加上空模板参数列表)7.1全局函数类内实现#include#include using namespace std; template<class T1,class T2> class Person { //全局函数类内实现 friend void printPerson(Person<T1, T2> &p) { cout << "姓名: " << p.m_name << endl; cout << endl; cout << "年龄: " << p.m_age << endl; } public: Person(T1 name, T2 age) { this->m_name = name; this->m_age = age; } private: T1 m_name; T2 m_age; }; void test() { Person<string, int>p("jack", 66); printPerson(p); } int main() { test(); system("pause"); return 0; } - 1
- 2
- 3
- 4
- 5
- 6
- 7
- 8
- 9
- 10
- 11
- 12
- 13
- 14
- 15
- 16
- 17
- 18
- 19
- 20
- 21
- 22
- 23
- 24
- 25
- 26
- 27
- 28
- 29
- 30
- 31
- 32
- 33
- 34
- 35

7.2全局函数类外实现//1.全局函数类外实现 #include#include using namespace std; //提前让编译器知道Person类的存在 template<class T1, class T2> class Person; //类外实现 template<class T1, class T2> void printPerson(Person<T1, T2> p) { cout << "姓名: " << p.m_name << endl; cout << endl; cout << "年龄: " << p.m_age << endl; } template<class T1,class T2> class Person { friend void printPerson<>(Person<T1, T2> p);//加上空模板参数列表 public: Person(T1 name, T2 age) { this->m_name = name; this->m_age = age; } private: T1 m_name; T2 m_age; }; void test() { Person<string, int>p("Jack", 99); printPerson(p); } int main() { test(); system("pause"); return 0; } - 1
- 2
- 3
- 4
- 5
- 6
- 7
- 8
- 9
- 10
- 11
- 12
- 13
- 14
- 15
- 16
- 17
- 18
- 19
- 20
- 21
- 22
- 23
- 24
- 25
- 26
- 27
- 28
- 29
- 30
- 31
- 32
- 33
- 34
- 35
- 36
- 37
- 38
- 39
- 40
- 41
- 42
- 43
- 44
- 45
- 46
- 47
-
相关阅读:
New SQL
Docker 基本管理
lightdb22.4-新增优化器提示cardinality 和ordered_predicates
MFC工控项目实例二十七添加产品参数
SpringBoot系列——SpringBoot整合mybatis+Druid
es6 基础知识详解 变量 字符串 解构赋值 函数 对象 从入门到精通
Apache Commons CSV 基本使用
MyBatis-Plus 框架 2022-8-2
Vue中的$attrs和inheritAttrs
在 Visual Studio 2022 中使用文件对比
- 原文地址:https://blog.csdn.net/TYJ00/article/details/126342437
