-
微信小程序自定义组件、组件应用、插槽、slot
一、自定义组件
官方文档:自定义组件 | 微信开放文档
二、组件部分
1、在component下创建组件文件夹 testComponent
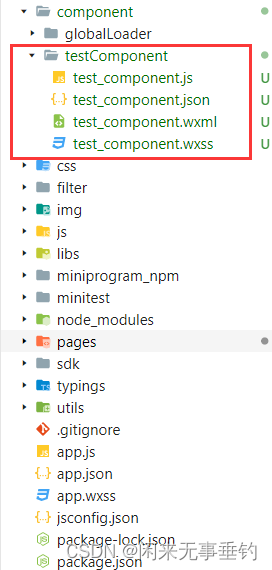
2、启用组件 test_component.json( 创建文件时自动就是true就不用在改了component: true,)
- {
- "component": true,
- }
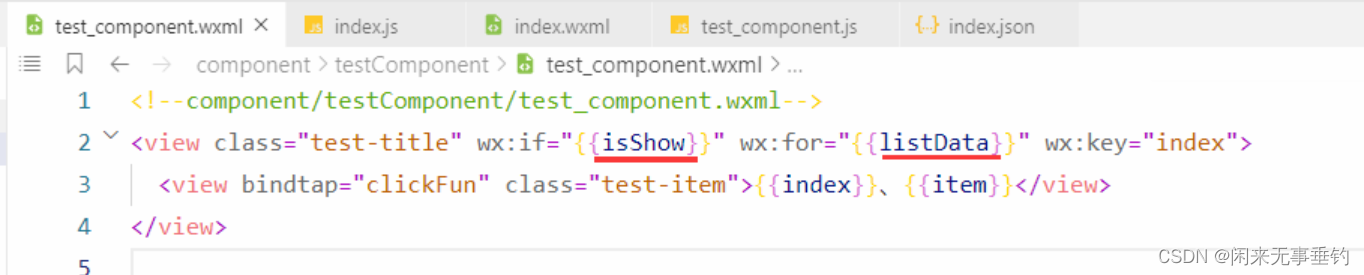
3、test_component.wxml
- <view class="test-title" wx:if="{{isShow}}" wx:for="{{listData}}" wx:key="index">
- <view bindtap="clickFun" data-item="{{item}}" class="test-item">{{index}}、{{item}view>
- view>
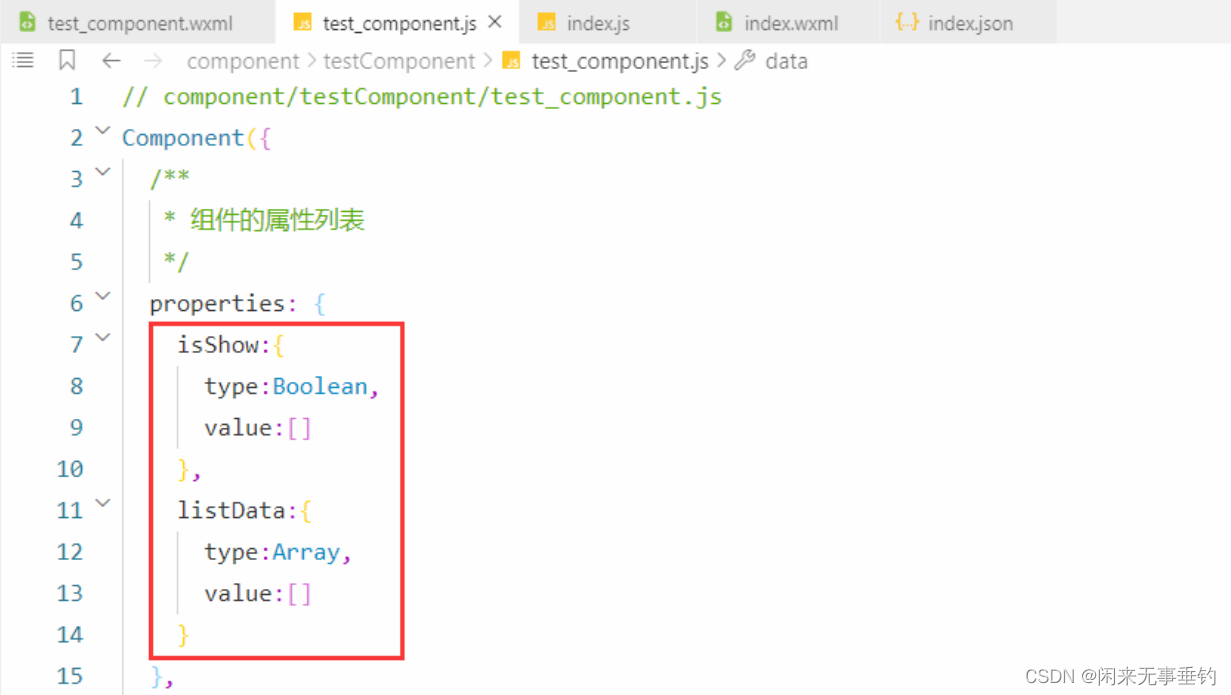
3、test_component.js
- Component({
- /**
- * 组件的属性列表
- */
- properties: {
- isShow:{//设置isShow 类型与值
- type:Boolean,
- value:[]
- },
- listData:{//设置listData 类型
- type:Array,
- value:[]
- }
- },
- /**
- * 组件的初始数据
- */
- data: {},
- /**
- * 组件的方法列表
- */
- methods: {
- clickFun(e){//一些要处理的逻辑
- console.log(e.currentTarget.dataset.item)
- },
- }
- })
三、调用组件
这边在index页面调用
1、index.json 引用组件 test_componet
(可以引用单个或多个,globalLoader-cmp可以不用管是我这里需要的)
- {
- "navigationBarTitleText": "test",
- "backgroundColor": "#ffffff",
- "usingComponents": {
- "test_component": "/component/testComponent/test_component",
- "globalLoader-cmp": "/component/globalLoader/globalLoader"
- }
2、index.wxml
(这里isShow="{{isShow}}" 第一个是对应组件页面里wx:if="{{isShow}}" 里的 ;第二个可以自己随便起名字,是对应自己index.js里data的数据字段,listData和他一样)
<test_component isShow="{{isShow}}" listData="{{listData}}">test_component>3、index.js data里设置需要的值
- data: {
- isShow:true,
- listData:['测试一','abc','描述'],
- }
自定义组件——插槽 slot
官方文档 组件模板和样式 | 微信开放文档
默认只有一个插槽,也可设置多插槽,通俗点就是插入到组件里的内容
单插槽的时候直接插入组件就可以
- <test_component isShow="{{isShow}}" listData="{{listData}}">
- <view>我是单插槽插入的内容view>
- test_component>
如果用多插槽,需要在组件test_component.js里设置启用,
- <test_component isShow="{{isShow}}" listData="{{listData}}">
- <slot name="before">我是插槽一的数据slot>
- <slot name="after">我是插槽二的数据slot>
- test_component>
- Component({
- options:{
- multipleSlots:true//开启多插槽
- },
- /**
- * 组件的属性列表
- */
- properties: {
- isShow:{
- type:Boolean,
- value:[]
- },
- listData:{
- type:Array,
- value:[]
- }
- },
- /**
- * 组件的初始数据
- */
- data: {},
- /**
- * 组件的方法列表
- */
- methods: {
- clickFun(e){//要处理的逻辑
- console.log(e.currentTarget.dataset.item)
- },
- }
- })
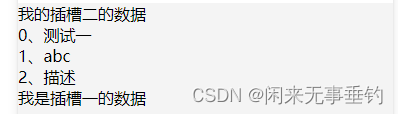
当多插槽时,需要通过name来指定具体插槽
"{{isShow}}" listData="{{listData}}"> - <view slot="before">我是插槽一的数据view>
- <view slot="after">我是插槽二的数据view>
展示结果
-
相关阅读:
java题目 ----选择结构
Java基础题目
前端稳定性建设
自定义数据类型:结构体、枚举、联合
MySQL--MySQL表的增删改查(进阶)
SpringBoot 2.6. 整合springfox 3.0报错问题解决
堪称完美,仅用了330页直接封神,被大家吹爆的RocketMQ笔记
浅析Java设计模式【3.6】——模板方法
单目标追踪——【Transformer】Learning Spatio-Temporal Transformer for Visual Tracking
2014年下半年 系统架构设计师 下午论文
- 原文地址:https://blog.csdn.net/qq_39109182/article/details/126290457