-
webpack打包优化之外部扩展(Externals)配置
基本使用
webpack可以使用externals配置,将某些模块不打包到输出文件中,从而使用用CDN引入外部模块
这样操作下来,不仅可以提高打包速度,还能优化网页加载性能。
index.html
<script src="https://code.jquery.com/jquery-3.1.0.js">script>- 1
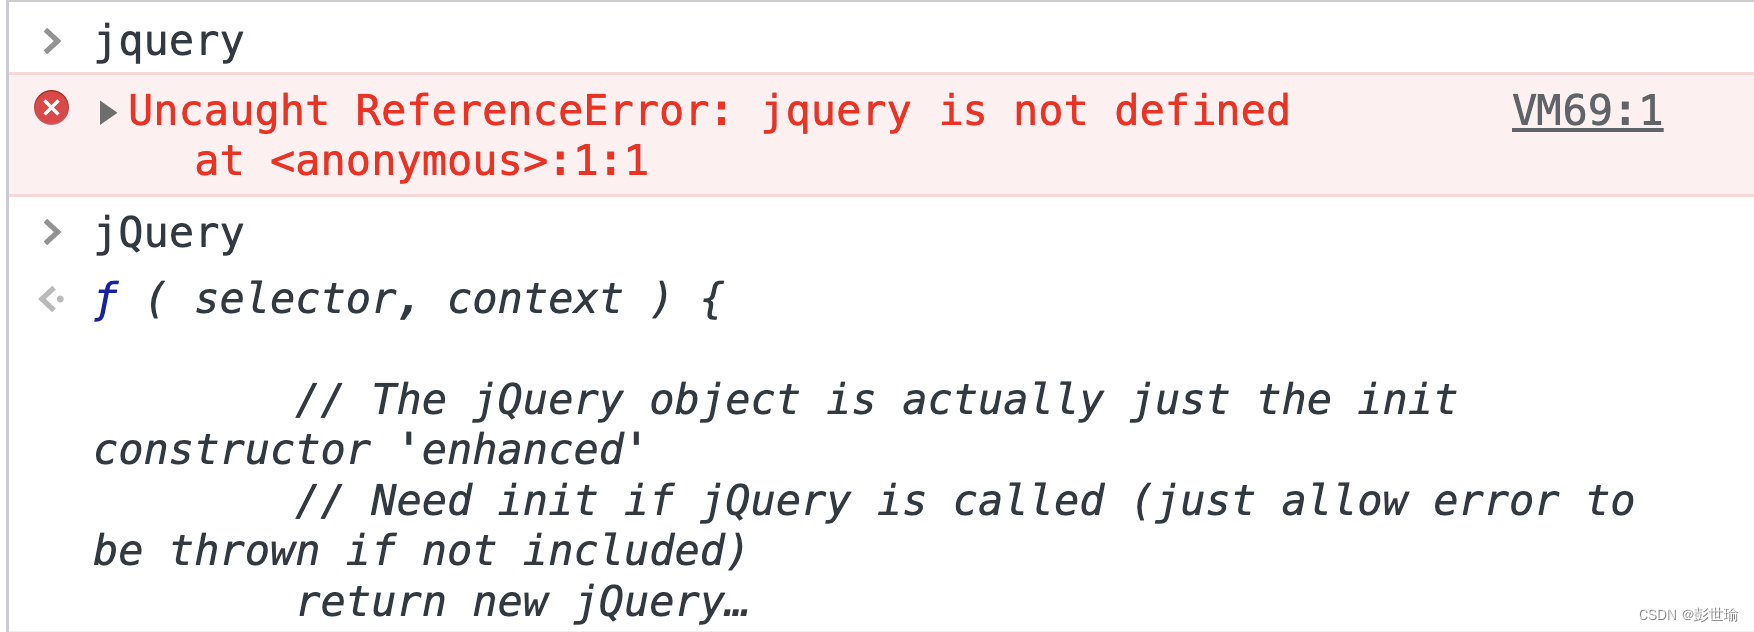
打开控制台,输入
jQuery可以看到是一个函数了
webpack.config.js
module.exports = { externals: { jquery: 'jQuery', }, };- 1
- 2
- 3
- 4
- 5
相当于告诉webpack, 当代码中引入
jquery的时候,使用window.jQuery替换import $ from 'jquery'; // const $ = jquery = window.jQuery- 1
- 2
更多示例
module.exports = { externals: { moment: "moment", vue: "Vue", "element-ui": "ElementUI", }, };- 1
- 2
- 3
- 4
- 5
- 6
- 7
完整示例
以Lodash 为例,体验一次webpack 的打包优化
初始化项目并安装依赖
$ node -v v16.14.0 npm init -y pnpm i -D cross-env webpack webpack-cli html-webpack-plugin pnpm i -S lodash- 1
- 2
- 3
- 4
- 5
- 6
- 7
项目目录结构
$ tree . ├── package.json ├── src │ └── index.js └── webpack.config.js- 1
- 2
- 3
- 4
- 5
- 6
package.json
{ "name": "webpack-externals", "scripts": { "build": "cross-env NODE_ENV=production webpack --config webpack.config.js" }, "devDependencies": { "cross-env": "^7.0.3", "html-webpack-plugin": "^5.5.0", "webpack": "^5.74.0", "webpack-cli": "^4.10.0" }, "dependencies": { "lodash": "^4.17.21" } }- 1
- 2
- 3
- 4
- 5
- 6
- 7
- 8
- 9
- 10
- 11
- 12
- 13
- 14
- 15
- 16
webpack配置
// webpack.config.js const HtmlWebpackPlugin = require("html-webpack-plugin"); module.exports = { entry: "./src/index.js", plugins: [new HtmlWebpackPlugin()], };- 1
- 2
- 3
- 4
- 5
- 6
- 7
- 8
- 9
示例代码
// src/index.js import _ from 'lodash' // 转换字符串string为驼峰写法。 let res = _.camelCase('get_username') // 在控制台输出运行结果,证明lodash 库被正确引入 console.log(res); // getUsername- 1
- 2
- 3
- 4
- 5
- 6
- 7
- 8
打包编译
$ npm run build > webpack-externals@1.0.0 build > cross-env NODE_ENV=production webpack --config webpack.config.js asset main.js 69.5 KiB [emitted] [minimized] (name: main) 1 related asset asset index.html 214 bytes [compared for emit] runtime modules 1010 bytes 5 modules cacheable modules 531 KiB ./src/index.js 122 bytes [built] [code generated] ./node_modules/.pnpm/lodash@4.17.21/node_modules/lodash/lodash.js 531 KiB [built] [code generated] webpack 5.74.0 compiled successfully in 2213 ms- 1
- 2
- 3
- 4
- 5
- 6
- 7
- 8
- 9
- 10
- 11
- 12
使用externals 配置进行优化
$ tree . ├── index.html # 新增一个index文件 ├── package.json ├── src │ └── index.js └── webpack.config.js- 1
- 2
- 3
- 4
- 5
- 6
- 7
index.html
DOCTYPE html> <html lang="en"> <head> <meta charset="UTF-8" /> <meta http-equiv="X-UA-Compatible" content="IE=edge" /> <meta name="viewport" content="width=device-width, initial-scale=1.0" /> <title>Webpack Externals Demotitle> head> <body> <script src="https://cdn.bootcdn.net/ajax/libs/lodash.js/4.17.21/lodash.min.js">script> body> html>- 1
- 2
- 3
- 4
- 5
- 6
- 7
- 8
- 9
- 10
- 11
- 12
- 13
修改配置文件
// webpack.config.js const HtmlWebpackPlugin = require("html-webpack-plugin"); module.exports = { entry: "./src/index.js", // 配置外部依赖 externals: { // lodash = window._ lodash: "_", }, plugins: [ // 指定模板文件 new HtmlWebpackPlugin({ template: "./index.html", }), ], };- 1
- 2
- 3
- 4
- 5
- 6
- 7
- 8
- 9
- 10
- 11
- 12
- 13
- 14
- 15
- 16
- 17
- 18
- 19
- 20

需要注意的是,两个地方出现的下划线_并没有任何关系// 此处的_ 表示的是局部变量赋值 // _ = lodash = window._ import _ from 'lodash' // 表示的是指定引入库的时候,指定哪一个全局变量取替换 // lodash = window._ externals: { // lodash = window._ lodash: "_", },- 1
- 2
- 3
- 4
- 5
- 6
- 7
- 8
- 9
- 10
打包编译
$ npm run build > build > cross-env NODE_ENV=production webpack --config webpack.config.js asset index.html 380 bytes [emitted] asset main.js 318 bytes [compared for emit] [minimized] (name: main) runtime modules 663 bytes 3 modules orphan modules 42 bytes [orphan] 1 module ./src/index.js + 1 modules 180 bytes [not cacheable] [built] [code generated] webpack 5.74.0 compiled successfully in 475 ms- 1
- 2
- 3
- 4
- 5
- 6
- 7
- 8
- 9
- 10
- 11
打包对比
打包前文件 打包后文件 main.js(69.5 KiB) main.js(318 bytes) + lodash.min.js(27.1 KiB) 可以看到,使用了externals 外部引入之后,打包体积之和都比没有优化之前小,业务代码变得更小,能很好地利用js静态文件在浏览器中的缓存机制,更快的加载更新后的代码
-
相关阅读:
基于JAVA中小企业人力资源管理系统计算机毕业设计源码+系统+数据库+lw文档+部署
JS—DOM节点的使用知识整理
C语言,指针的一些运算
Spring第二讲:Spring基础 - Spring和Spring框架组成
状态模式(状态和行为分离)
C语言2:说心里话
视野修炼-技术周刊第57期
【微信小程序】博客小程序,静态版本(二)引入 lin-ui 组件、设计和开发文章页
计算机网络期末知识点(第六章)
leetcode_1339. 分裂二叉树的最大乘积
- 原文地址:https://blog.csdn.net/mouday/article/details/126179007
