当我们申请完SSL证书后,还需要对nginx进行相关配置,才可以转为安全连接。
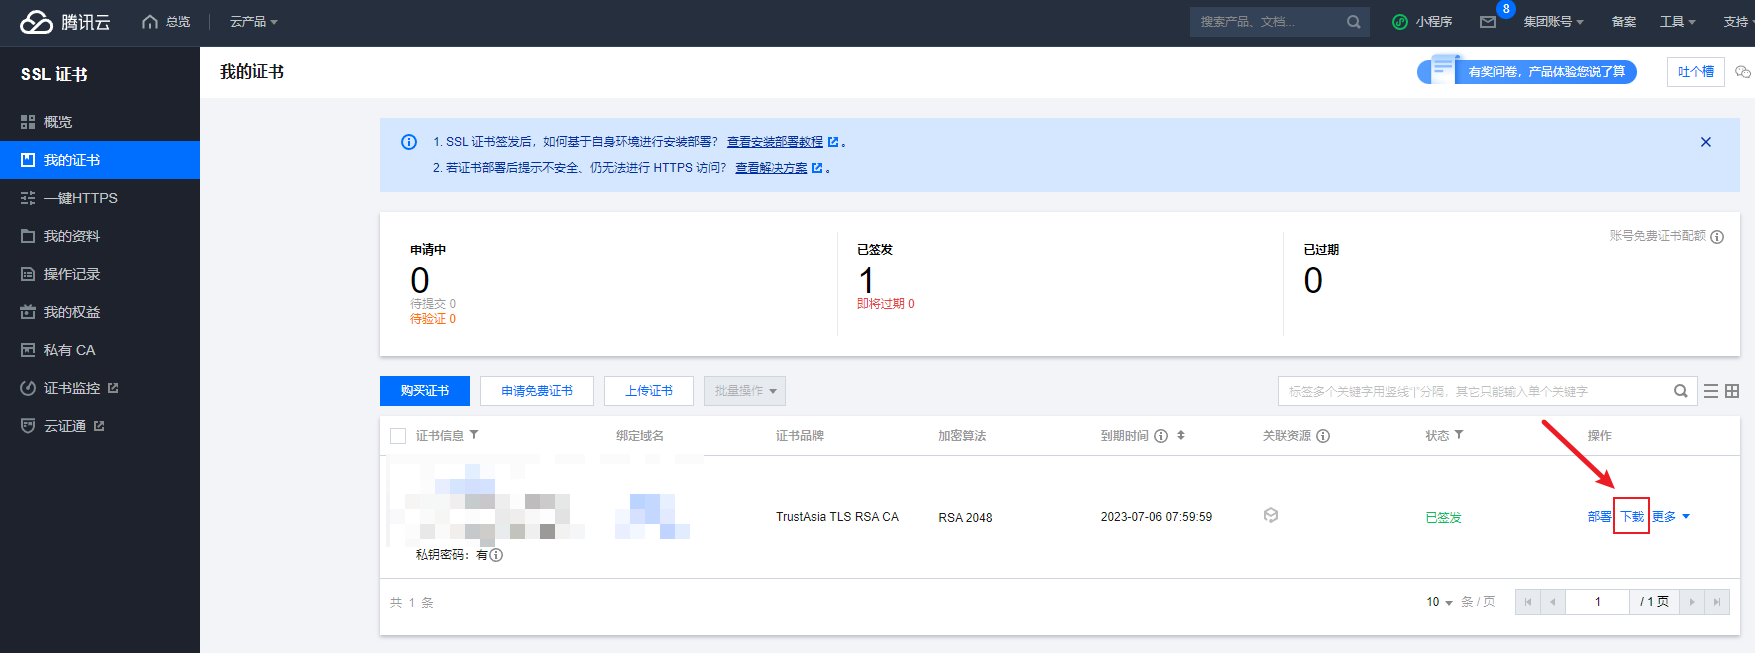
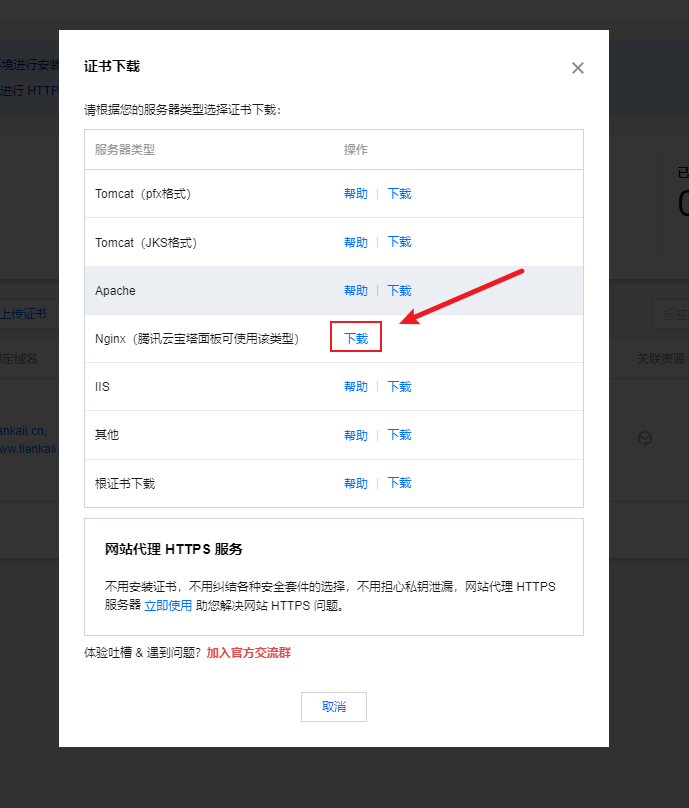
上述截图操作后,我们可以下载证书到本地了。
解压后如图:
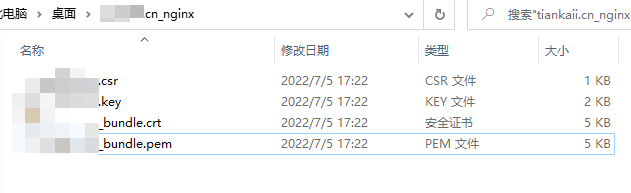
其中:
.key结尾的文件为密钥文件。
.pem结尾的文件为证书文件。
我们需要把这两个文件上传到服务器上。
我这里上传到/usr/local/nginx/cert/目录下。
上传后如图:

里面包含了我们的密钥文件和证书文件
好了。这样我们就上传证书到服务器了。
我们还需要配置nginx.conf文件来使证书文件生效。
添加server模块。
在配置文件中添加模块server模块。
一般,默认的配置文件是有这些内容的,只不过被注释掉了。我们放开就好。
但是,也要改些东西。下面已经给出提示。
server {
        listen       443 ssl;
        server_name  localhost;
        # 后面的路径是你上一步上传文件的绝对路径。
        # 不写绝对路径会报错
        ssl_certificate      /usr/local/nginx/cert/xxxxxxxx_bundle.pem;
        ssl_certificate_key  /usr/local/nginx/cert/xxxxxxxx.key;

        ssl_session_cache    shared:SSL:1m;
        ssl_session_timeout  5m;

        ssl_ciphers  HIGH:!aNULL:!MD5;
        ssl_prefer_server_ciphers  on;

        location / {
            root   html;
            index  index.html index.htm;
        }
    }
/usr/local/ngxin/sbin/nginx -V
展示信息:
nginx version: nginx/1.12.2
built by gcc 4.8.5 20150623 (Red Hat 4.8.5-44) (GCC)
configure arguments:
configure arguments后为我们安装的模块。可以看到没有安装ssl模块。
如果你含有ngx_http_ssl_module,那么你可以跳过添加模块这个步骤。
注意:不是/usr/local/nginx/
我的安装目录是:/usr/local/nginx-1.20.2
里面含有configure文件。

在安装目录下依次输入:
./configure --prefix=/usr/local/nginx ./configure --with-http_ssl_modulemakemake installcp /usr/local/nginx/sbin/nginx /usr/local/nginx/sbin/nginx.bakcp ./objs/nginx /usr/local/nginx/sbin/重启:
/usr/local/nginx/sbin/nginx -s reload测试:
游览器输入https://域名
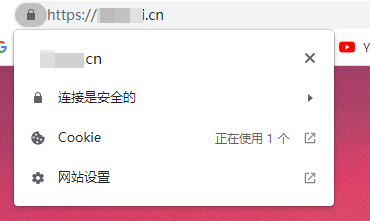
连接是安全的,成功。