-
springboot admin自定义监控里的info信息
目录
info端点:书写应用相关的内容
一 简单的info
要在下图的蓝框处设置自定义的info信息

修改client的配置文件如下:

- #设置端口,client的端口不要和server的端口冲突
- server:
- port: 81
- spring:
- boot:
- admin:
- client:
- # 此url指向server端
- url: http://localhost:8080
- management:
- # 开启了health 信息
- endpoint:
- health:
- show-details: always
- #设置单个info端点开放
- info:
- enabled: true
- # 设置web端开启了全部信息
- endpoints:
- web:
- exposure:
- # *别忘加引号
- include: "*"
- # 开放全部端点
- enabled-by-default: true
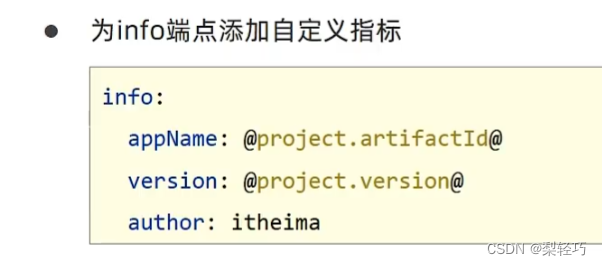
- #书写应用相关的内容
- info:
- # 在info中设置了一个author,它的值是 qing
- author: qing
- company: 晴
- appName: @project.artifactId@
- version: @project.version@
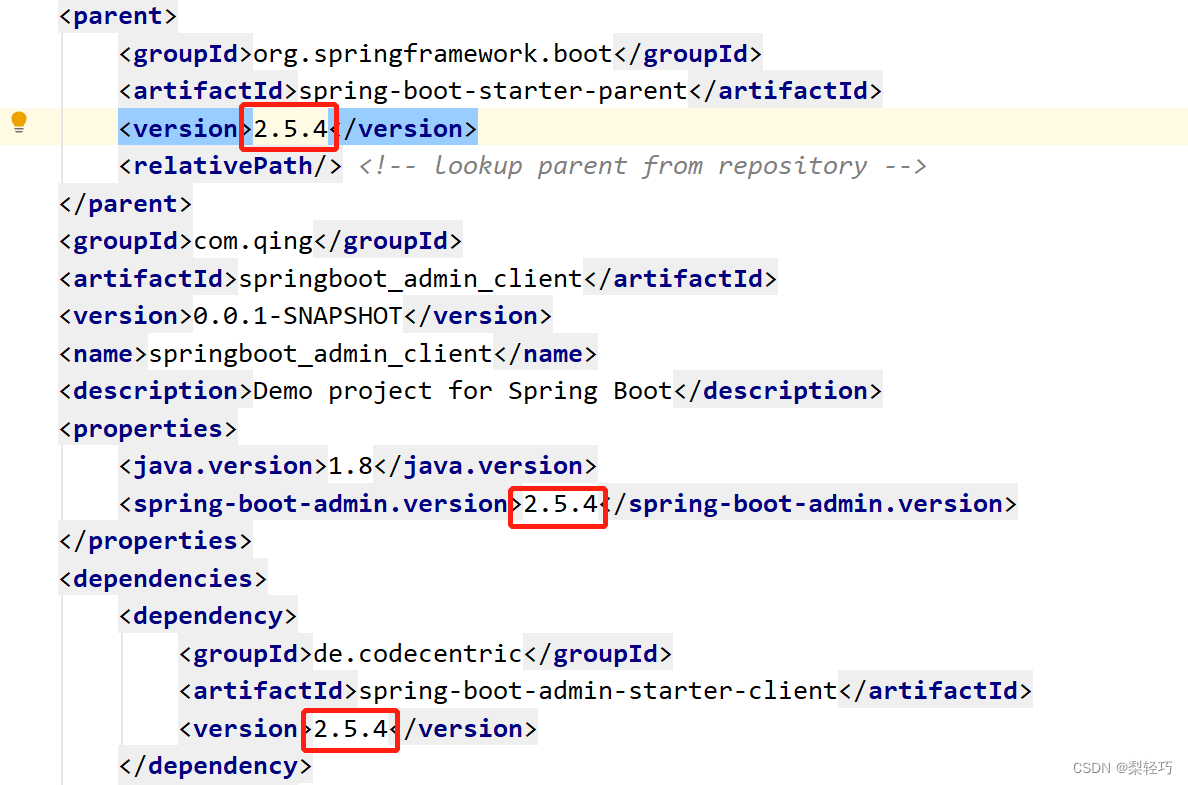
如果info未显示,请修改client程序的 springboot的版本为2.6以下,以及保持client坐标版本与springboot 同步
我之前是2.7.1的版本就不显示info
修改成2.5.4 就显示了

二 复杂点的info
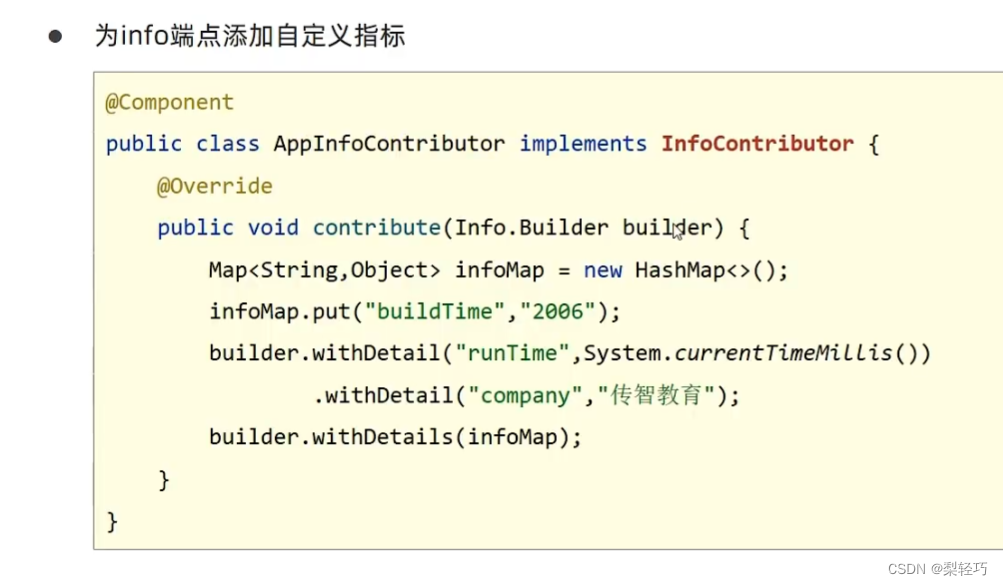
在client程序里自定义一个config类
- package com.qing;
- import org.springframework.boot.actuate.info.Info;
- import org.springframework.boot.actuate.info.InfoContributor;
- import org.springframework.stereotype.Component;
- import java.util.HashMap;
- import java.util.Map;
- @Component
- public class InfoConfig implements InfoContributor {
- @Override
- public void contribute(Info.Builder builder) {
- //设置单条信息
- builder.withDetail("runtime:",System.currentTimeMillis());
- //设置多条信息
- Map map = new HashMap();
- map.put("水果:","apple");
- Map map2 = new HashMap();
- map.put("家具:","桌子");
- //支持链式编程
- builder.withDetails(map).withDetails(map2);
- }
- }

总结


-
相关阅读:
【数字IC前端入门】03-Linux基础操作(持续更新....)
学生Dreamweaver静态网页设计 基于HTML+CSS+JavaScript制作简食餐厅美食网站制作
105份墨天轮“国产化迁移”精品文档汇总(含TiDB、openGauss、上云等)
aliyun服务器centos8安装docker
Latex常用疑难字符及表达式
java图片转成base64传给前端
【Paddle】图像分类竞赛baseline——以智能硬件语音控制的时频图分类挑战赛为例
Android 进阶——系统启动之SystemServer创建并启动PackageManagerService服务(十一)
立创ERP仓库管理模块字段说明书
人脸识别:FaceSDK 8.1 Crack
- 原文地址:https://blog.csdn.net/m0_45877477/article/details/125628324