-
vue3 + vue-cli3/4配置svg文件的全局使用
全局配置svg步骤
1、安装插件
yarn add svg-sprite-loader -D做笔记时安装的依赖包版本为 :
"svg-sprite-loader": "^6.0.11",- 1
svg-sprite-loader根据导入的 svg 文件自动生成 symbol 标签(svg雪碧图)并插入 html。
官网配置文档:https://github.com/JetBrains/svg-sprite-loader#readme
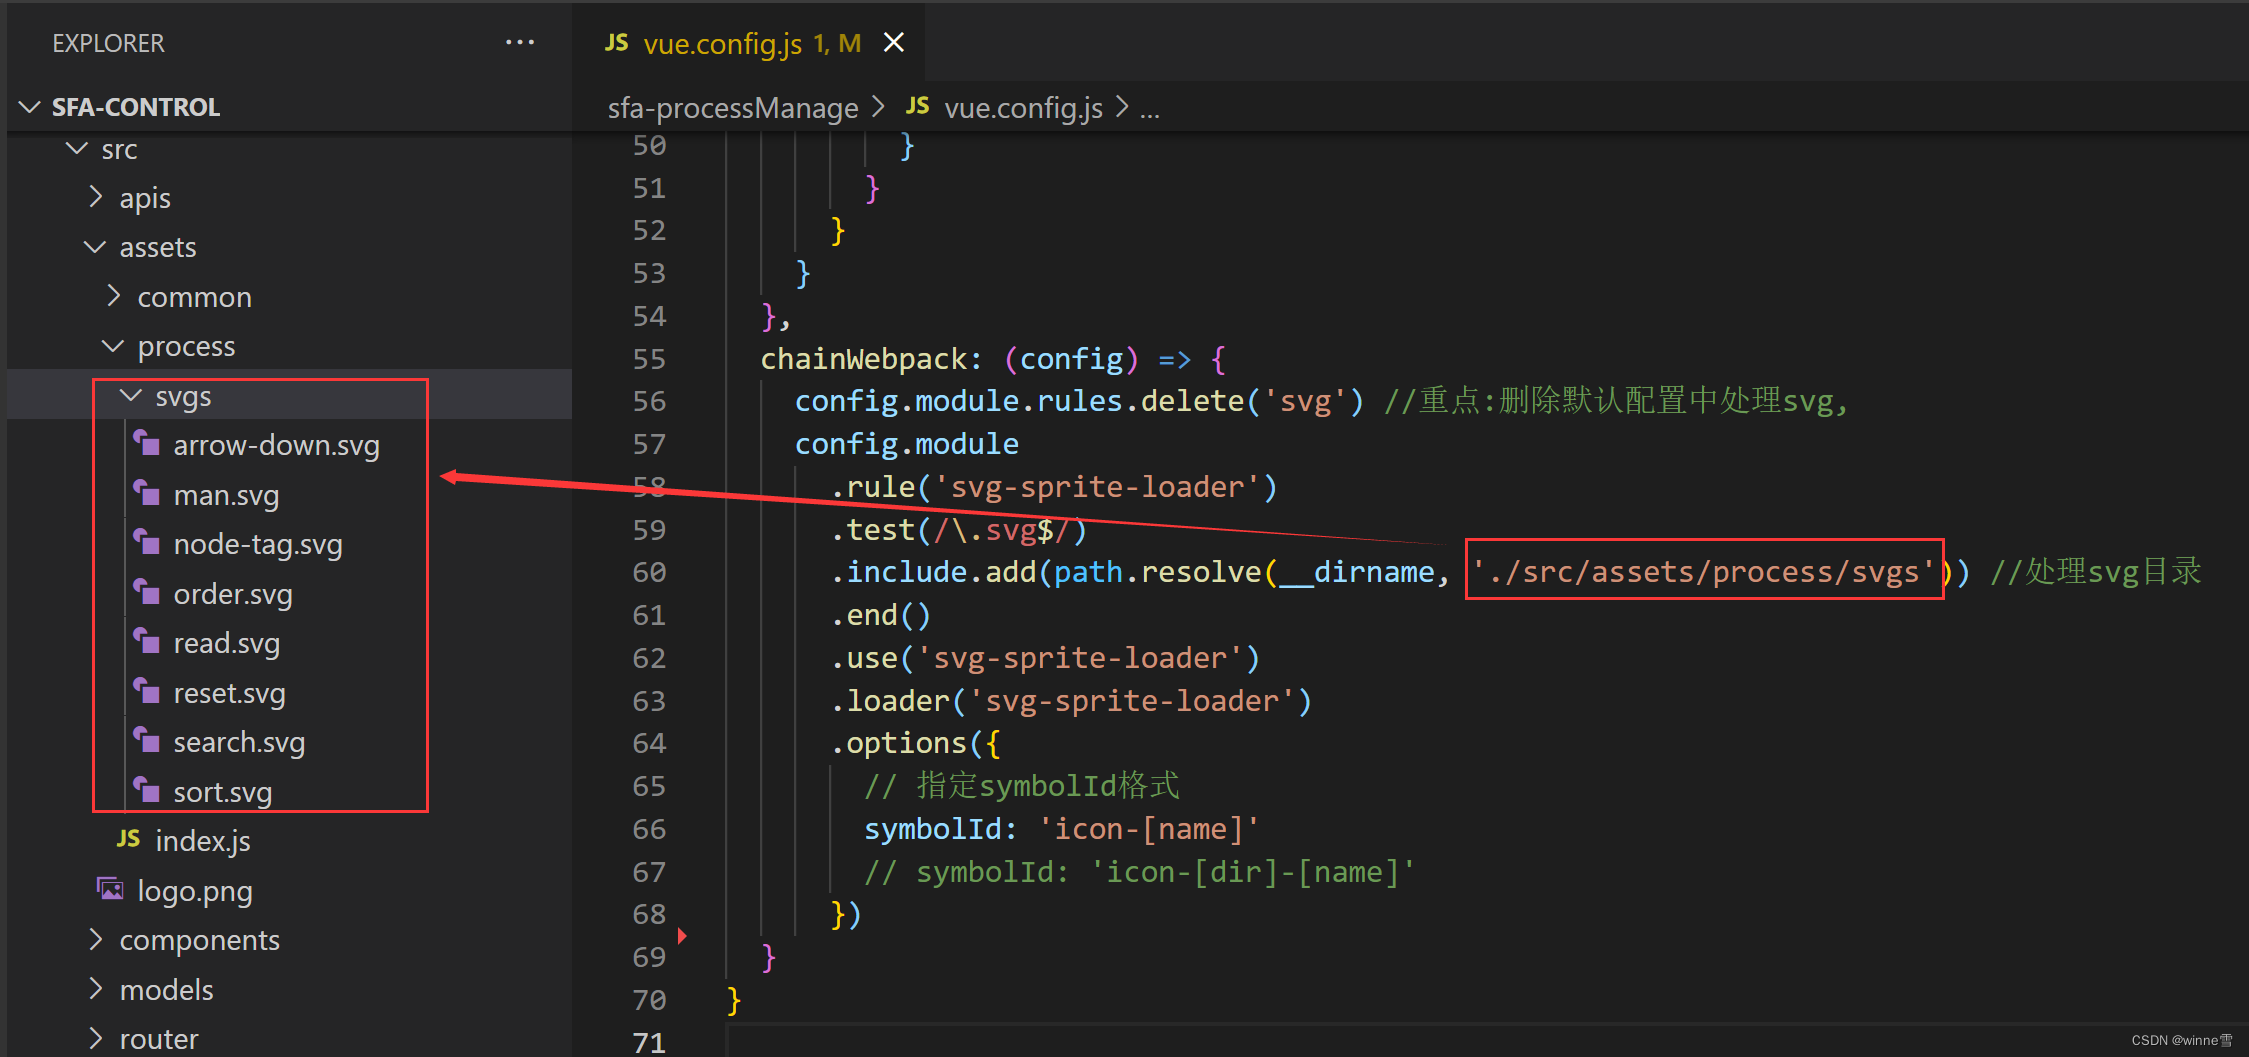
2、配置插件 vue.config.js
const path = require('path') module.exports = { chainWebpack: (config) => { config.module.rules.delete('svg') // 重点:删除默认配置中处理svg, config.module .rule('svg-sprite-loader') .test(/\.svg$/) .include.add(path.resolve(__dirname, './src/assets/process/svgs')) // 需要处理svg的目录(可自定义) .end() .use('svg-sprite-loader') .loader('svg-sprite-loader') .options({ // 指定symbolId格式 symbolId: 'icon-[name]' // symbolId: 'icon-[dir]-[name]' }) } }- 1
- 2
- 3
- 4
- 5
- 6
- 7
- 8
- 9
- 10
- 11
- 12
- 13
- 14
- 15
- 16
- 17
- 18
- 19
3、根据vue.config.js中配置的svg图标文件夹,建好文件夹,把svg图标放入

4、创建一个公共SvgIcon.vue组件
src/components/SvgIcon.vue<template> <svg :class="svgClass" aria-hidden="true"> <use :xlink:href="iconName" /> </svg> </template> <script> export default { name: 'SvgIcon', props: { iconClass: { type: String, required: true }, className: { type: String, default: '' } }, computed: { iconName() { return `#icon-${this.iconClass}` }, svgClass() { if (this.className) { return 'svg-icon ' + this.className } else { return 'svg-icon' } } } } </script> <style scoped> .svg-icon { width: 16px; height: 16px; fill: currentColor; } </style>- 1
- 2
- 3
- 4
- 5
- 6
- 7
- 8
- 9
- 10
- 11
- 12
- 13
- 14
- 15
- 16
- 17
- 18
- 19
- 20
- 21
- 22
- 23
- 24
- 25
- 26
- 27
- 28
- 29
- 30
- 31
- 32
- 33
- 34
- 35
- 36
- 37
- 38
- 39
- 40
- 41
- 42
5 导入svg文件 并 全局注册SvgIcon.vue组件
1、自动导入所有要处理的svg图标文件
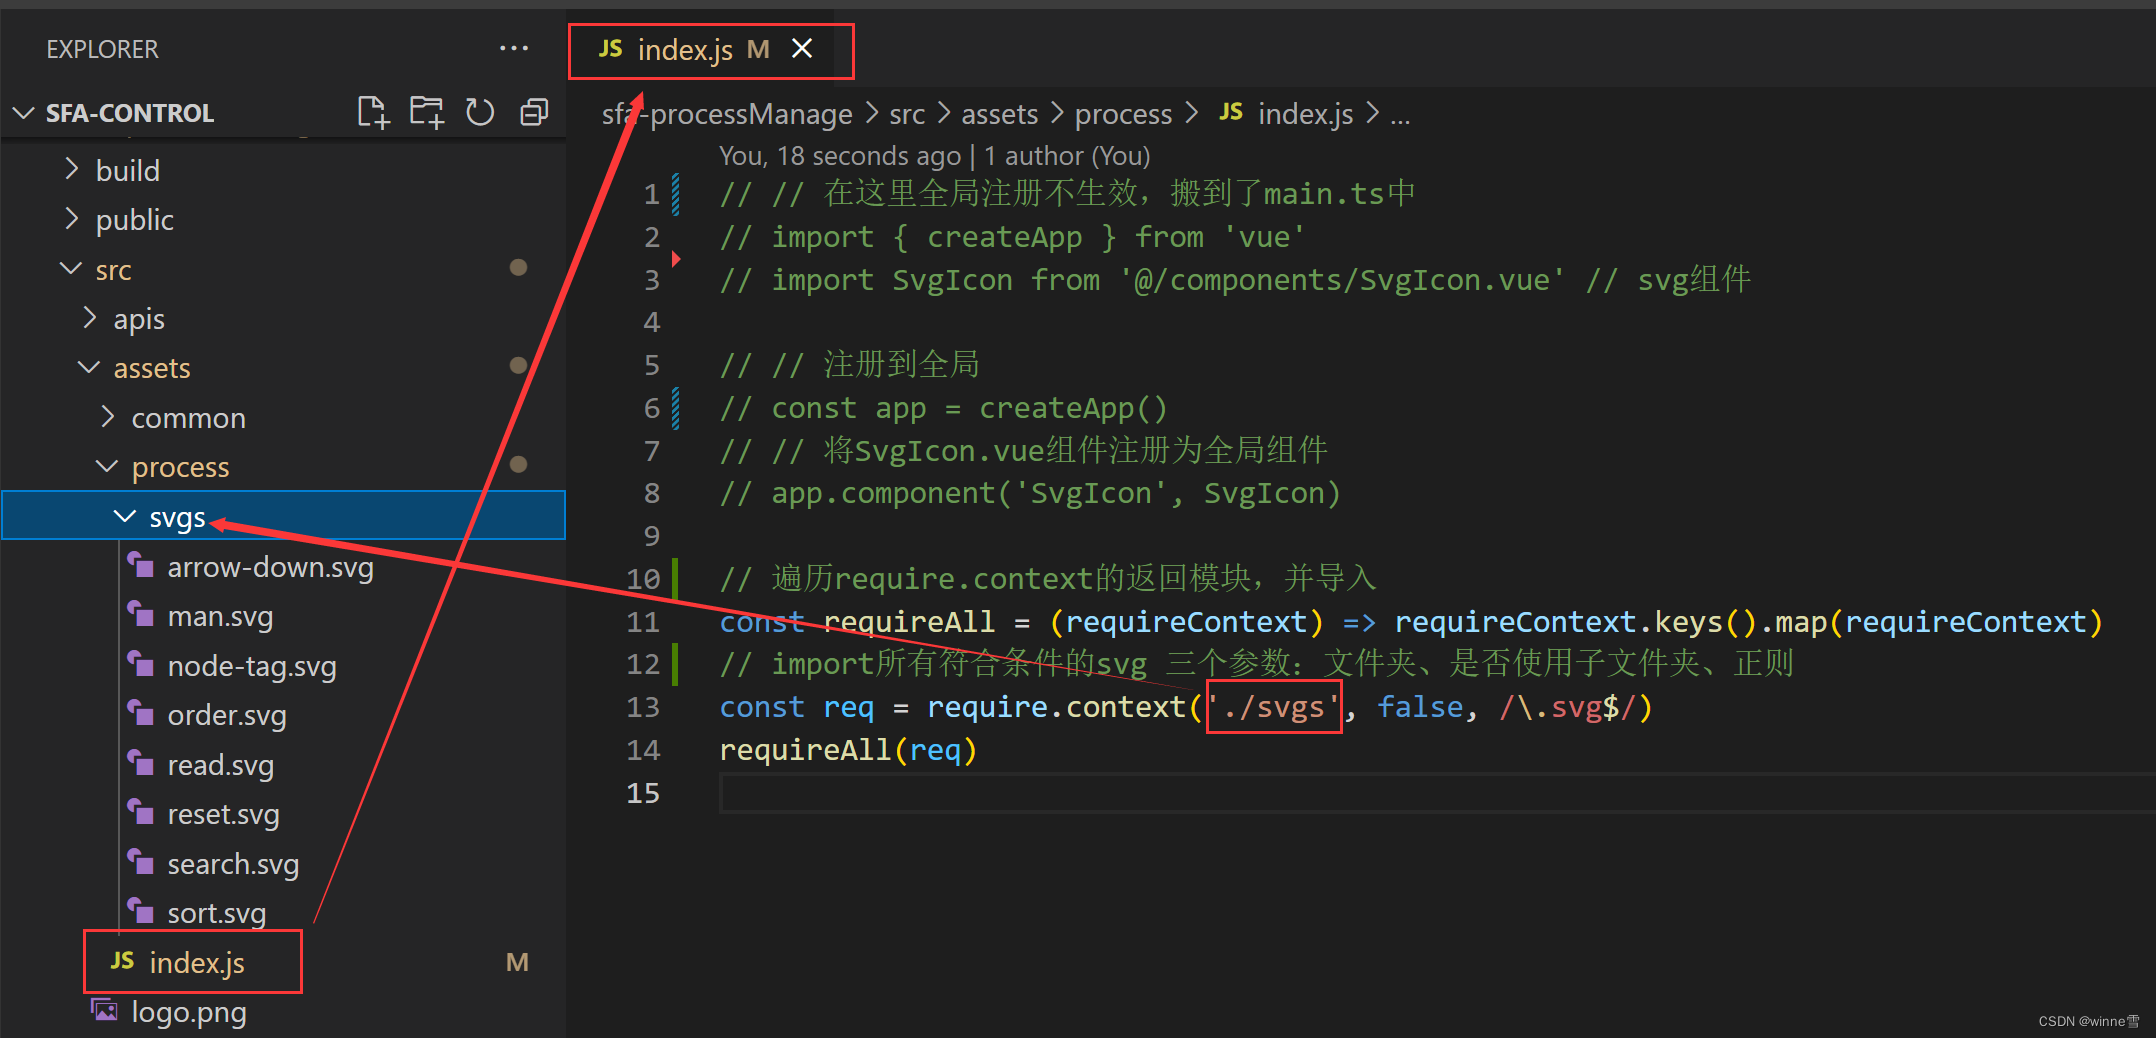
在存放svg文件夹的同级目录中新建一个index.js文件。

index.js文件内容如下:
// // 在这里全局注册不生效,搬到了main.ts中 // import { createApp } from 'vue' // import SvgIcon from '@/components/SvgIcon.vue' // svg组件 // // 注册到全局 // const app = createApp() // // 将SvgIcon.vue组件注册为全局组件 // app.component('SvgIcon', SvgIcon) // 遍历require.context的返回模块,并导入 const requireAll = (requireContext) => requireContext.keys().map(requireContext) // import所有符合条件的svg 三个参数:文件夹、是否使用子文件夹、正则 const req = require.context('./svgs', false, /\.svg$/) requireAll(req)- 1
- 2
- 3
- 4
- 5
- 6
- 7
- 8
- 9
- 10
- 11
- 12
- 13
- 14
- 15
然后在main.js文件中引入:

2、全局注册SvgIcon.vue组件
在main.js中引入SvgIcon.vue组件,全局注册后在需要使用SvgIcon组件的地方将无需再引入。
// 引入SvgIcon.vue组件 import SvgIcon from '@/components/SvgIcon.vue' const app = createApp(App) // 将SvgIcon.vue组件注册为全局组件 app.component('SvgIcon', SvgIcon)- 1
- 2
- 3
- 4
- 5
- 6
6.2、在想要引入svg的vue组件中引入
这里以App.vue举例:
<template> <SvgIcon class="svg-icon" icon-class="arrow-down"></SvgIcon> <SvgIcon class="search" icon-class="search"></SvgIcon> </template> <style lang="less"> // 自定义svg颜色,宽高等样式 // 注意:这里之所以能自定义svg颜色,是因为我在.svg文件中把fill="xxx颜色值" 改为了fill="currentColor" (见下面第7步骤描述) .svg-icon { width: 18px; height: 18px; color: #242633; } </style>- 1
- 2
- 3
- 4
- 5
- 6
- 7
- 8
- 9
- 10
- 11
- 12
- 13
- 14
- 15
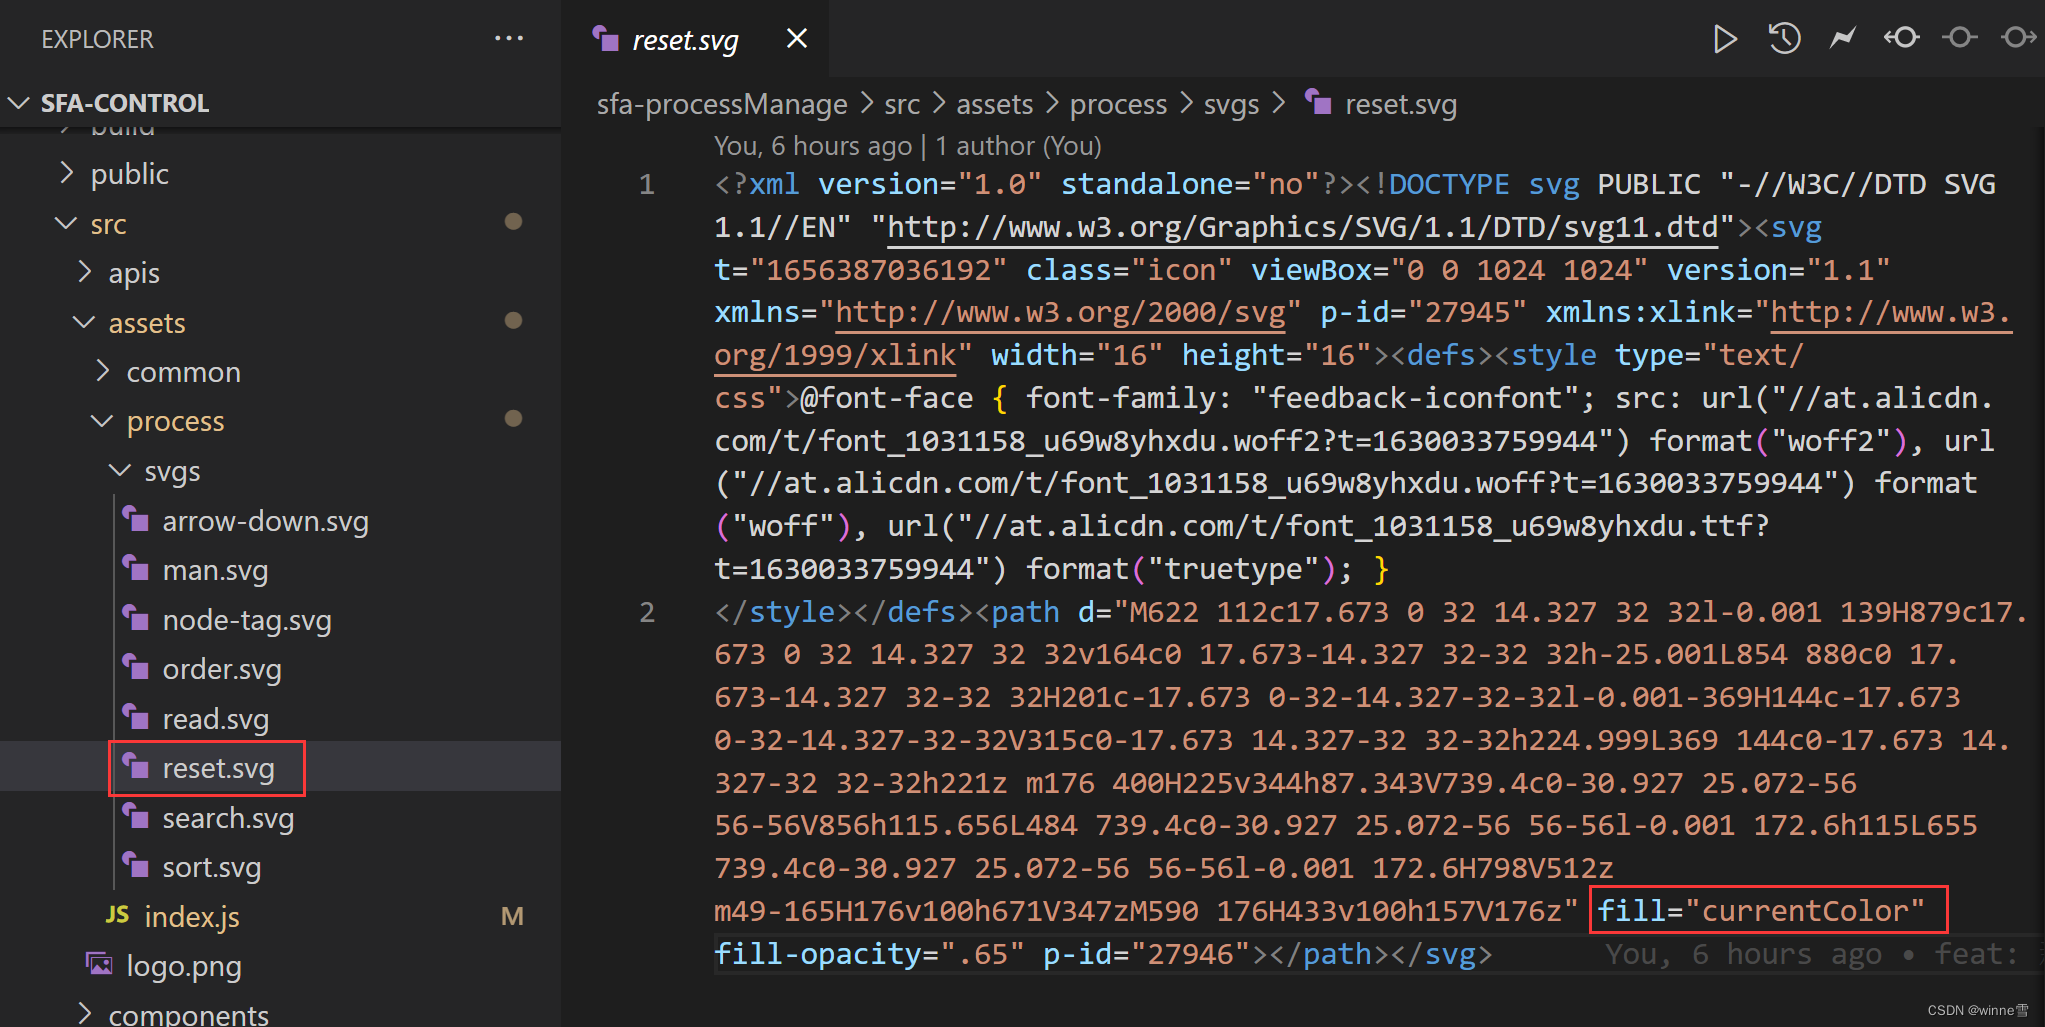
7、如果想要用color控制svg图标颜色,那么需要修改.svg文件中的fill属性

温馨提示:如果发现项目跑不起来,会报错其他svg文件的错误,那么需要检查下项目中其他文件夹下是否有svg文件,有则搬到上面新建的文件夹中。
-
相关阅读:
如何实现WebRTC协议与SIP协议互通
封装一个Element-ui生成一个可行内编辑的表格(vue2项目)
新大陆!阿里 P9 整理出:Java 架构师“成长笔记”共计 23 版块
进程与线程的区别
npm彻底清理缓存
【前端修炼场】 — 这些标签你学会了么?快速拿下 “hr”
Springboot 过滤器、拦截器、全局异常处理
利用FinalShell访问虚拟机
Docker配置双栈网络引起的IPV6不通问题排查及解决
[图解]“敏捷”染色和“额勒金德” 数学
- 原文地址:https://blog.csdn.net/m0_38134431/article/details/125508889
