-
ElasticSearch :rhel 安装 elasticSearch7.9.0
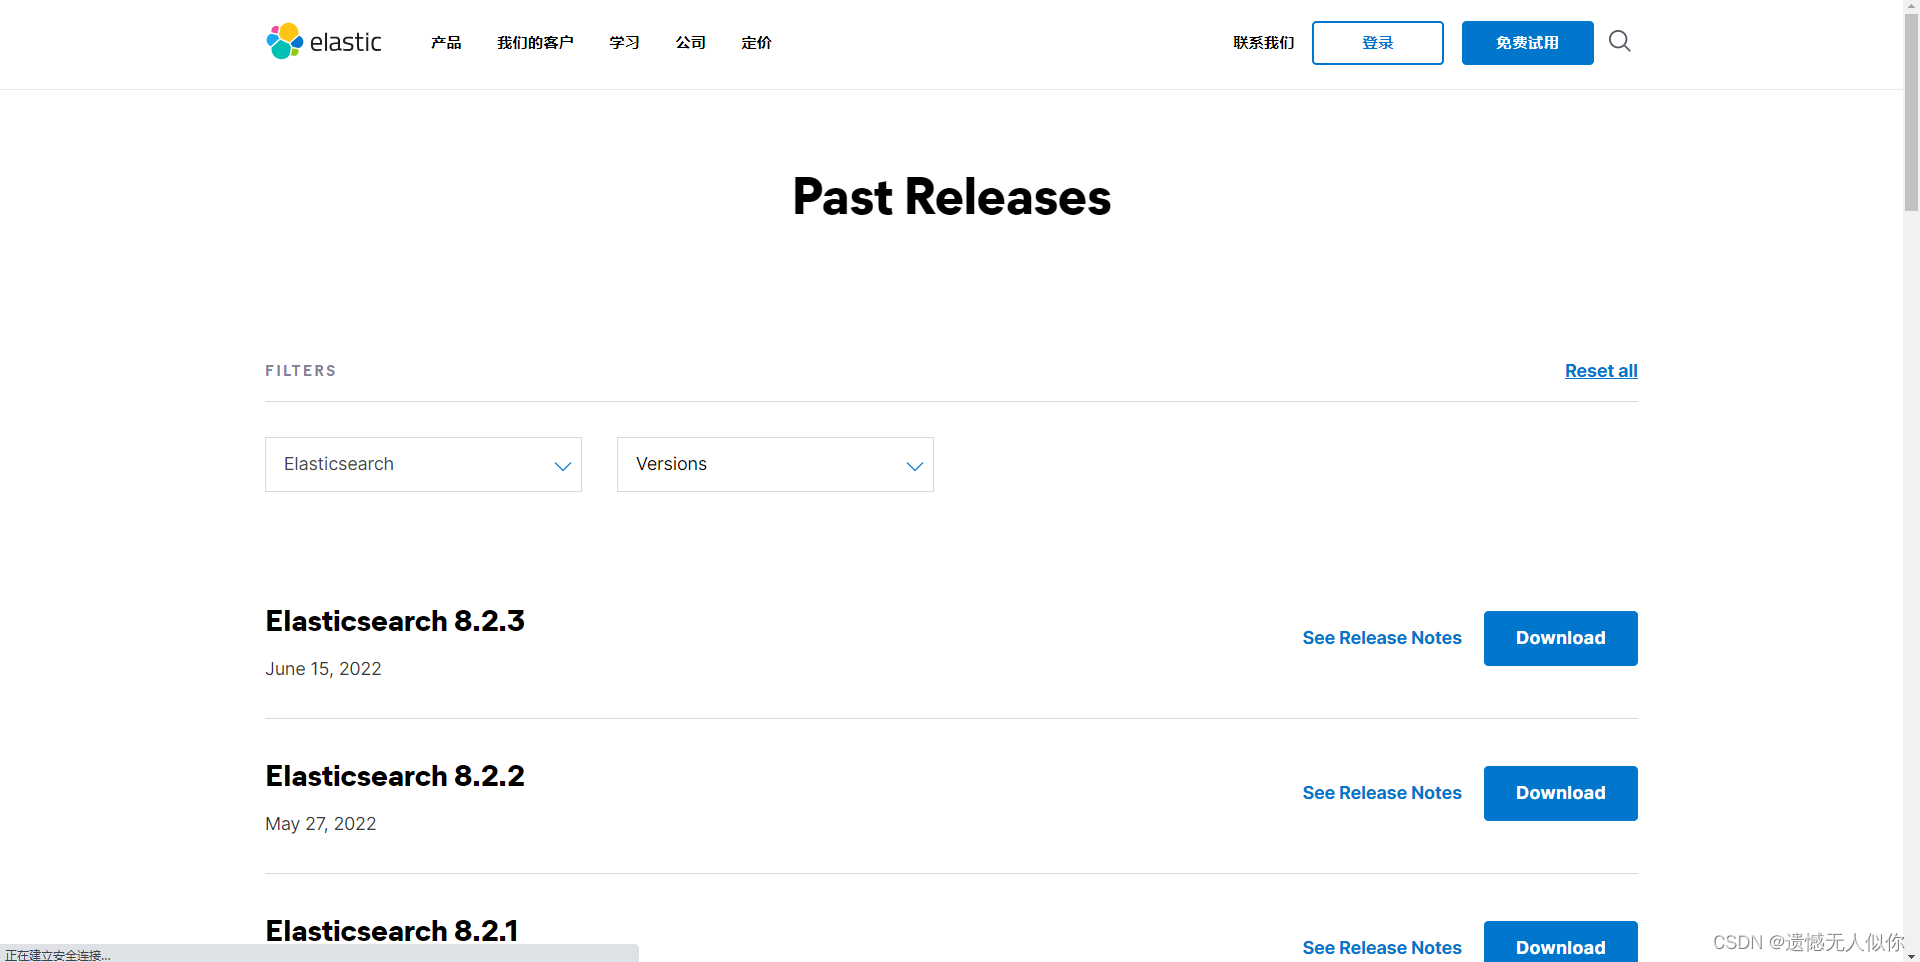
elasticsearch下载地址:https://www.elastic.co/cn/downloads/past-releases

将安装包上传至服务器

解压命令:
tar -zvxf elasticsearch-7.9.0-linux-x86_64.tar.gz- 1

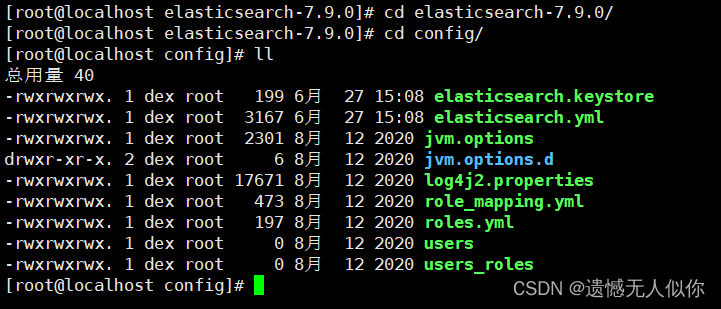
进入 config 目录,给文件赋权限:
chmod -R 777 elasticsearch.yml jvm.options log4j2.properties role_mapping.yml roles.yml users users_roles chmod -R 755 jvm.options.d- 1
- 2

修改配置:
# 修改文件命令 vim elasticsearch.yml # 修改内容 node.name: node-1 network.host: 192.168.1.201 http.port: 9200 cluster.initial_master_nodes: ["node-1"] xpack.security.enabled: true xpack.security.transport.ssl.enabled: true # xpack.ml.enabled: false xpack.license.self_generated.type: basic http.cors.enabled: true http.cors.allow-origin: "*" http.cors.allow-methods: OPTIONS, HEAD, GET, POST, PUT, DELETE http.cors.allow-headers: "X-Requested-With, Content-Type, Content-Length, X-User, Authorized"- 1
- 2
- 3
- 4
- 5
- 6
- 7
- 8
- 9
- 10
- 11
- 12
- 13
- 14
- 15


创建 elasticsearch.keystore 文件:
进入 bin 目录下执行命令,会在 config 目录下生成 elasticsearch.keystore 文件 ./elasticsearch-keystore create- 1
- 2

进入 config 目录,给 elasticsearch.keystore 赋予权限 chmod -R 777 elasticsearch.keystore- 1
- 2

ES 不建议用 root 用户启动,给要启动 ES 的用户赋予 elasticsearch 目录权限:
chown -R 用户名 es安装路径 eg:chown -R dex /home/dex/elasticsearch-7.9.0/elasticsearch-7.9.0- 1
- 2
切换 dex 用户,启动 ES:
su dex 进入 es 的 bin 目录 ./elasticsearch -d- 1
- 2
- 3
访问:192.168.1.201:9200,这时无法登录,因为开启了安全策略,但是没有设置密码。

设置密码:
切回 root 用户,进入 es 的 bin 目录,执行命令 ./elasticsearch-setup-passwords interactive 出现提示,输入 y,回车继续,会依次出现下面的密码设置,输入密码:1357911 Enter password for [elastic]: Reenter password for [elastic]: Enter password for [kibana]: Reenter password for [kibana]: Enter password for [logstash_system]: Reenter password for [logstash_system]: Enter password for [beats_system]: Reenter password for [beats_system]: Changed password for user [kibana] Changed password for user [logstash_system] Changed password for user [beats_system] Changed password for user [elastic]- 1
- 2
- 3
- 4
- 5
- 6
- 7
- 8
- 9
- 10
- 11
- 12
- 13
- 14
- 15
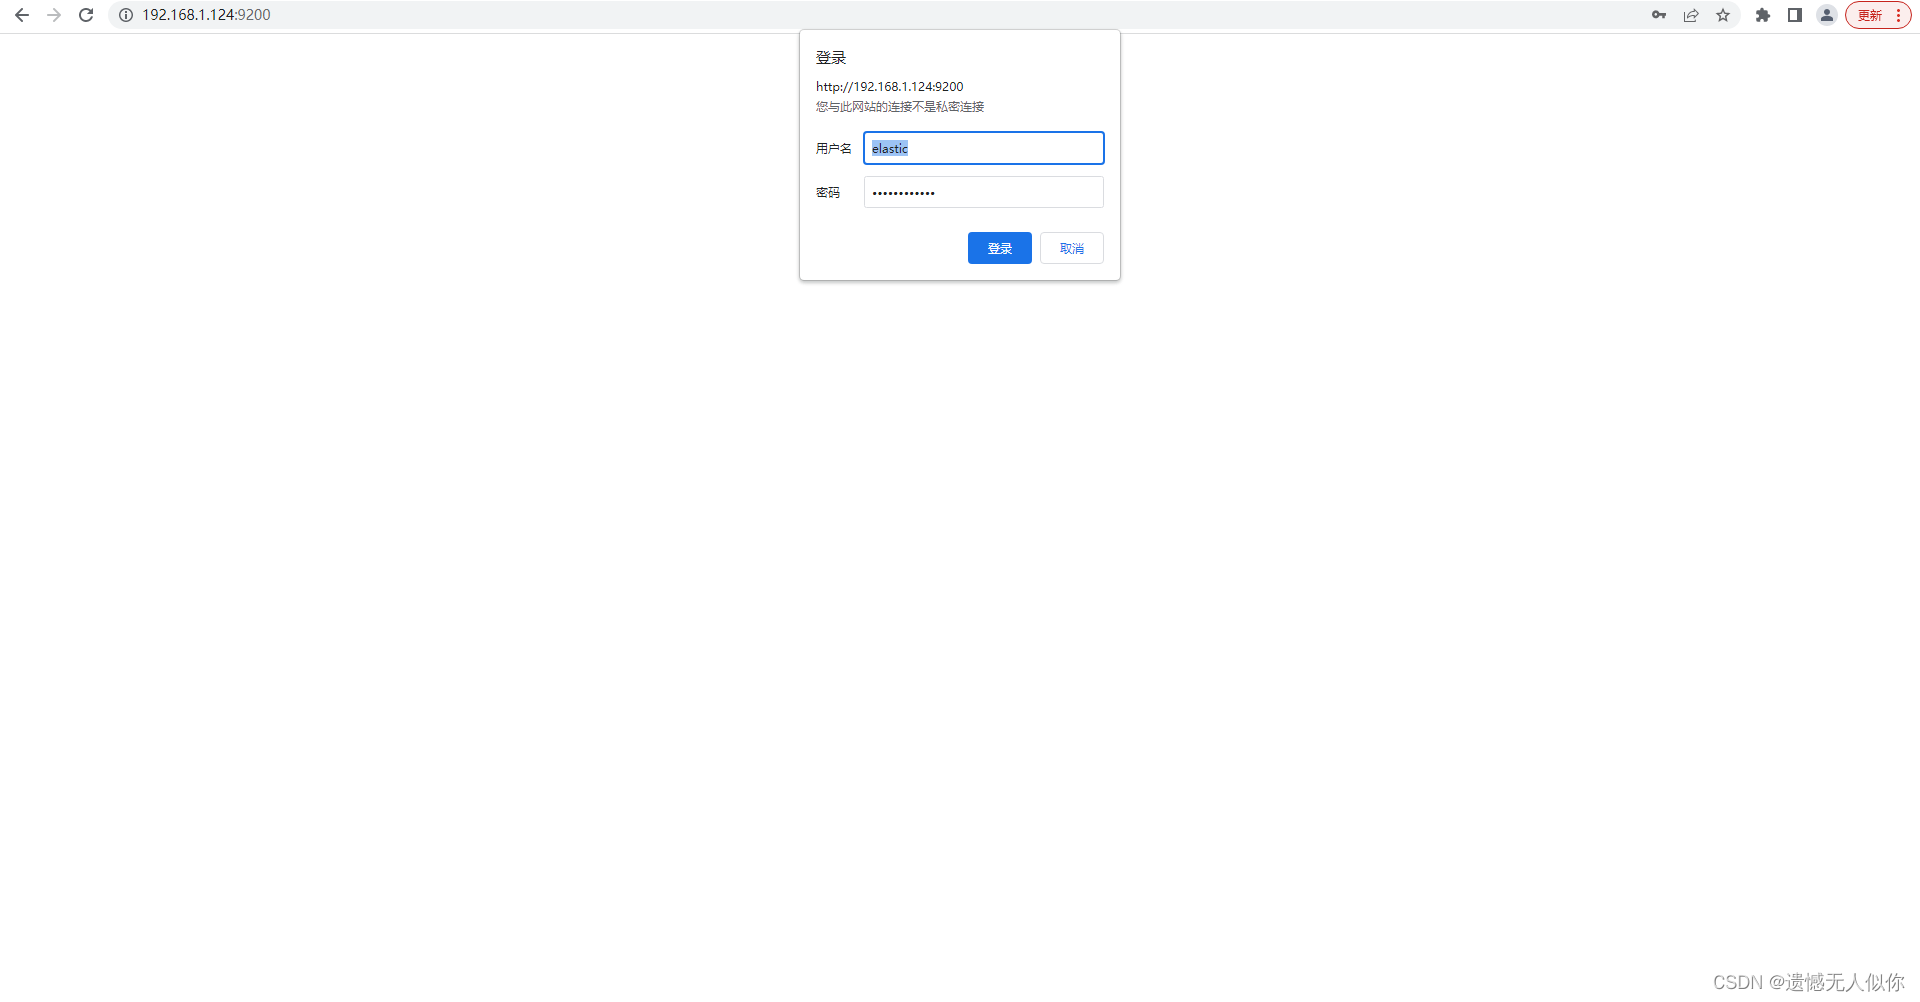
访问:192.168.1.201:9200,登录账号:elastic,密码:1357911

修改密码:
curl -H "Content-Type:application/json" -XPOST -u elastic 'http://ip:port/_xpack/security/user/elastic/_password' -d '{ "password" : "新密码" }' eg:curl -H "Content-Type:application/json" -XPOST -u elastic 'http://192.168.1.201:9200/_xpack/security/user/elastic/_password' -d '{ "password" : "dexadmin@123" }' 出现提示:输入旧密码 1357911- 1
- 2
- 3
- 4
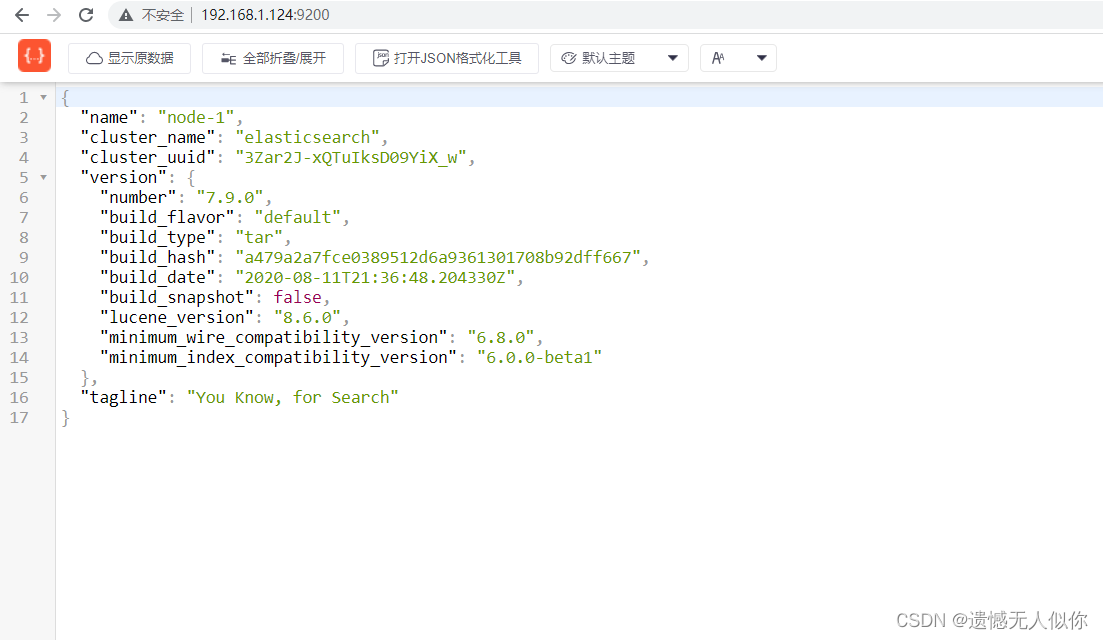
访问:192.168.1.201:9200,提示重新登录,登录账号:elastic,密码:dexadmin@123
-Czx.
-
相关阅读:
利用牛顿方法计算正数的平方根
如何监控公司电脑上网记录(员工上网行为监控软件有哪些?)
如何 dump JVM 堆快照 用来分析
C语言求 3*3 矩阵对角线之和
【BUG】Nginx转发失败解决方案
Spring概述
计算机视觉系列-轻松掌握 MMDetection 中常用算法 :Cascade R-CNN(三)
为什么实际开发中不推荐使用外键?
房贷结清后抵押注销及个税App专项扣除费修改
国产开发板上打造开源ThingsBoard工业网关--基于米尔芯驰MYD-JD9X开发板
- 原文地址:https://blog.csdn.net/qq_39870032/article/details/125486734