-
简单易修改的弹框组件
使用场景
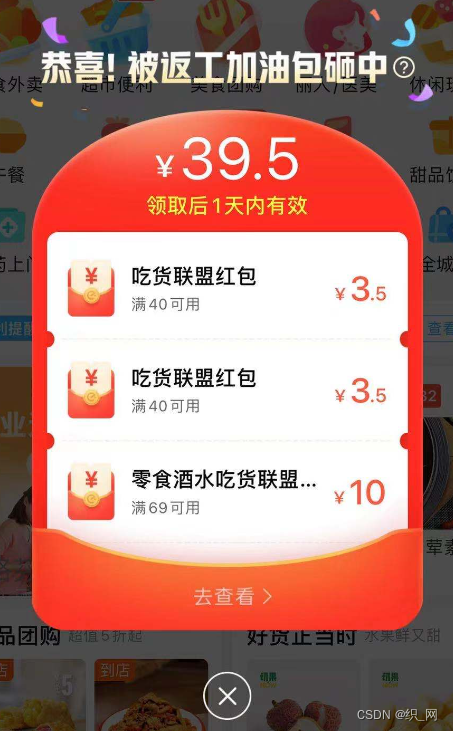
弹窗组件
适用框架 vue, uniapp
使用再uniapp 框架中可简单修改标签与尺寸单位后使用
px与rpx<!-- vue --> <template> <div v-show="ishide" @touchmove.stop.prevent> <!-- 遮罩 --> <div class="mask" :style="maskStyle"></div> <!-- 内容 --> <div class="tip" :style="tipStyle"> <slot></slot> </div> </div> </template> <!-- uniapp --> <!-- <template> <view v-show="ishide" @touchmove.stop.prevent> <view class="mask" :style="maskStyle"></view> <view class="tip" :style="tipStyle"> <slot></slot> </view> </view> </template> --> <script> export default { props: { // 控制弹窗显隐 ishide: { type: Boolean, required: true }, // 设置弹窗层级 zindex: { type: Number, default: 99 }, // 设置遮罩透明度 opacity: { type: Number, default: 0.6 }, // 设置内容区宽度 width: { type: String, default: '70%' }, // 设置内容区高度 height: { type: String, default: '300px' }, // 设置内容区圆角 radius: { type: String, default: '10px' }, // 设置内容区底色 bgcolor: { type: String, default: '#FFFFFF' } }, computed: { // 遮罩样式 maskStyle() { return ` z-index:${this.zindex}; background:rgba(0,0,0,${this.opacity}); ` }, // 内容样式 tipStyle() { return ` width:${this.width}; height:${this.height}; z-index:${this.zindex+1}; border-radius:${this.radius}; background-color:${this.bgcolor}; ` } } } </script> <style scoped> .mask { position: fixed; bottom: 0; right: 0; left: 0; top: 0; } .tip { position: fixed; left: 50%; top: 50%; transform: translate(-50%, -50%); } </style>- 1
- 2
- 3
- 4
- 5
- 6
- 7
- 8
- 9
- 10
- 11
- 12
- 13
- 14
- 15
- 16
- 17
- 18
- 19
- 20
- 21
- 22
- 23
- 24
- 25
- 26
- 27
- 28
- 29
- 30
- 31
- 32
- 33
- 34
- 35
- 36
- 37
- 38
- 39
- 40
- 41
- 42
- 43
- 44
- 45
- 46
- 47
- 48
- 49
- 50
- 51
- 52
- 53
- 54
- 55
- 56
- 57
- 58
- 59
- 60
- 61
- 62
- 63
- 64
- 65
- 66
- 67
- 68
- 69
- 70
- 71
- 72
- 73
- 74
- 75
- 76
- 77
- 78
- 79
- 80
- 81
- 82
- 83
- 84
- 85
- 86
- 87
- 88
- 89
- 90
- 91
- 92
- 93
- 94
- 95
- 96
- 97
- 98
- 99
- 100
- 101
组件使用
<template> <div> <!-- 开关控制 --> <button type="default" @click="isshow=!isshow">弹窗</button> <!-- 使用组件 --> <zwy-popup :ishide='isshow' width="70%" height="700rpx" radius="40rpx"> <!-- 自定义展示内容 --> <div class="content"> <div class="image"></div> <div class="title">活动标题</div> <div>内容</div> <div>内容</div> <div class="info">内容</div> <div class="btn">按钮</div> </div> <!-- 自定义关闭按钮 --> <div class="close" @click="isshow=false">✕</div> </zwy-popup> </div> </template> <script> export default { data() { return { isshow: false } } } </script> <style scoped> .content { width: 100%; height: 100%; display: flex; align-items: center; flex-direction: column; justify-content: center; background-color: coral; border-radius: 10px; } .image { width: 80px; height: 80px; border-radius: 50%; background: #4CD964; } .title { font-size: 18px; margin: 30px 0 20px 0; } .info { margin: 20px 0; font-size: 12px; text-align: center; background: #F5F5F5; border-radius: 8px; padding: 8px 10px; } .btn { width: 100px; height: 30px; font-size: 12px; line-height: 30px; text-align: center; border-radius: 16px; background: linear-gradient(-90deg, #FEEF43, #E9D81B); } .close { width: 30px; height: 30px; color: #FFFFFF; line-height: 30px; text-align: center; border-radius: 50%; border: 1px solid #FFFFFF; position: relative; bottom: -10%; left: 50%; transform: translate(-50%, -50%); } </style>- 1
- 2
- 3
- 4
- 5
- 6
- 7
- 8
- 9
- 10
- 11
- 12
- 13
- 14
- 15
- 16
- 17
- 18
- 19
- 20
- 21
- 22
- 23
- 24
- 25
- 26
- 27
- 28
- 29
- 30
- 31
- 32
- 33
- 34
- 35
- 36
- 37
- 38
- 39
- 40
- 41
- 42
- 43
- 44
- 45
- 46
- 47
- 48
- 49
- 50
- 51
- 52
- 53
- 54
- 55
- 56
- 57
- 58
- 59
- 60
- 61
- 62
- 63
- 64
- 65
- 66
- 67
- 68
- 69
- 70
- 71
- 72
- 73
- 74
- 75
- 76
- 77
- 78
- 79
- 80
- 81
- 82
- 83
- 84
- 85
- 86
- 87
- 88
- 89
-
相关阅读:
Mysql进阶学习(七)联合查询与DML语言
事件绑定(onmouseout,onmouseover)
(笔记整理未完成)【数据结构】树状数组
SpringCloud Alibaba(三) - GateWay网关
影视广告创意与制作(四)
Linux重定向
LeetCode-878. 第 N 个神奇数字【数学,二分查找,找规律】
linux中常见服务端安装
短视频创作有什么建议吗?直接上干货
自建ES6.2.4切阿里云商业版ES(7.10)整体方案
- 原文地址:https://blog.csdn.net/qq_43869822/article/details/125482558
