-
初识swagger
前言:
👏作者简介:我是笑霸final,一名热爱技术的在校学生。
📝个人主页:笑霸final的主页
📕系列专栏:资料专栏
📧如果文章知识点有错误的地方,请指正!和大家一起学习,一起进步👀
🔥如果感觉博主的文章还不错的话,👍点赞👍 + 👀关注👀 + 🤏收藏🤏swagger入门
一:简介
Swagger 是一个规范且完整的框架,用于生成、描述、调用和可视化 RESTful 风格的 Web 服务。
Swagger 的目标是对 REST API 定义一个标准且和语言无关的接口,可以让人和计算机拥有无须访问源码、文档或网络流量监测就可以发现和理解服务的能力。当通过 Swagger 进行正确定义,用户可以理解远程服务并使用最少实现逻辑与远程服务进行交互。与为底层编程所实现的接口类似,Swagger 消除了调用服务时可能会有的猜测。Restful Api 文档在线自动生成器 => API 文档 与API 定义同步更新
直接运行,在线测试API
支持多种语言 (如:Java,PHP等)常用注解
常用注解:
@Api()用于类;
表示标识这个类是swagger的资源
@ApiOperation()用于方法;
表示一个http请求的操作
@ApiParam()用于方法,参数,字段说明;
表示对参数的添加元数据(说明或是否必填等)
@ApiModel()用于类
表示对类进行说明,用于参数用实体类接收
@ApiModelProperty()用于方法,字段
表示对model属性的说明或者数据操作更改
@ApiIgnore()用于类,方法,方法参数
表示这个方法或者类被忽略
@ApiImplicitParam() 用于方法
表示单独的请求参数
@ApiImplicitParams() 用于方法,包含多个 @ApiImplicitParam二:SpringBoot中使用Swagger
2.1导包
Springfox Swagger2

Springfox Swagger UI

注意:
使用Swagger要求:jdk 1.8 + 否则swagger2无法运行<dependency> <groupId>io.springfox</groupId> <artifactId>springfox-swagger2</artifactId> <version>2.9.2</version> </dependency> <!-- https://mvnrepository.com/artifact/io.springfox/springfox-swagger-ui --> <dependency> <groupId>io.springfox</groupId> <artifactId>springfox-swagger-ui</artifactId> <version>2.9.2</version> </dependency>- 1
- 2
- 3
- 4
- 5
- 6
- 7
- 8
- 9
- 10
- 11
二:配置Swagger
2.1写配置类
@Configuration//配置类 @EnableSwagger2//开启Swagger配置 public class SwaggerConfig { //就这样写就可以了 }- 1
- 2
- 3
- 4
- 5
- 6

查看swagger的界面
访问
http://localhost:8080/swagger-ui.html

2.2配置
代码package com.xbfinal.mydemo.config; import org.springframework.context.annotation.Bean; import org.springframework.context.annotation.Configuration; import springfox.documentation.service.ApiInfo; import springfox.documentation.service.Contact; import springfox.documentation.spi.DocumentationType; import springfox.documentation.spring.web.plugins.Docket; import springfox.documentation.swagger2.annotations.EnableSwagger2; import java.util.ArrayList; @Configuration//配置类 @EnableSwagger2//开启Swagger配置 public class SwaggerConfig { //1.Swagger实例Bean是Docket, @Bean public Docket docket(){ return new Docket(DocumentationType.SWAGGER_2).apiInfo(apiInfo()); } //配置文档信息 private ApiInfo apiInfo() { //作者信息 final Contact contact = new Contact( "笑霸fianl", "https://blog.csdn.net/weixin_52062043", "https://blog.csdn.net/weixin_52062043" ); return new ApiInfo( "笑霸final",//标题 "加油少年",//描述 "v1.0.0",//版本 "https://blog.csdn.net/weixin_52062043",//服务条款网站 contact, "Apche 2.0",//许可证 "https://blog.csdn.net/weixin_52062043",//许可网址 new ArrayList() ); } }- 1
- 2
- 3
- 4
- 5
- 6
- 7
- 8
- 9
- 10
- 11
- 12
- 13
- 14
- 15
- 16
- 17
- 18
- 19
- 20
- 21
- 22
- 23
- 24
- 25
- 26
- 27
- 28
- 29
- 30
- 31
- 32
- 33
- 34
- 35
- 36
- 37
- 38
- 39
- 40
- 41

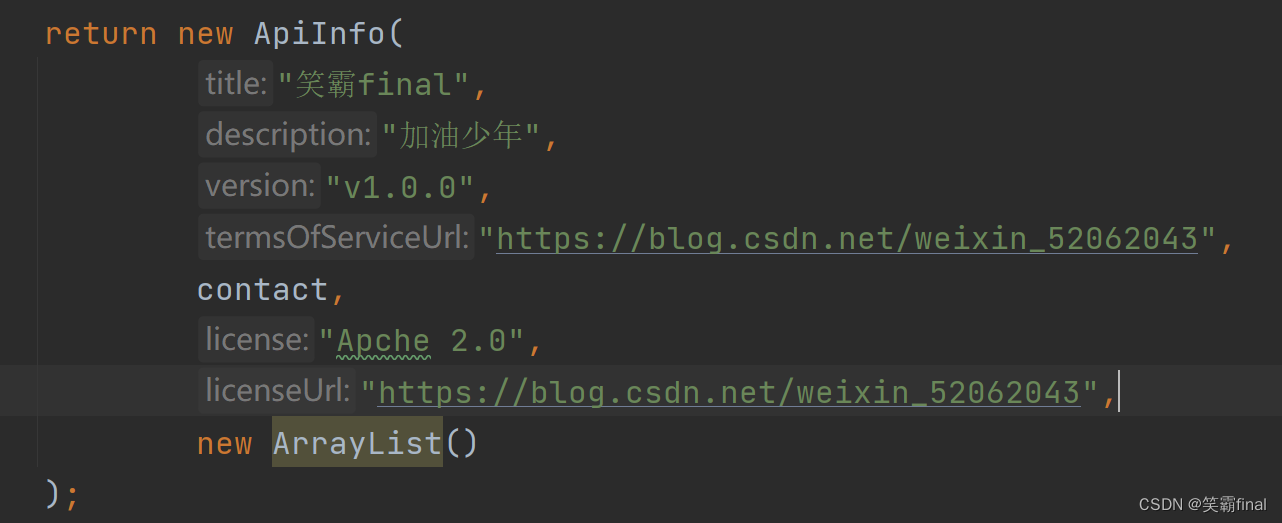
然后再看swagger界面
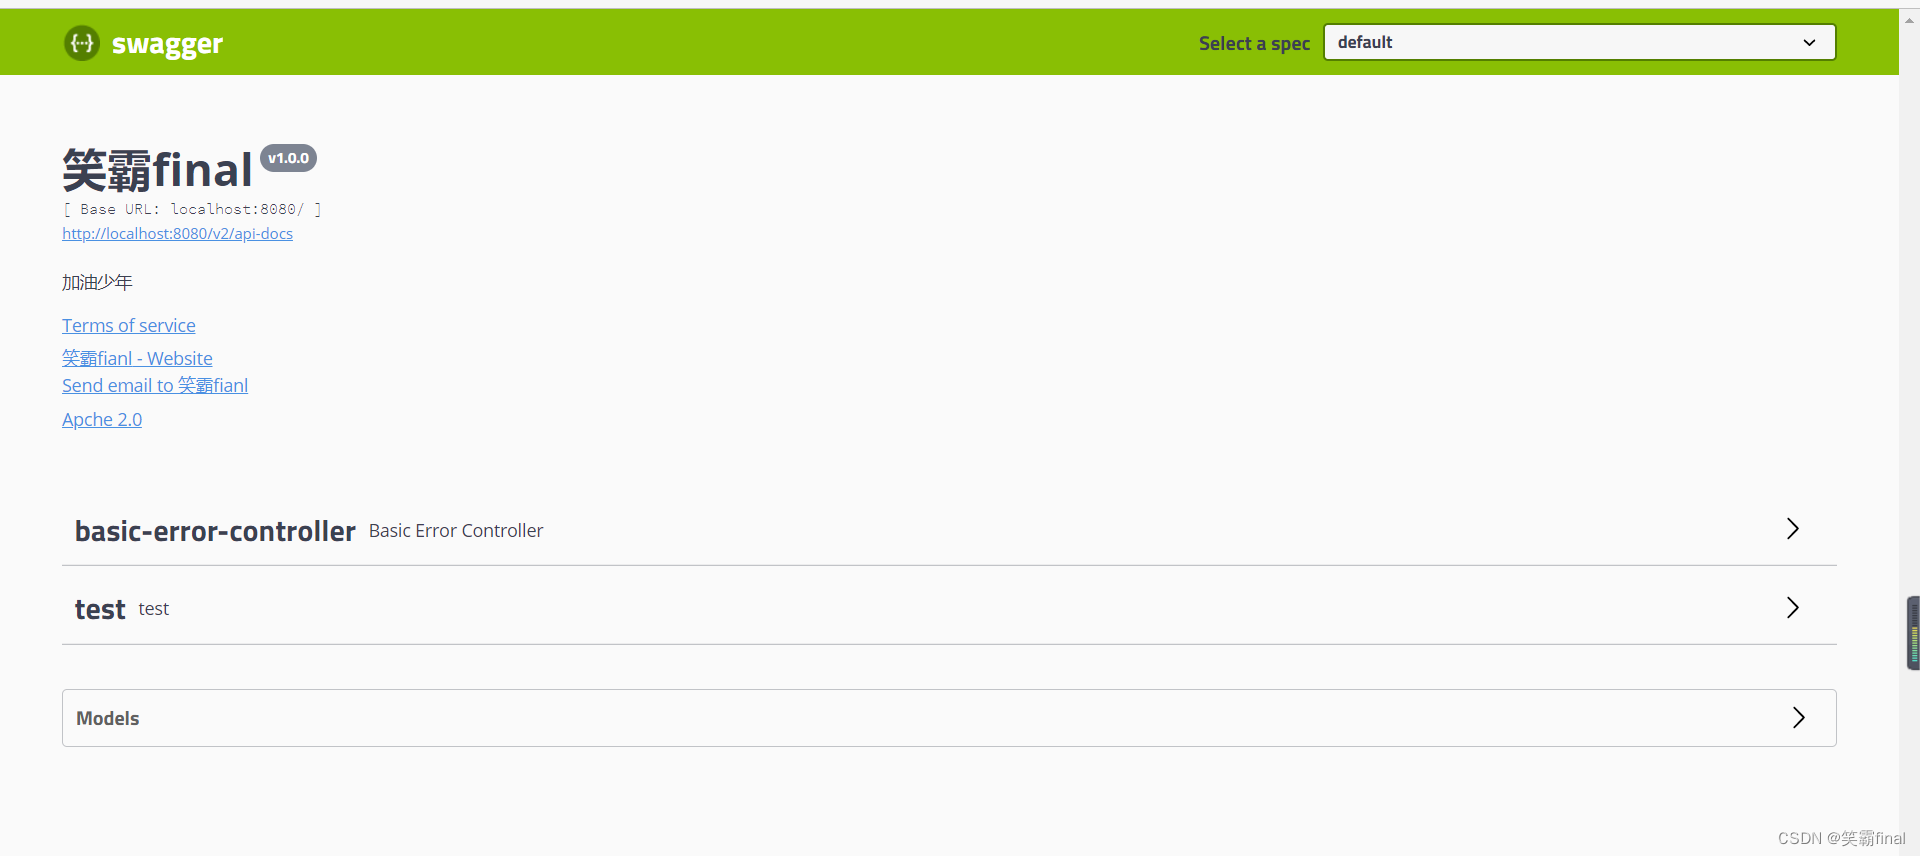
2.3配置扫描接口和开关
select()@Bean public Docket docket(){ return new Docket(DocumentationType.SWAGGER_2) .apiInfo(apiInfo()) .select() //RequestHandlerSelectors配置扫描接口的方式 //basePackage() 指定扫描的包 //any() 扫描全部 //none() 不扫描 //withClassAnnotation 扫描类上的注解 .apis(RequestHandlerSelectors.basePackage("com.xbfinal.mydemo.controller")) //any() // 任何请求都扫描 //none() // 任何请求都不扫描 //regex(final String pathRegex) 通过正则表达式控制 //ant(final String antPattern) 通过ant()控制 //.paths(PathSelectors.ant()) .build() ; }- 1
- 2
- 3
- 4
- 5
- 6
- 7
- 8
- 9
- 10
- 11
- 12
- 13
- 14
- 15
- 16
- 17
- 18
- 19

开关
通过enable()方法配置是否启用swagger,如果是false,swagger将不能在浏览器中访问了


2、配置当项目处于test、dev环境时显示swagger,处于prod时不显示
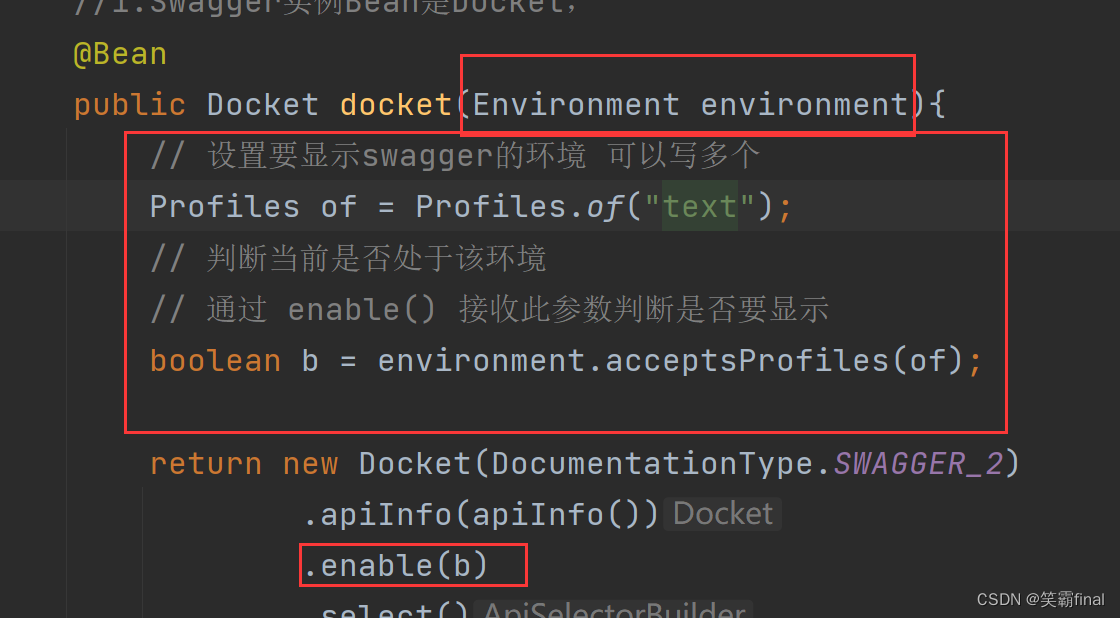
public Docket docket(Environment environment){ // 设置要显示swagger的环境 可以写多个 Profiles of = Profiles.of("text"); // 判断当前是否处于该环境 // 通过 enable() 接收此参数判断是否要显示 boolean b = environment.acceptsProfiles(of); return new Docket(DocumentationType.SWAGGER_2) .apiInfo(apiInfo()) .enable(b) .select() //RequestHandlerSelectors配置扫描接口的方式 //basePackage() 指定扫描的包 //any() 扫描全部 //none() 不扫描 //withClassAnnotation 扫描类上的注解 .apis(RequestHandlerSelectors.basePackage("com.xbfinal.mydemo.controller")) //any() // 任何请求都扫描 //none() // 任何请求都不扫描 //regex(final String pathRegex) 通过正则表达式控制 //ant(final String antPattern) 通过ant()控制 //.paths(PathSelectors.ant()) .build() ; }- 1
- 2
- 3
- 4
- 5
- 6
- 7
- 8
- 9
- 10
- 11
- 12
- 13
- 14
- 15
- 16
- 17
- 18
- 19
- 20
- 21
- 22
- 23
- 24
- 25
- 26
配置分组
.groupName("hello")

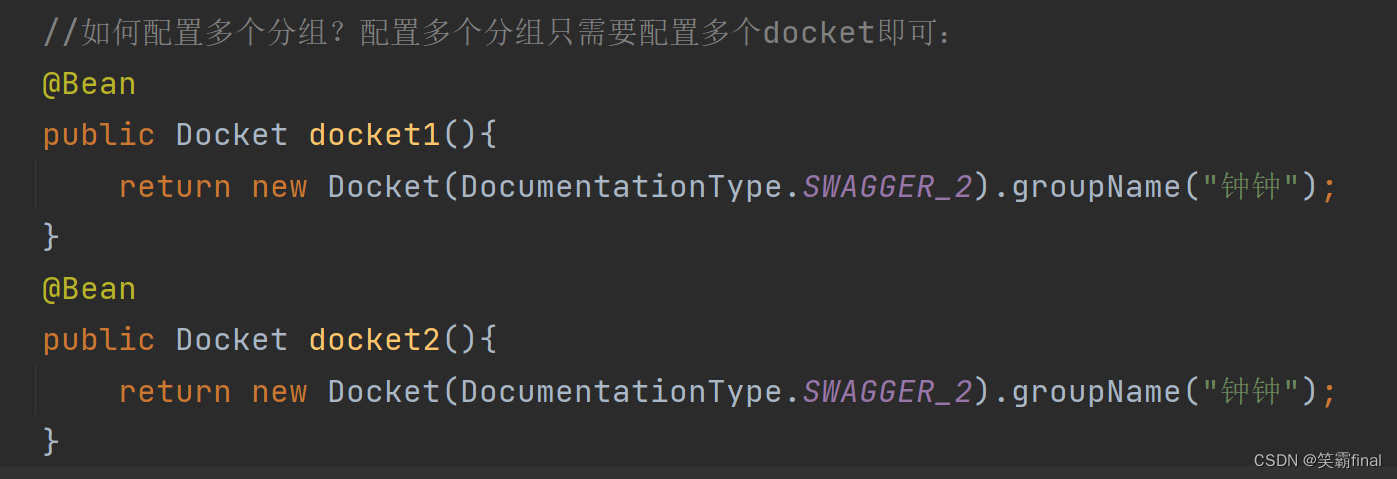
@Bean public Docket docket1(){ return new Docket(DocumentationType.SWAGGER_2).groupName("钟钟"); } @Bean public Docket docket2(){ return new Docket(DocumentationType.SWAGGER_2).groupName("钟钟"); }- 1
- 2
- 3
- 4
- 5
- 6
- 7
- 8
-
相关阅读:
结构体内存对齐规则
javaWeb的概念、Web的资源分类、常见的Web服务器
Xpath使用方法
依赖库:Ceres-solver-2.0.0安装
Promise的使用与async/await的使用
Android Handler例程(sendMessage)
使用百度的长文本转语音API时无法下载.MP3文件
『手写Mybatis』实现映射器的注册和使用
WindivertDotnet快速发Ping
go的堆内存结构分析
- 原文地址:https://blog.csdn.net/weixin_52062043/article/details/124989780