-
本地搭建php包依赖管理工具,使用satis搭建私有composer仓库
一、总体设计
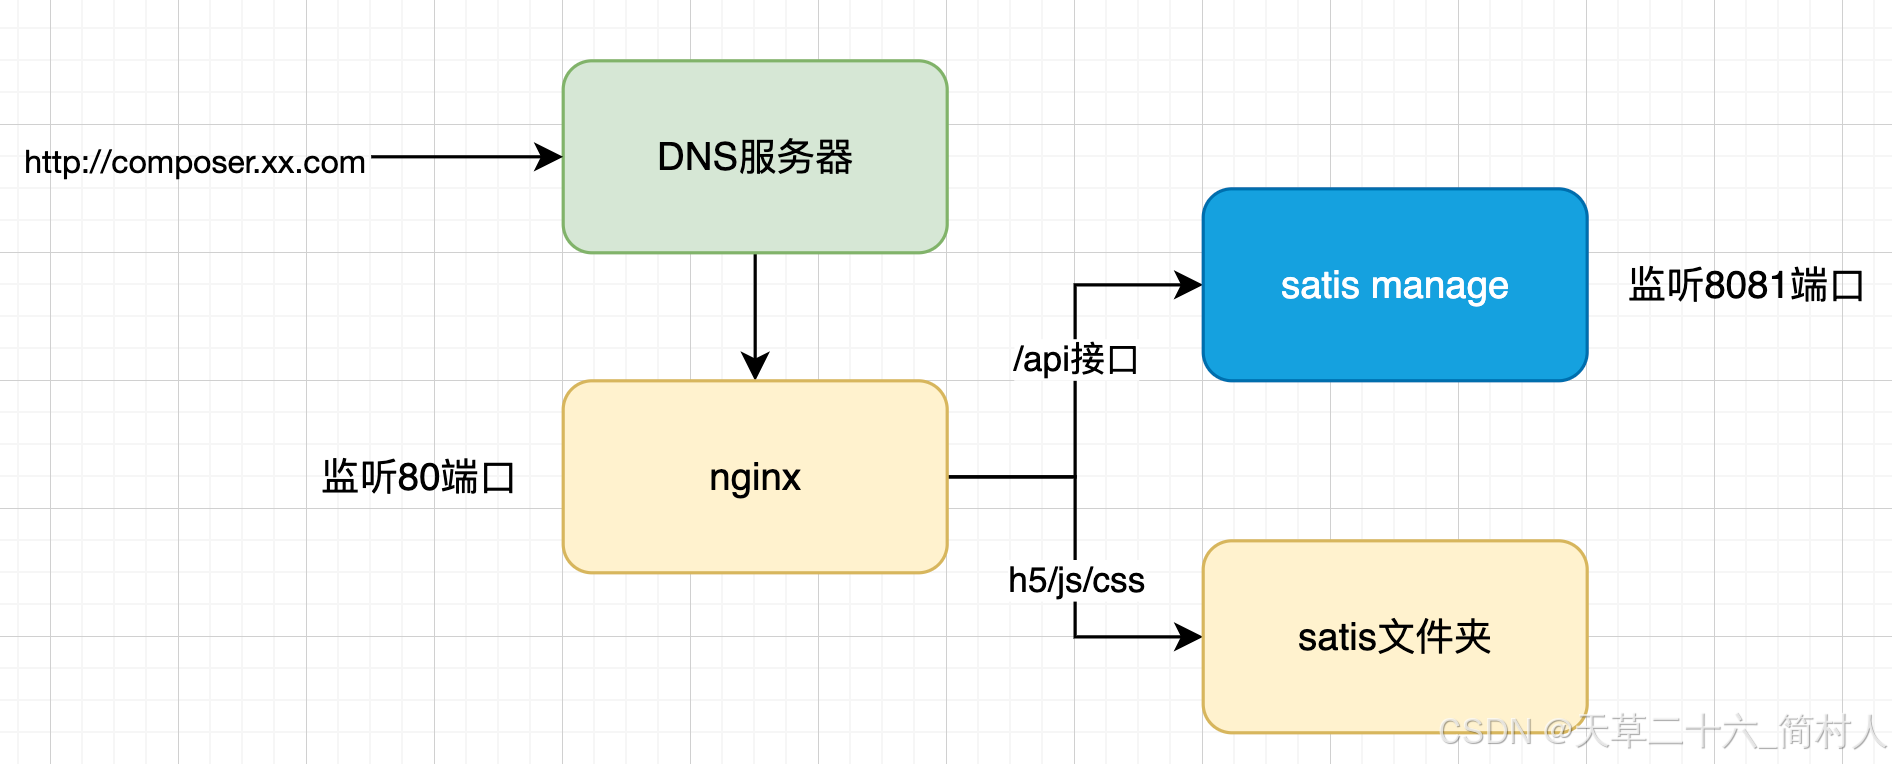
- dns服务器
- nginx
- satis web 静态页面
- satis manage 管理程序
二、nginx配置
1、nginx.conf
# For more information on configuration, see:
#   * Official English Documentation: http://nginx.org/en/docs/
#   * Official Russian Documentation: http://nginx.org/ru/docs/

user nginx;
worker_processes auto;
error_log /var/log/nginx/error.log;
pid /run/nginx.pid;

# Load dynamic modules. See /usr/share/doc/nginx/README.dynamic.
include /usr/share/nginx/modules/*.conf;

events {
    worker_connections 1024;
}

http {
    log_format  main  '$remote_addr - $remote_user [$time_local] "$request" '
                      '$status $body_bytes_sent "$http_referer" '
                      '"$http_user_agent" "$http_x_forwarded_for"';

    access_log  /var/log/nginx/access.log  main;

    sendfile            on;
    tcp_nopush          on;
    tcp_nodelay         on;
    keepalive_timeout   65;
    types_hash_max_size 4096;

    include             /etc/nginx/mime.types;
    default_type        application/octet-stream;

    # Load modular configuration files from the /etc/nginx/conf.d directory.
    # See http://nginx.org/en/docs/ngx_core_module.html#include
    # for more information.
    include /etc/nginx/conf.d/*.conf;

    server {
        listen       80;
        listen       [::]:80;
        server_name  _;
        root         /usr/share/nginx/html;

        # Load configuration files for the default server block.
        include /etc/nginx/default.d/*.conf;

        error_page 404 /404.html;
        location = /404.html {
        }

        error_page 500 502 503 504 /50x.html;
        location = /50x.html {
        }
    }
}
2、composer.conf
具体应用的配置,一般都是保存在路径/etc/nginx/conf.d。

server { listen 80; server_name composer.xx.com; set $root_path '/opt/satis/web'; index index.html; root $root_path; autoindex on; access_log off; error_log off; location /api/ { proxy_pass http://localhost:8081; } }- satis静态页面对应目录/opt/satis/web
- /api开头接口,转发到后端8081服务(即satis manage管理程序)
3、查看端口8081
端口8081对应的进程号是1342
[root@php_data conf.d]# ss -anlp | grep 8081
tcp    LISTEN     0      128    [::]:8081               [::]:*                   users:(("manage",pid=1342,fd=3))
根据进程号,进一步查看进程启动命令。
也即satis_manage

[root@php_data conf.d]# ps -ef | grep 1342
root      1342  1301  0 Jul28 ?        00:00:18 /opt/satis_manage/manage
下一步,我们将进入/opt/satis_manage,查看其配置。
三、satis_manage 管理程序
[root@php_data satis_manage]# ll /opt/satis_manage
total 17556
drwxr-xr-x 2 root root        42 Oct 31 08:49 conf
-rwxr-xr-x 1  501 games 17964865 Dec 15  2021 manage
-rw-r--r-- 1 root root     11742 Jul 28 08:47 supervisor.log
manage 是一个可执行应用程序。看下conf的配置:

- app.conf
AppName = satis_manage
HttpPort = 8081
RunMode = Prod
AutoRender = false
CopyRequestBody = true
# EnableDocs = true
EnableAdmin = true

[satis]
configPath = "/opt/satis/satis.json"
buildShell = "/opt/satis/build.sh"
四、satis
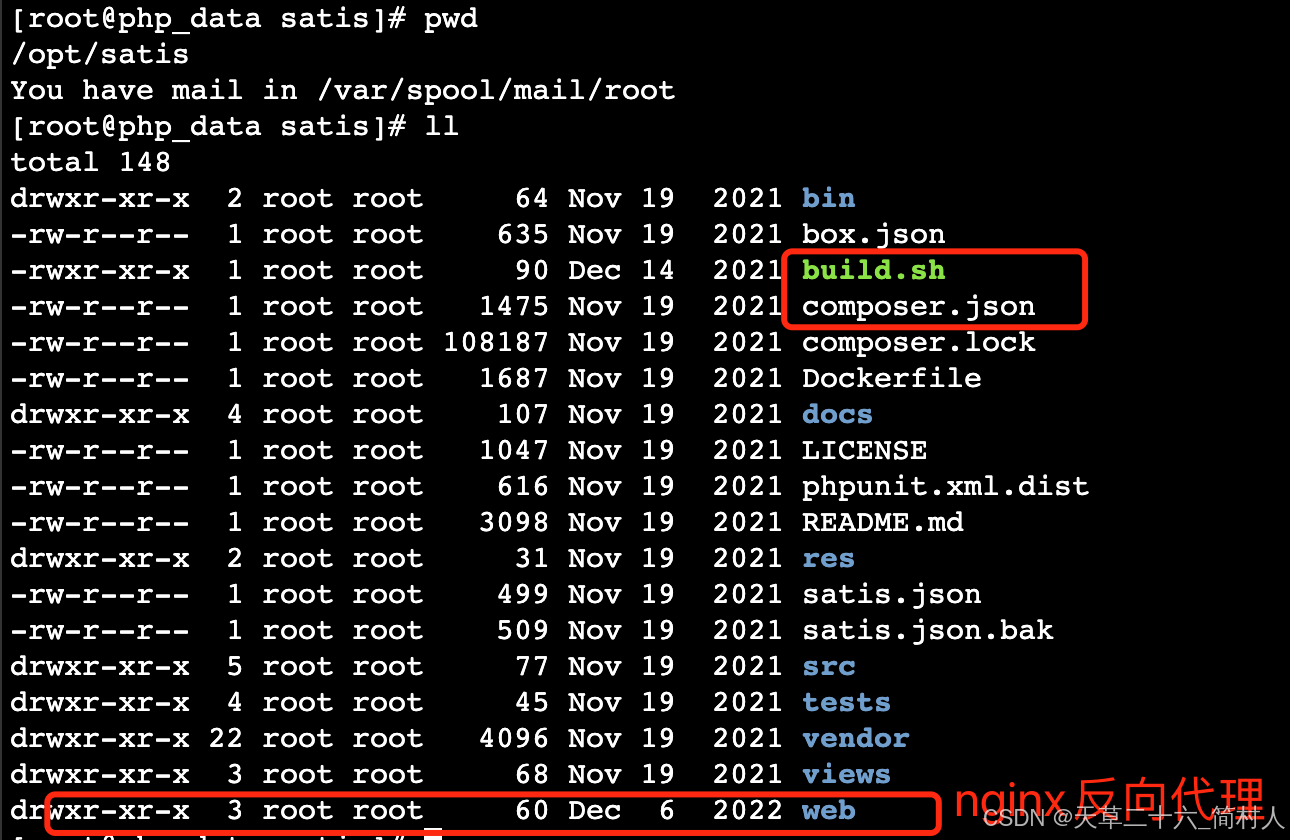
1、build.sh
#/bin/bash
/usr/bin/php72 /opt/satis/bin/satis build /opt/satis/satis.json /opt/satis/web
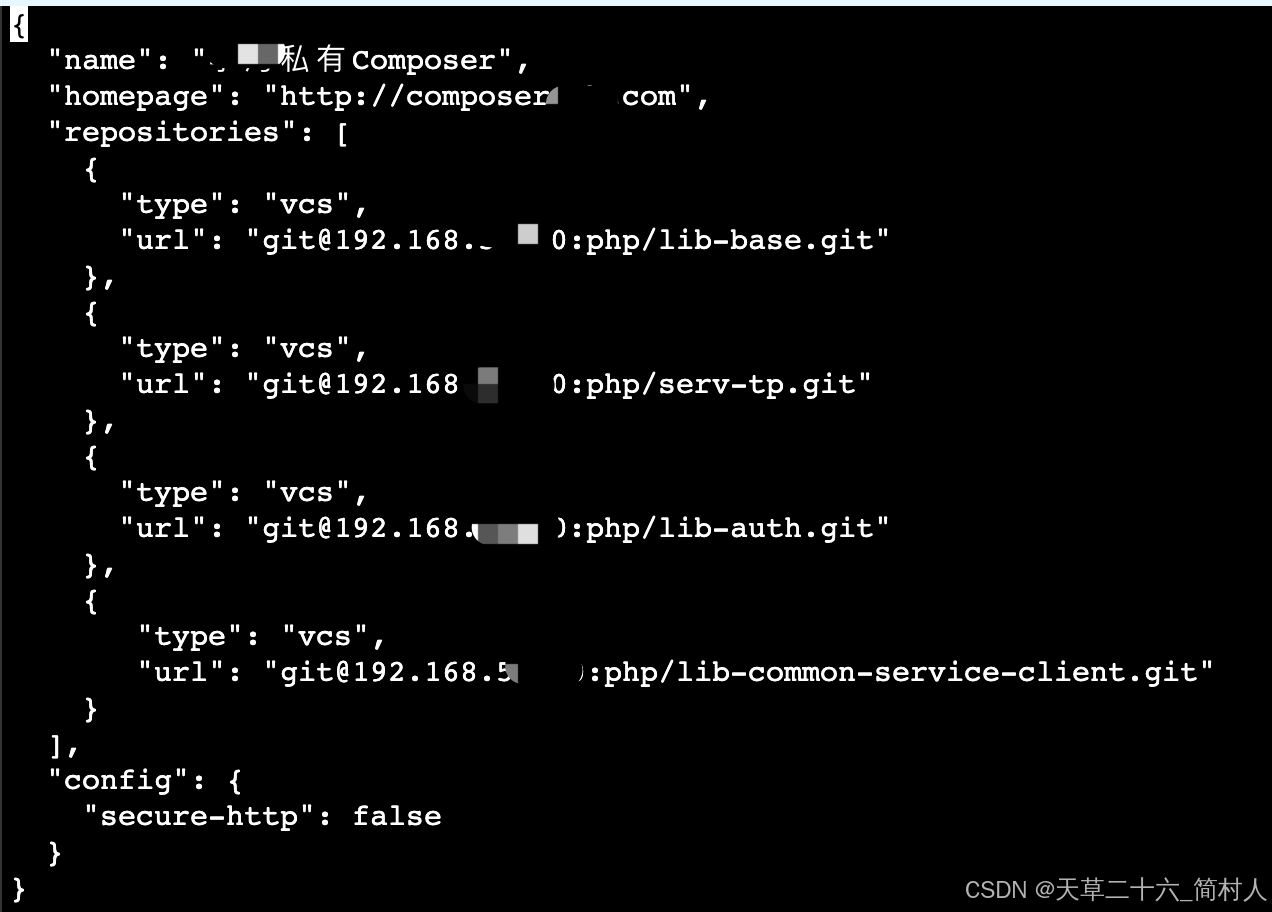
2、satis.json
{
  "name": "私有Composer",
  "homepage": "http://composer.xx.com",
  "repositories": [
    {
      "type": "vcs",
      "url": "git@192.168.50.25:php/lib-base.git"
    },
    {
      "type": "vcs",
      "url": "git@192.168.50.25:php/serv-tp.git"
    },
    {
      "type": "vcs",
      "url": "git@192.168.50.25:php/lib-auth.git"
    },
    {
       "type": "vcs",
       "url": "git@192.168.50.25:php/lib-common-service-client.git"
    }
  ],
  "config": {
    "secure-http": false
  }
}
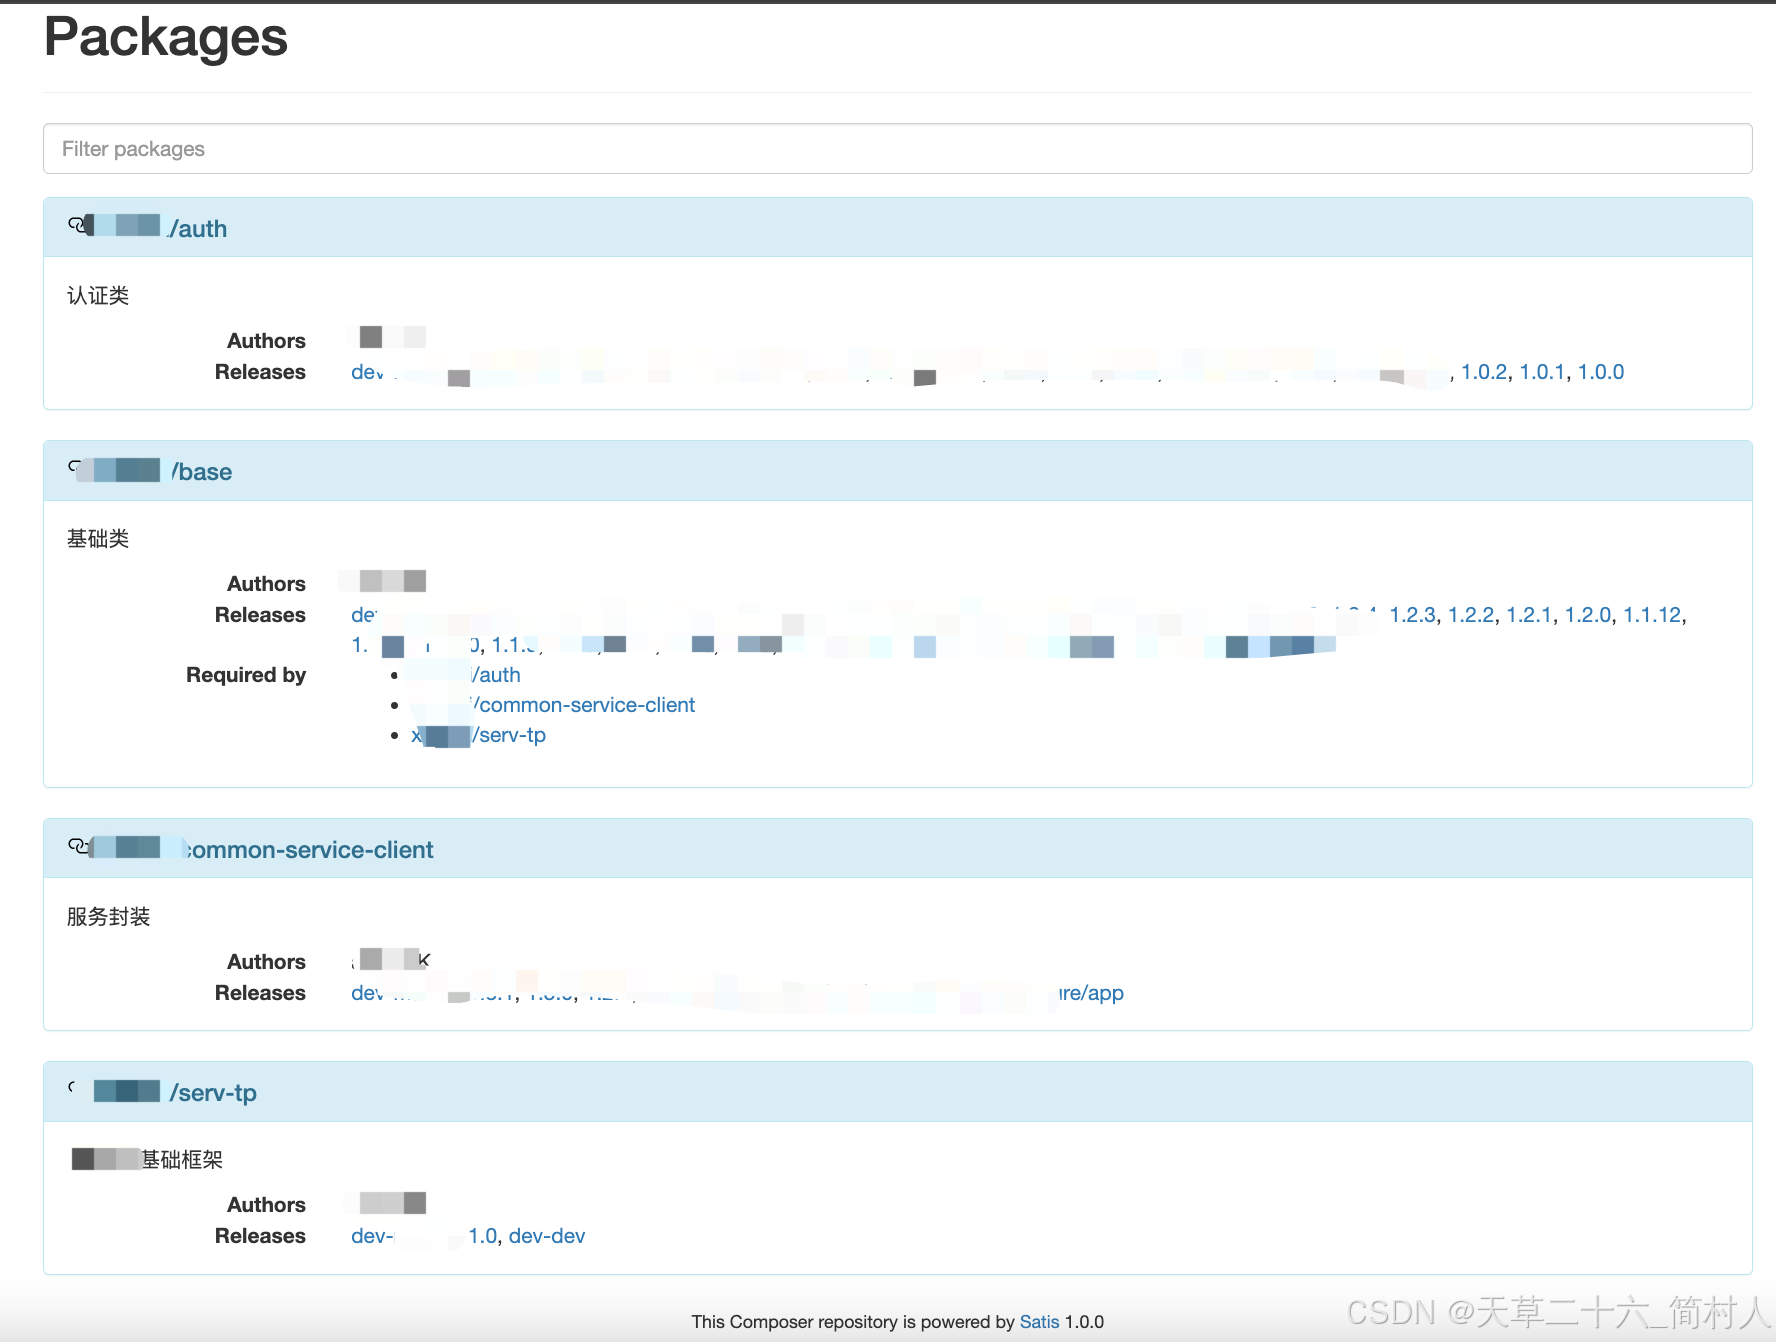
五、验证
浏览器访问http://{ip} 默认80端口。

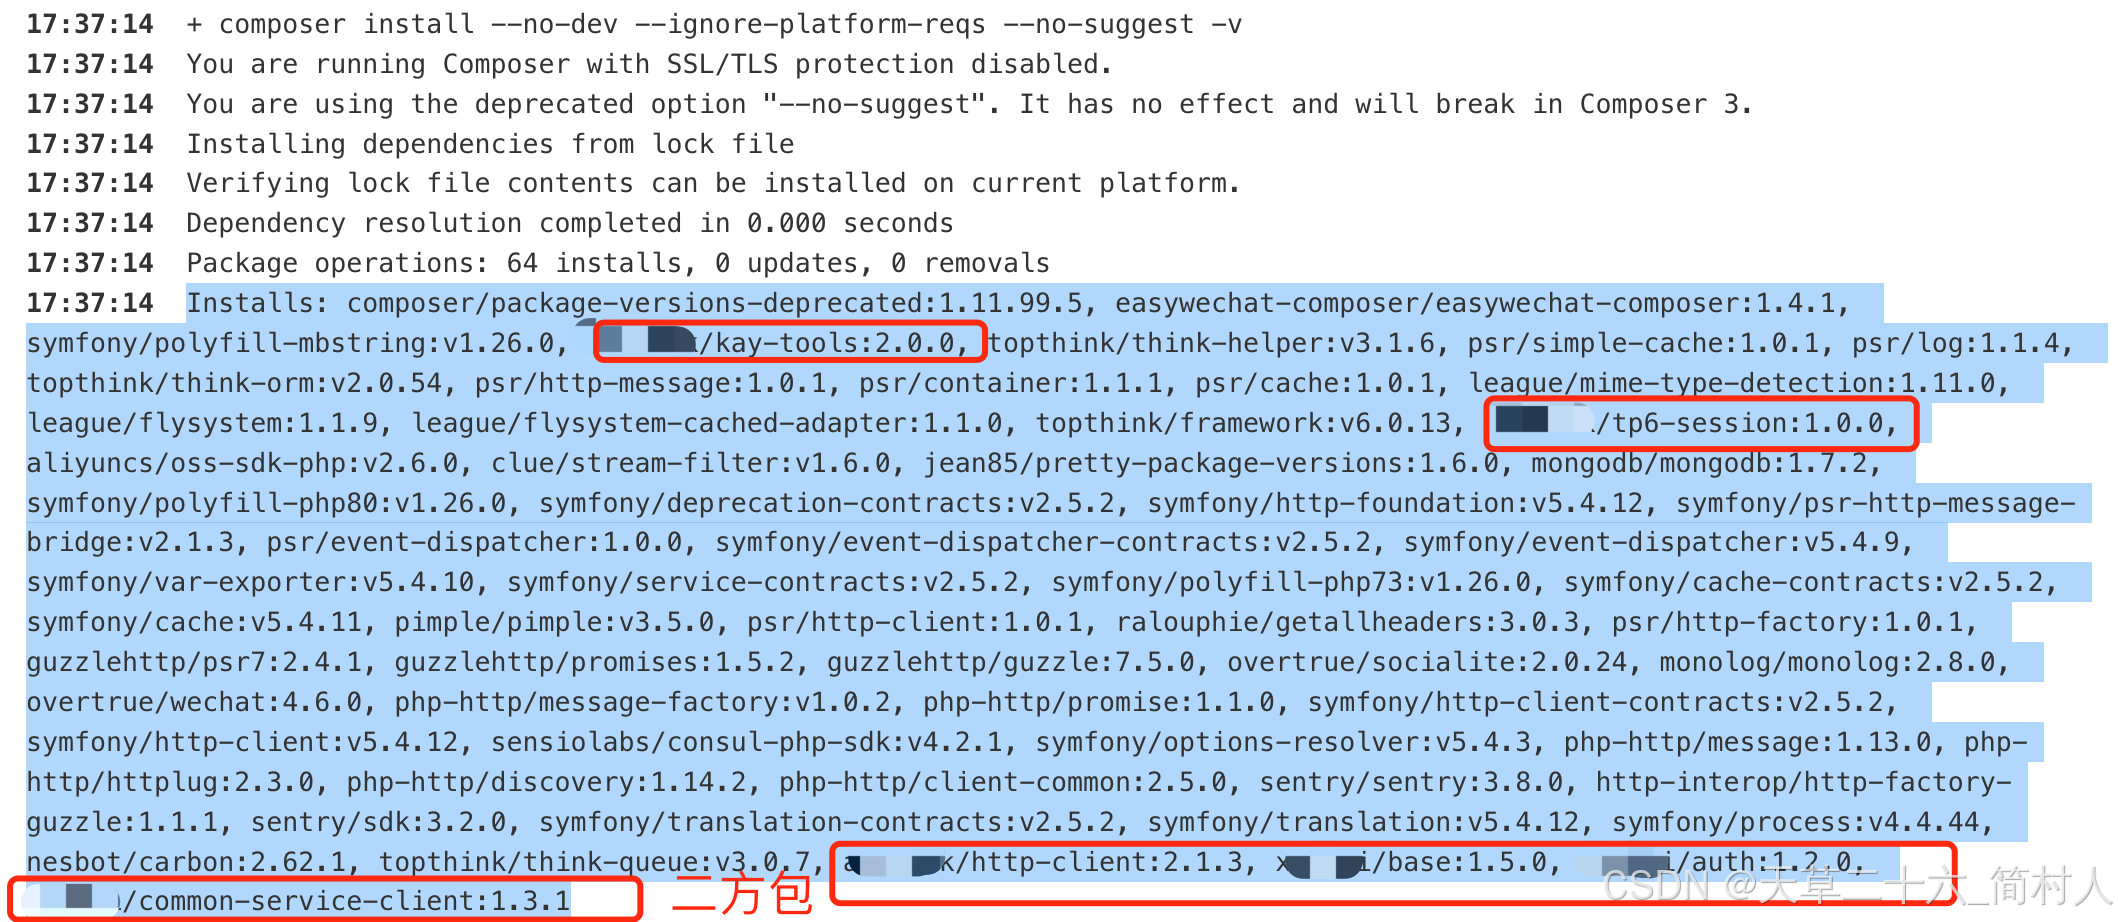
- composer install --no-dev --ignore-platform-reqs --no-suggest -v
从私库下载二方包。
-
相关阅读:
Centos7安装NVIDIA显卡驱动
【C++】认识STL
手写笔记教会你集成Spring和Mybatis框架(有详细注解)
印度网络安全:威胁与应对
ssm+vue+elementUI基于微信小程序的电动电动汽车车智能充电桩服务平台-计算机毕业设计
十五、委托
IP地址、子网掩码、默认网关介绍及例题计算
LeetCode-891. 子序列宽度之和【排序,数学,数组】
CPD:使用restAPI和cpd-cli命令创建DMC实例
前端研习录(14)——CSS雪碧图及字体图标讲解及示例说明
- 原文地址:https://blog.csdn.net/zhuganlai168/article/details/143382345