-
Nginx 负载均衡实现上游服务健康检查
Nginx 负载均衡实现上游服务健康检查 
Author:Arsen
Date:2024/06/20
前言
如果你使用云负载均衡(如阿里云 CLB),我们可以通过配置健康检查来实现后端服务故障转移(通过 4/7 层实现)。而如果你使用 Nginx 作为负载均衡器时,又如何实现后端(上游)服务器的健康检查呢?要解决这个问题,就需要使用到 Nginx 的
nginx_upstream_check_module模块,因为在不使用nginx_upstream_check_module模块的情况下,Nginx 的常规负载均衡机制并不具备自动移除不健康服务器的功能。默认情况下,Nginx 不会主动检查上游服务器的健康状态,因此无法在服务器出现故障时自动将其从负载均衡池中移除。接下来将演示如何通过
nginx_upstream_check_module实现负载均衡上游服务器的故障转移。注意:
nginx_upstream_check_module是一个第三方模块,不属于官方 NGINX 发行版的一部分,因此需要我们手动将其集成到 NGINX 中,而不是通过官方预编译的 NGINX 包来使用它。一、Nginx 部署并新增模块
1、下载 nginx、nginx_upstream_check_module 源码包
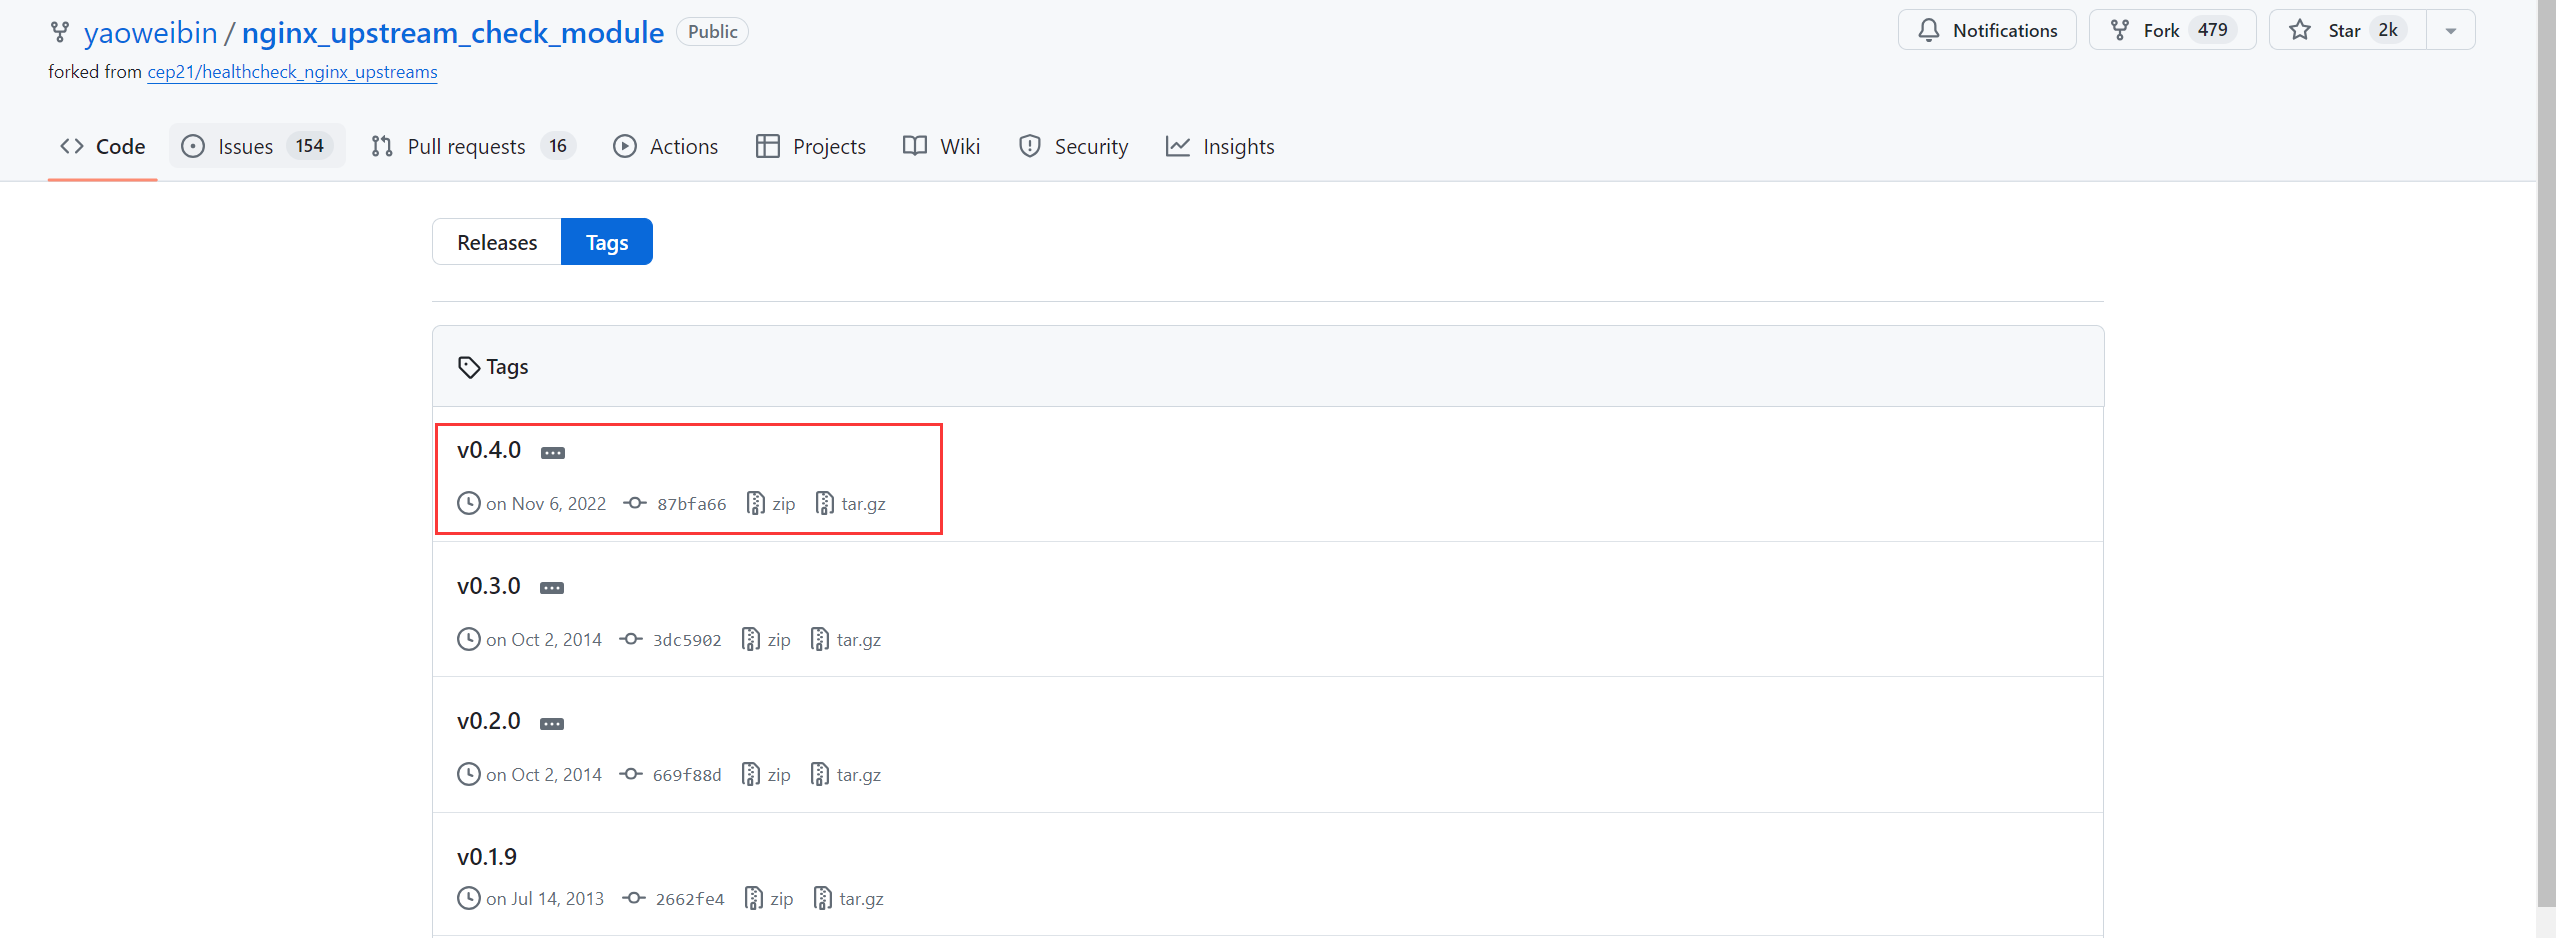
nginx_upstream_check_module 模块地址:https://github.com/yaoweibin/nginx_upstream_check_module

wget http://nginx.org/download/nginx-1.18.0.tar.gz
wget https://github.com/yaoweibin/nginx_upstream_check_module/archive/refs/tags/v0.4.0.tar.gz
2、解压安装包
tar xzf v0.4.0.tar.gz
tar xzf nginx-1.18.0.tar.gz
3、为 NGINX 源码打补丁
# 安装补丁工具
yum install -y patch
补丁列表(在我们上面下载的第三方模块中):

在补丁文件列表中,没有直接与
nginx-1.18.4对应的补丁文件。通常情况下,选择一个版本号最接近但不高于你的 NGINX 版本的补丁文件会是最佳选择。如上图,使用check_1.16.1+.patch,因为它是最接近1.18.0的可用补丁且不高于1.18.0。# 开始打补丁 cd nginx-1.18.0/ patch -p1 < ../nginx_upstream_check_module-0.4.0/check_1.16.1+.patch
4、开始编译安装
关于模块安装注意事项,可以查看有道云笔记 nginx 编译安装部分。
# 安装nginx编译安装的依赖环境

yum -y install make gcc gcc-c++ pcre pcre-devel gd-devel openssl openssl-devel zlib zlib-devel
./configure \ --with-http_gzip_static_module \ --with-http_ssl_module \ --with-http_stub_status_module \ --with-http_ssl_module \ --with-pcre \ --with-file-aio \ --with-http_realip_module \ --without-http_scgi_module \ --without-http_uwsgi_module \ --without-http_fastcgi_module \ --with-compat --add-module=../nginx_upstream_check_module-0.4.0 # --with-compat 是一个用于构建兼容模块的选项,它允许你编译 NGINX 时,使其模块在不同版本的 NGINX 上保持兼容。 # 这里仅仅是测试使用,我就不具体规划路径了(如安装路径、日志路径等),使用默认即可
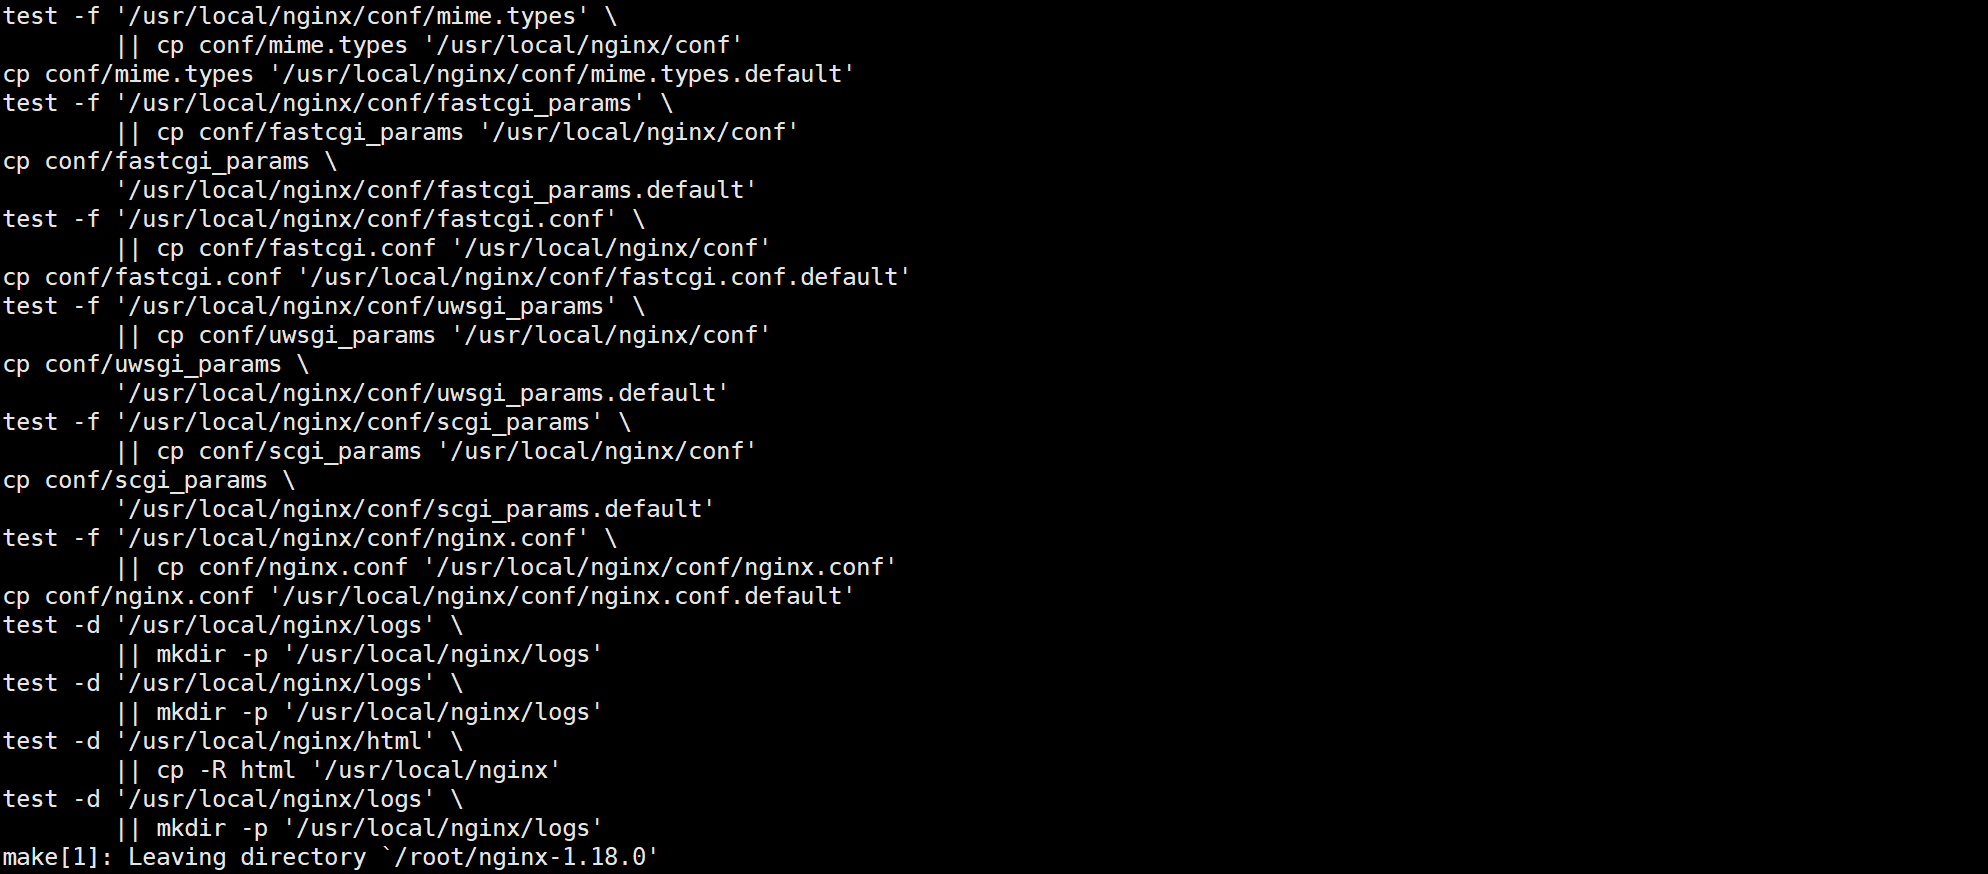
如上图,Nginx 编译完成,默认输出了相关的工作路径,接下来就根据上图路径开始安装了:
make && make install
此时我们需要验证新增的第三方模块是否被成功集成:

二、健康检查配置
2.1 准备 nodeJS 应用程序
1、node 安装
过程略.


2、安装 pm2 守护进程管理器
npm install -g pm23、创建测试项目并启动项目
vim /data/nginx-test-projects/node-js-demo/app-1.js
const http = require('http');

const server = http.createServer((req, res) => {
    res.setHeader("Content-Type", "application/json");

    res.writeHead(200);
    res.end(`{ "status": "success", "message": "app-1 请求成功!\n" }`);
});

server.listen(3001, 'localhost', () => {
    console.log('running on http://localhost:3001/');
});
vim /data/nginx-test-projects/node-js-demo/app-2.js
const http = require('http');

const server = http.createServer((req, res) => {
    res.setHeader("Content-Type", "application/json");

    res.writeHead(200);
    res.end(`{ "status": "success", "message": "app-2 请求成功!\n" }`);
});

server.listen(3002, 'localhost', () => {
    console.log('running on http://localhost:3002/');
});
vim /data/nginx-test-projects/node-js-demo/app-3.js
const http = require('http');

const server = http.createServer((req, res) => {
    res.setHeader("Content-Type", "application/json");

    res.writeHead(200);
    res.end(`{ "status": "success", "message": "app-3 请求成功!\n" }`);
});

server.listen(3003, 'localhost', () => {
    console.log('running on http://localhost:3003/');
});
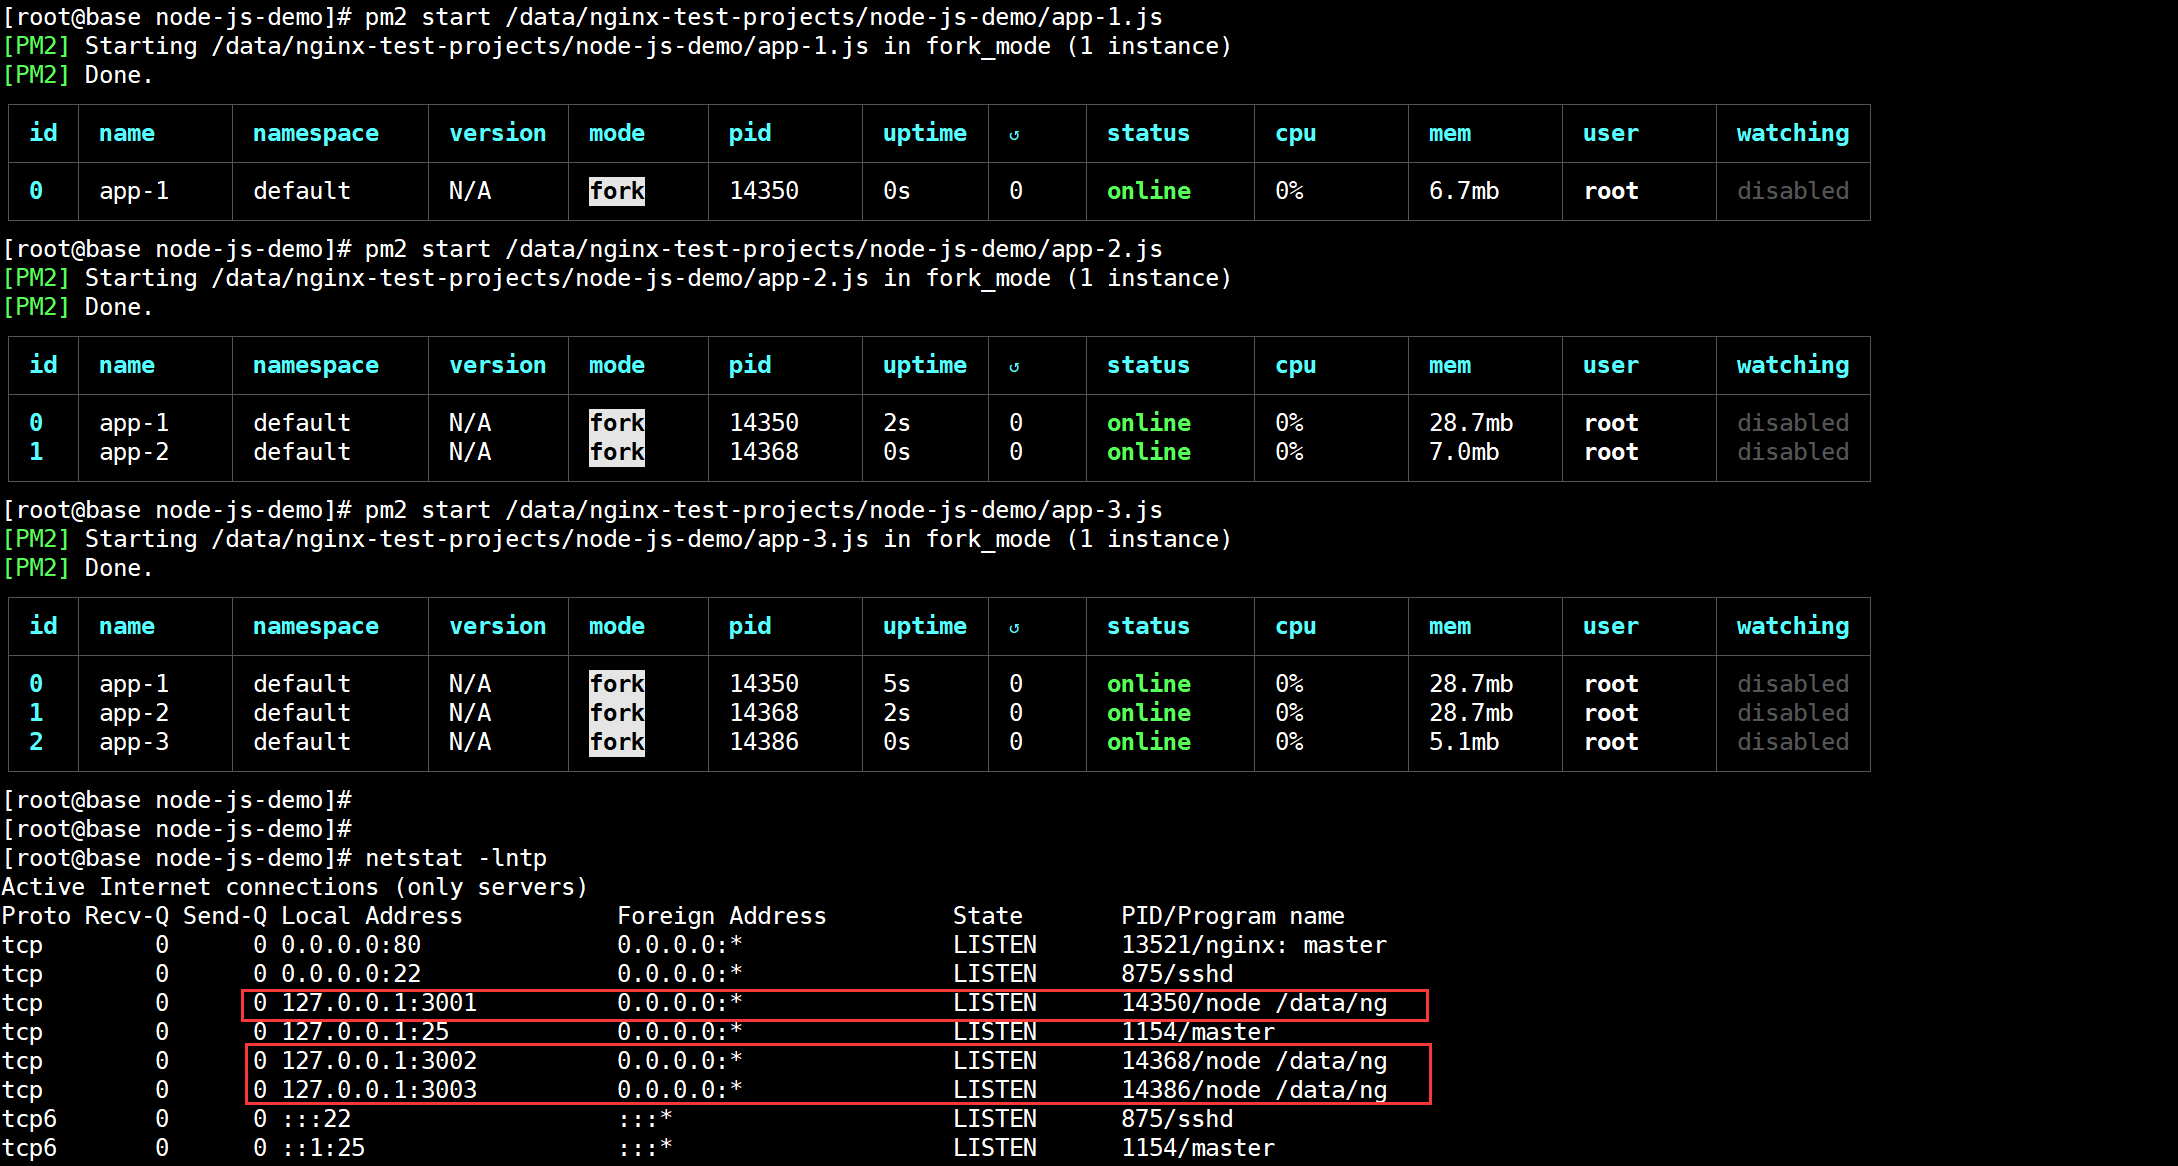
启动应用:
pm2 start /data/nginx-test-projects/node-js-demo/app-1.js
pm2 start /data/nginx-test-projects/node-js-demo/app-2.js
pm2 start /data/nginx-test-projects/node-js-demo/app-3.js
2.2 Nginx 配置负载均衡健康检查
1、nginx 配置
vim /usr/local/nginx/conf/nginx.confhttp { upstream backend { server 127.0.0.1:8080; server 127.0.0.1:8081; check interval=3000 rise=2 fall=5 timeout=1000 type=http; check_http_send "HEAD / HTTP/1.0\r\n\r\n"; check_http_expect_alive http_2xx http_3xx; } server { listen 80; location / { proxy_pass http://backend; } } }配置说明:
-
upstream backend { ... }: 定义名为backend的上游服务器组。 -
server 127.0.0.1:8080;: 定义一个地址为127.0.0.1:8080的上游服务器。 -
- 配置健康检查参数:
check interval=3000 rise=2 fall=5 timeout=1000 type=http;interval=3000: 每隔 3000 毫秒(3 秒)进行一次健康检查。rise=2: 如果服务器连续通过 2 次健康检查,则认为它是健康的。fall=5: 如果服务器连续 5 次健康检查失败,则认为它是故障的。timeout=1000: 每次健康检查必须在 1000 毫秒(1 秒)内完成。type=http: 指定进行 HTTP 健康检查。
-
check_http_send "HEAD / HTTP/1.0\r\n\r\n";: 向服务器发送 HTTP HEAD 请求。 -
check_http_expect_alive http_2xx http_3xx;: 如果服务器返回的状态码在 2xx 或 3xx 范围内,则认为服务器是健康的。
2、健康检查验证
while sleep 0.5; do curl http://192.168.56.120; done后端服务健康情况时,是正常的负载均衡的:

这里我分两种情况来验证:
1)未配置 nginx_upstream_check_module 的情况
此时,我停掉 app-1
pm2 stop app-1
看看 nginx 的错误日志是否持续输出,如果持续输出,说明 nginx 一直在轮询请求后端上游服务,且请求不到,这就证明默认的 nginx 负载均衡模式下,并不能实现后端上游服务的健康检查,客户的请求依然会打到坏掉的 app-1 服务上。如下图,正符合我们的假设。

2)配置了 nginx_upstream_check_module 的情况
这里,我们先恢复后端服务,使 3 台都正常工作。然后我们保持请求不要断,继续将 app-1 stop 掉,看会不会故障转移到其他节点:判断是否转移其实就是你看 nginx 是否有如上图相同的错误日志持续输出,如果有,那证明这个检测模块我们就没配置正确,否则证明我们的检测模块生效,且将坏掉的 app-1 从负载均衡中摘掉,恢复时自动加入负载均衡。
停掉 app-1
pm2 stop app-1再看看 Nginx 的错误日志:

这里你会注意到,此时的错误日志与上一张图的错误日志不同了,那他们的区别是什么呢?
1)未配置 nginx_upstream_check_module 的错误日志分析:
由于我们没有配置了 Nginx 健康检查,在连接已建立后,NGINX 尝试连接到上游服务器时,连接被拒绝而抛出如下错误日志:
2024/06/20 13:19:55 [error] 14553#0: *510 connect() failed (111: Connection refused) while connecting to upstream, client: 192.168.56.120, server: localhost, request: "GET / HTTP/1.1", upstream: "http://127.0.0.1:3001/", host: "192.168.56.120"这通常是由于上游服务器未能正常启动或者未响应
客户端请求处理:
- 如果 NGINX 配置中没有健康检查,或者健康检查无法检测到上游服务器的问题,客户端的请求可能会继续被发送到无法处理请求的上游服务器。
- 这种情况下,客户端请求可能会因为上游服务器的问题而遭遇连接失败或者长时间的等待响应。
2)配置了 nginx_upstream_check_module 的错误日志分析:
由于我们配置了 Nginx 健康检查,在连接已建立后,NGINX 尝试发送数据到上游服务器时,连接被拒绝而抛出如下错误日志:
2024/06/20 13:35:06 [error] 15030#0: send() failed (111: Connection refused)
2024/06/20 13:35:09 [error] 15030#0: send() failed (111: Connection refused)
2024/06/20 13:35:12 [error] 15030#0: send() failed (111: Connection refused)
2024/06/20 13:35:15 [error] 15030#0: send() failed (111: Connection refused)
在连接建立后,即使上游服务器通过了健康检查确认为健康状态,但在实际发送数据时,服务器可能由于负载过高、连接限制或其他原因拒绝处理请求。
客户端请求处理:
- 配置了健康检查后,NGINX 会在发送实际请求之前先检查上游服务器的健康状态。
- 如果上游服务器在健康检查时被标记为不可用,NGINX 将不会将客户端的请求发送到该上游服务器。
- 这种情况下,客户端的请求不会被打到处于故障状态的上游服务器,因为 NGINX 在发送请求之前会先确认上游服务器的可用性。
小结
1、nginx 未设置健康检查报错
这类报错是在连接建立阶段出现连接被拒绝的错误,通常因为上游服务器未能正常启动或者未响应。
2、nginx 设置了健康检查报错
康状态,但在实际发送数据时,服务器可能由于负载过高、连接限制或其他原因拒绝处理请求。
3、健康检查的目的
实现高可用。
—END
-
-
相关阅读:
奖补来啦!2022年新洲区科技企业梯次培育专项资金申报条件、材料和补贴标准
大家经常提到的RPA是什么!跟我来!带你全面了解RPA!
Java、Go、Rust大比拼,高并发时代谁能称雄?
Redis
SpringBoot整合DataWay配置前端查询
Algorithm Review 2
基于C++实现考试报名系统
nginx
【PDF】pdf 学习之路
leetcode每天5题-Day42
- 原文地址:https://blog.csdn.net/IT_ZRS/article/details/139831658