-
Flutter 开发学习笔记(4):widget布局容器学习
前言
再学习一个框架中,布局容器的学习是最重要的。在Html中,通过css来调整布局,在WPF中,用Grid/StackPanel/UniGrid/DockPanel等容器来嵌套布局。我其实更喜欢WPF这种方式,因为我们一般也只采用一个布局方式,多种布局方式不并存,而且布局容器只管理布局,这样更容易做业务的解耦
相关链接
Widget 有状态和无状态
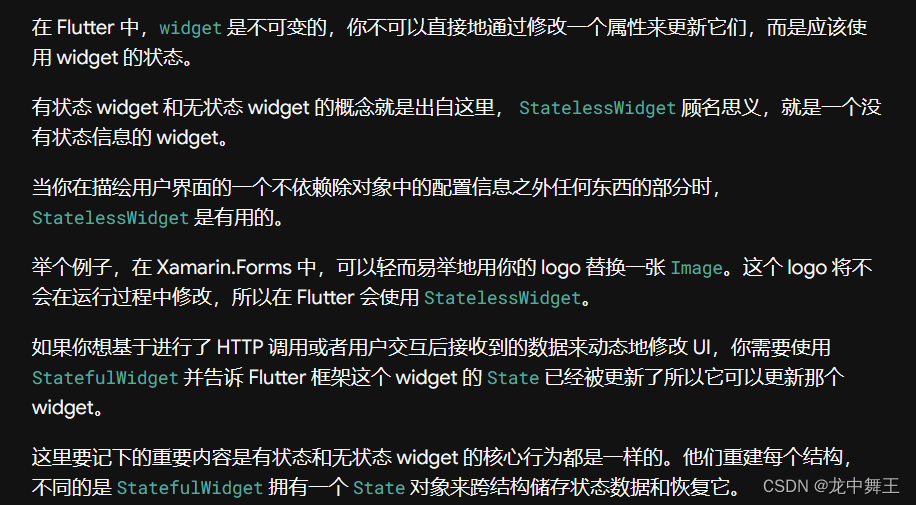
其实我感觉这个说明不太接地气,应该是静态Widget和动态Widget。静态Widget是不能直接修改的,必须要用重新刷新更新。动态Widget是在内存里面专门划出一个空间,数据驱动修改视图。一般来说,能用静态就不用动态,动态是有实际的数据变更需求才进行声明的。
而Flutter中一切皆Widget的概念,类似于一切皆Box或者Div的概念。
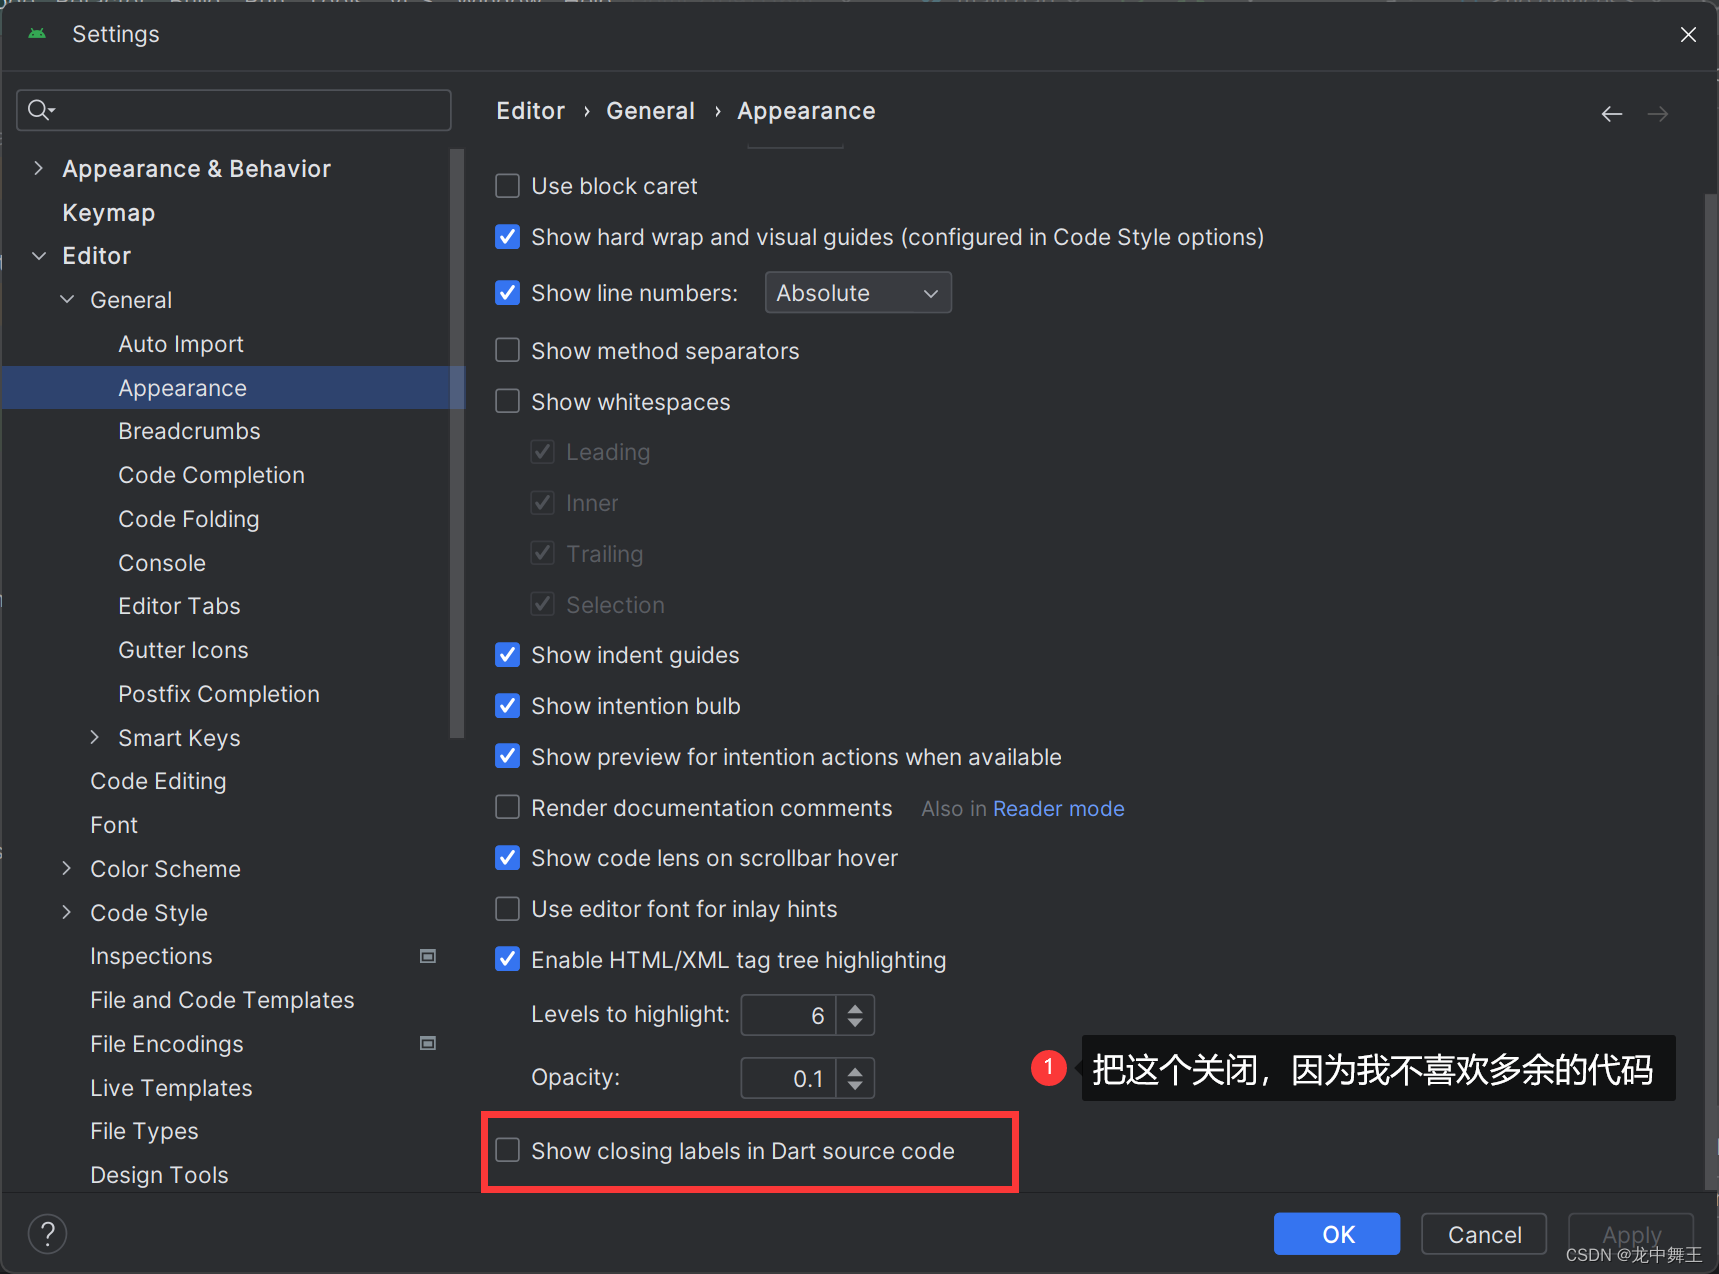
Flutter 代码风格
去掉烦人的括号后缀提示

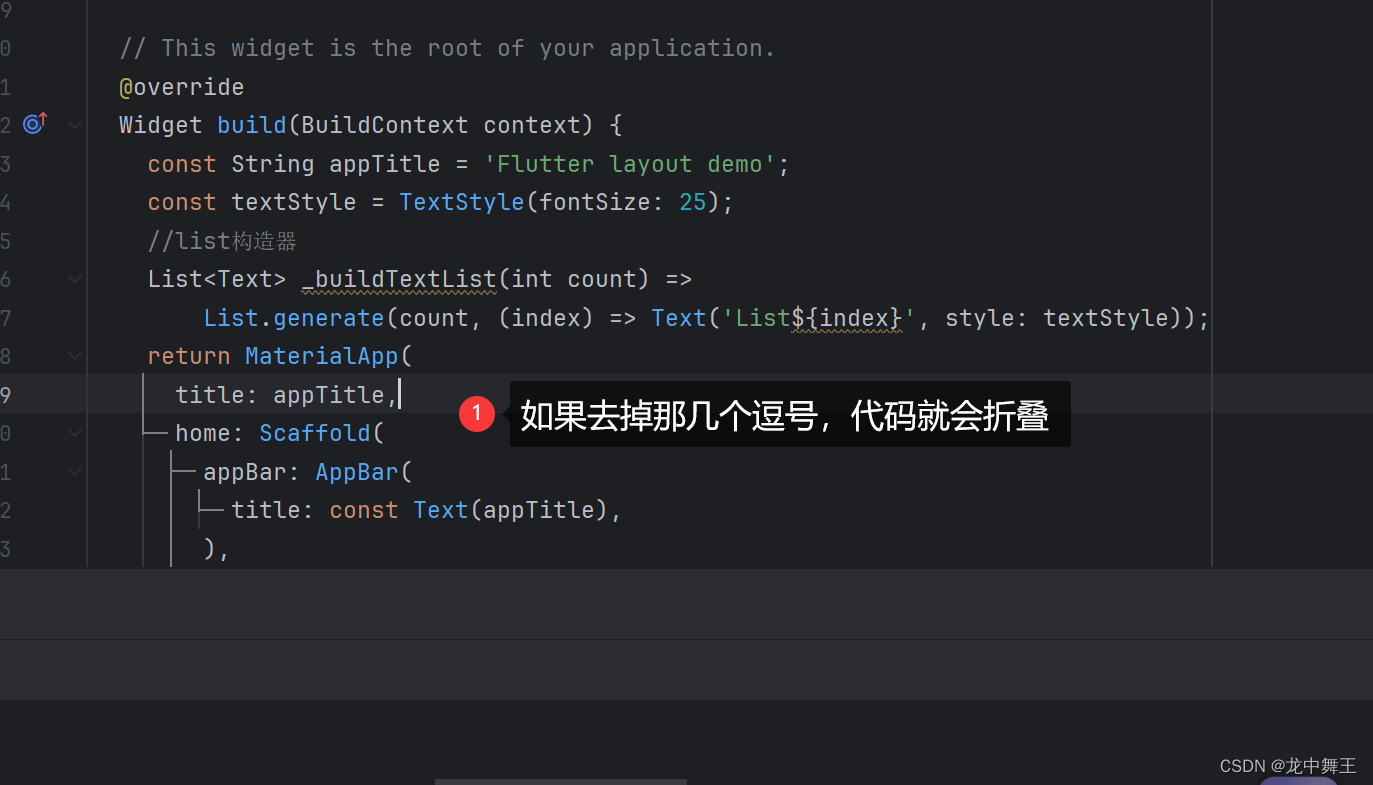
代码缩进
Flutter中的代码缩进竟然是靠【,】逗号来进行的,我都惊呆了。

Flutter 布局
最简单的布局
我们将main.dart改为此布局
import 'package:flutter/material.dart'; void main() { runApp(const MyApp()); } class MyApp extends StatelessWidget { const MyApp({super.key}); // This widget is the root of your application. @override Widget build(BuildContext context) { const String appTitle = 'Flutter layout demo'; return MaterialApp( title: appTitle, home: Scaffold( appBar: AppBar( title: const Text(appTitle), ), body: const Center( child: Text('Hello World'), ), ), ); } }- 1
- 2
- 3
- 4
- 5
- 6
- 7
- 8
- 9
- 10
- 11
- 12
- 13
- 14
- 15
- 16
- 17
- 18
- 19
- 20
- 21
- 22
- 23
- 24
- 25
- 26
- 27
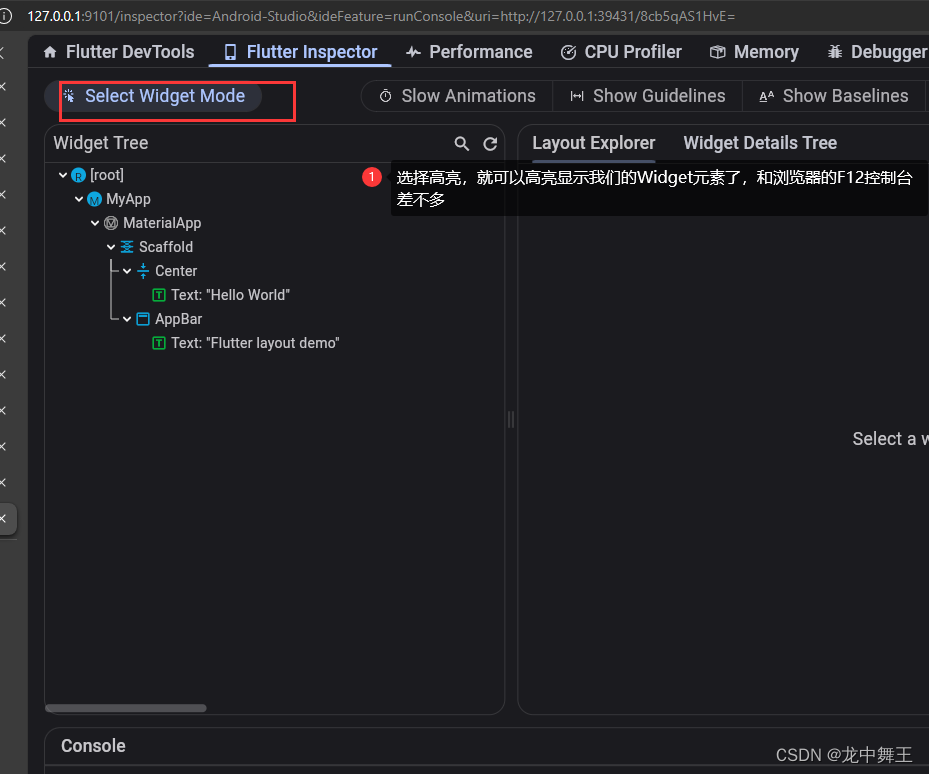
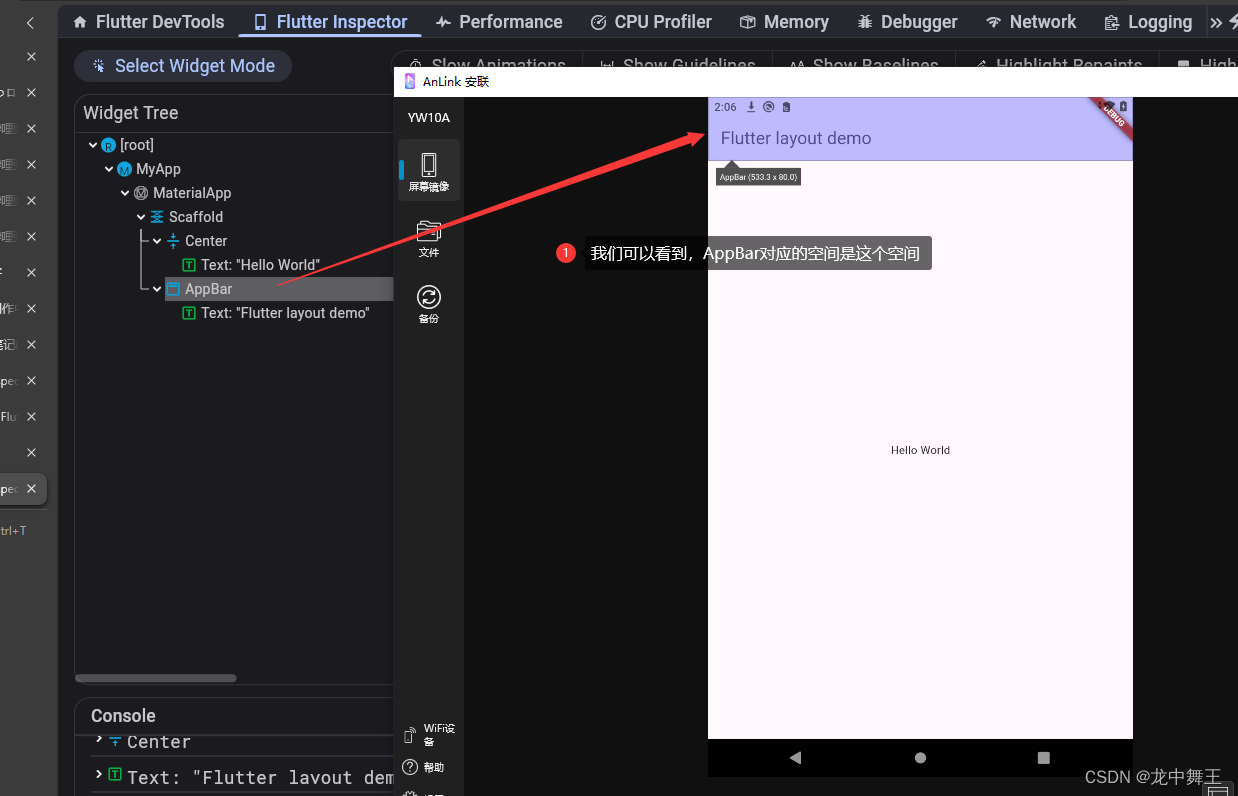
widgets和Material widgets
Material是谷歌旗下的UI框架,Material widgets是谷歌官方对widgets的封装。我们的示例代码用的就是Material widgets的布局。Flutter 项目默认使用。

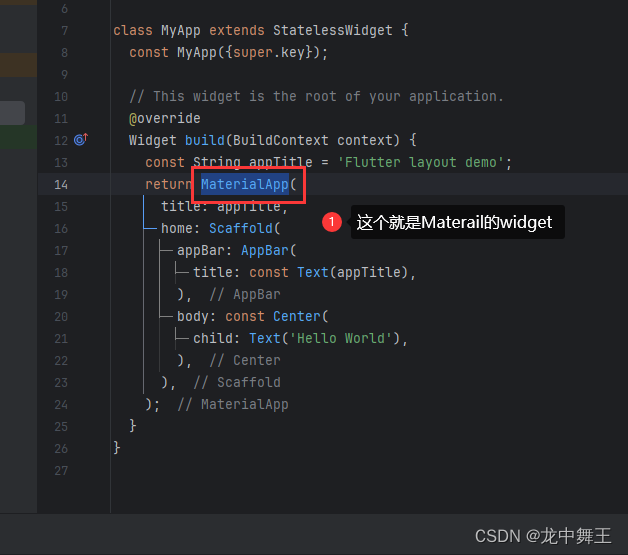
Material App是flutter推荐的默认移动端应用布局,包含多种功能。我们作为初学者,还是以Widget原生学习为主。先学简单的UI布局。
Dark语法习惯
我非常讨厌官方这种无线套娃的嵌套地狱写法,函数的入口就是return了。我一般都喜欢拼装式的写法,就是先声明返回的内容,然后再一点一点拼起来
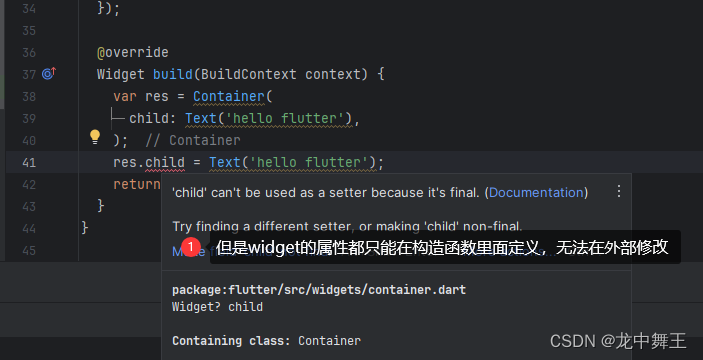

Flutter 布局
Flutter有三大布局,对齐,居中,填充。简单来说
对齐:相对布局,可控性最强
居中:强制水平和垂直居中
填充:居中+动态长宽,配合padding使用在控制长宽默认布局
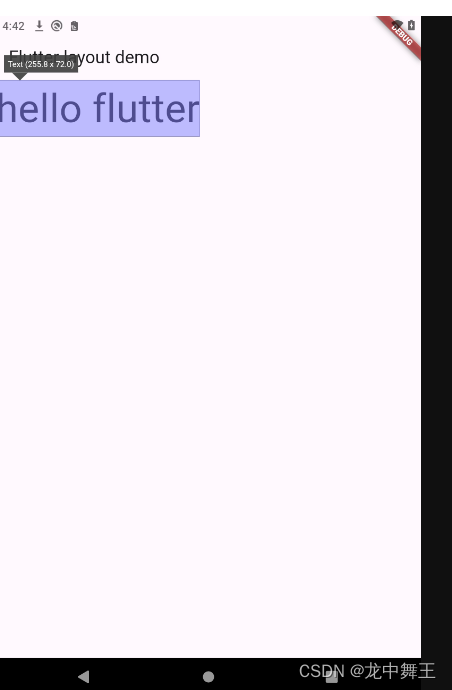
import 'package:flutter/material.dart'; import 'package:flutter_widget_test/pages/ChartTestPage.dart'; import 'package:fluttertoast/fluttertoast.dart'; import 'utils/ToastUtils.dart'; void main() { runApp(const MyApp()); } class MyApp extends StatelessWidget { const MyApp({super.key}); // This widget is the root of your application. @override Widget build(BuildContext context) { const String appTitle = 'Flutter layout demo'; const textStyle = TextStyle(fontSize: 50); var res = MaterialApp( title: appTitle, home: Scaffold( appBar: AppBar( title: const Text(appTitle), ), body: const Text( 'hello flutter', style: textStyle, ), )); return res; } }- 1
- 2
- 3
- 4
- 5
- 6
- 7
- 8
- 9
- 10
- 11
- 12
- 13
- 14
- 15
- 16
- 17
- 18
- 19
- 20
- 21
- 22
- 23
- 24
- 25
- 26
- 27
- 28
- 29
- 30
- 31
- 32
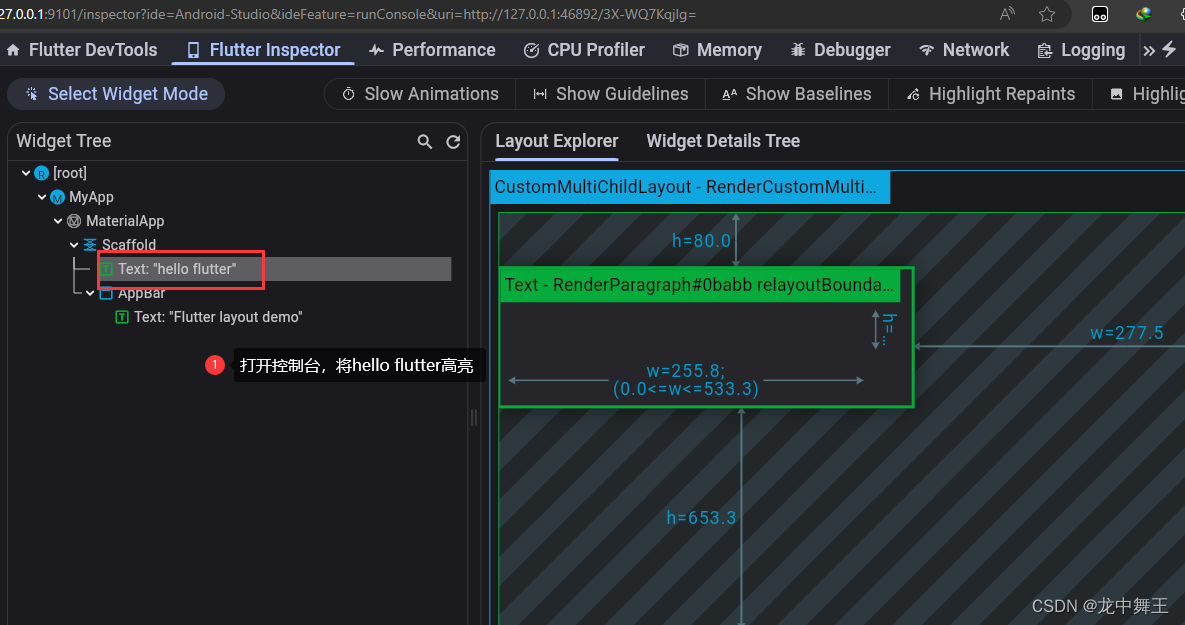
默认形状
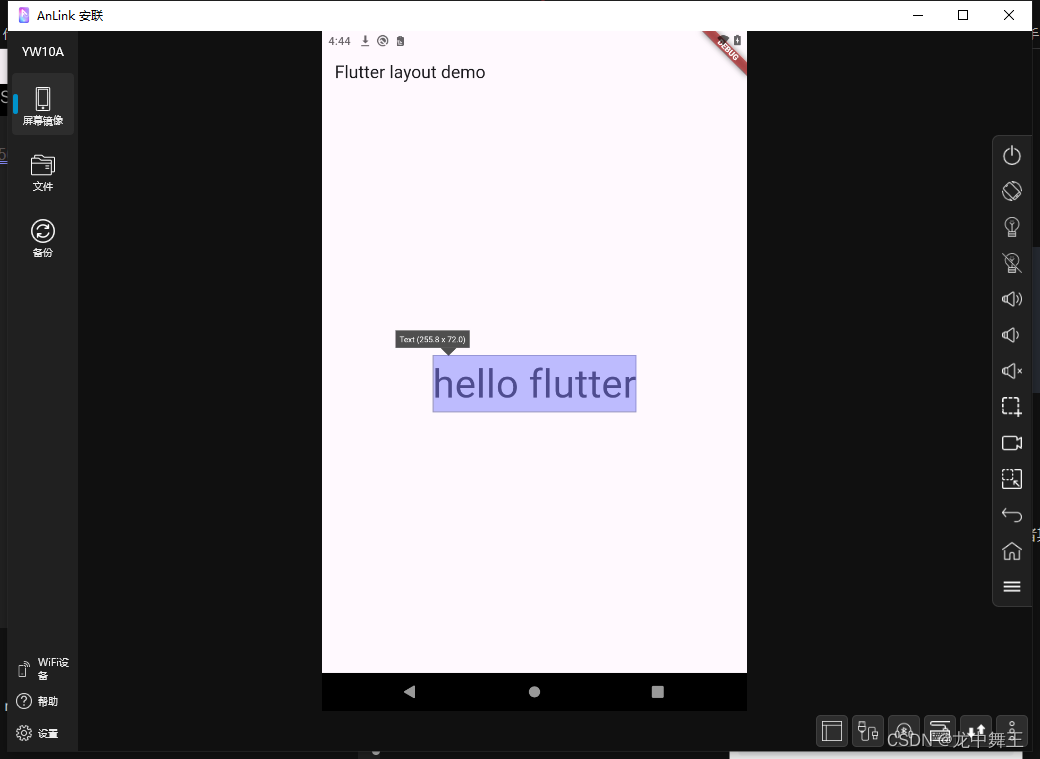
Center居中
body: const Center( child: Text( 'hello flutter', style: textStyle, ), ),- 1
- 2
- 3
- 4
- 5
- 6
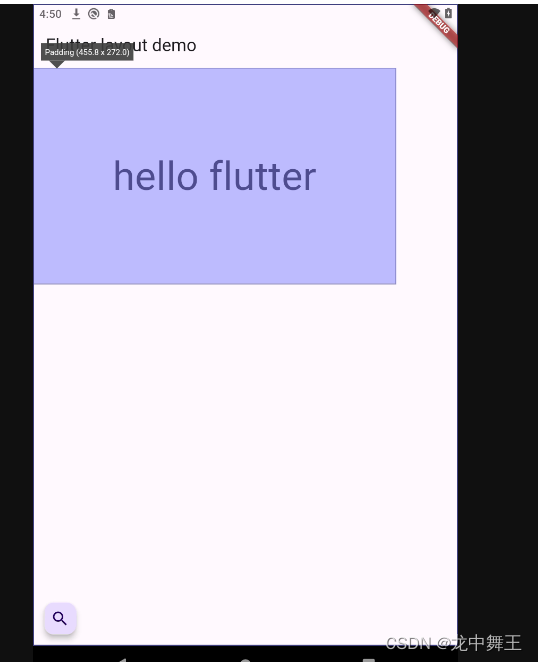
Padding 填充
body: const Padding( padding: EdgeInsets.all(100), child: Text( 'hello flutter', style: textStyle, ), ),- 1
- 2
- 3
- 4
- 5
- 6
- 7
Align对齐
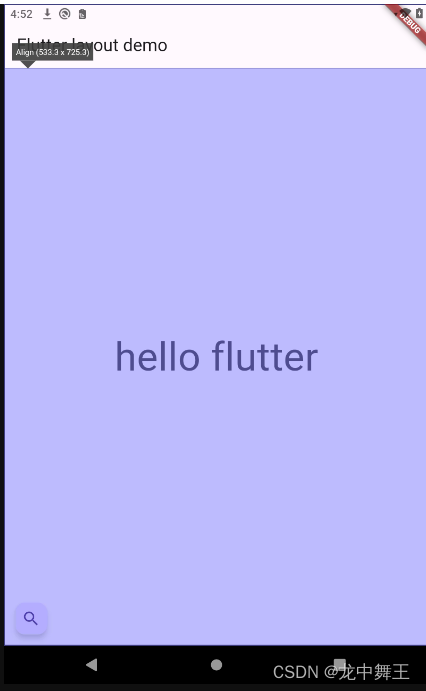
默认居中
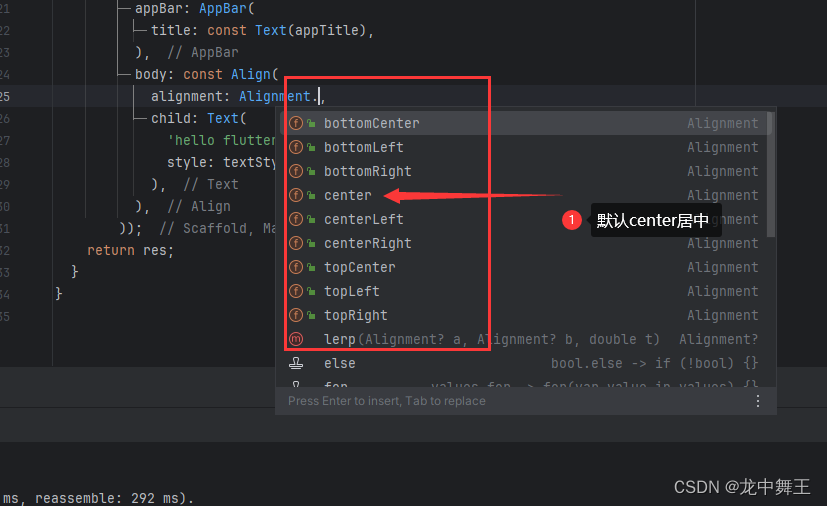
body: const Align( child: Text( 'hello flutter', style: textStyle, ), ),- 1
- 2
- 3
- 4
- 5
- 6
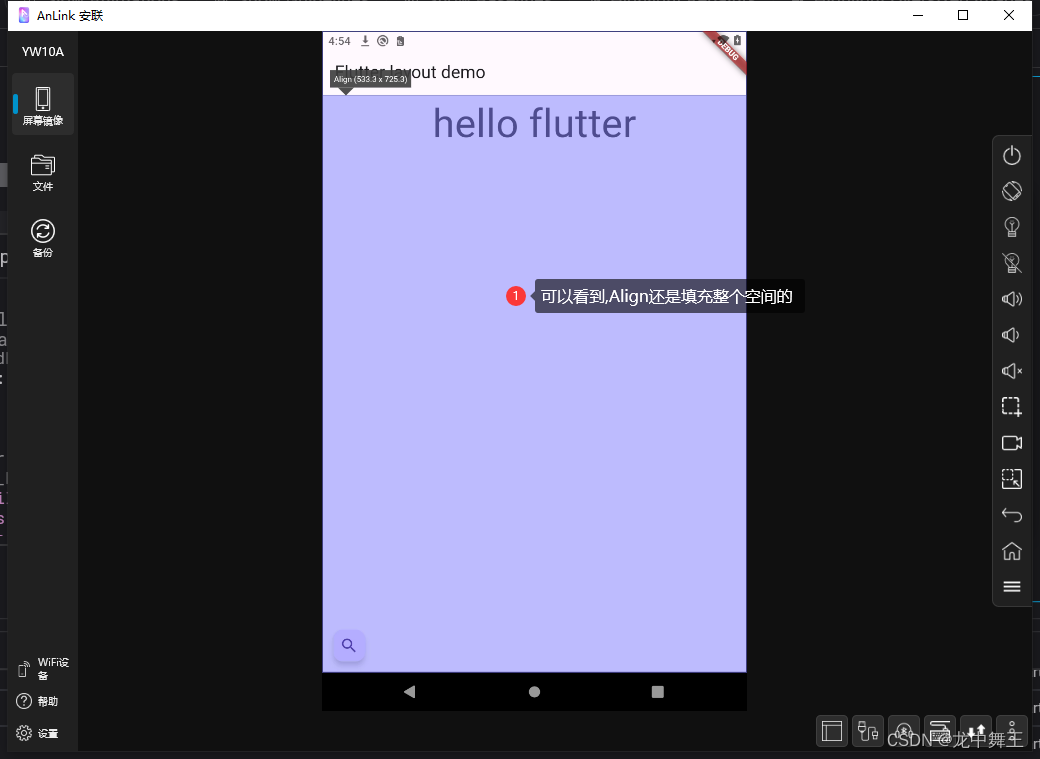
顶部
body: const Align( alignment: Alignment.topCenter, child: Text( 'hello flutter', style: textStyle, ), ),- 1
- 2
- 3
- 4
- 5
- 6
- 7
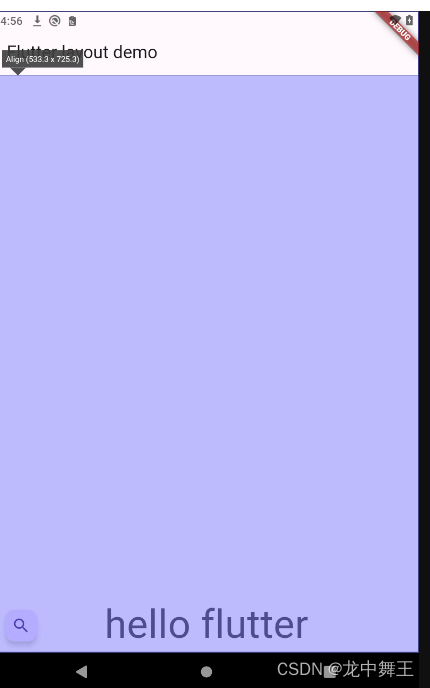
底部
body: const Align( alignment: Alignment.bottomCenter, child: Text( 'hello flutter', style: textStyle, ), ),- 1
- 2
- 3
- 4
- 5
- 6
- 7
右上角
body: const Align( alignment: Alignment.topRight, child: Text( 'hello flutter', style: textStyle, ), ),- 1
- 2
- 3
- 4
- 5
- 6
- 7
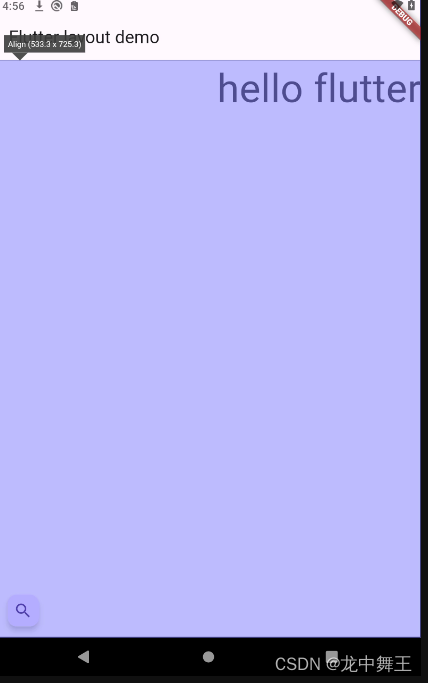
通用 Widget
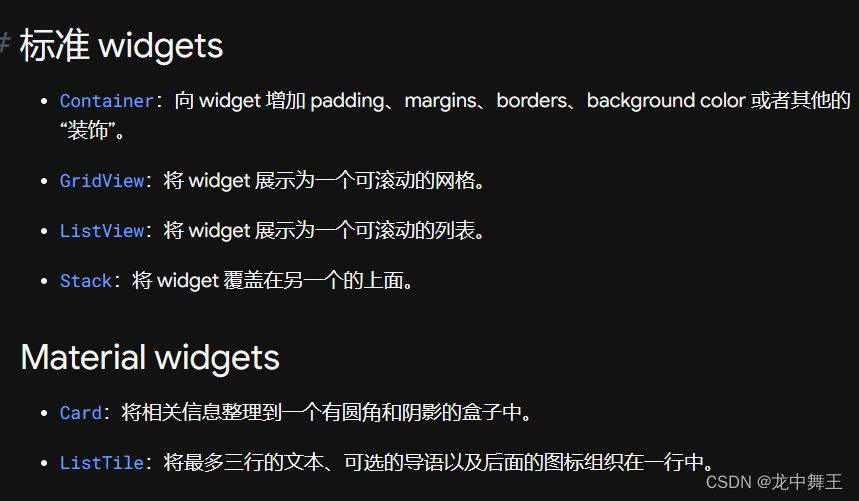
我们也要熟练掌握Android Studio的常用操作。
Container
如果说Widget是没有css的div的话,Container就是有Css的div
处于性能原因,最好不要使用Container
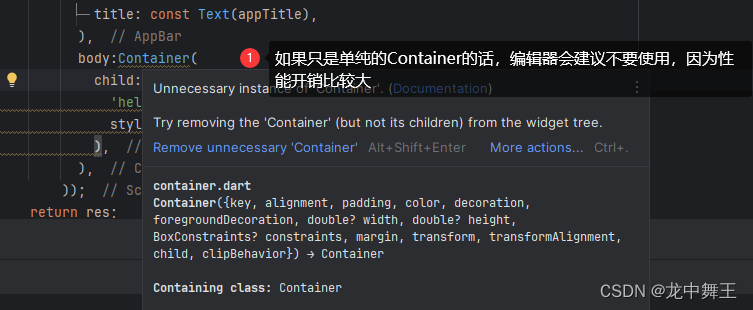
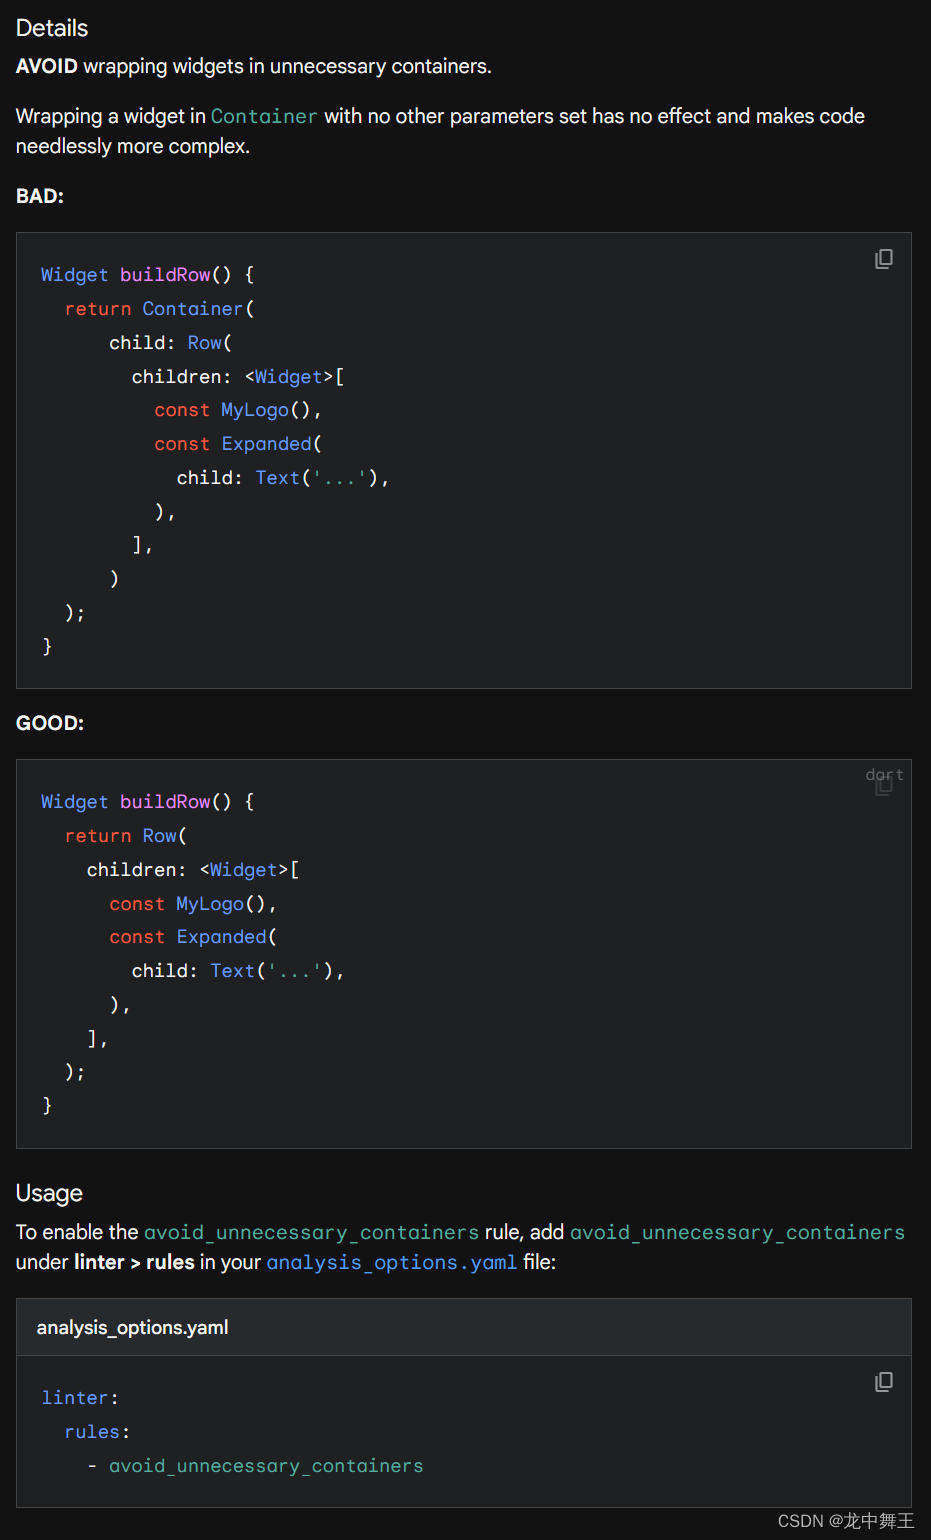
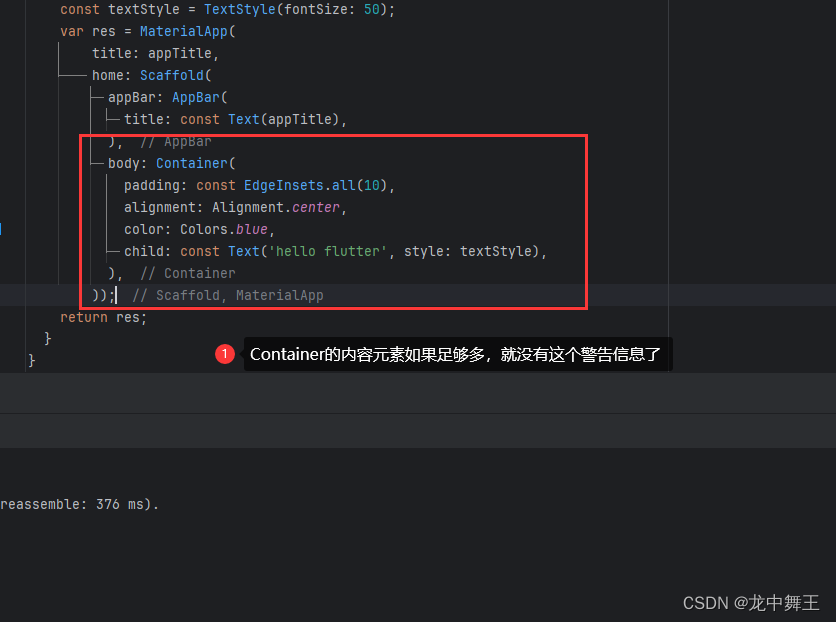
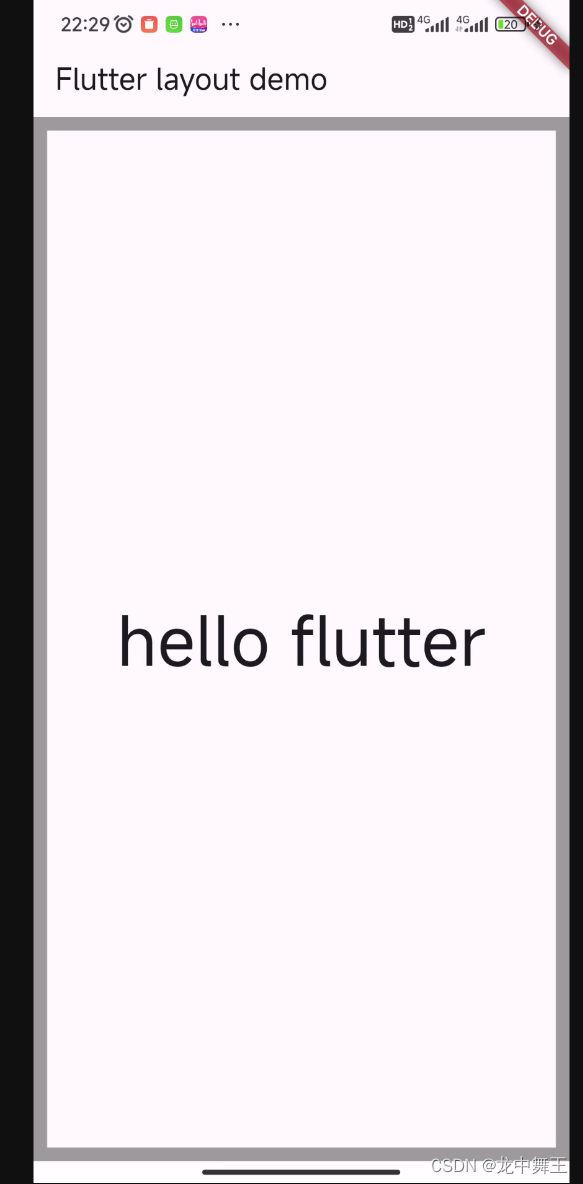
一个简单的Container
body: Container( decoration: BoxDecoration( border: Border.all(width: 10, color: Colors.black38), ), alignment: Alignment.center, child: const Text( 'hello flutter', style: textStyle, ), ),- 1
- 2
- 3
- 4
- 5
- 6
- 7
- 8
- 9
- 10
- 11
GridView
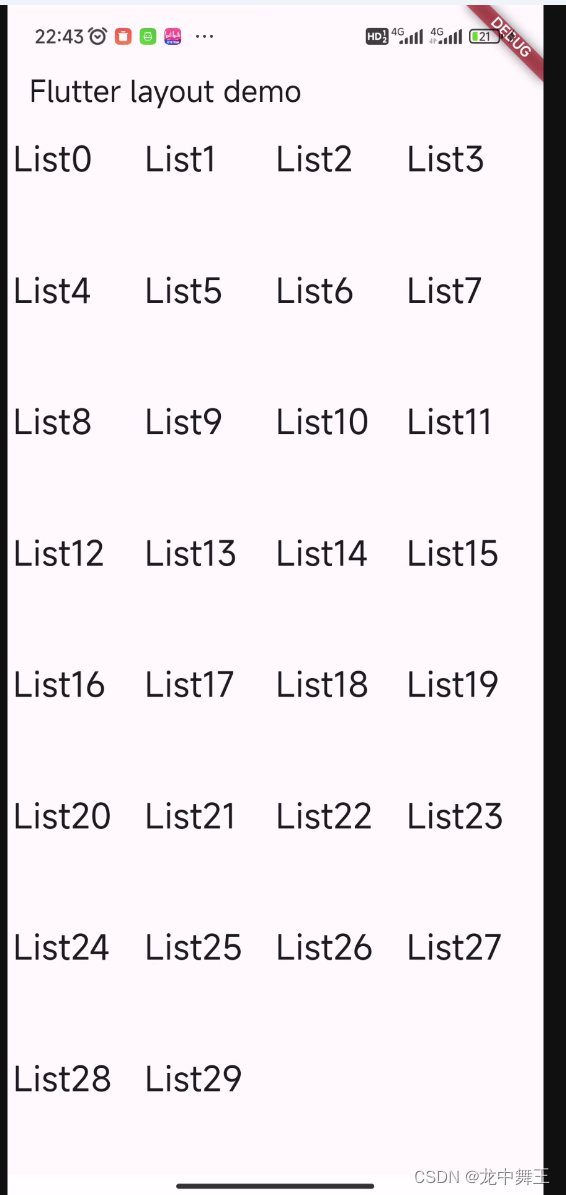
GridView.extent
通过限制单元格最大宽度来生成表格
class MyApp extends StatelessWidget { const MyApp({super.key}); // This widget is the root of your application. @override Widget build(BuildContext context) { const String appTitle = 'Flutter layout demo'; const textStyle = TextStyle(fontSize: 25); //list构造器 List<Text> _buildTextList(int count) => List.generate( count, (index) => Text( 'List${index}', style: textStyle, )); var body = GridView.extent( maxCrossAxisExtent: 100, padding: const EdgeInsets.all(4), children: _buildTextList(30), ); var res = MaterialApp( title: appTitle, home: Scaffold( appBar: AppBar( title: const Text(appTitle), ), body: body, )); return res; } }- 1
- 2
- 3
- 4
- 5
- 6
- 7
- 8
- 9
- 10
- 11
- 12
- 13
- 14
- 15
- 16
- 17
- 18
- 19
- 20
- 21
- 22
- 23
- 24
- 25
- 26
- 27
- 28
- 29
- 30
- 31
GridView.count
通过设置每行列数来实现布局,自动换行,竖向过长可以自动滚动
class MyApp extends StatelessWidget { const MyApp({super.key}); // This widget is the root of your application. @override Widget build(BuildContext context) { const String appTitle = 'Flutter layout demo'; const textStyle = TextStyle(fontSize: 25); //list构造器 List<Text> _buildTextList(int count) => List.generate( count, (index) => Text( 'List${index}', style: textStyle, ), ); return MaterialApp( title: appTitle, home: Scaffold( appBar: AppBar( title: const Text(appTitle), ), body: GridView.count( crossAxisCount: 4, children: _buildTextList(30), ), ), ); } }- 1
- 2
- 3
- 4
- 5
- 6
- 7
- 8
- 9
- 10
- 11
- 12
- 13
- 14
- 15
- 16
- 17
- 18
- 19
- 20
- 21
- 22
- 23
- 24
- 25
- 26
- 27
- 28
- 29
- 30
- 31
剩下的容器,不再展开
Flutter还有很多官方的容器,这里就不作展开了,大家可以去看一下。基本都有特殊场景的专门封装。
总结
Flutter还是挺好用的,用下来的体验感觉还行。至少没啥Bug。问题就两个:
一个是Dark语法的无限嵌套地狱有点过于蛋疼,要及时解耦。因为他把Html的工作放在了Dark里面。和xaml的设计完全不一样,xaml的设计是把简单的代码工作放在xaml里面,复杂的逻辑在viewModel里面写。而前端是,html声明静态元素,css声明样式,js去再去获取dom元素。感觉xaml的语法设计还是领先业界的,可惜只有avalonia继承了下来。另一个问题就是蛋疼的格式化风格,缩进是两格,没法改。展不展开代码看加不加逗号,有点蛋疼。
-
相关阅读:
charles
编写X86环境下的ShellCode
JVM各种情况内存溢出分析
【网络安全】学过编程就是黑客?
从零开始搭建spring boot多模块项目
API接口获取商品详情数据
一文解读该用开源BI工具还是智能BI工具?
我的保研故事
京东购物车的原理及Java实现
离职前一定要做好这7件事情,少一件都很麻烦。
- 原文地址:https://blog.csdn.net/qq_44695769/article/details/137267491
