本文介绍三种使用纯 CSS 实现星级评分的方式。每种都值得细品一番~

五角星取自 Element Plus 的 svg 资源

三种实现方式的 html 结构是一样的
<div>
  <input type="radio" name="radio" id="radio1">
  <label for="radio1">
    <svg xmlns="http://www.w3.org/2000/svg" viewBox="0 0 1024 1024" style=""><path fill="currentColor" d="M283.84 867.84 512 747.776l228.16 119.936a6.4 6.4 0 0 0 9.28-6.72l-43.52-254.08 184.512-179.904a6.4 6.4 0 0 0-3.52-10.88l-255.104-37.12L517.76 147.904a6.4 6.4 0 0 0-11.52 0L392.192 379.072l-255.104 37.12a6.4 6.4 0 0 0-3.52 10.88L318.08 606.976l-43.584 254.08a6.4 6.4 0 0 0 9.28 6.72z">path>svg>
  label>
  <input type="radio" name="radio" id="radio2">
  <label for="radio2">
    <svg xmlns="http://www.w3.org/2000/svg" viewBox="0 0 1024 1024" style=""><path fill="currentColor" d="M283.84 867.84 512 747.776l228.16 119.936a6.4 6.4 0 0 0 9.28-6.72l-43.52-254.08 184.512-179.904a6.4 6.4 0 0 0-3.52-10.88l-255.104-37.12L517.76 147.904a6.4 6.4 0 0 0-11.52 0L392.192 379.072l-255.104 37.12a6.4 6.4 0 0 0-3.52 10.88L318.08 606.976l-43.584 254.08a6.4 6.4 0 0 0 9.28 6.72z">path>svg>
  label>
  <input type="radio" name="radio" id="radio3">
  <label for="radio3">
    <svg xmlns="http://www.w3.org/2000/svg" viewBox="0 0 1024 1024" style=""><path fill="currentColor" d="M283.84 867.84 512 747.776l228.16 119.936a6.4 6.4 0 0 0 9.28-6.72l-43.52-254.08 184.512-179.904a6.4 6.4 0 0 0-3.52-10.88l-255.104-37.12L517.76 147.904a6.4 6.4 0 0 0-11.52 0L392.192 379.072l-255.104 37.12a6.4 6.4 0 0 0-3.52 10.88L318.08 606.976l-43.584 254.08a6.4 6.4 0 0 0 9.28 6.72z">path>svg>
  label>
  <input type="radio" name="radio" id="radio4">
  <label for="radio4">
    <svg xmlns="http://www.w3.org/2000/svg" viewBox="0 0 1024 1024" style=""><path fill="currentColor" d="M283.84 867.84 512 747.776l228.16 119.936a6.4 6.4 0 0 0 9.28-6.72l-43.52-254.08 184.512-179.904a6.4 6.4 0 0 0-3.52-10.88l-255.104-37.12L517.76 147.904a6.4 6.4 0 0 0-11.52 0L392.192 379.072l-255.104 37.12a6.4 6.4 0 0 0-3.52 10.88L318.08 606.976l-43.584 254.08a6.4 6.4 0 0 0 9.28 6.72z">path>svg>
  label>
  <input type="radio" name="radio" id="radio5">
  <label for="radio5">
    <svg xmlns="http://www.w3.org/2000/svg" viewBox="0 0 1024 1024" style=""><path fill="currentColor" d="M283.84 867.84 512 747.776l228.16 119.936a6.4 6.4 0 0 0 9.28-6.72l-43.52-254.08 184.512-179.904a6.4 6.4 0 0 0-3.52-10.88l-255.104-37.12L517.76 147.904a6.4 6.4 0 0 0-11.52 0L392.192 379.072l-255.104 37.12a6.4 6.4 0 0 0-3.52 10.88L318.08 606.976l-43.584 254.08a6.4 6.4 0 0 0 9.28 6.72z">path>svg>
  label>
div>
利用 radio + label 的方式实现点击效果;将 label 的 for 属性保持和 radio 的 id 一致,并将 radio 框隐藏,这样点击 label 就是点击 radio 了;label 在这里就是每个星星;
html,body{
  width:100%;height:100%;
}
body{
  display:flex;
  justify-content:center;
  align-items:center;
}
div{
  display : flex;
  justify-content:center;
  align-items:center;
}

div input{
  display:none;
}

div label{
  width:50px;height:50px;
  padding:0 4px;
  color:#ccc;
  cursor:pointer;
}
html 布局效果如下:

通常星级评分效果包括鼠标滑入和点击,滑入或点击到第几颗星的位置,该位置之前的星高亮,之后的星不高亮或者有高亮的则取消高亮;
接下来分别阐述三种 CSS 实现方式;
1、:has()选择器 + input:checked
当点击星星时,高亮当前星星
input:checked + label{
    color:gold;
}
input:checked + label 表示 选择紧挨着已选中 input 框的后面一个 label;
当鼠标移入星星时,高亮当前星星,并且该位置之后的星星取消高亮;
label:hover{
  cursor:pointer;
  color:gold;
  & ~ label{
    color:#ccc!important;
  }
}
那么如何让该位置之前的星星也高亮呢,目前的兄弟选择器包括 + 和 ~ ,但都不能选择之前的兄弟元素;此时 :has() 选择器就登场了;
:has() 提供了一种针对引用元素选择父元素或者先前的兄弟元素的方法。
比如:
a:has(p) 表示选择包含子元素 p 的 a 元素;
a:has(> p) 表示选择有直接后代 p 元素的 a 元素,也就是 p 只能是 a 的 "儿子" 元素;
a:has(+ p) 表示选择后面紧跟着的兄弟元素是 p 的 a 元素;
所以回到上面问题,当鼠标移入星星时,让该位置之前的所有星星也高亮,可以这么做
div:has(label:hover) label:not(:hover,:hover ~ *){
  color:gold;
}
label:not(:hover,:hover ~ *) 表示排除当前 hover 的 label 和之后的所有元素;也就自然选择了前面所有星星;
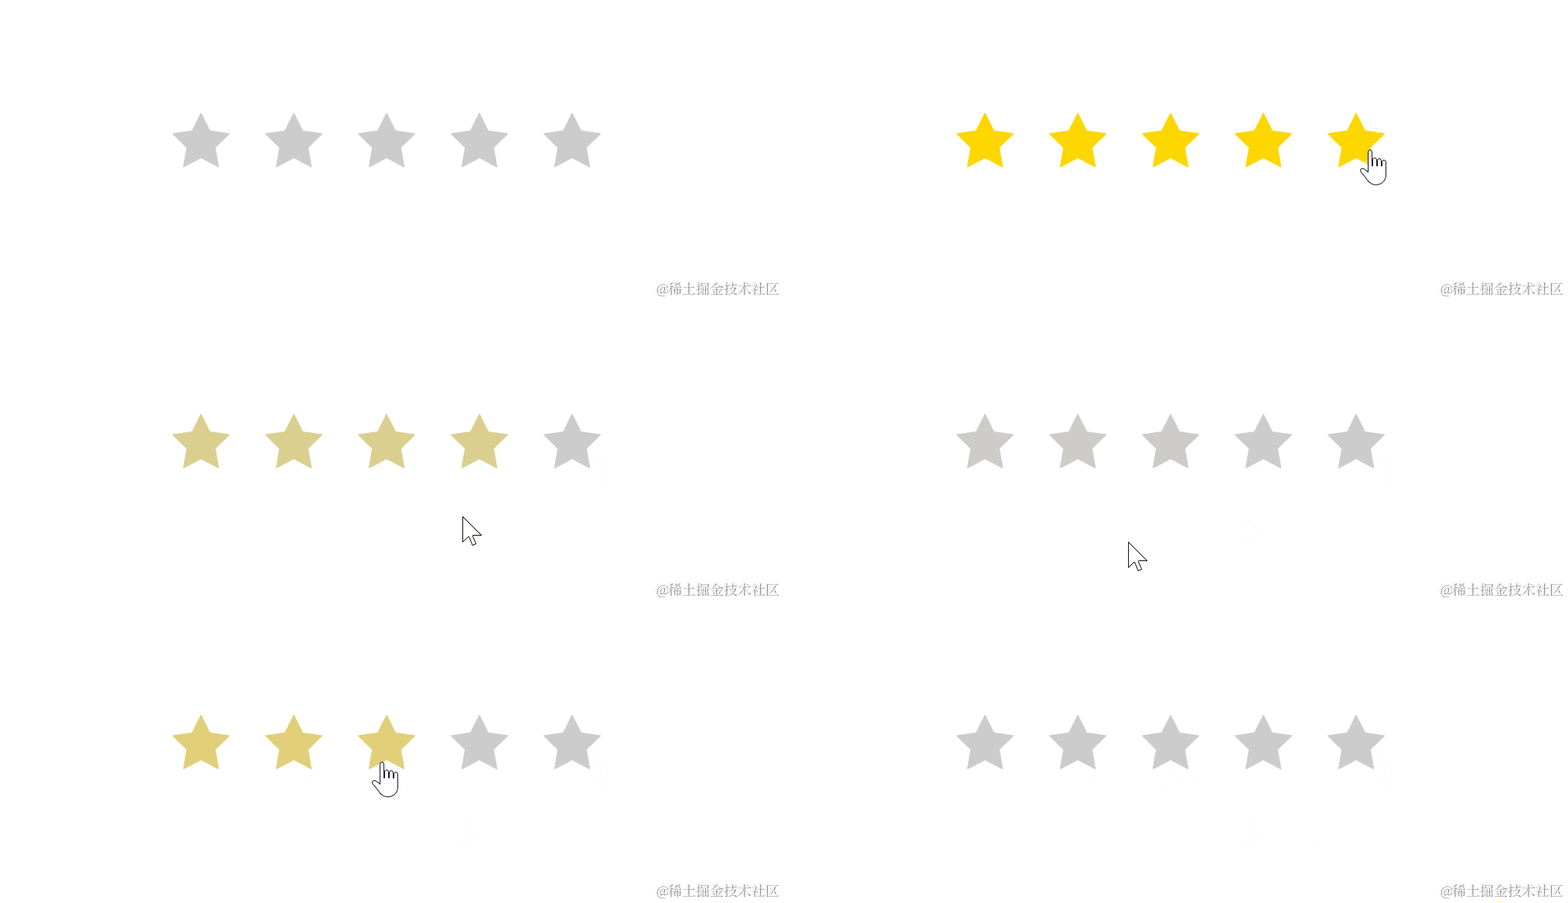
同样,当点击星星时,点亮当前选择的之前所有的星星也如此
div:has(input:checked) label:not(input:checked ~ label){
  color:gold;
}
div:has(input:checked) 表示选择包含被选中的 input 的 div;
label:not(input:checked ~ label) 表示排除当前选中的 input 后面的所有 label,也就选择到前面所有的 label 了;
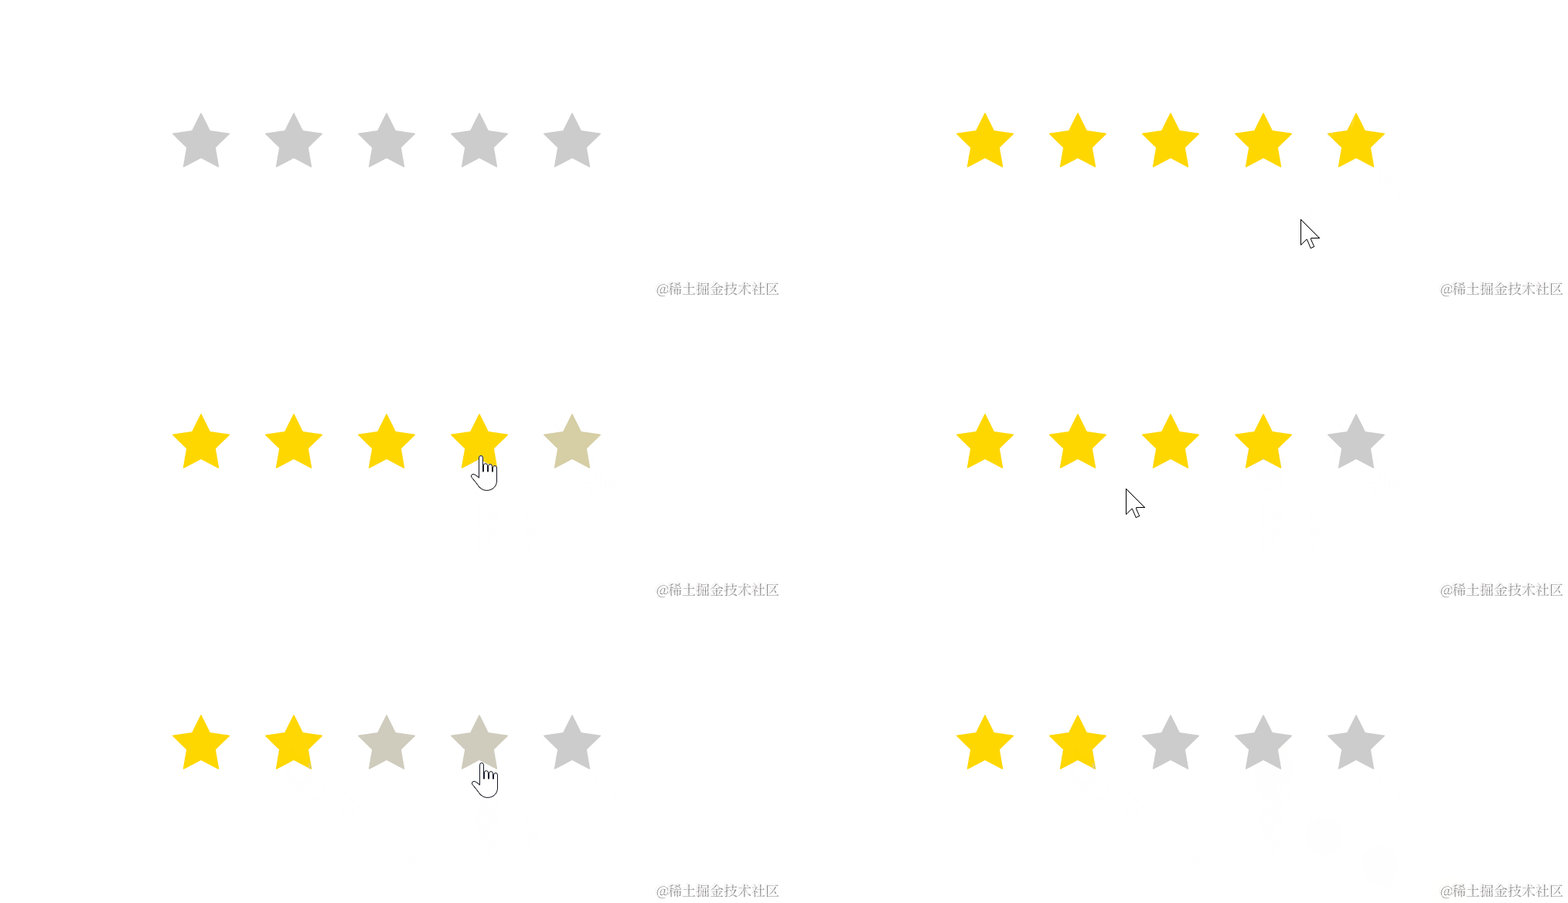
2、:indeterminate + input:checked 巧妙实现
这种实现的思路是,假设初始所有的星星都是高亮的,鼠标移入或点击时保持前面星星的高亮,取消后面星星的高亮;
div label{
  width:50px;height:50px;
  padding:0 4px;
  color:gold;  => 默认星星高亮
  cursor:pointer;
}

然后当鼠标移入或点击时,取消该位置后面的星星的高亮
div input:checked ~ input + label,
div label:hover ~ label{
  color:#ccc;
}

但一开始默认设置的星星是高亮的,但页面上并不想在 radio 未被选中时高亮,这时 :indeterminate 就登场了;
:indeterminate 表示任意的状态不确定的表单元素。对于 radio 元素,:indeterminate 表示当表单中具有相同名称值的所有单选按钮均未被选中时。
所以这里设置每个星星在对应的 radio 的未被选中时非高亮;并且只是在初始状态,鼠标移入时这种初始状态就应该被改变
div:not(:hover) input:indeterminate + label,
div:not(:hover) input:checked ~ input + label,
div input:hover ~ input + label{
  color:#ccc;
}
:not() 表示用来匹配不符合一组选择器的元素;div:not(:hover) 表示鼠标移入时,不匹配这行规则,这样在初始状态下或者在鼠标点击星星后,鼠标移入仍然会高亮当前点击位置之前的星星;
这样效果就达到了;

3、flex-direction:row-reverse; + input:checked 巧妙实现
目前 html 布局是从左到右布局,但如果我们倒过来呢,从右到左布局;
div{
  width:300px;
  display:flex;
  /* 从右往左排列 */
  flex-direction:row-reverse;
  justify-content:space-around;
}
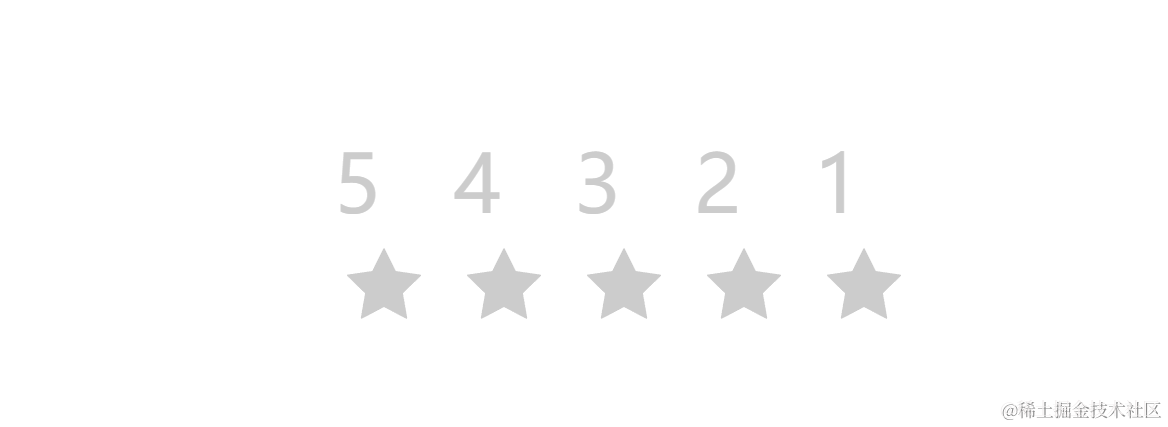
那么之前利用 :has() 选择之前的兄弟元素现在就可以直接用 ~ 来选择了;
// 之前
label:not(input:checked ~ label){
  color:gold;
}

// 现在
label:hover ~ label{
  color:gold;
}
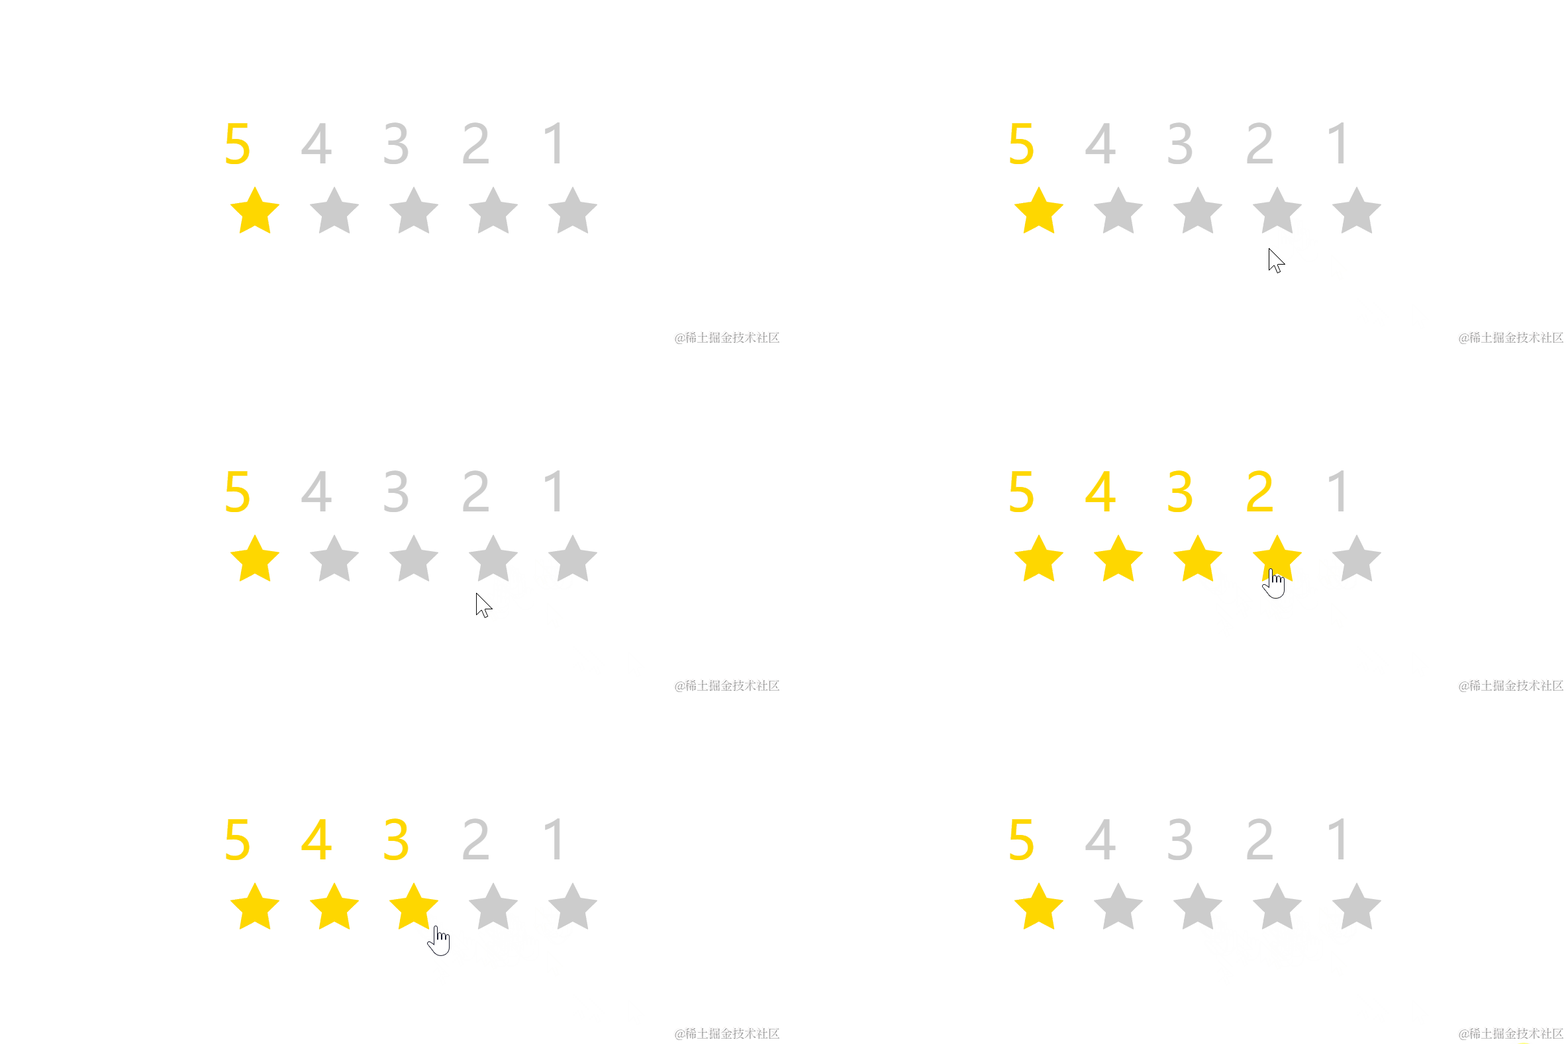
点击星星也是
input:checked ~ label{
  color:gold;
}
但是这样还不够完善
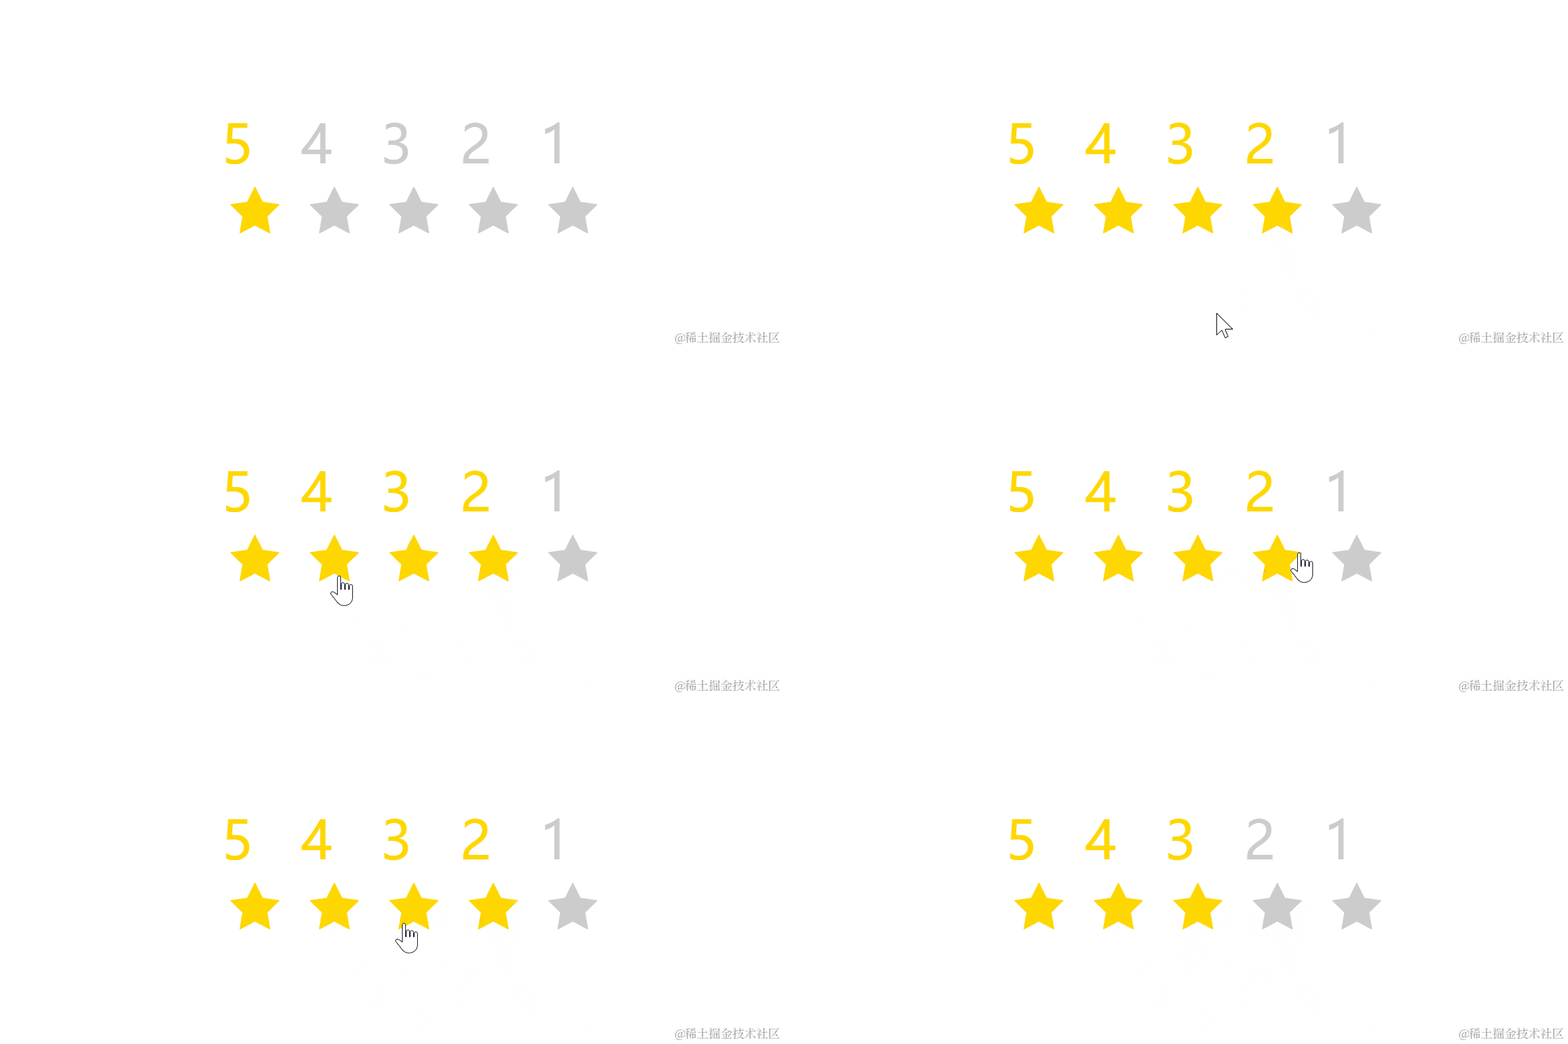
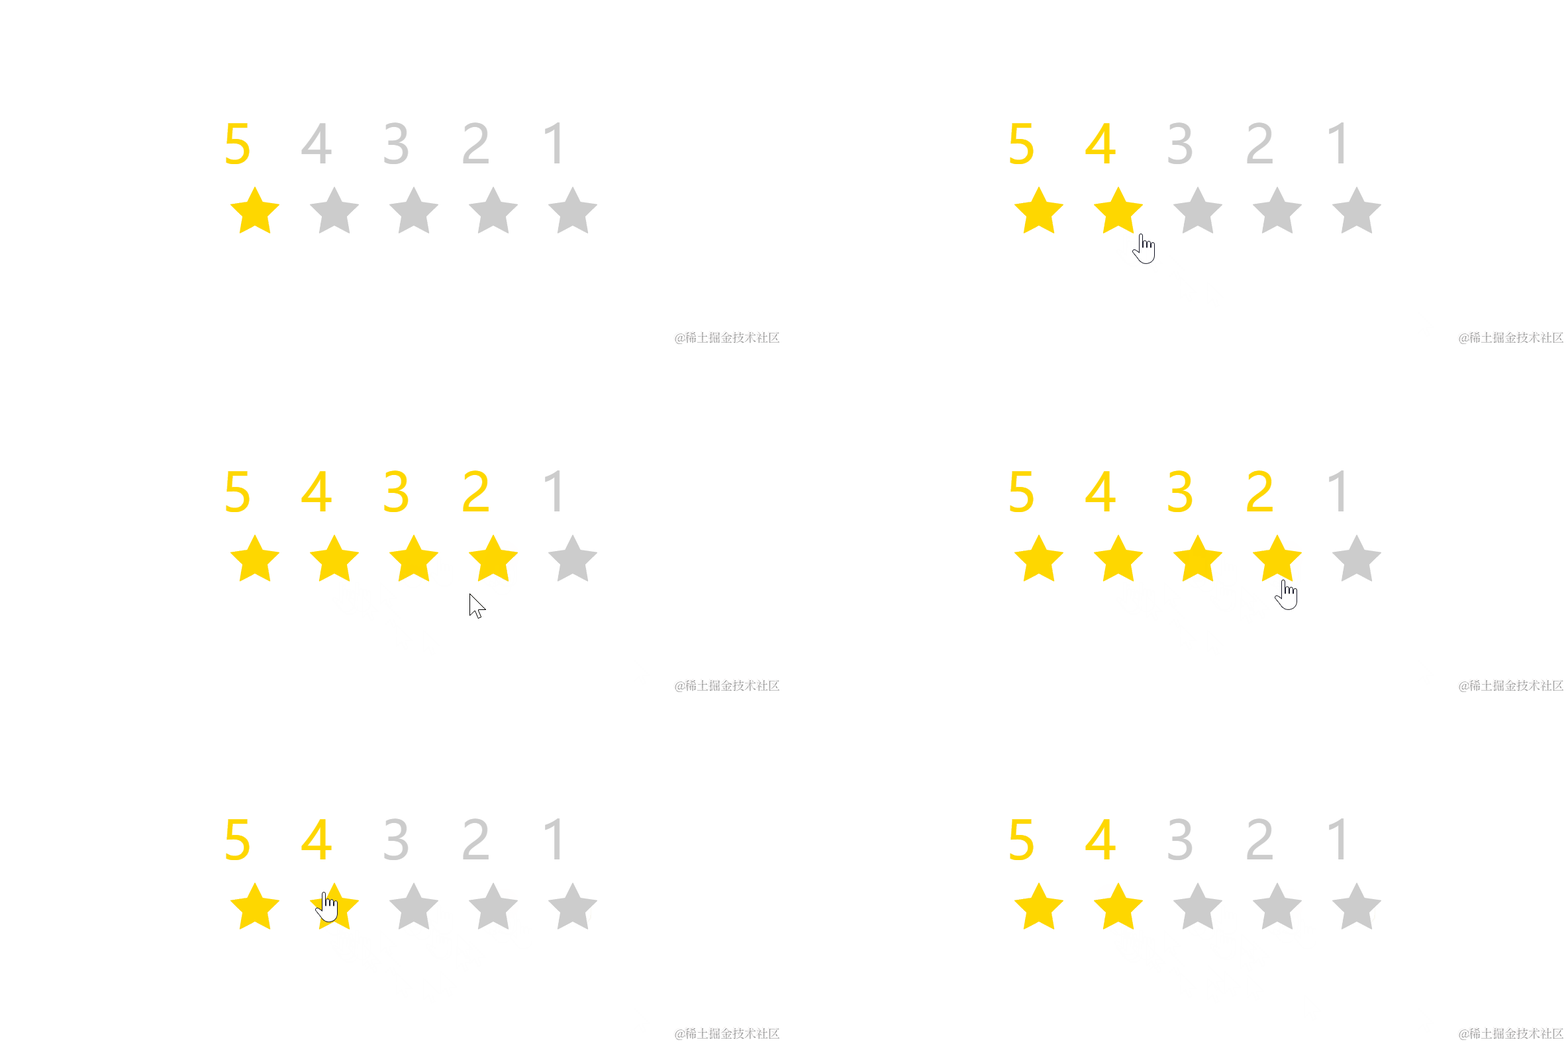
当我们点击第二颗星星时,鼠标滑入到第三个星星,第二颗星星并没有取消高亮,所以这里还是得借助下 :has()
label:has(~ label:hover){
  color:#ccc;
}
上面表示选择后面被 hover 的兄弟元素的元素,也就是 hover 元素的前面的所有元素;这样就没问题了;
总结
以上使用了三种纯 css 实现星级评分的方式;
:has()选择器+input:checked:not()选择器+input:checkedflex-direction:row-reverse;+input:checked巧妙实现
特别是 :has() 选择器可以选择之前的兄弟元素,搭配 :not() 能发挥很多作用,以前很多需要用 js 实现的效果或许现在可以用 :has() 来试试了;
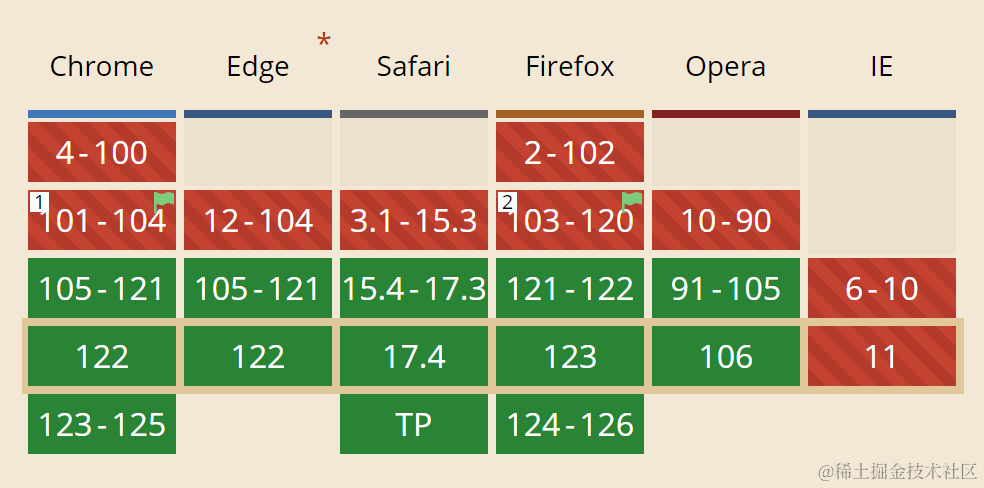
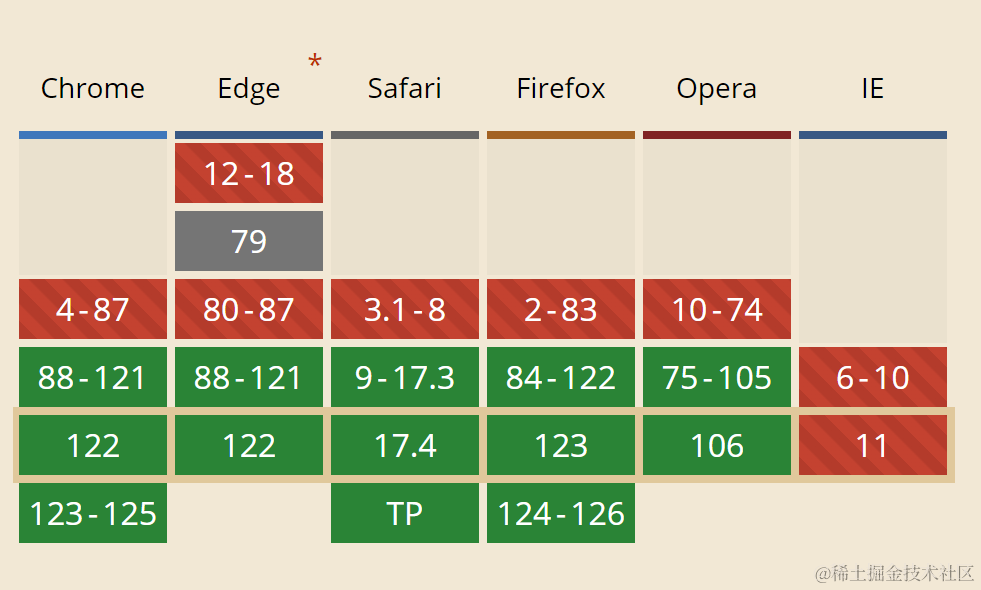
附上 :has() 和 :not() 的兼容性截图
:has()
:not()
各位看官们,如果对本文感兴趣,麻烦动动你们的发财手,点点赞~