1 Python解释器下载
1.1 安装环境
Windows 10 专业工作站版22H2
python-3.9.6-amd64.exe
1.2 下载地址
Python官网:https://www.python.org/
Python镜像:https://registry.npmmirror.com/binary.html?path=python/3.9.6/
2 Python解释器安装
2.1 Install Python 3.9.6 (64-bit)界面
双击运行下载好的python-3.9.6-amd64.exe解释器包文件

单击Add Python 3.9 to PATH左边的复选框

单击Customize installation进入Optional Features界面
2.2 Optional Features界面

单击Next按钮进入Advanced Options界面
2.3 Advanced Options界面

单击Install for all users左边的复选框

修改Customize install location下面的文本框为需要的安装路径

单击Install按钮进入Set Progress界面
2.3 Set Progress界面

等待该进度条跑满,之后会进入Setup was successful界面
2.4 Setup was successful界面
出现以下界面证明python-3.9.6安装完成

3 Python解释器测试
快捷键win+r(键盘按住win键不放,单击字母r键)弹出运行框

3.1 cmd终端测试
输入cmd后单击回车键(Enter键)

弹出cmd终端运行窗口
输入python --version回车,出现以下内容证明python-3.9.6可以正常使用

如果仅安装python看到这里就可以躺平了,后面的操作选择查阅。
3.2 powershell终端测试
输入powershell后单击回车键(Enter键)

弹出powershell终端运行窗口
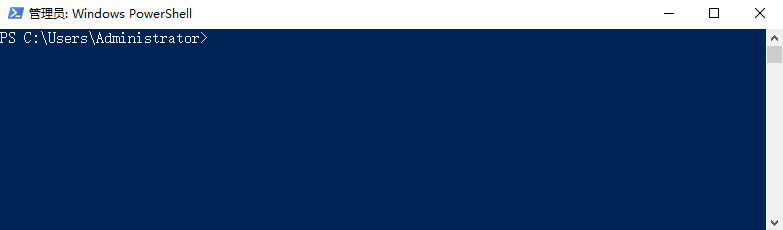
输入python --version回车,出现以下内容证明python-3.9.6可以正常使用

4 Pip镜像源配置
4.1 cmd终端配置
@REM 创建文件夹
powershell if(Test-Path pip){}else{mkdir pip}
@REM 创建文件并写入配置
echo [global] > .\pip\pip.ini
echo index-url=https://mirrors.aliyun.com/pypi/simple/ >> .\pip\pip.ini
echo [install] >> .\pip\pip.ini
echo trusted-host=mirrors.aliyun.com >> .\pip\pip.ini
@REM 验证配置
type .\pip\pip.ini
pip --version

5 Python虚拟环境搭建
5.1 安装虚拟环境
@REM 安装虚拟环境
pip install virtualenv
pip install virtualenvwrapper-win

5.2 配置、创建、查看、激活虚拟环境
@REM 配置虚拟环境
powershell if(Test-Path d:\env){}else{mkdir d:\env}
set WORKON_HOME=D:\env
@REM 创建虚拟环境
mkvirtualenv myenv
deactivate
@REM 查看虚拟环境
workon
@REM 激活虚拟环境
workon myenv

5.3 退出、移除虚拟环境
@REM 退出虚拟环境
deactivate
@REM 移除虚拟环境
rmvirtualenv myenv

6 Jupyter-notebook环境配置
6.1 安装代码
@REM 安装jupyter-notebook
pip install ipython
pip install jupyter notebook
pip install jupyterlab-language-pack-zh-CN
pip install jupyter-contrib-nbextensions==0.2.0
6.2 使用代码
@REM 启动jupyter-notebook
jupyter-notebook
@REM 访问jupyter-notebook
start http://localhost:8888/tree
start http://localhost:8888/lab
6.3 语言修改


6.4 提示配置


6.5 虚拟环境

cmd
workon
workon myenv
