-
vue el-form表单嵌套组件时正则校验不生效
vue el-form表单嵌套组件时正则校验不生效
- 上图
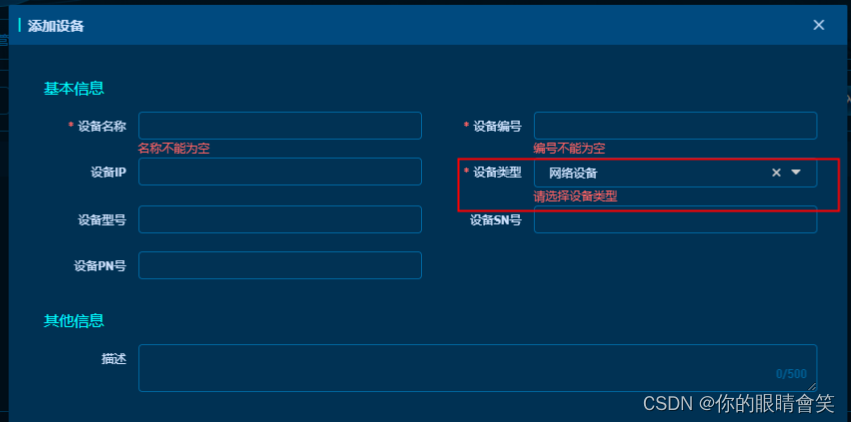
- 组件选中数据,但是正则校验未检测到并且红字提示不会消失。
- 直接上代码
<template> <div class="created_report"> <el-form :model="formData" :rules="isRules" ref="formData" label-width="120px"> <el-form-item label="接收人:" prop="executive"> // 该组件是引用的选人组件 <indexBtnComponent v-model="formData.executive" @userChangeHandler="userChangeHandler" /> // 重点代码 加入 input 标签 // 第一步 <el-input class="input_text input-display-none" ref="input"></el-input> </el-form-item> </el-form> </div> </template> <script> export default { data(){ // 自定义校验规则 // 第三步 var validateUser = (rule, value, callback) => { if (this.formData.executive) { callback(); } else { callback(new Error('请选择接收人')); } }; return { formData: { executive: '', //接收人 }, isRules: { // 第二步 executive: [{ required: true, validator: validateUser, trigger: ['blur', 'change'] }], }, } }, methods:{ // 在change事件中 给 this.formData.executive 赋值 // 可以是change事件 也可以是值改变后会调用的方法 都行 // 第四步 userChangeHandler(val){ this.formData.executive = val // 调用 input 的 获取焦点 和 失去焦点 事件 // 重点 this.$refs.input.focus(); this.$refs.input.blur(); }, } } </script> <style lang="scss" scoped> // 此处隐藏input标签 // 第五步 .input-display-none{ opacity: 0; width: 0; height: 0; position: absolute; } </style>- 1
- 2
- 3
- 4
- 5
- 6
- 7
- 8
- 9
- 10
- 11
- 12
- 13
- 14
- 15
- 16
- 17
- 18
- 19
- 20
- 21
- 22
- 23
- 24
- 25
- 26
- 27
- 28
- 29
- 30
- 31
- 32
- 33
- 34
- 35
- 36
- 37
- 38
- 39
- 40
- 41
- 42
- 43
- 44
- 45
- 46
- 47
- 48
- 49
- 50
- 51
- 52
- 53
- 54
- 55
- 56
- 57
- 58
- 59
-
-
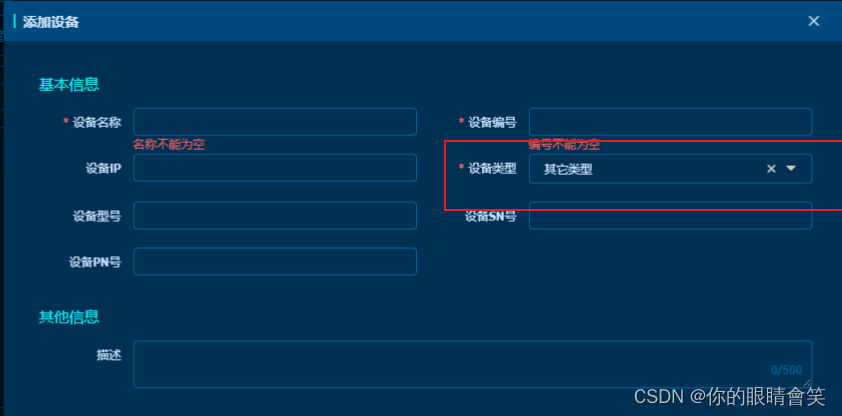
搞定!
- 上图
-
相关阅读:
深入了解网络流量清洗--使用免费的雷池社区版进行防护
负载均衡之一致性哈希算法详解
Git原理及常用命令小结——实用版(ing......)、Git设置用户名邮箱
(vue)el-select选择框加全选/清空/反选
组合数(1) 用Vector实现获取所有组合数列表的QT实现
人脑部神经网络分布特点,人脑部神经网络分布图
点云 ICP学习-IterativeClosestPoint
java代码审计的点
typedef的四种用法
个人真实项目-FEIGN常见问题分享
- 原文地址:https://blog.csdn.net/weixin_45563734/article/details/134531196
