-
Node.js黑马时钟案例(本人详细介绍实现过程)
先上没有使用node.js之前的html部分代码
DOCTYPE html> <html lang="en"> <head> <meta charset="UTF-8"> <title>title> <style> * { margin: 0; padding: 0; } html, body { height: 100%; overflow: hidden; background-image: linear-gradient(to bottom right, red, yellow); } .box, .box1 { position: absolute; left: 50%; margin-left: -300px; margin-top: 0px; display: flex; justify-content: space-around; align-items: center; width: 600px; height: 400px; background-color: rgba(0, 0, 0, 0.2); font-size: 80px; } .box1 { transform: translateY(400px) rotate(180deg); background-color: rgba(255, 255, 255, 0.2); } style> head> <body> <div class="boss"> <div class="box"> <div class="hours">00div> <div>:div> <div class="minutes">00div> <div>:div> <div class="second">00div> div> div> body> <script> // 页面加载事件 window.addEventListener("load", function () { // 获取box let box = document.querySelector(".box") // 获取boss let boss = document.querySelector(".boss") // 克隆box let divs = box.cloneNode(true) divs.className = "box1" boss.appendChild(divs) // 获取时分秒元素标签 let times = document.querySelectorAll(".box > div") let times1 = document.querySelectorAll(".box1 > div") console.log(times1); function timer() { // 获取时分秒 let nowDate = new Date() // 时 let hours = nowDate.getHours() // 分 let minutes = nowDate.getMinutes() // 秒 let second = nowDate.getSeconds() // 添加到页面 times[0].innerHTML = zero(hours) times[2].innerHTML = zero(minutes) times[4].innerHTML = zero(second) times1[0].innerHTML = zero(hours) times1[2].innerHTML = zero(minutes) times1[4].innerHTML = zero(second) } setInterval(timer, 1000) //补零 function zero(n) { return n > 1 ? n : "0" + n } }) script> html>- 1
- 2
- 3
- 4
- 5
- 6
- 7
- 8
- 9
- 10
- 11
- 12
- 13
- 14
- 15
- 16
- 17
- 18
- 19
- 20
- 21
- 22
- 23
- 24
- 25
- 26
- 27
- 28
- 29
- 30
- 31
- 32
- 33
- 34
- 35
- 36
- 37
- 38
- 39
- 40
- 41
- 42
- 43
- 44
- 45
- 46
- 47
- 48
- 49
- 50
- 51
- 52
- 53
- 54
- 55
- 56
- 57
- 58
- 59
- 60
- 61
- 62
- 63
- 64
- 65
- 66
- 67
- 68
- 69
- 70
- 71
- 72
- 73
- 74
- 75
- 76
- 77
- 78
- 79
- 80
- 81
- 82
- 83
- 84
- 85
- 86
- 87
- 88
- 89
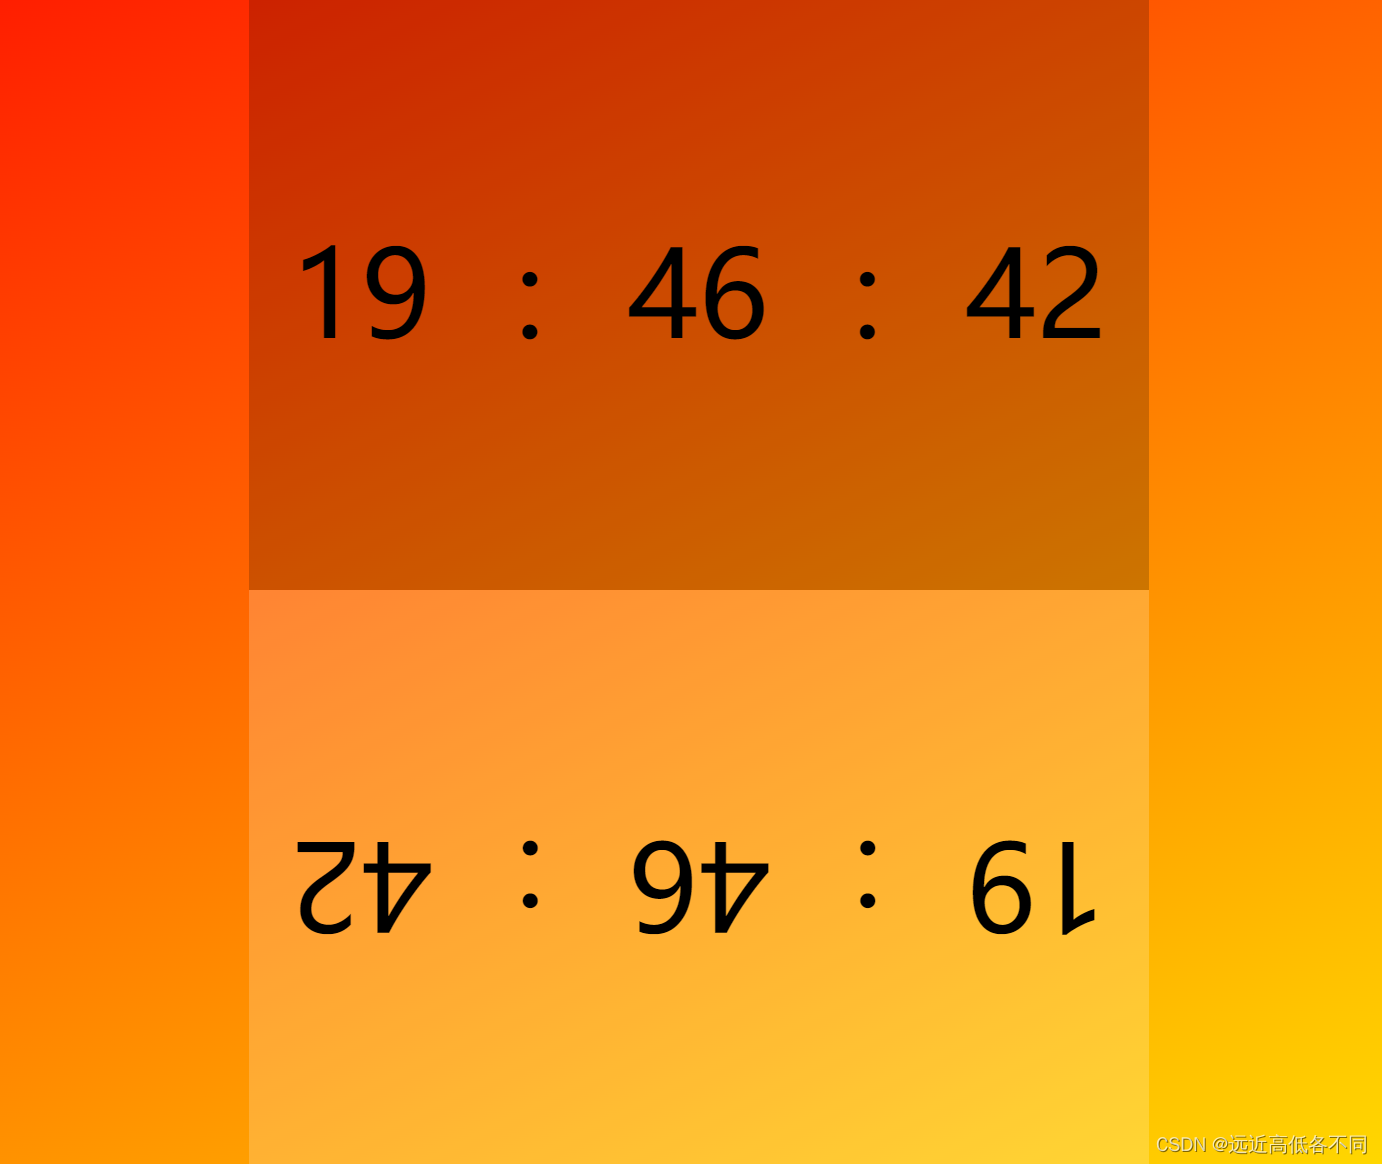
效果如下图所示:

我们的需求是什么?
使用nodejs创建文件
1.index.css
2.index.js
我们需要把style与script中的内容分别写入到这两个文件当中,然后替换掉html当中的style与script标签,替换为外链的方式详细介绍实现过程,介绍在代码注释当中,请看代码:
// 引入fs模块 const fs = require("fs") // 引入path模块 const path = require("path") // 正则匹配 // 正则匹配style标签 // 需要使用\分离 // s表示空白字符 S表示非空白字符 *表示匹配所有 const regStyle = /","") // 我们需要使用writeFile的方法创建一个 .css的文件 然后把处理好的r[0]的内容写入进去 fs.writeFile(path.join(__dirname,"index.css"),newStyle,"utf8",err=>{ if(err){ return err.message } console.log("成功") }) } function resolveScript(value){ // 使用exec方法去查找 查找到返回一个数组 没查找到返回null const r = regScript.exec(value) // 返回数组选中下标0 // 做替换操作 我们需要把script标签去掉 所以替换为"" const newScript = r[0].replace("","") // 我们需要使用writeFile的方法创建一个 .js的文件 然后把处理好的r[0]的内容写入进去 fs.writeFile(path.join(__dirname,"index.js"),newScript,"utf8",err=>{ if(err){ return err.message } console.log("成功") }) } // 最后我们需要操作html当中的标签内容 更改为外链的方法写入 function resolveHtml(value){ // 处理style标签与script标签 外链进html文件中 const newHtml = value.replace(regStyle,'').replace( regScript,'' ) // 我们把我们处理好的newHtml写入到旧的html当中 fs.writeFile(path.join(__dirname,"index.html"),newHtml,"utf8",err=>{ if(err){ return err.message } }) }- 1
- 2
- 3
- 4
- 5
- 6
- 7
- 8
- 9
- 10
- 11
- 12
- 13
- 14
- 15
- 16
- 17
- 18
- 19
- 20
- 21
- 22
- 23
- 24
- 25
- 26
- 27
- 28
- 29
- 30
- 31
- 32
- 33
- 34
- 35
- 36
- 37
- 38
- 39
- 40
- 41
- 42
- 43
- 44
- 45
- 46
- 47
- 48
- 49
- 50
- 51
- 52
- 53
- 54
- 55
- 56
- 57
- 58
- 59
- 60
- 61
- 62
- 63
- 64
当我们在终端运行之后:

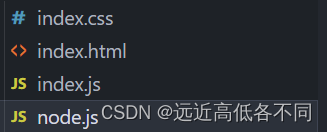
文件被创建出来了,内容也分别添加进到了文件当中
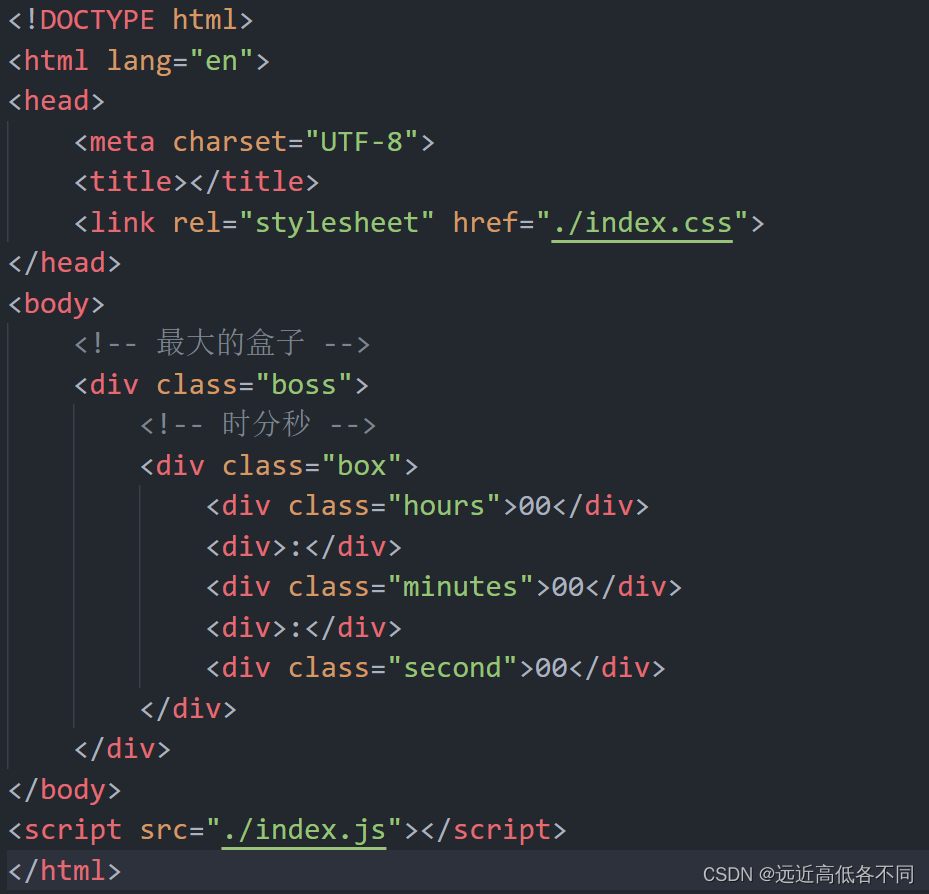
我们来看看index.html部分

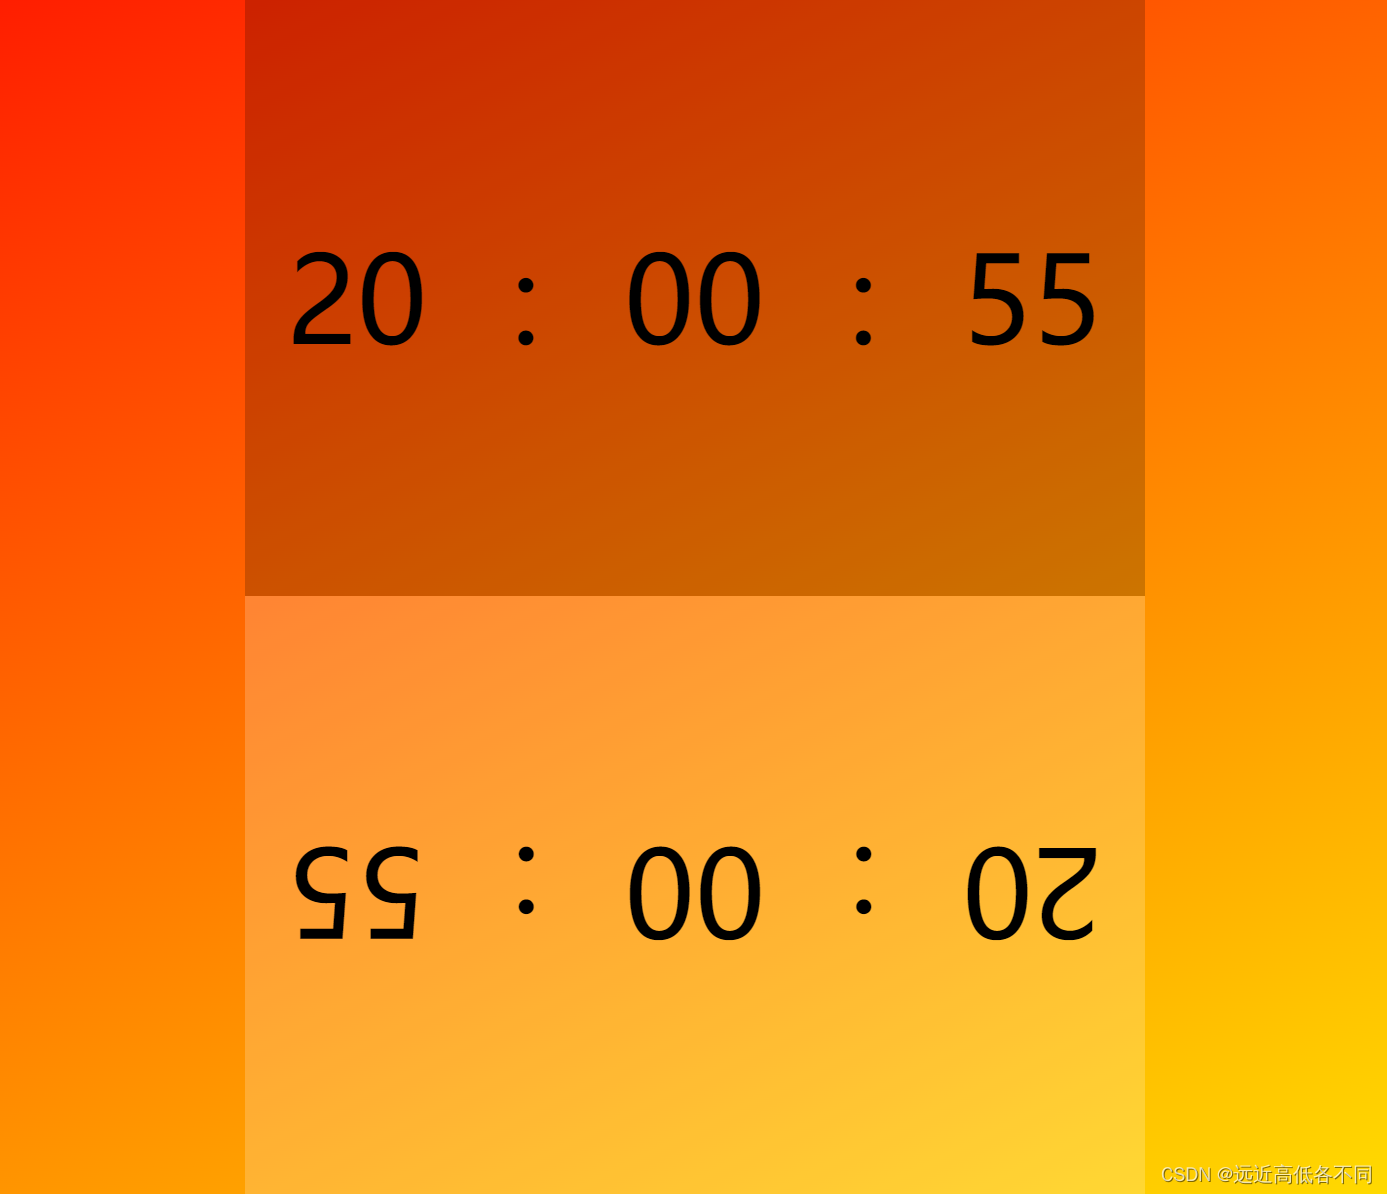
看看效果是否还是原来的样子:

感谢大家的阅读,如有不对的地方,可以向我提出,感谢大家!
-
相关阅读:
NLP任务概览
Linguistic Steganalysis in Few-Shot Scenario论文阅读笔记
HTML5 和 CSS3 的新特性--品优购项目开发
极客DIY开源方案分享——数字幅频均衡功率放大器设计(实用的嵌入式电子设计作品软硬件综合实践)
C++ Reference: Standard C++ Library reference: C Library: cwchar: mbsinit
分布式缓存之多级缓存
多线程(基础)
【前端面试题】【交互】
C++系列-关系运算符
【C++初阶】动态内存管理
- 原文地址:https://blog.csdn.net/m0_74577714/article/details/134482525
