-
【鸿蒙软件开发】进度条Progress
前言
Progress是进度条显示组件,显示内容通常为某次目标操作的当前进度。具体用法请参考Progress。
Text是文本组件,通常用于展示用户的视图,如显示文章的文字。具体用法可参考Text。
Span只能作为Text组件的子组件显示文本内容。可以在一个Text内添加多个Span来显示一段信息,例如产品说明书、承诺书等。
一、进度条Progress
1.1 创建进度条
Progress通过调用接口来创建,接口调用形式如下:
Progress(options: {value: number, total?: number, type?: ProgressType})- 1
该接口用于创建type样式的进度条,其中value用于设置初始进度值,total用于设置进度总长度,type决定Progress样式。
例如:
Progress({ value: 24, total: 100, type: ProgressType.Linear }) // 创建一个进度总长为100,初始进度值为24的线性进度条- 1


1.2 进度条样式
进度条样式
Progress有5种可选类型,在创建时通过设置ProgressType枚举类型给type可选项指定Progress类型。其分别为:ProgressType.Linear(线性样式)、 ProgressType.Ring(环形无刻度样式)、ProgressType.ScaleRing(环形有刻度样式)、ProgressType.Eclipse(圆形样式)和ProgressType.Capsule(胶囊样式)。
ProgressType.Linear(线性样式)
线性样式进度条(默认类型)
说明
从API version9开始,组件高度大于宽度的时候自适应垂直显示,相等时仍然保持水平显示。Progress({ value: 20, total: 100, type: ProgressType.Linear }).width(200).height(50) Progress({ value: 20, total: 100, type: ProgressType.Linear }).width(50).height(200)- 1
- 2

ProgressType.Ring(环形无刻度样式)
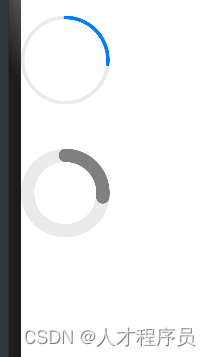
环形无刻度样式进度条
// 从左往右,1号环形进度条,默认前景色为蓝色,默认strokeWidth进度条宽度为2.0vp Progress({ value: 40, total: 150, type: ProgressType.Ring }).width(100).height(100) // 从左往右,2号环形进度条 Progress({ value: 40, total: 150, type: ProgressType.Ring }).width(100).height(100) .color(Color.Grey) // 进度条前景色为灰色 .style({ strokeWidth: 15}) // 设置strokeWidth进度条宽度为15.0vp- 1
- 2
- 3
- 4
- 5
- 6

其中:.style的strokeWidth参数为圆环的宽度
ProgressType.ScaleRing(环形有刻度样式)
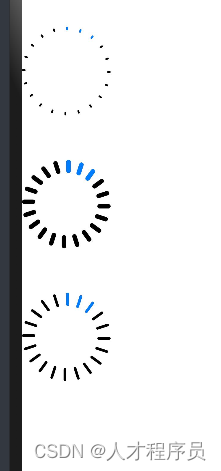
环形有刻度样式进度条
Progress({ value: 20, total: 150, type: ProgressType.ScaleRing }).width(100).height(100) .backgroundColor(Color.Black) .style({ scaleCount: 20, scaleWidth: 5 }) // 设置环形有刻度进度条总刻度数为20,刻度宽度为5vp Progress({ value: 20, total: 150, type: ProgressType.ScaleRing }).width(100).height(100) .backgroundColor(Color.Black) .style({ strokeWidth: 15, scaleCount: 20, scaleWidth: 5 }) // 设置环形有刻度进度条宽度15,总刻度数为20,刻度宽度为5vp Progress({ value: 20, total: 150, type: ProgressType.ScaleRing }).width(100).height(100) .backgroundColor(Color.Black) .style({ strokeWidth: 15, scaleCount: 20, scaleWidth: 3 }) // 设置环形有刻度进度条宽度15,总刻度数为20,- 1
- 2
- 3
- 4
- 5
- 6
- 7
- 8
- 9
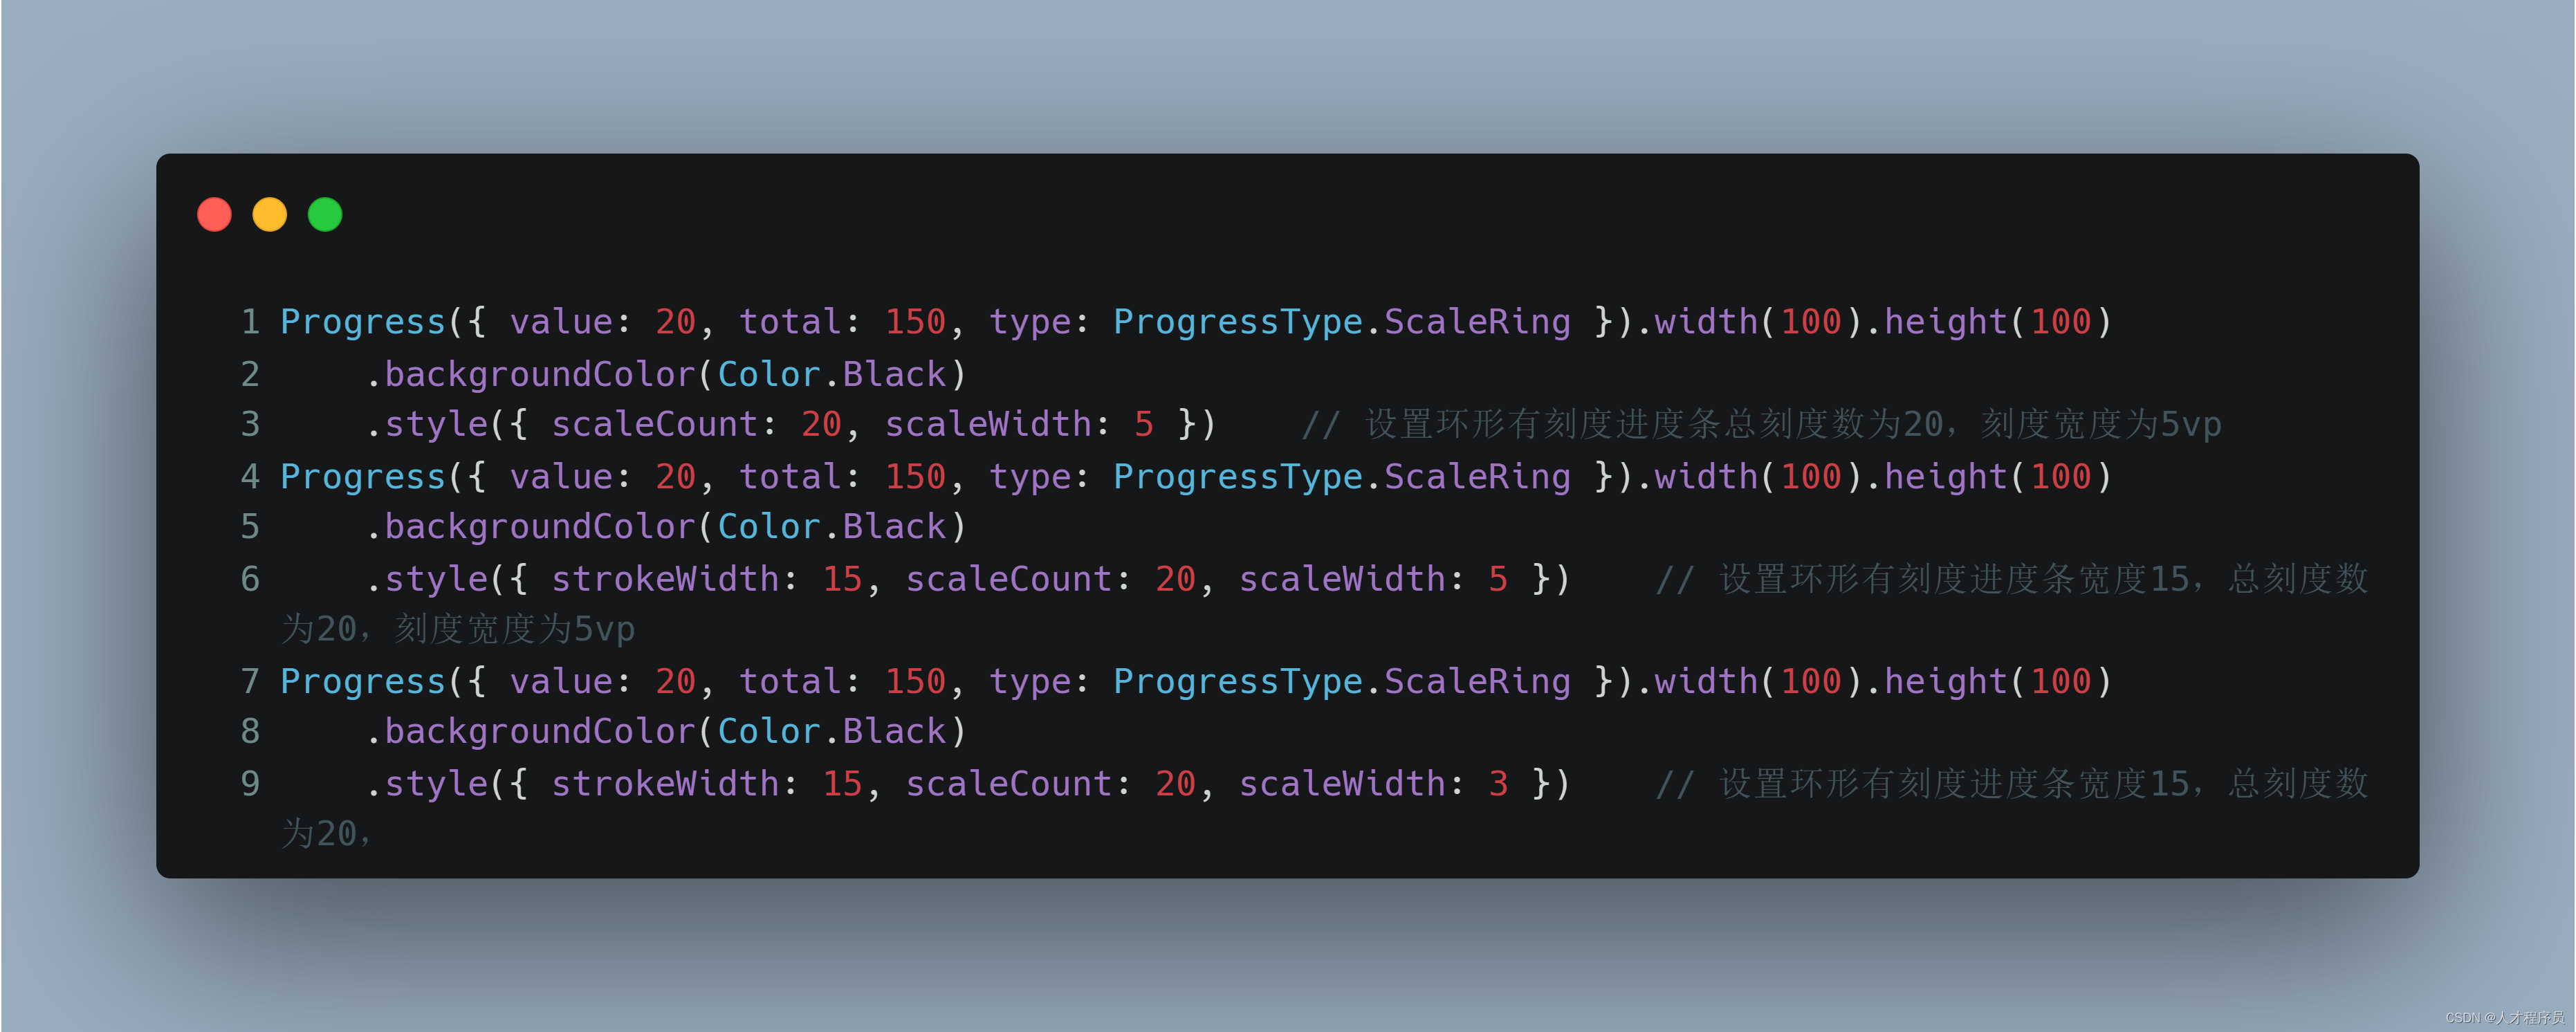
其中scaleCount参数为刻度的个数,scaleWidth为刻度的宽度
ProgressType.Eclipse(圆形样式)
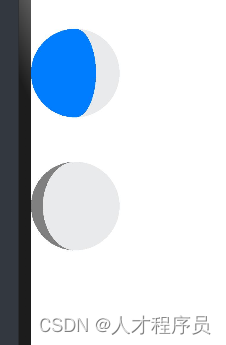
圆形样式进度条
// 从左往右,1号圆形进度条,默认前景色为蓝色 Progress({ value: 110, total: 150, type: ProgressType.Eclipse }).width(100).height(100) // 从左往右,2号圆形进度条,指定前景色为灰色 Progress({ value: 20, total: 150, type: ProgressType.Eclipse }).color(Color.Grey).width(100).height(100)- 1
- 2
- 3
- 4

ProgressType.Capsule(胶囊样式)
胶囊样式进度条
说明
1、头尾两端圆弧处的进度展示效果与ProgressType.Eclipse样式相同;2、中段处的进度展示效果为矩形状长条,与ProgressType.Linear线性样式相似;
3、组件高度大于宽度的时候自适应垂直显示。
Progress({ value: 10, total: 150, type: ProgressType.Capsule }).width(100).height(50) Progress({ value: 20, total: 150, type: ProgressType.Capsule }).width(50).height(100).color(Color.Grey) Progress({ value: 50, total: 150, type: ProgressType.Capsule }).width(50).height(100).backgroundColor(Color.Black)- 1
- 2
- 3


二、场景示例
更新当前进度值,如应用安装进度条。可通过点击Button增加progressValue,.value()属性将progressValue设置给Progress组件,进度条组件即会触发刷新,更新当前进度。
@Entry @Component struct ProgressCase1 { @State progressValue: number = 0 // 设置进度条初始值为0 build() { Column() { Column() { Progress({value:0, total:100, type:ProgressType.Capsule}).width(200).height(50) .style({strokeWidth:50}).value(this.progressValue) Row().width('100%').height(5) Button("进度条+5") .onClick(()=>{ this.progressValue += 5 if (this.progressValue > 100){ this.progressValue = 0 } }) } }.width('100%').height('100%') } }- 1
- 2
- 3
- 4
- 5
- 6
- 7
- 8
- 9
- 10
- 11
- 12
- 13
- 14
- 15
- 16
- 17
- 18
- 19
- 20
- 21
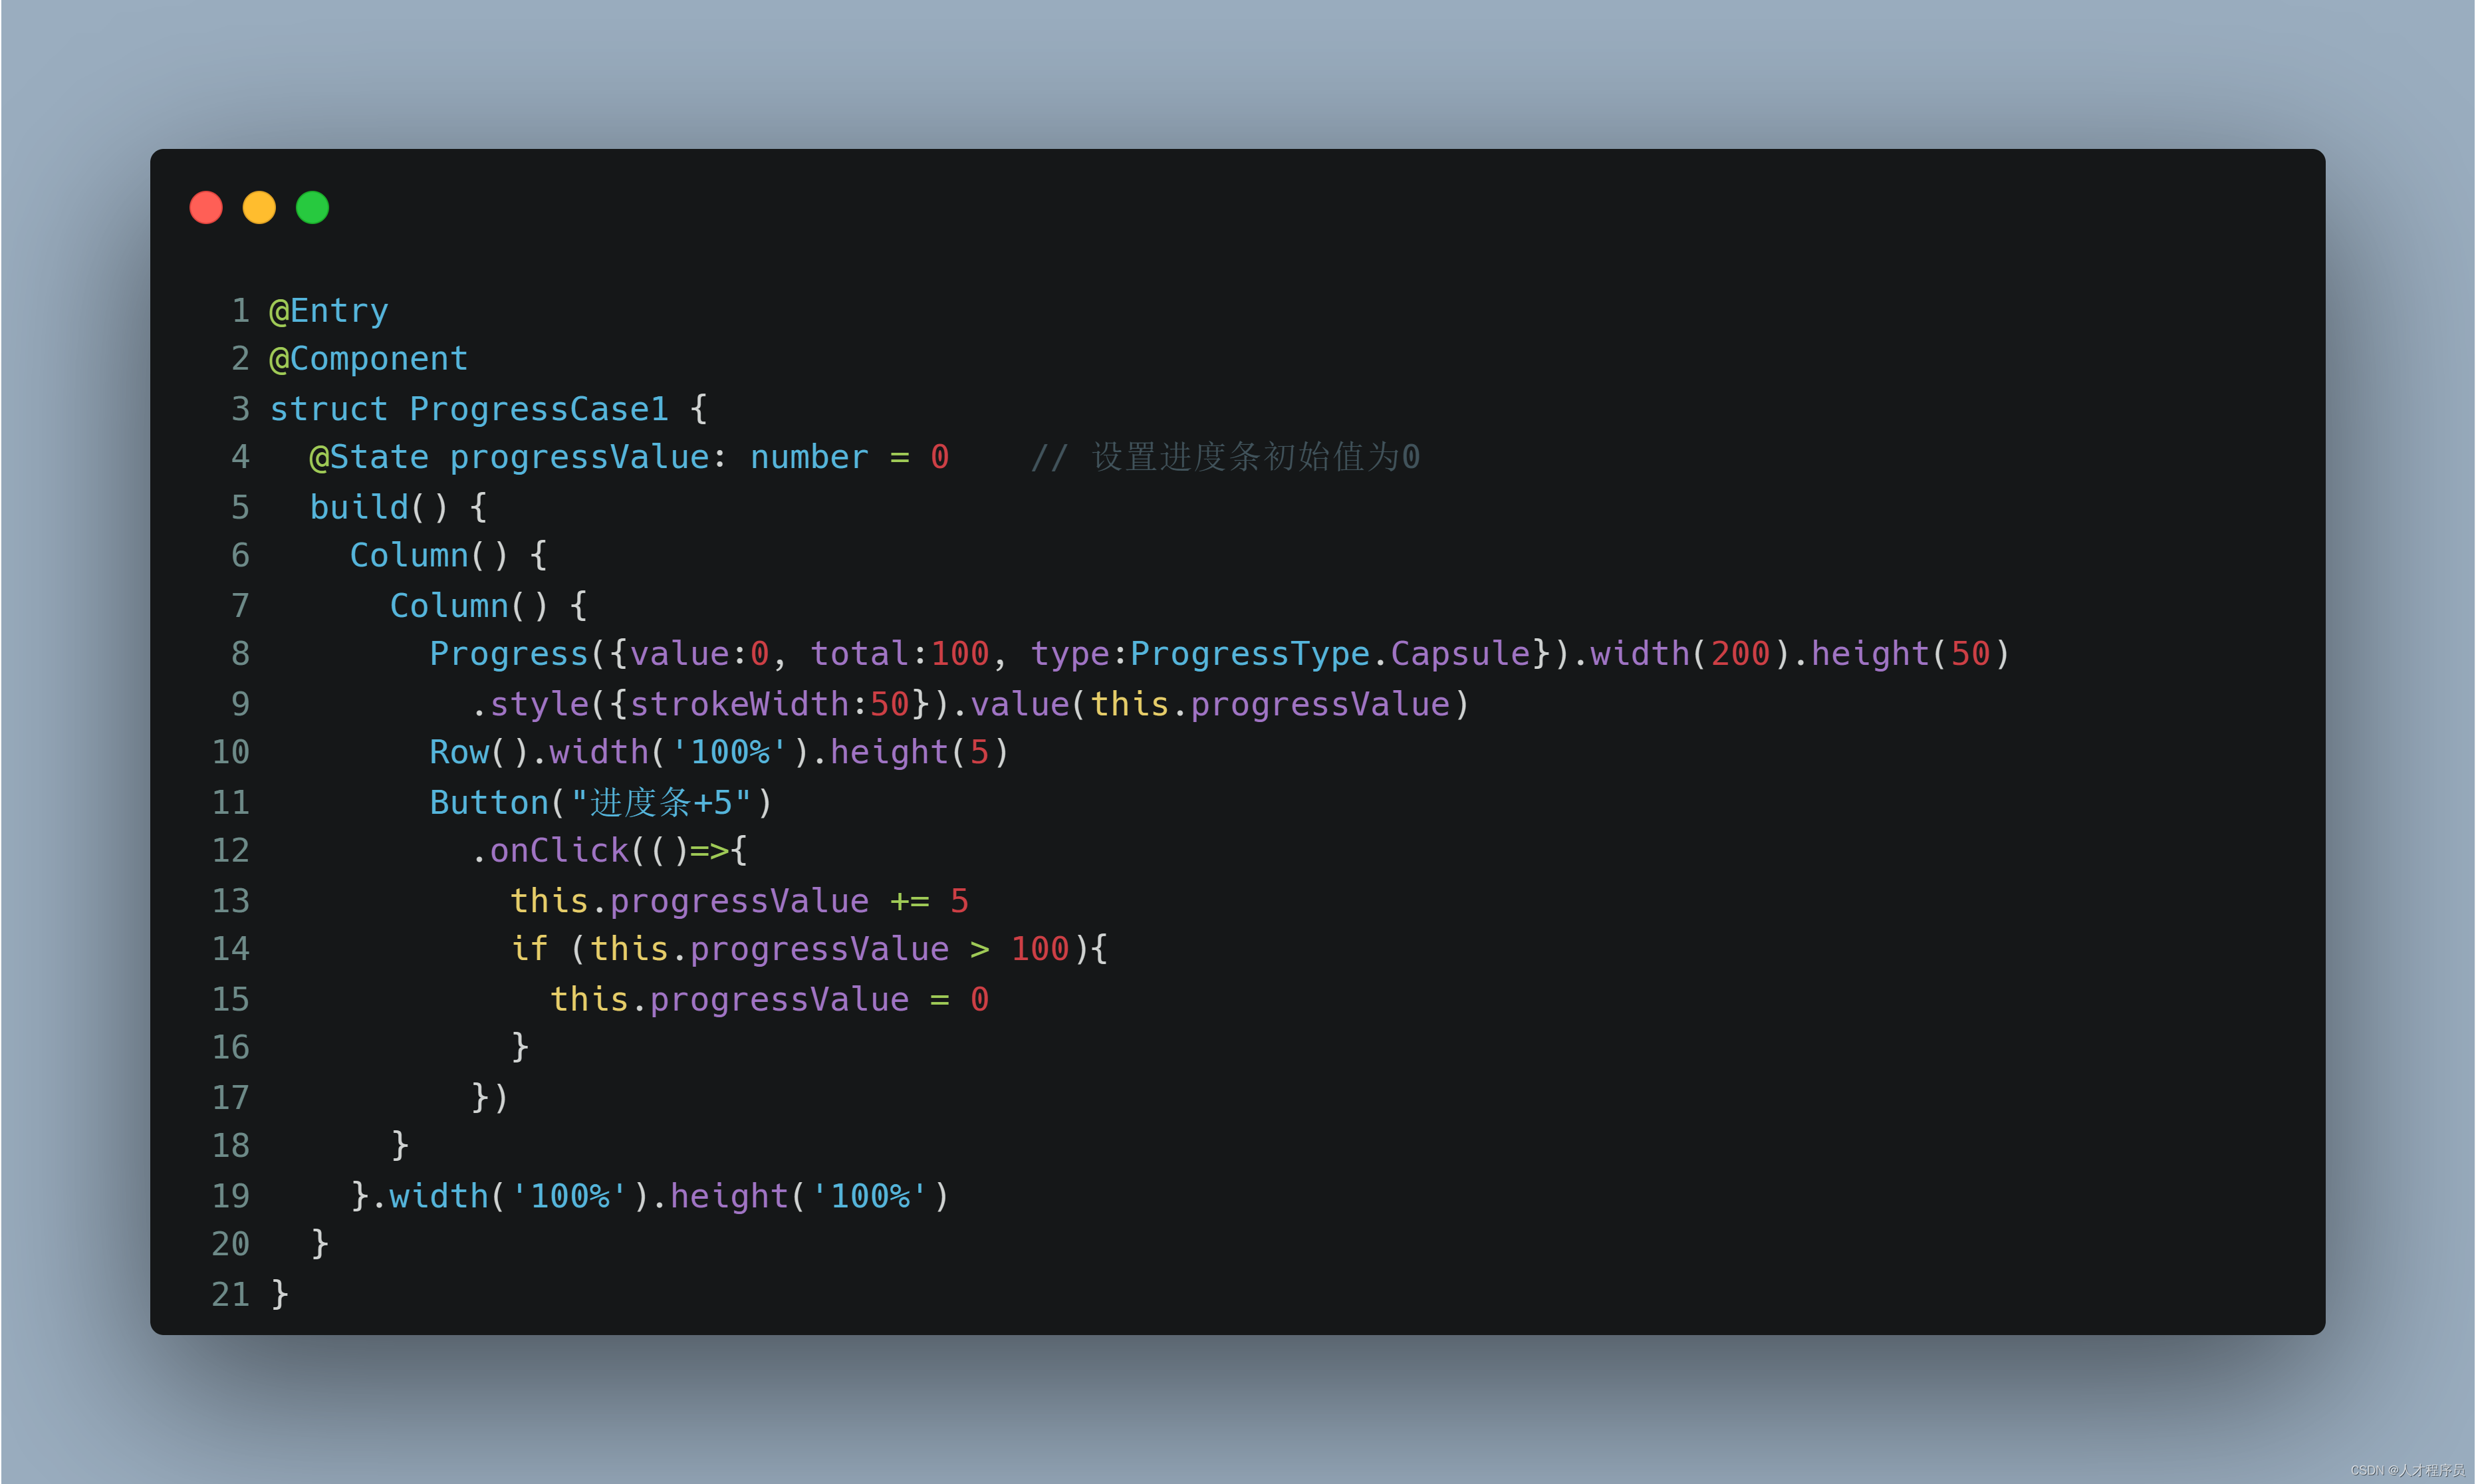
@State的作用为当该值更新时,通知对应的属性也去进行更新的作用
总结
本节课主要介绍了Progress组件的使用,他可以让你构建出好看的鸿蒙软件界面,让用户的等待不再无聊
-
相关阅读:
商业合作保密协议---技术开发
Linux ARM平台开发系列讲解(IPCF异核通信) 2.11.3 IPCF异核通信驱动编译及其测试
Flink SQL TopN语句详解
如何快速通过阿里云ACP 认证?
【大数据入门核心技术-Hadoop】(四)Hadoop基础概念之YARN
【前端必会】HtmlWebpackPlugin 和 SplitChunksPlugin 是什么?
用小程序容器打造车家互联新场景
抢先体验! 在浏览器里写 Flutter 是一种什么体验?
Prompt IDE来了…是划时代AI神器还是鸡肋?
C语言结构体的初始化方式
- 原文地址:https://blog.csdn.net/m0_62599305/article/details/133969098
