-
ESP32单片机环境搭建(VScode + PlatformIO IDE)
一、环境搭建(VScode + PlatformIO IDE)
1、官网下载VScode;

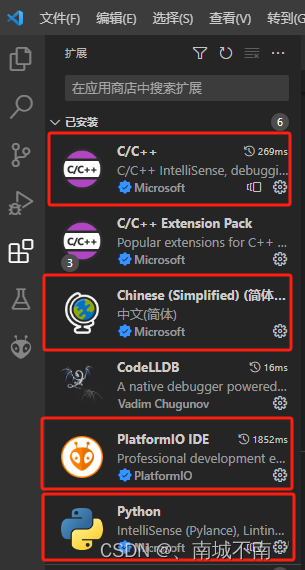
2、安装最新的插件(C/C++、PlatformIO IDE、python、Chinese);
3、在PlatformIO IDE中新建工程:Platforms——Projects——Create New Project——输入Name(ESP32demo)、Board(Espressif ESP32 Dev Module)、Framework(Arduino)——取消勾选——将新建文件夹保存到桌面或者其他路径中——确认。

创建工程:

4、硬件

二、LED闪烁
1、新建.cpp文件——编写LED闪烁代码——选择端口——编译——下载。

2、编译;下载;端口选择。

3、LED代码:
- #include
- #define LED 2 //板载LED在第2脚
- void setup() {
- // put your setup code here, to run once:
- pinMode(LED, OUTPUT);
- }
- void loop() {
- // put your main code here, to run repeatedly:
- digitalWrite(LED, HIGH); //高电平
- delay(1000); //等待1000毫秒
- digitalWrite(LED, LOW); //低电平
- delay(1000); //等待1000毫秒
- }
4、现象(蓝色LED)D2

三、快捷键设置
前进;后退;编译;下载。

四、主程序编写说明main.cpp

1、代码:
- #include
- // put function declarations here:
- int myFunction(int, int);
- void setup() {
- // put your setup code here, to run once:
- int result = myFunction(2, 3);
- }
- void loop() {
- // put your main code here, to run repeatedly:
- }
- // put function definitions here:
- int myFunction(int x, int y) {
- return x + y;
- }
2、完结。
-
相关阅读:
2022双十二有哪些值得入手的数码好物?值得入手的数码好物推荐
buu web部分wp
牛客前端刷题(五)—— CSS相关概念
Centos一键安装、切换各版本JDK
Android SensorManager学习
[C++](7)内存管理:new和delete
产品解读 | 数据服务平台:KDP
Redis数据类型(list\set\zset)
离散化专题
Nginx 安装配置
- 原文地址:https://blog.csdn.net/m0_62299908/article/details/133871360
