-
【QT开发笔记-基础篇】| 第四章 事件QEvent | 4.6 定时器事件
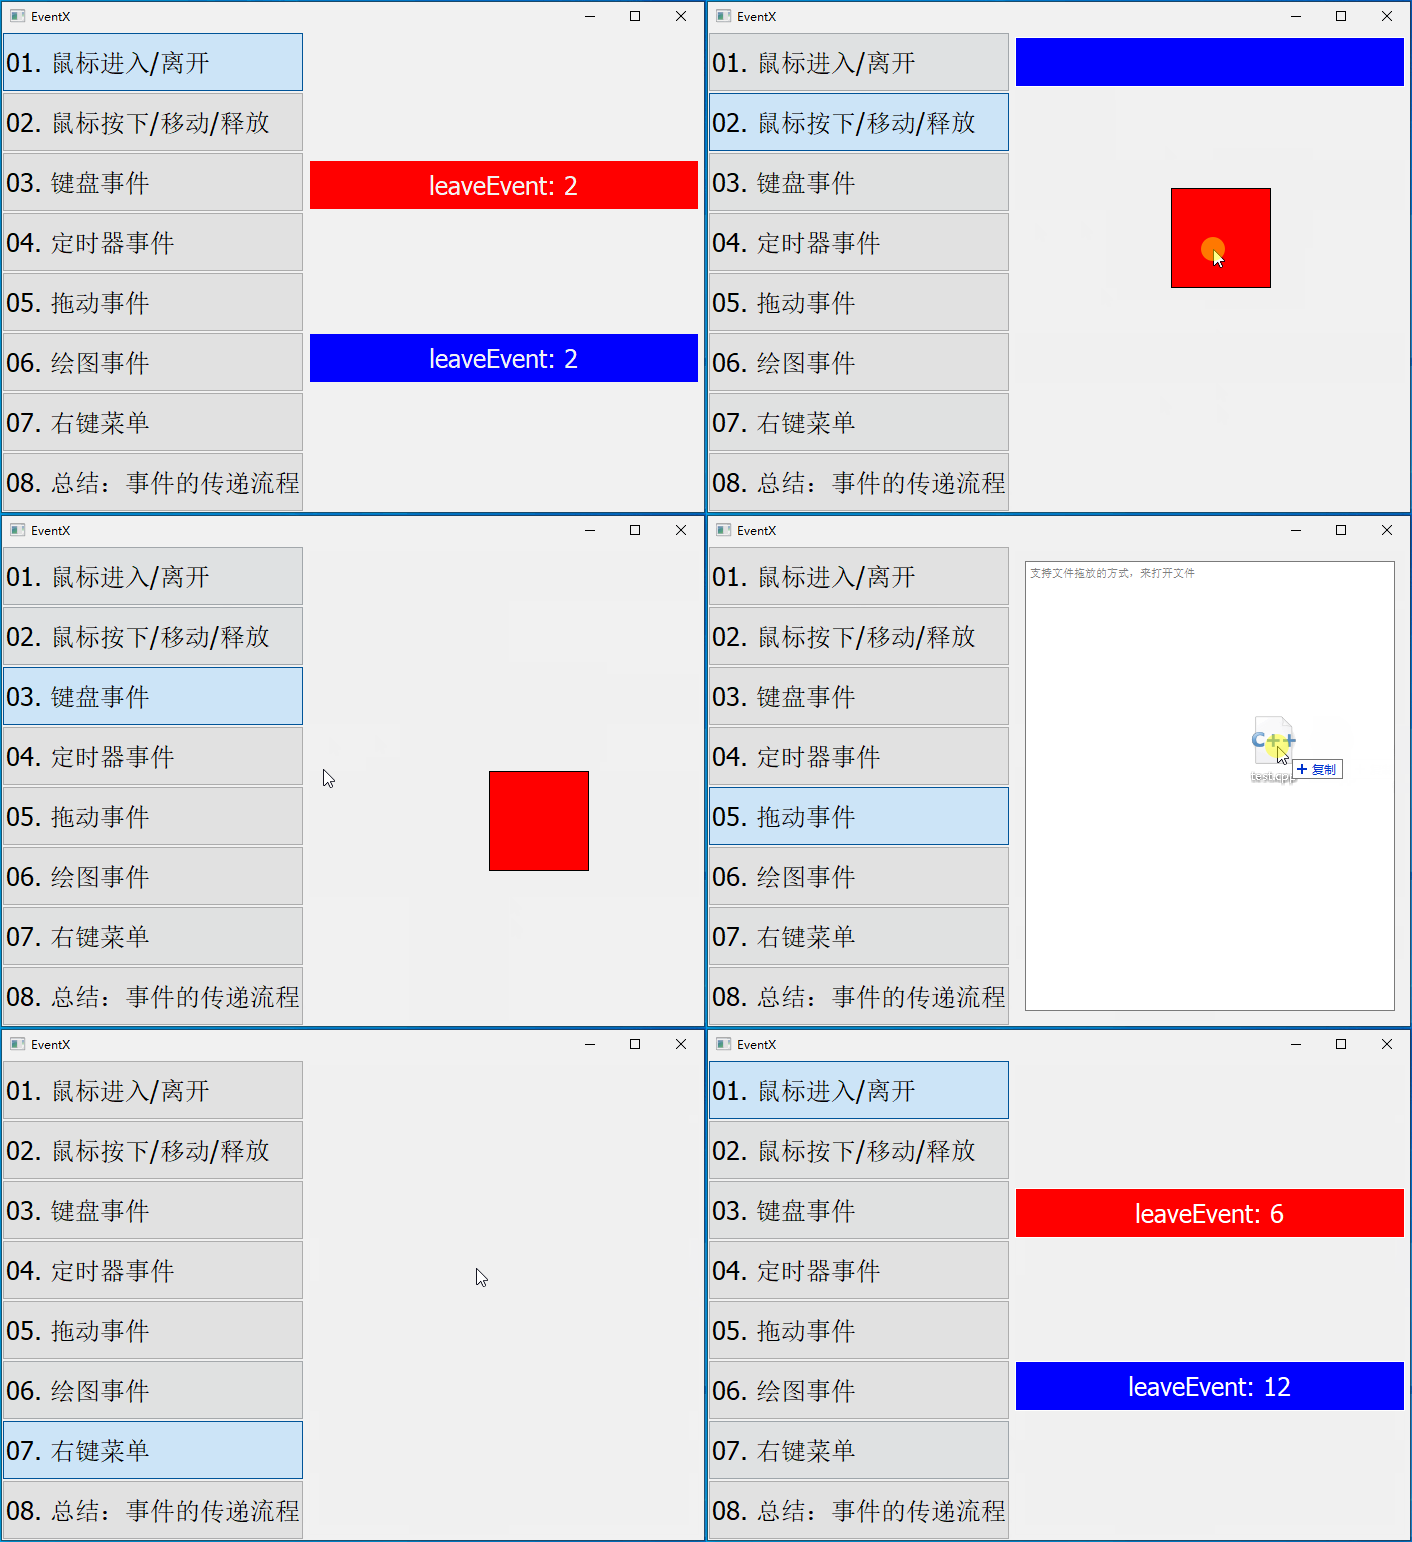
本章要实现的整体效果如下:
QT 中使用定时器,有两种方式:
- 定时器类:
QTimer - 定时器事件:
QEvent::Timer,对应的子类是QTimerEvent
本节通过一个案例,同时讲解这两种方式
案例:当点击 “开始” 按钮,两个标签同时向右移动,下边标签的定时间隔是上边标签的 2 倍,因此移动慢。当两个标签移动到最右侧时,回到最右端循环移动,整体效果,如下:
1. 定时器事件 QTimerEvent
1.1 界面布局
把两个标签以及 “启动”、“停止”、“复位” 三个按钮布局在界面上。
首先,来到
timer_widget.h,声明两个标签:#includeclass TimerWidget : public QWidget { private: QLabel* lbl1; QLabel* lbl2; }; - 1
- 2
- 3
- 4
- 5
- 6
- 7
- 8
然后,来到
timer_widget.cpp,添加两个标签:#includeTimerWidget::TimerWidget(QWidget* parent) : QWidget{parent} { QVBoxLayout* verticalLayout = new QVBoxLayout(this); verticalLayout->setSpacing(0); verticalLayout->setContentsMargins(0, 0, 0, 0); // 1. 添加第一个QLabel lbl1 = new QLabel(this); lbl1->setText(""); lbl1->setFrameShape(QFrame::Box); lbl1->setFixedSize(100, 100); lbl1->setStyleSheet("background-color: red;"); verticalLayout->addWidget(lbl1); // 2. 添加第二个QLabel lbl2 = new QLabel(this); lbl2->setText(""); lbl2->setFrameShape(QFrame::Box); lbl2->setFixedSize(100, 100); lbl2->setStyleSheet("background-color: blue;"); verticalLayout->addWidget(lbl2); // 3. 添加按钮的水平布局 QHBoxLayout* horizontalLayout = new QHBoxLayout(this); horizontalLayout->setSpacing(0); horizontalLayout->setContentsMargins(0, 0, 0, 0); QPushButton* btnStart = new QPushButton(this); btnStart->setText("开始"); horizontalLayout->addWidget(btnStart); QPushButton* btnStop = new QPushButton(this); btnStop->setText("停止"); horizontalLayout->addWidget(btnStop); QPushButton* btnReset = new QPushButton(this); btnReset->setText("复位"); horizontalLayout->addWidget(btnReset); verticalLayout->addLayout(horizontalLayout); this->setStyleSheet(R"( QPushButton { font-size: 22px; } )"); } - 1
- 2
- 3
- 4
- 5
- 6
- 7
- 8
- 9
- 10
- 11
- 12
- 13
- 14
- 15
- 16
- 17
- 18
- 19
- 20
- 21
- 22
- 23
- 24
- 25
- 26
- 27
- 28
- 29
- 30
- 31
- 32
- 33
- 34
- 35
- 36
- 37
- 38
- 39
- 40
- 41
- 42
- 43
- 44
- 45
- 46
- 47
- 48
此时运行程序,效果如下:

1.2 关联信号槽
首先,来到
timer_widget.h,声明 3 个槽函数class TimerWidget : public QWidget { private slots: void onStartClicked(); void onStopClicked(); void onResetClicked(); };- 1
- 2
- 3
- 4
- 5
- 6
- 7
然后,来到
timer_widget.cpp,做一个空实现:void TimerWidget::onStartClicked() { } void TimerWidget::onStopClicked() { } void TimerWidget::onResetClicked() { }- 1
- 2
- 3
- 4
- 5
- 6
- 7
- 8
- 9
- 10
- 11
最后,来到
timer_widget.cpp,在构造中连接信号槽:TimerWidget::TimerWidget(QWidget* parent) : QWidget{parent} { // ... connect(btnStart, &QPushButton::clicked, this, &TimerWidget::onStartClicked); connect(btnStop, &QPushButton::clicked, this, &TimerWidget::onStopClicked); connect(btnReset, &QPushButton::clicked, this, &TimerWidget::onResetClicked); }- 1
- 2
- 3
- 4
- 5
- 6
- 7
- 8
1.3 重写 timerEvent
当定时时间到,就会自动调用
timerEvent()函数。首先,来到
timer_widget.h中,声明timerEvent()函数,并声明两个定时器id:class TimerWidget : public QWidget { protected: void timerEvent(QTimerEvent* event); private: int id1; int id2; };- 1
- 2
- 3
- 4
- 5
- 6
- 7
- 8
- 9
然后,来到
timer_widget.cpp中,实现timerEvent()函数:void TimerWidget::timerEvent(QTimerEvent* event) { // qDebug() << "timerEvent"; if ( event->timerId() == id1 ) { lbl1->move(lbl1->x() + 5, lbl1->y()); if ( lbl1->x() >= this->width() ) { lbl1->move(0, lbl1->y()); } } else if ( event->timerId() == id2 ) { lbl2->move(lbl2->x() + 5, lbl2->y()); if ( lbl2->x() >= this->width() ) { lbl2->move(0, lbl2->y()); } } }- 1
- 2
- 3
- 4
- 5
- 6
- 7
- 8
- 9
- 10
- 11
- 12
- 13
- 14
- 15
说明:
- 在
timerEvent()函数中,向右移动标签。当标签超出当前窗口,重新回到最左侧 - 可以启动多个定时器,在
timerEvent()中,使用QTimerEvent类的timerId()函数可以获取哪个定时器定时时间到
1.4 实现槽函数,启动定时器
上一步中提到,定时时间到时,移动标签,那么就需要先启动定时器,并指定一个定时间隔。
首先,在 “启动” 按钮的槽函数中,启动定时器:
void TimerEventWidget::onStartClicked() { id1 = startTimer(10); // 时间间隔10ms id2 = startTimer(20); // 时间间隔20ms }- 1
- 2
- 3
- 4
- 5
然后,在 “停止” 按钮的槽函数中,停止定时器:
void TimerEventWidget::onStopClicked() { killTimer(id1); killTimer(id2); }- 1
- 2
- 3
- 4
- 5
最后,在 “复位” 按钮的槽函数中,复位标签位置到最左侧:
void TimerEventWidget::onResetClicked() { lbl1->move(0, lbl1->y()); lbl2->move(0, lbl2->y()); }- 1
- 2
- 3
- 4
- 5
此时运行,点击按钮,效果如下:

2. 定时器类 QTimer
接下来,使用定时器类
QTimer来实现以上同样的效果首先,在
timer_widget.h声明两个定时器类的对象,以及定时超时的槽函数:#includeclass TimerWidget : public QWidget { private slots: void onTimeout1(); void onTimeout2(); private: QTimer* timer1; QTimer* timer2; }; - 1
- 2
- 3
- 4
- 5
- 6
- 7
- 8
- 9
- 10
- 11
- 12
然后,在
timer_widget.cpp中实现两个定时超时槽函数:void TimerWidget::onTimeout1() { lbl1->move(lbl1->x() + 5, lbl1->y()); if ( lbl1->x() >= this->width() ) { lbl1->move(0, lbl1->y()); } } void TimerWidget::onTimeout2() { lbl2->move(lbl2->x() + 5, lbl2->y()); if ( lbl2->x() >= this->width() ) { lbl2->move(0, lbl2->y()); } }- 1
- 2
- 3
- 4
- 5
- 6
- 7
- 8
- 9
- 10
- 11
- 12
- 13
- 14
- 15
这里移动标签,并在标签超出当前窗口边界时,复位到最左侧
接着,修改 “启动”、“停止” 按钮的槽函数。
为便于切换定时器类和定时器事件这两种方式,定义了一个宏:
#define USE_TIMER_EVENT void TimerWidget::onStartClicked() { #ifdef USE_TIMER_EVENT id1 = startTimer(10); id2 = startTimer(20); #else timer1->start(20); timer2->start(10); #endif } void TimerWidget::onStopClicked() { #ifdef USE_TIMER_EVENT killTimer(id1); killTimer(id2); #else timer1->stop(); timer2->stop(); #endif }- 1
- 2
- 3
- 4
- 5
- 6
- 7
- 8
- 9
- 10
- 11
- 12
- 13
- 14
- 15
- 16
- 17
- 18
- 19
- 20
- 21
- 22
- 23
最后,在
timer_widget.cpp的构造中创建定时器,并关联槽函数:TimerWidget::TimerWidget(QWidget* parent) : QWidget{parent} { // ... timer1 = new QTimer(this); connect(timer1, &QTimer::timeout, this, &TimerWidget::onTimeout1); timer2 = new QTimer(this); connect(timer2, &QTimer::timeout, this, &TimerWidget::onTimeout2); }- 1
- 2
- 3
- 4
- 5
- 6
- 7
- 8
- 9
- 10
此时,运行效果如下:

- 定时器类:
-
相关阅读:
MySQL的备份与恢复
【微信小程序】WXML的模板语法与WXSS模板样式
IntelliJ IDEA(Windows 版)的所有快捷键
Uncaught TypeError: Cannot read properties of undefined (reading ‘password‘)
直播CDN调度技术关键挑战与架构设计
21天挑战赛算法学习打卡——顺序查找
有一本零基础入门Python的编程书上架!
俄罗斯欲推国产应用取代 Google Play
手机和windows的便签怎么共享账号使用
测试杂谈——一条SQL引发的思考(二)
- 原文地址:https://blog.csdn.net/bili_mingwang/article/details/133852326
