-
VSCode 调试 u-boot
VSCode 调试 u-boot
调试配置
要想调试 u-boot 只需要再添加一个 u-boot 的配置即可
{ "version": "0.2.0", "configurations": [ { // qemu 裸机调试配置 "name": "qemu_bare", "type": "cppdbg", "request": "launch", "program": "${workspaceFolder}/qemu_code/bare/example/0020_mmu/bsp.elf", "args": [], "stopAtEntry": true, "cwd": "${workspaceFolder}/qemu_code/bare", "environment": [], "externalConsole": false, "MIMode": "gdb", "miDebuggerPath": "/home/tyustli/cross_tool/gcc-arm-10.3-2021.07-x86_64-arm-none-linux-gnueabihf/bin/arm-none-linux-gnueabihf-gdb", "miDebuggerServerAddress": "localhost:1234", }, { // u-boot 调试配置 "name": "u-boot", "type": "cppdbg", "request": "launch", "program": "${workspaceFolder}/open_source/u-boot/u-boot", "args": [], "stopAtEntry": true, "cwd": "${workspaceFolder}/open_source/u-boot", "environment": [], "externalConsole": false, "MIMode": "gdb", "miDebuggerPath": "/home/tyustli/cross_tool/gcc-arm-10.3-2021.07-x86_64-arm-none-linux-gnueabihf/bin/arm-none-linux-gnueabihf-gdb", "miDebuggerServerAddress": "localhost:1234", }, ] }- 1
- 2
- 3
- 4
- 5
- 6
- 7
- 8
- 9
- 10
- 11
- 12
- 13
- 14
- 15
- 16
- 17
- 18
- 19
- 20
- 21
- 22
- 23
- 24
- 25
- 26
- 27
- 28
- 29
- 30
- 31
- 32
- 33
- 34
启动 u-boot 脚本
qemu-system-arm -M vexpress-a9 -m 256 -kernel ./u-boot -nographic -s -S- 1
调试界面
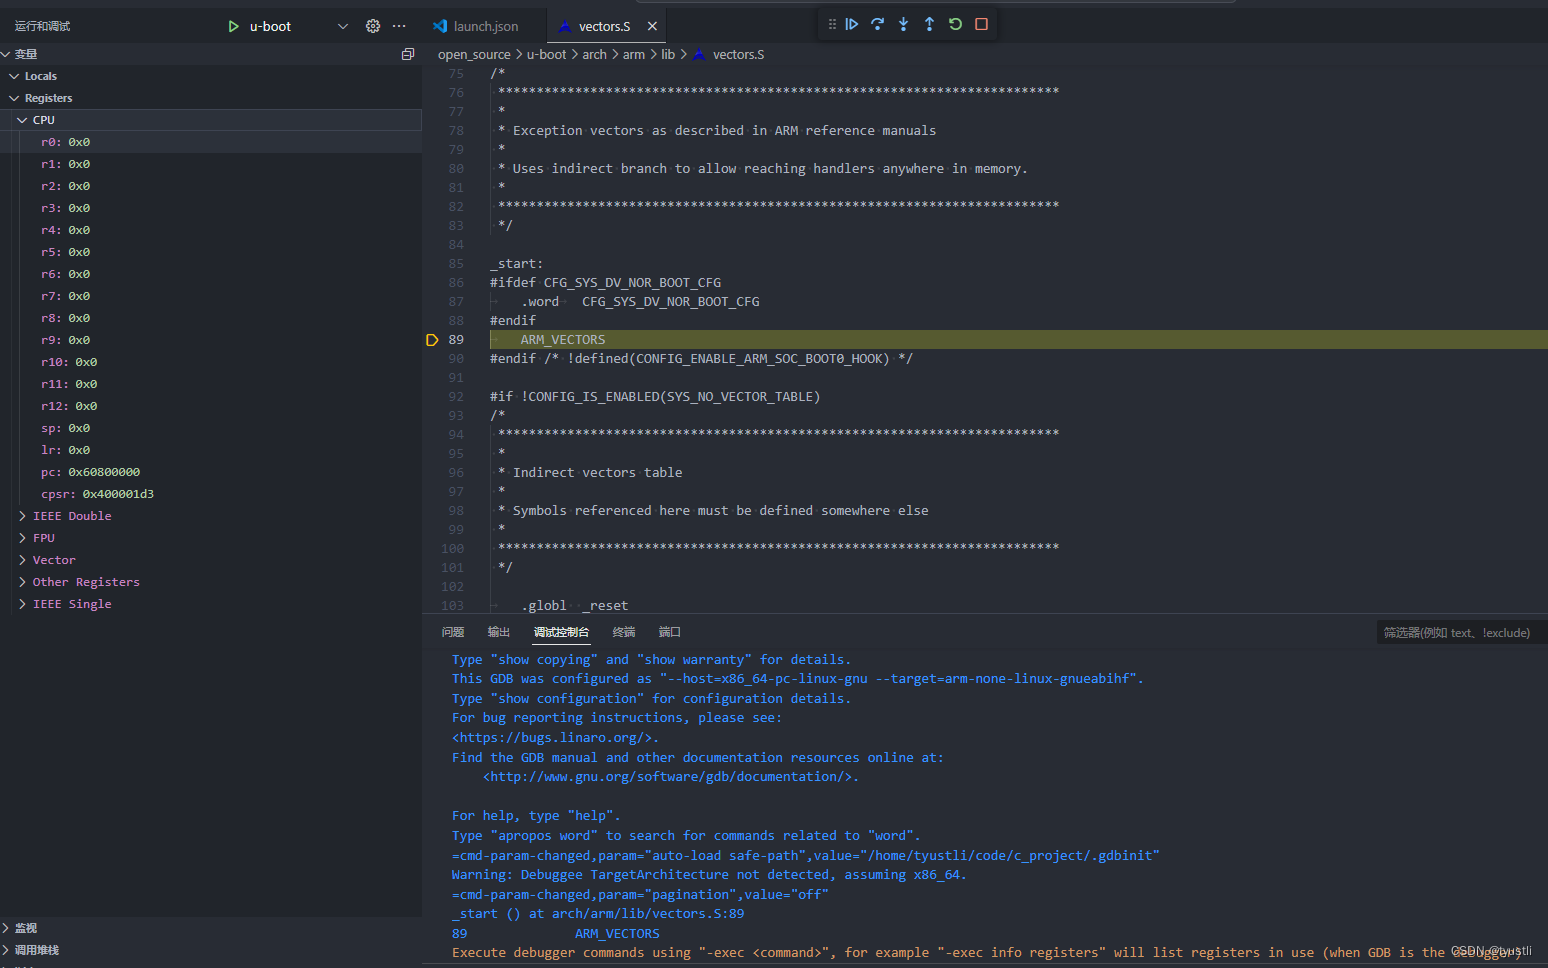
重定向之后继续调试
需要注意的是,u-boot 有一段重定向代码,之后 VSCode 就不能调试了
u-boot/arch/arm/lib/crt0.S重定向代码adr lr, here #if defined(CONFIG_POSITION_INDEPENDENT) adr r0, _main ldr r1, _start_ofs add r0, r1 ldr r1, =CONFIG_TEXT_BASE sub r1, r0 add lr, r1 #if defined(CONFIG_SYS_RELOC_GD_ENV_ADDR) ldr r0, [r9, #GD_ENV_ADDR] /* r0 = gd->env_addr */ add r0, r0, r1 str r0, [r9, #GD_ENV_ADDR] #endif #endif ldr r0, [r9, #GD_RELOC_OFF] /* r0 = gd->reloc_off */ add lr, lr, r0 #if defined(CONFIG_CPU_V7M) orr lr, #1 /* As required by Thumb-only */ #endif ldr r0, [r9, #GD_RELOCADDR] /* r0 = gd->relocaddr */ b relocate_code- 1
- 2
- 3
- 4
- 5
- 6
- 7
- 8
- 9
- 10
- 11
- 12
- 13
- 14
- 15
- 16
- 17
- 18
- 19
- 20
- 21
解决方法也比较简单
官网推荐的方法是 使用 gdb 命令行来手动加载符号表 。
add-symbol-file u-boot 重定位后的地址- 1
重定位后的地址就位于 gd 中的成员变量 unsigned long relocaddr; 中。
从上面的代码中可以看到 ,地址就放在 R0 寄存器中。得到地址之后执行如下命令-exec add-symbol-file /home/tyustli/code/open_source/u-boot/u-boot 0x6ff62000- 1
就可以接着调试了。
参考
- https://blog.csdn.net/tyustli/article/details/133829652
- https://itexp.blog.csdn.net/article/details/122173518
-
相关阅读:
各种模型结构设计及原理
OliveTin能在网页上安全运行shell命令(上)
Docker0网络及原理探究
C# 模拟button按钮批量锁住与打开
从零到一搭建基础架构(8)-业务服务接入基础架构
固话号码认证有什么好处?固话号码认证有什么作用?
Redis持久化(RDB AOF)
UVM m_sequencer 和 p_sequencer
有一个不错的解决module xxx has no attribute的思路
组件分享之后端组件——基于Golang实现的database/sql附加功能组件dbr
- 原文地址:https://blog.csdn.net/tyustli/article/details/133843758
