-
使用 Express 设置 GraphQL
使用 Express 设置 GraphQL
在本文中,我们将探讨如何在
Node.js中设置Express.js和GraphQL。另外,本文还将分享一些基本技巧,以确保我们的服务器已准备好投入实际使用!什么是 GraphQL
GraphQL是API的查询语言,它提供了一种更灵活的方式来获取所需的数据。使用GraphQL,我们不必拥有用于不同目的的多个端点,而是可以使用单个端点来根据您提供的查询提供不同的数据。今天,我们就来看看如何通过使用
Express来设置GraphQL。项目初始化
创建一个名为
node-demo的新文件夹,在控制台上打开该文件夹并输入:npm init- 1
所需的依赖
@graphql-tools/load-files:这个工具帮助我们从项目中加载模式文件。@graphql-tools/schema:对于合并和创建GraphQL模式很有用。cors:提供中间件以在我们的Express应用程序中启用跨源资源共享(CORS)。dotenv:帮助将环境变量从.env文件加载到process.env.express:Node.js的Web服务器框架。它是我们应用程序的支柱。express-graphql:将GraphQL与Express集成的中间件。graphql:使用JavaScript实现的GraphQL核心包。graphql-tools:提供一组用于在JavaScript中构建GraphQL API的实用程序。
安装依赖
首先,让我们使用
yarn安装这些包:yarn add @graphql-tools/load-files @graphql-tools/schema cors dotenv express express-graphql graphql graphql-tools- 1
安装好后,项目中的
package.json应该如下所示:{ "name": "node-demo", "version": "1.0.0", "description": "", "main": "index.js", "scripts": { "test": "echo \"Error: no test specified\" && exit 1" }, "keywords": [], "author": "", "license": "ISC", "dependencies": { "@graphql-tools/load-files": "^6.6.1", "@graphql-tools/schema": "^10.0.0", "cors": "^2.8.5", "dotenv": "^16.3.1", "express": "^4.18.2", "express-graphql": "^0.12.0", "graphql": "^15.8.0", "graphql-tools": "^7.0.5" } }- 1
- 2
- 3
- 4
- 5
- 6
- 7
- 8
- 9
- 10
- 11
- 12
- 13
- 14
- 15
- 16
- 17
- 18
- 19
- 20
- 21
- 22
- 23
入口文件编写
// index.js const http = require('http'); const app = require('./app.js'); require('dotenv').config(); const PORT = process.env.PORT || 8000; const httpServer = http.createServer(app); async function startServer() { httpServer.listen(PORT, () => { console.log(' server is live on ', PORT); }); } startServer();- 1
- 2
- 3
- 4
- 5
- 6
- 7
- 8
- 9
- 10
- 11
- 12
- 13
- 14
- 15
- 16
- 17
- 我们引入
http模块并用它初始化一个Node.js服务器。 - 我们正在从
app.js文件中加载我们的Express服务器配置。我们稍后将讨论该文件的细节。 - 激活
dotenv,它将从一个名为.env的特殊文件中读取一些环境变量。
在继续之前,请在项目根目录中创建一个
.env文件。可以在此处放置数据库连接详细信息、密钥等信息。设置express服务
// app.js const cors = require("cors"); const express = require("express"); const { graphqlHTTP } = require('express-graphql'); const Api1 = require("./routes/api.js"); const graphqlServer = require("./graphql/index.js"); const app = express(); app.use( '/graphql', graphqlHTTP({ schema: graphqlServer, graphiql: true, }) ) app.use( cors() ); app.use(express.json()); app.use("/v1", Api1); module.exports = app;- 1
- 2
- 3
- 4
- 5
- 6
- 7
- 8
- 9
- 10
- 11
- 12
- 13
- 14
- 15
- 16
- 17
- 18
- 19
- 20
- 21
- 22
- 23
- 24
- 25
- 26
- 27
在
app.js文件中,我们正在为我们的服务器奠定基础:- 引入
./routes/api.js文件,定义路由。 - 发起
cors跨源请求、构建我们的服务器并将express-graphql和express集成GraphQL。 - 安装
GraphQL, 设置并启用graphiql来更简单的实现GraphQL查询。 - 配置
CORS并设置中间件来解析传入的JSON请求。 - 最后导出
Express服务器。
注意:确保项目根目录中有
routes和graphiql文件夹。它们将分别容纳我们的Express路由和GraphQL架构。构建 GraphQL 架构
// graphql/index.js const path = require("path"); const { loadFilesSync } = require("@graphql-tools/load-files"); const { makeExecutableSchema } = require("@graphql-tools/schema"); const typeDefs = loadFilesSync(path.join(__dirname, "**/*.graphql")); const resolvers = loadFilesSync(path.join(__dirname,"**/*.resolver.js")) const executableSchema = makeExecutableSchema({ typeDefs, resolvers, }); module.exports = executableSchema;- 1
- 2
- 3
- 4
- 5
- 6
- 7
- 8
- 9
- 10
- 11
- 12
- 13
- 14
- 15
导入必要的模块
// graphql/index.js const { loadFilesSync } = require("@graphql-tools/load-files"); const { makeExecutableSchema } = require("@graphql-tools/schema");- 1
- 2
- 3
- 从
@graphql-tools/load-files模块中引入loadFilesSync函数。它是加载多个文件的助手。 - 从
@graphql-tools/schema模块中引入makeExecutableSchema,它将帮助我们结合类型定义和解析器来创建GraphQL模式。
加载 GraphQL 类型定义
// graphql/index.js const typeDefs = loadFilesSync(path.join(__dirname, "**/*.graphql"));- 1
- 2
在这里,我们从当前目录及其子目录中加载所有后缀为
.graphql的文件。这些文件描述了我们数据的“形状”以及我们可以对其执行的操作。加载解析器并创建可执行架构
// graphql/index.js const resolvers = loadFilesSync(path.join(__dirname,"**/*.resolver.js")) const executableSchema = makeExecutableSchema({ typeDefs, resolvers, });- 1
- 2
- 3
- 4
- 5
- 6
- 7
从当前目录及其子目录加载所有后缀为
.resolve.js文件,这些文件是提供处理GraphQL操作逻辑的函数,例如获取数据或进行更改。设置基本 GraphQL 架构和解析器
// graphql/hello/hello.graphql type Query { hello: String! }- 1
- 2
- 3
- 4
// graphql/hello/hello.resolver.js const resolvers = { Query: { hello: () => "Hello, World!" } };- 1
- 2
- 3
- 4
- 5
- 6
我们创建了以
.graphql和.resolver.js结尾的文件。此设置的优点在于我i们不需要跟踪每个新文件或手动导入它们。@graphql-tools/load-files中的loadFilesSync方法会自动替我们完成。在express.js中创建基本的hello路由
// routes/api.js const { Router } = require('express'); const Api1 = Router(); const helloRouter = require('./hello/hello.router.js'); Api1.use('/hello', helloRouter); module.exports = Api1;- 1
- 2
- 3
- 4
- 5
- 6
- 7
- 8
- 9
// routes/hello/hello.router.js const { Router } = require("express"); const helloRouter = Router(); const helloController = require("./hello.controller.js"); helloRouter.get("/", helloController.sayHello); module.exports = helloRouter;- 1
- 2
- 3
- 4
- 5
- 6
- 7
- 8
- 9
// routes/hello/hello.controller.js async function sayHello(request, response) { response.status(200).json("hello from the express graphql server"); return } module.exports = { sayHello, };- 1
- 2
- 3
- 4
- 5
- 6
- 7
- 8
- 9
在这些文件中,我们按照
MVC模式设置基本的Express.js服务。结果
通过我们之前的设置,我们的服务器现已完成并准备好处理传入请求。要启动并运行它,只需在终端中输入
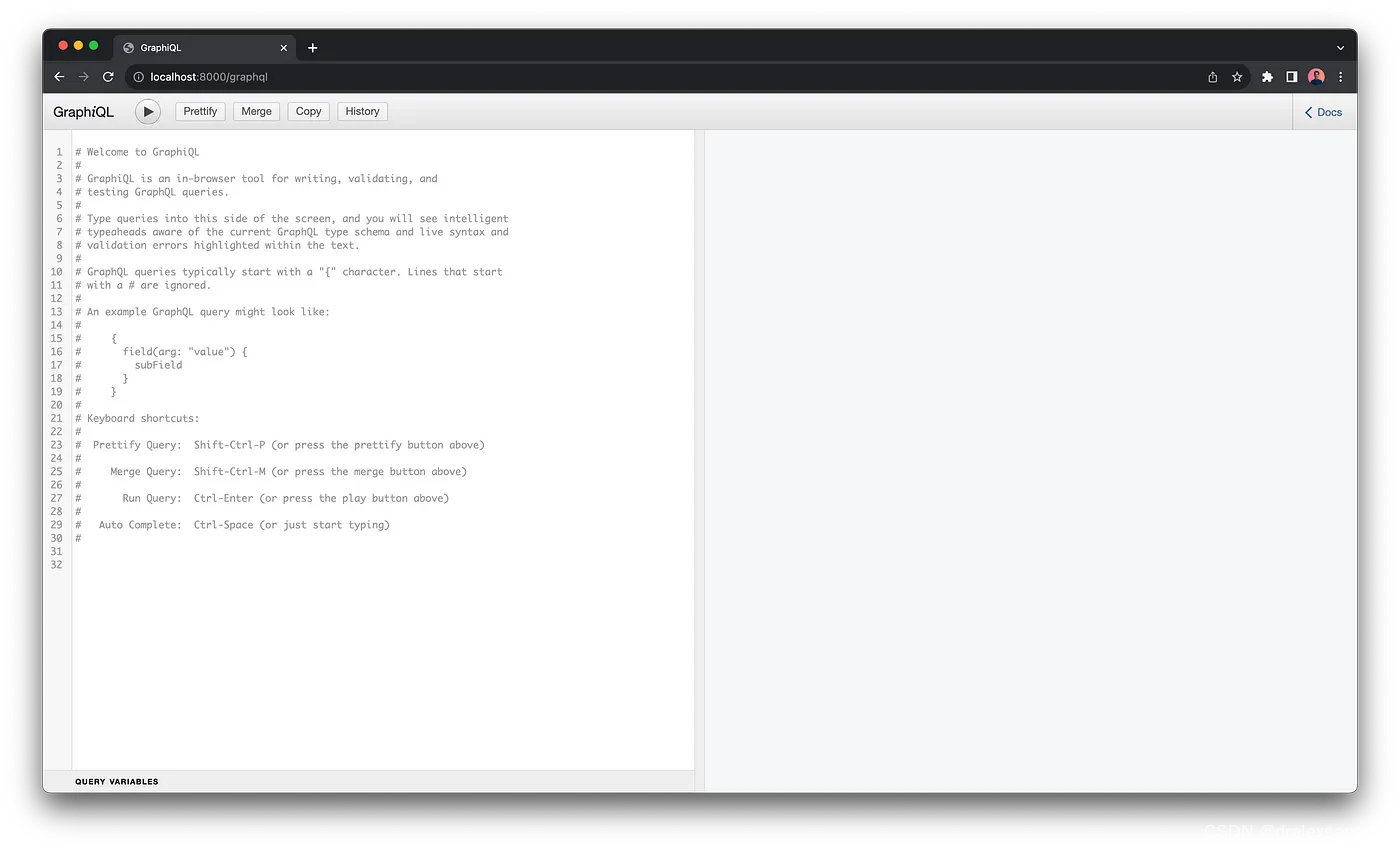
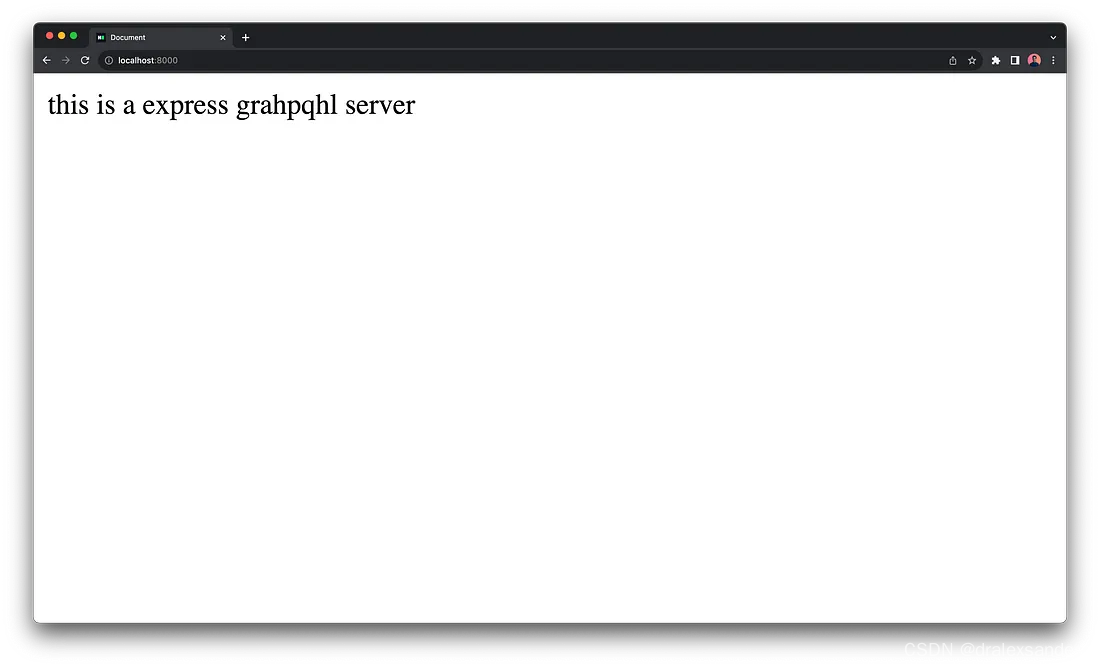
node index.js即可。在服务启动之后我们可以:- 通过
http://localhost:8000/graphql访问GraphQL

- 通过指定的
URL访问Express服务
-
相关阅读:
为何学linux及用处
华纳云:ApacheBeam中的延迟数据处理如何处理
vue 移动端实现自动适配 postcss-px-to-viewport
[附源码]计算机毕业设计springboot电子相册管理系统
MySQL中字符串比较大小(日期字符串比较问题)
2023-2024-1 高级语言程序设计实验一: 选择结构
顺序表的实现
HTML+CSS+JS网页设计期末课程大作业——上海旅游景点(10页)web前端开发技术 web课程设计 网页规划与设计
[Linux](7)环境变量
virtualbox配置_20211127
- 原文地址:https://blog.csdn.net/qq_42880714/article/details/133258037
