-
QT学习之创建项目
1、添加快捷键到桌面
找到所在安装路径Qt5.14.1\Tools\QtCreator\bin添加至桌面
双击后打开

2、创建项目
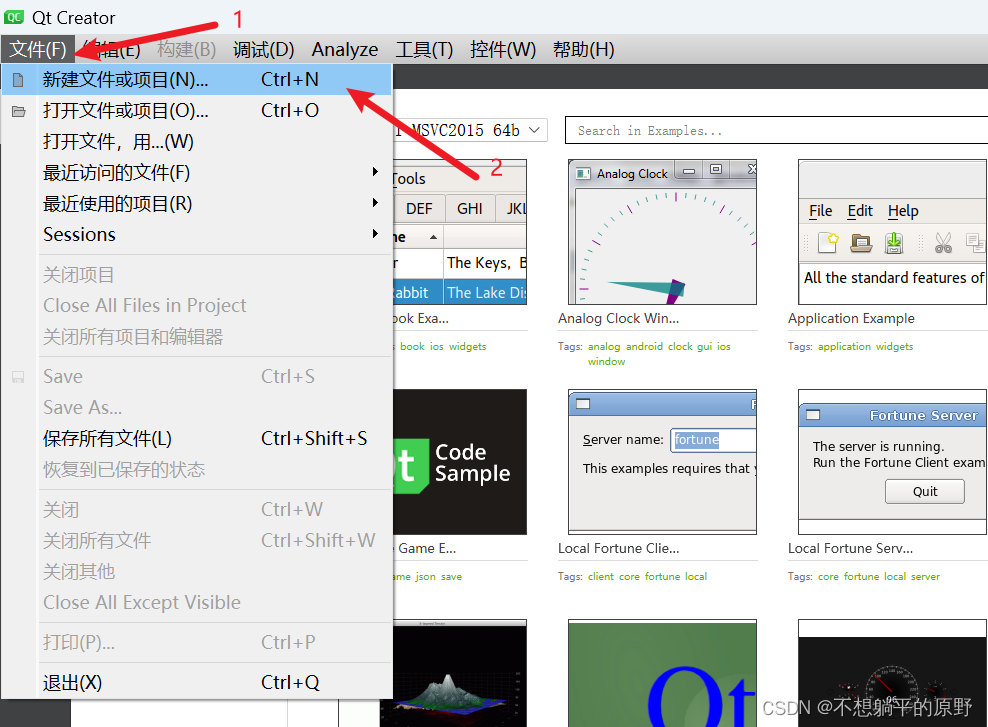
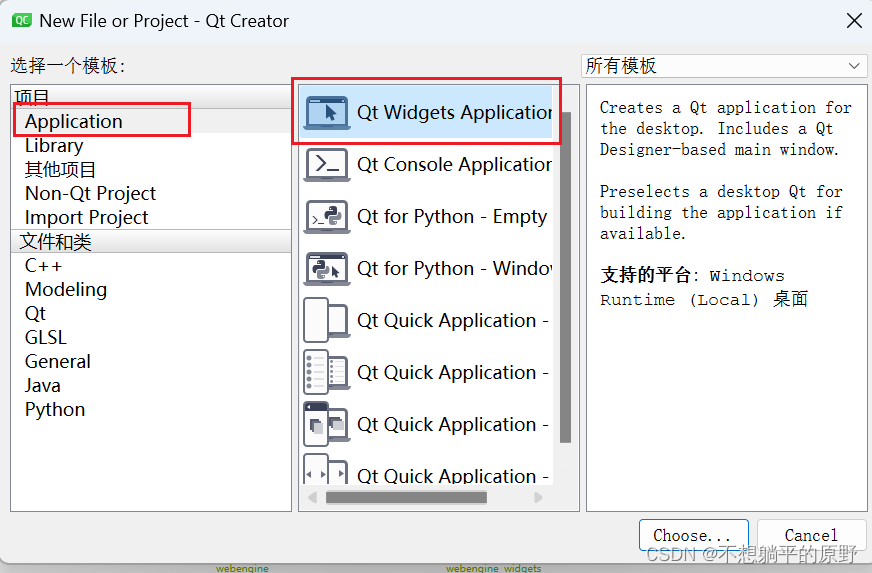
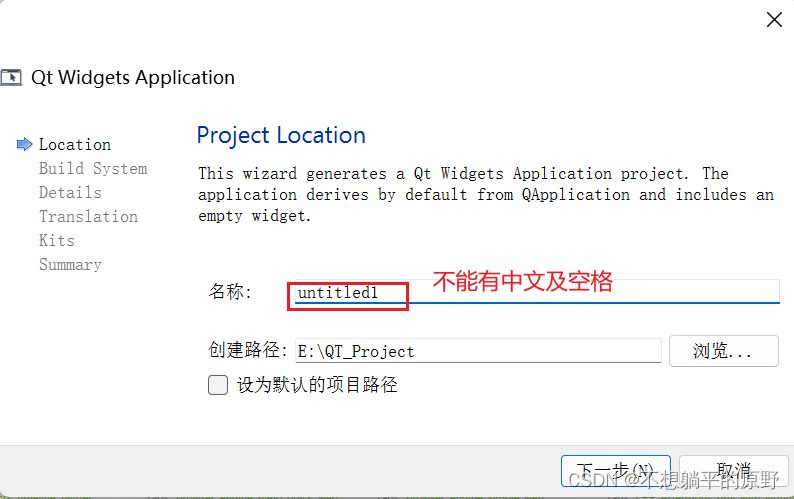
点击下一步
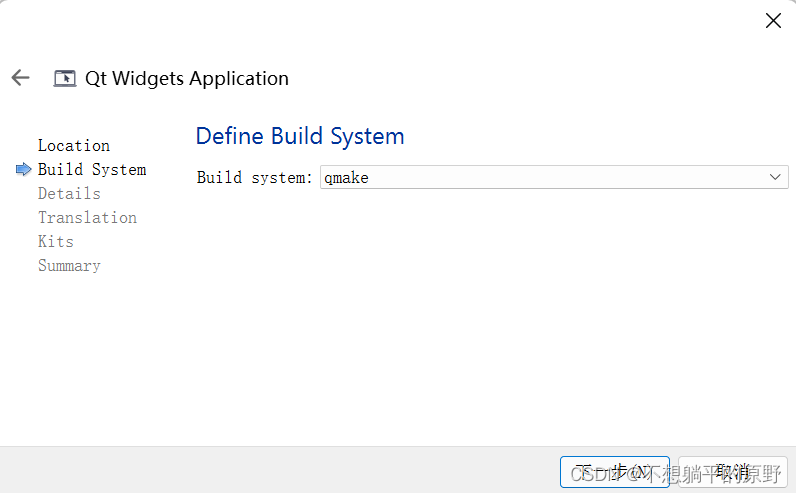
再点击下一步
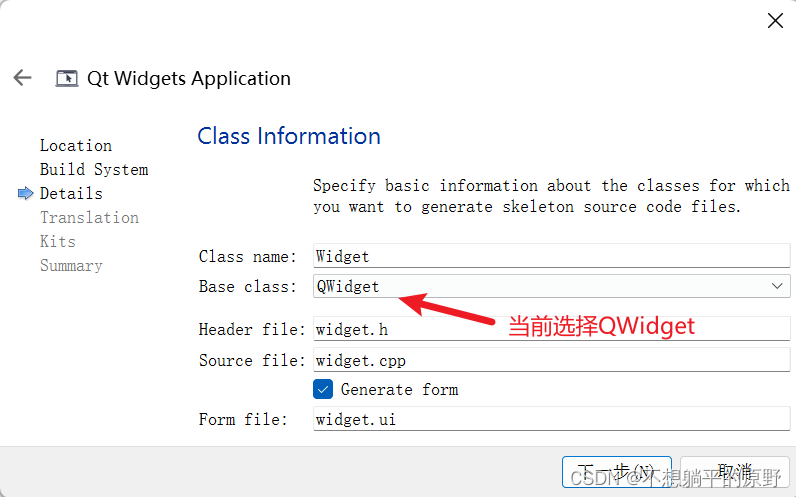
下一步
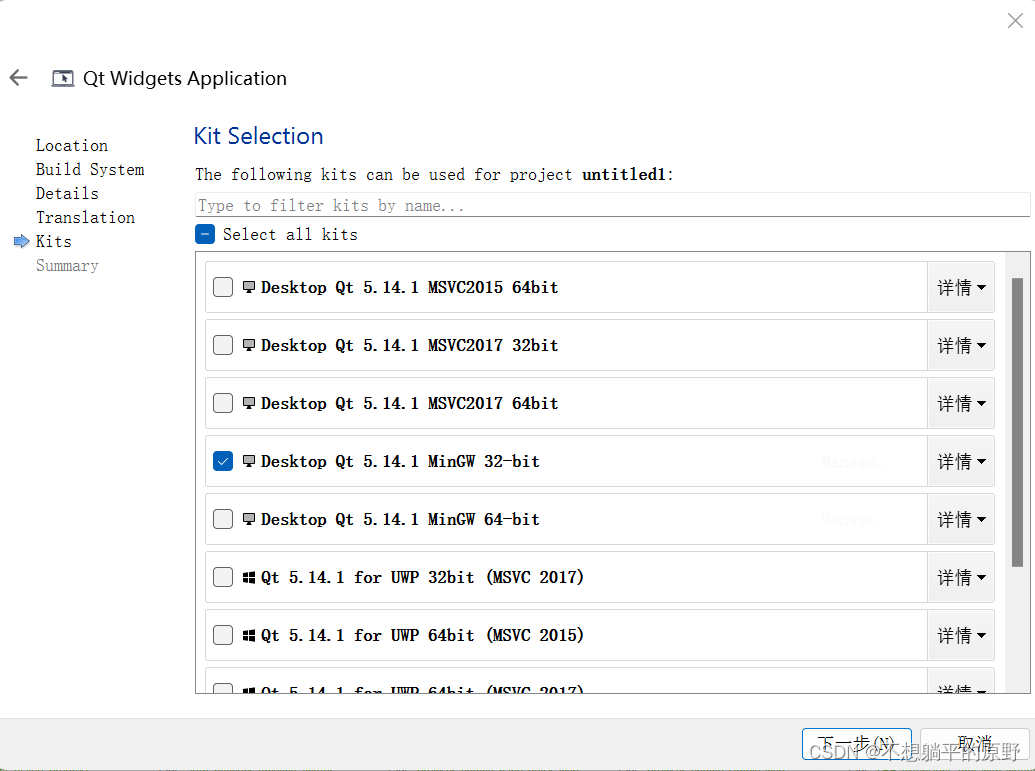
当前暂时选择32位,之后点击完成
3、进入编辑页面并运行
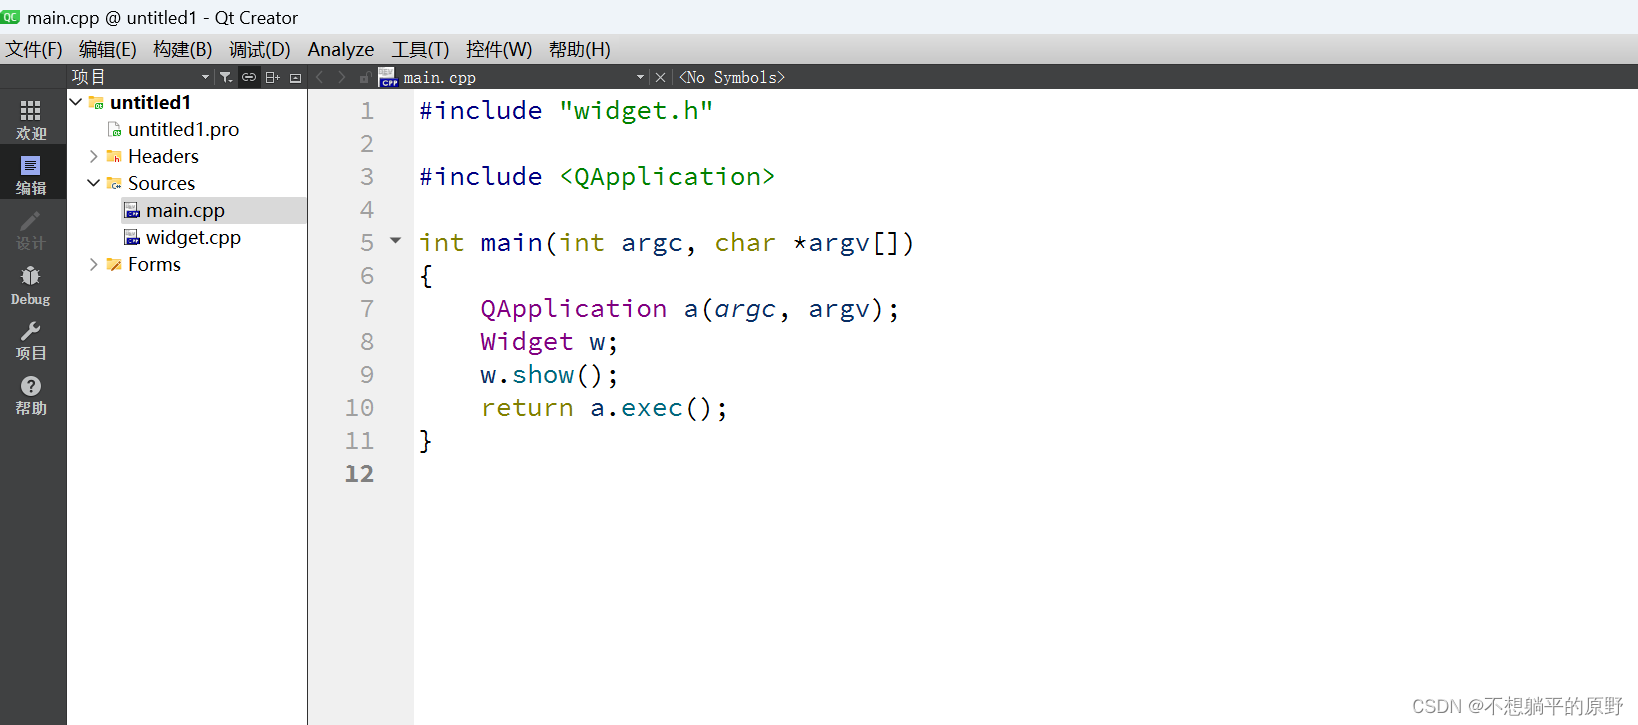
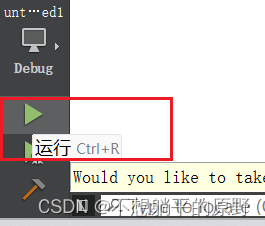
运行快捷键:Ctrl+R
运行界面点击按钮:

运行完成

至此,运行没有出现问题,说明安装无误。
4、代码说明
main.cpp
- #include "widget.h" /* 包含自己写的类的头文件 */
- #include
/* 应用程序类 */ - /* 程序入口 argc命令行变量数量 argv命令行变量数组 */
- int main(int argc, char *argv[]) /* main函数必须有且仅有一个 */
- {
- QApplication a(argc, argv); /* 创建一个应用程序类,必须有且仅有一个 */
- Widget w; /* 创建窗口对象 */
- w.show(); /* 手动显示窗口 */
- return a.exec(); /* 应用程序消息循环,相当于while,做一些消息监听、处理 */
- }
widget.cpp
- #include "widget.h"
- #include "ui_widget.h"
- Widget::Widget(QWidget *parent)
- : QWidget(parent)
- , ui(new Ui::Widget) //窗口被实例化,可供展示
- {
- ui->setupUi(this); //两个同名类对象绑定到一起
- }
- Widget::~Widget()
- {
- delete ui;
- }
widget.h
- #ifndef WIDGET_H
- #define WIDGET_H
- #include
- QT_BEGIN_NAMESPACE
- namespace Ui { class Widget; }
- QT_END_NAMESPACE
- class Widget : public QWidget
- {
- Q_OBJECT /* 使用信号与槽必须包含的一个宏 */
- public:
- Widget(QWidget *parent = nullptr);
- ~Widget();
- private:
- Ui::Widget *ui;
- };
- #endif // WIDGET_H
- "1.0" encoding="UTF-8"?>
- <ui version="4.0">
- <class>MainWindowclass>
- <widget class="QMainWindow" name="MainWindow">
- <property name="geometry">
- <rect>
- <x>0x>
- <y>0y>
- <width>800width>
- <height>600height>
- rect>
- property>
- <property name="windowTitle">
- <string>MainWindowstring>
- property>
- <widget class="QWidget" name="centralwidget"/>
- <widget class="QMenuBar" name="menubar">
- <property name="geometry">
- <rect>
- <x>0x>
- <y>0y>
- <width>800width>
- <height>29height>
- rect>
- property>
- widget>
- <widget class="QStatusBar" name="statusbar"/>
- widget>
- <resources/>
- <connections/>
- ui>
项目文件
- #加载模块 core核心模块 gui界面模块
- QT += core gui #包含的模块
- #当QT版本大于4 QT5需要加上widgets模块
- greaterThan(QT_MAJOR_VERSION, 4): QT += widgets #大于Qt4版本,才包含widget模块
- #配置C++11 让qt支持C++11语法 lamda
- CONFIG += c++11
- #使用过时函数产生警告
- # The following define makes your compiler emit warnings if you use
- # any Qt feature that has been marked deprecated (the exact warnings
- # depend on your compiler). Please consult the documentation of the
- # deprecated API in order to know how to port your code away from it.
- DEFINES += QT_DEPRECATED_WARNINGS
- #使用过时函数产生警告
- # You can also make your code fail to compile if it uses deprecated APIs.
- # In order to do so, uncomment the following line.
- # You can also select to disable deprecated APIs only up to a certain version of Qt.
- #DEFINES += QT_DISABLE_DEPRECATED_BEFORE=0x060000 # disables all the APIs deprecated before Qt 6.0.0
- #项目里的源文件
- SOURCES += \
- main.cpp \
- widget.cpp
- #项目里的头文件
- HEADERS += \
- widget.h
- #项目里的ui文件
- FORMS += \
- widget.ui
- # Default rules for deployment.
- qnx: target.path = /tmp/$${TARGET}/bin #嵌入式平台
- else: unix:!android: target.path = /opt/$${TARGET}/bin #unix式平台
- !isEmpty(target.path): INSTALLS += target
解释:
- Qt系统提供的标准类名声明头文件没有.h后缀,比如当前main.cpp中的QApplication
- Qt一个类对应一个头文件,类名就是头文件名
- a.exec()——程序进入消息循环,等待对用户输入进行响应。这里main()把控制权转交给Qt,Qt完成事件处理工作,当应用程序退出的时候exec()的值就会返回。在exec()中,Qt接受并处理用户和系统的事件并且把它们传递给适当的窗口部件。
- QApplication应用程序类——管理图形用户界面应用程序的控制流和主要设置,是QT的整个后台管理的命脉,包含主事件循环、所有事件处理和调度、处理应用程序的初始化和结束、提供对话管理,任何QT图形用户界面应用程序只存在一个QApplication对象。
输出Hello World
- #include
- #include
- #include
- int main(int argc, char* argv[])
- {
- QApplication a(argc, argv);
- QWidget w;
- w.show();
- //Qt头文件和类名是一致的,所有的头文件都是以Q开头
- qDebug()<<"hello world";
- return a.exec();
- }
-
相关阅读:
的修大数据管理平台有哪些功能模块?它可以为企业带来什么好处?
搞透 IOC,Spring IOC 看这篇就够了!
【毕业设计】基于单片机的智能饮水机系统 - stm32 物联网 嵌入式
[C语言数据结构]队列
关于AI时代的程序架构的变化
普通人做自媒体视频剪辑会有出路吗?
kubernetes client-go功能介绍
分享一个Java毕业设计项目——叮当书城项目
Python开发技术—面向对象程序设计2
Java毕业设计项目_企业级实战全栈项目中信CRM
- 原文地址:https://blog.csdn.net/weixin_37753215/article/details/133241414
