-
python脚本(渗透测试)
python爬取edusrc
通过此脚本,可以爬取edusrc的目标信息,生成目标字典,为下一步开发自动化测试工具做准备
- import queue
- import threading
- import time
- import requests
- from bs4 import BeautifulSoup
- import re
- def get_edu_name():
- while not q.empty():
- x=q.get()
- url='https://src.sjtu.edu.cn/rank/firm/0/?page=%s'%str(x)
- try:
- s=requests.get(url).text
- print('->正在获取第%s页内容'%x)
- soup=BeautifulSoup(s,'lxml')
- edu1=soup.find_all('tr')
- for i in range(1,len(edu1)):
- edu=edu1[i].a.string
- print(edu)
- with open('eduName.txt', 'a+') as f:
- f.write(edu + '\n')
- f.close()
- except Exception as e:
- time.sleep(1)
- pass
- if __name__=='__main__':
- q = queue.Queue()
- for i in range(1,209):
- q.put(i)
- for i in range(10):
- t=threading.Thread(target=get_edu_name)
- t.start()
python爆破shadow
crypt这个模块只能在Linux下才能运行,此外,密码文件需要自己定义,爆破的成功率取决于字典的强大
- import crypt
- def testpass(shadow):
- user=shadow.split(":")[0] #获得用户名
- cryptpass=shadow.split(":")[1] #获得加密字段
- salt=cryptpass[0:cryptpass.rindex("$")] #获取盐值
- passdict=open("key.txt",'r')
- for passwd in passdict.readlines():
- passwd=passwd.strip('\n')
- cryptpasswd=crypt.crypt(passwd,salt) #将密码中的值和盐值一起加密
- if(cryptpasswd==cryptpass):
- print("[+]Found Password:", user, ":", passwd)
- def main():
- shadowfile=open('/etc/shadow')
- for shadow in shadowfile.readlines():
- if "$" in shadow:
- testpass(shadow)
- if __name__ == '__main__':
- main()
实验效果

python联动AWVS
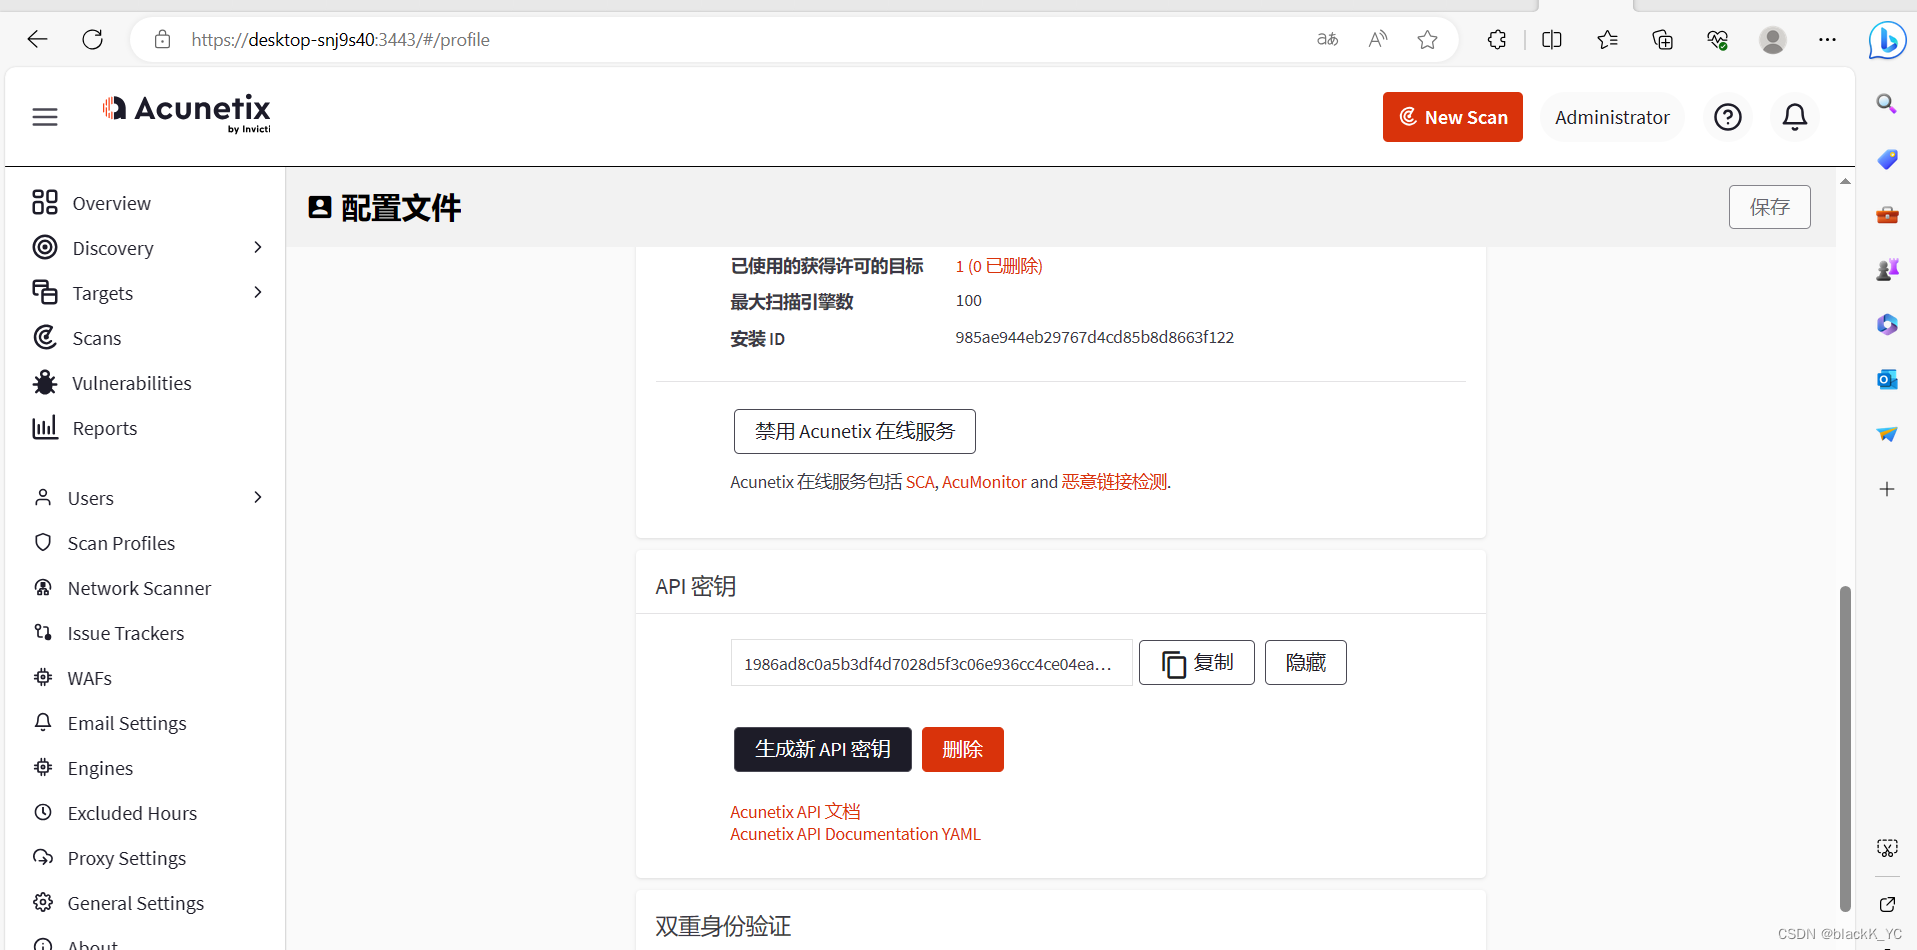
这里需要将API key和url等替换成自己的
- import requests,json
- api_add_url = "https://localhost:3443/api/v1/targets"
- headers = {
- 'X-Auth': '1986ad8c0a5b3df4d7028d5f3c06e936cc4ce04ea3d4b4ad69123594ad34b4c31',
- 'Content-type': 'application/json'
- }
- data = '{"address":"http://vulnweb.com/","description":"create_by_reaper","criticality":"10"}'
- r = requests.post(url=api_add_url, headers=headers, data=data,verify=False).json()
- target_id=r['target_id']
- print(r)
- api_run_url='https://localhost:3443/api/v1/scans'
- headers = {
- 'X-Auth': '1986ad8c0a5b3df4d7028d5f3c06e936cc4ce04ea3d4b4ad69123594ad34b4c31',
- 'Content-type': 'application/json'
- }
- data = '{"profile_id":"11111111-1111-1111-1111-111111111111","schedule":{"disable":false,"start_date":null,"time_sensitive":false},"target_id":"%s"}'% target_id
- r = requests.post(url=api_run_url, headers=headers, data=data, verify=False).json()
- print(r)
python联动sqlmap
实现自动添加任务进行sqlmap扫描
- import requests,json
- """
- python sqlmapapi.py -s 启动sqlmap-api服务
- @get("/task/new") 1.创建新任务记录任务ID
- @post("/option/<taskid>/set") 2.设置任务ID扫描信息
- @post("/scan/<taskid>/start") 3.开始扫描对应ID任务
- @get("/scan/<taskid>/status") 4.读取扫描状态判断结果
- @get("/scan/<taskid>/data") 5.扫描结果查看
- @get("/task/<taskid>/delete") 6.结束删除ID
- """
- def new_id():
- url='http://127.0.0.1:8775/task/new'
- headers = {'Content-Type': 'application/json'}
- res=requests.get(url,headers=headers).json()
- if res['success'] is True:
- print('->1.创建新任务记录任务ID: '+res['taskid'])
- return res['taskid']
- def set_id(id,scanurl):
- url = 'http://127.0.0.1:8775/option/%s/set'%id
- data={
- 'url':scanurl
- }
- headers = {'Content-Type': 'application/json'}
- res = requests.post(url,data=json.dumps(data),headers=headers).json()
- if res['success'] is True:
- print('->2设置任务ID扫描信息成功 '+id+'\n'+'->3设置目标url扫描信息成功url: '+scanurl)
- def start_id(id,scanurl):
- url='http://127.0.0.1:8775/scan/%s/start'%id
- data = {
- 'url': scanurl
- }
- headers = {'Content-Type': 'application/json'}
- res=requests.post(url,data=json.dumps(data),headers=headers).json()
- if res['success'] is True:
- print('->4启动任务ID扫描信息成功 '+id+'url: '+scanurl)
- def status_id(id):
- url='http://127.0.0.1:8775/scan/%s/status'%id
- headers = {'Content-Type': 'application/json'}
- print('->5开始扫描 ID:'+id)
- while True:
- res=requests.get(url,headers=headers).json()
- if res['status']=='running':
- continue
- else:
- print('扫描完成 ID:'+id)
- break
- def data_id(id,scanurl):
- url='http://127.0.0.1:8775/scan/%s/data'%id
- headers = {'Content-Type': 'application/json'}
- resp = requests.get(url, headers=headers)
- res=requests.get(url,headers=headers).json()
- if res['data'][0]['status']==1:
- print('->6存在注入 ' + id + 'url: ' + scanurl)
- print('正在写入sqlresult.txt')
- with open('sqlresult.txt','a+') as f:
- f.write(resp.text)
- f.write('\n'+'---------------------------------')
- f.close()
- print('写入完成')
- def del_id(id,scanurl):
- url='http://127.0.0.1:8775/task/%s/delete'%id
- headers = {'Content-Type': 'application/json'}
- res=requests.get(url,headers=headers).json()
- if res['success'] is True:
- print('->7删除任务信息成功 '+id+'url: '+scanurl)
- if __name__ == '__main__':
- for url in open('vulnweb.txt'):
- id=new_id()
- set_id(id,url.replace('\n',''))
- start_id(id,url.replace('\n',''))
- start_id(id,url.replace('\n',''))
- status_id(id)
- data_id(id,url)
- del_id(id,url)
- print('------------------------------------')
python联动Xray并实现微信推送
这里需要用到server酱

- import time
- from flask import Flask, request
- import requests
- app = Flask(__name__)
- @app.route('/webhook', methods=['POST'])
- def test():
- wx = 'https://sctapi.ftqq.com/SCT222793TLvGVTGB4O6fpNbfmt7IBwEy.send?title=xray'
- try:
- vuln = request.json
- type = vuln.get('type') # 使用.get()方法可以避免在键不存在时抛出KeyError
- plugin = vuln.get('data', {}).get('plugin')
- url = vuln.get('data', {}).get('target',{}).get('url')
- content = """## Xray发现了新漏洞
- 发现漏洞类型:{type}
- 发现漏洞插件:{plugin}
- 发现漏洞url:{url}
- """.format(type=type, plugin=plugin, url=url)
- print(content)
- data = {
- 'desp': content
- }
- print(data)
- requests.post(wx, data=data)
- return 'ok'
- except Exception as e:
- time.sleep(1)
- pass
- if __name__ == '__main__':
- app.run()
-
相关阅读:
Unity中Shader光强与环境色
【深入浅出Spring原理及实战】「IOC容器初始化」彻底让你明白和理解运行原理和源码流程
安装MathType
(数据结构与算法)LeetCode刷题笔记2-0005:最长回文子串
Thread类的用法
通过Dynamo批量打印PDF图纸
每日一题 2034. 股票价格波动(中等,有序队列)
AIGC重塑金融:AI大模型驱动的金融变革与实践
使用CEF(七)详解macOS下基于CEF的多进程应用程序CMake项目搭建
Linux 中解压不同的压缩文件用到不同的命令详解
- 原文地址:https://blog.csdn.net/weixin_56537388/article/details/132969170
