-
4-3 nn.functional和nn.Module
一,nn.functional 和 nn.Module
前面我们介绍了Pytorch的张量的结构操作和数学运算中的一些常用API。利用这些张量的API我们可以构建出神经网络相关的组件(如激活函数,模型层,损失函数)。
其实:Pytorch和神经网络相关的功能组件大多都封装在** torch.nn **模块下。
这些功能组件的绝大部分既有函数形式实现,也有类形式实现。
其中nn.functional(一般引入后改名为F)有各种功能组件的函数实现。例如:
激活函数:
F.relu
F.sigmoid
F.tanh
F.softmax
模型层:
F.linear
F.conv2d
F.max_pool2d
F.dropout2d
F.embedding
损失函数:
F.binary_cross_entropy
F.mse_loss
F.cross_entropy
为了便于对参数进行管理,一般通过继承 nn.Module 转换成为类的实现形式,并直接封装在 nn 模块下。例如:
激活函数:
nn.ReLU
nn.Sigmoid
nn.Tanh
nn.Softmax
模型层:
nn.Linear
nn.Conv2d
nn.MaxPool2d
nn.Dropout2d
nn.Embedding
损失函数:
nn.BCELoss
nn.MSELoss
nn.CrossEntropyLoss
实际上nn.Module除了可以管理其引用的各种参数,还可以管理其引用的子模块,功能十分强大。
简单举例:

二,使用nn.Module来管理参数(配合nn.Parameter使用)
在Pytorch中,模型的参数是需要被优化器训练的,因此,通常要设置参数为 requires_grad = True 的张量。
同时,在一个模型中,往往有许多的参数,要手动管理这些参数并不是一件容易的事情。
Pytorch一般将参数用nn.Parameter来表示,并且用nn.Module来管理其结构下的所有参数。requires_grad = True
手动设置:

nn.Parameter 具有 requires_grad = True 属性:

nn.ParameterList
列表形式

nn.ParameterDict
字典形式

Module管理


三、nn.Module构建模块类
实践当中,一般通过继承nn.Module来构建模块类,并将所有含有需要学习的参数的部分放在构造函数中。
以下范例为Pytorch中nn.Linear的源码的简化版本
可以看到它将需要学习的参数放在了__init__构造函数中,并在forward中调用F.linear函数来实现计算逻辑。class Linear(nn.Module): __constants__ = ['in_features', 'out_features'] def __init__(self, in_features, out_features, bias=True): super(Linear, self).__init__() self.in_features = in_features self.out_features = out_features self.weight = nn.Parameter(torch.Tensor(out_features, in_features)) if bias: self.bias = nn.Parameter(torch.Tensor(out_features)) else: self.register_parameter('bias', None) def forward(self, input): return F.linear(input, self.weight, self.bias)- 1
- 2
- 3
- 4
- 5
- 6
- 7
- 8
- 9
- 10
- 11
- 12
- 13
- 14
- 15
四、使用nn.Module来管理子模块
一般情况下,我们都很少直接使用 nn.Parameter来定义参数构建模型,而是通过拼装一些常用的模型层来构造模型。
这些模型层也是继承自nn.Module的对象,本身也包括参数,属于我们要定义的模块的子模块。
nn.Module提供了一些方法可以管理这些子模块。
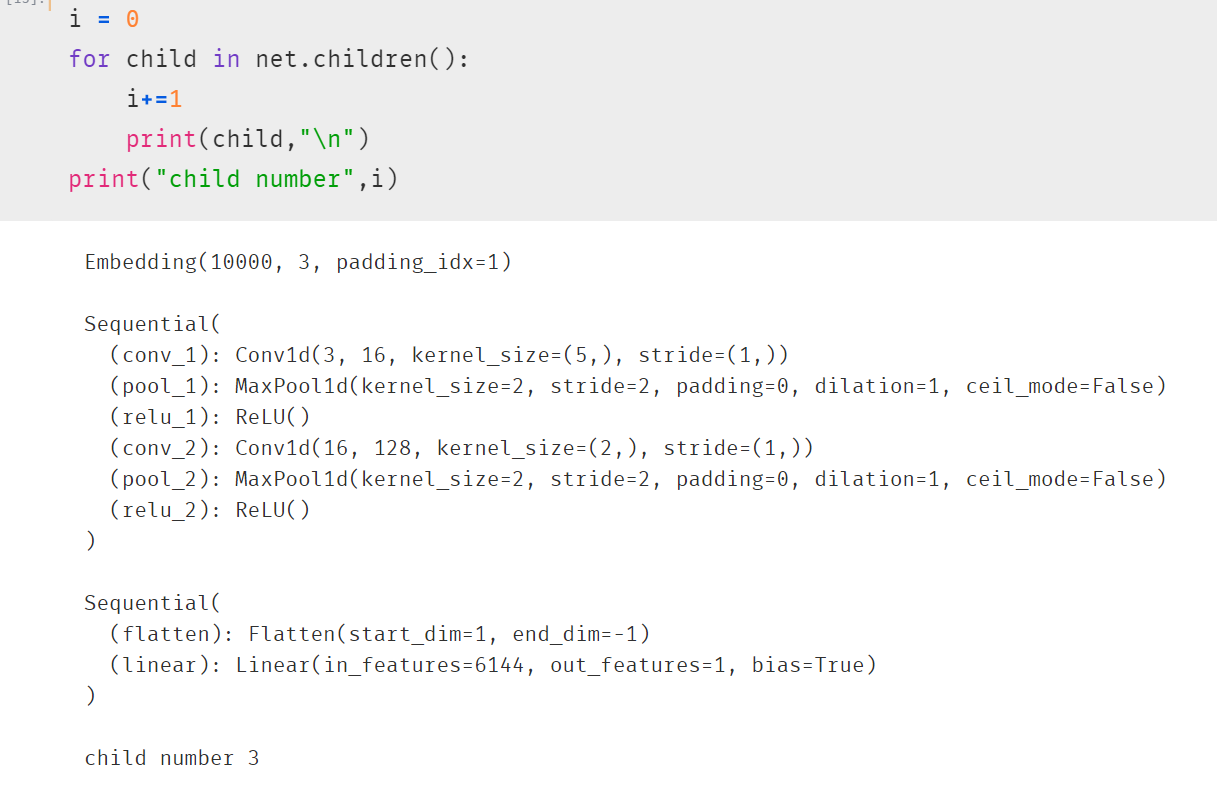
children() 方法: 返回生成器,包括模块下的所有子模块。
named_children()方法:返回一个生成器,包括模块下的所有子模块,以及它们的名字。
modules()方法:返回一个生成器,包括模块下的所有各个层级的模块,包括模块本身。
named_modules()方法:返回一个生成器,包括模块下的所有各个层级的模块以及它们的名字,包括模块本身。
其中chidren()方法和named_children()方法较多使用。
modules()方法和named_modules()方法较少使用,其功能可以通过多个named_children()的嵌套使用实现。class Net(nn.Module): def __init__(self): super(Net, self).__init__() self.embedding = nn.Embedding(num_embeddings = 10000,embedding_dim = 3,padding_idx = 1) self.conv = nn.Sequential() self.conv.add_module("conv_1",nn.Conv1d(in_channels = 3,out_channels = 16,kernel_size = 5)) self.conv.add_module("pool_1",nn.MaxPool1d(kernel_size = 2)) self.conv.add_module("relu_1",nn.ReLU()) self.conv.add_module("conv_2",nn.Conv1d(in_channels = 16,out_channels = 128,kernel_size = 2)) self.conv.add_module("pool_2",nn.MaxPool1d(kernel_size = 2)) self.conv.add_module("relu_2",nn.ReLU()) self.dense = nn.Sequential() self.dense.add_module("flatten",nn.Flatten()) self.dense.add_module("linear",nn.Linear(6144,1)) def forward(self,x): x = self.embedding(x).transpose(1,2) x = self.conv(x) y = self.dense(x) return y net = Net()- 1
- 2
- 3
- 4
- 5
- 6
- 7
- 8
- 9
- 10
- 11
- 12
- 13
- 14
- 15
- 16
- 17
- 18
- 19
- 20
- 21
- 22
- 23
- 24
- 25
- 26
children
named_children

modules


冻结参数
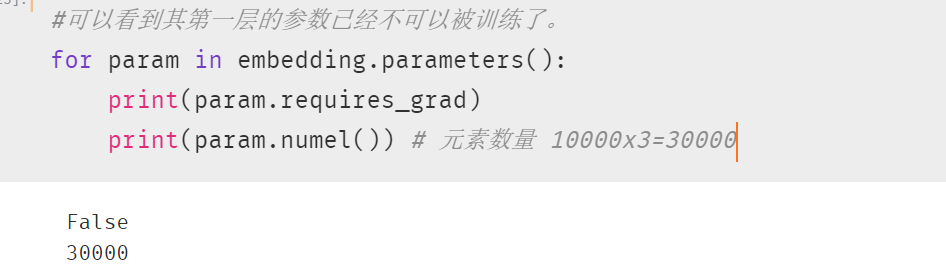
下面我们通过named_children方法找到embedding层,并将其参数设置为不可训练(相当于冻结embedding层)。


-
相关阅读:
【进阶版】机器学习之神经网络与深度学习基本知识和理论原理(07)
1048 Find Coins
zookeeper搭建集群实操
Limus与Moonriver集成,为Moonriver生态带来LIT
【Pandas数据处理100例】(八十七):Pandas使用get_dummies构建哑变量
【学习笔记】高光谱基础知识
ArrayList与顺序表【Java】
SuperMap支持的国产环境汇总
ipv6学习笔记221029
网络 buffer 与内存 swap
- 原文地址:https://blog.csdn.net/hxhabcd123/article/details/132890745
