-
【补充】助力工业物联网,工业大数据之AirFlow安装
【补充】助力工业物联网,工业大数据之AirFlow安装
直接在node1上安装
1、安装Python
-
安装依赖
yum -y install zlib zlib-devel bzip2 bzip2-devel ncurses ncurses-devel readline readline-devel openssl openssl-devel openssl-static xz lzma xz-devel sqlite sqlite-devel gdbm gdbm-devel tk tk-devel gcc yum install mysql-devel -y yum install libevent-devel -y- 1
- 2
- 3
-
添加Linux用户及组
# 添加py用户 useradd py # 设置密码 '123456' passwd py # 创建anaconda安装路径 mkdir /anaconda # 赋予权限 chown -R py:py /anaconda- 1
- 2
- 3
- 4
- 5
- 6
- 7
- 8
-
上传并执行Anaconda安装脚本
cd /anaconda rz chmod u+x Anaconda3-5.3.1-Linux-x86_64.sh sh Anaconda3-5.3.1-Linux-x86_64.sh- 1
- 2
- 3
- 4
-
自定义安装路径
Anaconda3 will now be installed into this location: /root/anaconda3 - Press ENTER to confirm the location - Press CTRL-C to abort the installation - Or specify a different location below [/root/anaconda3] >>> /anaconda/anaconda3- 1
- 2
- 3
- 4
- 5
- 6
- 7
- 8
-
添加到系统环境变量
# 修改环境变量 vi /root/.bash_profile # 添加下面这行 export PATH=/anaconda/anaconda3/bin:$PATH # 刷新 source /root/.bash_profile # 验证 python -V- 1
- 2
- 3
- 4
- 5
- 6
- 7
- 8
-
配置pip
mkdir ~/.pip touch ~/.pip/pip.conf echo '[global]' >> ~/.pip/pip.conf echo 'trusted-host=mirrors.aliyun.com' >> ~/.pip/pip.conf echo 'index-url=http://mirrors.aliyun.com/pypi/simple/' >> ~/.pip/pip.conf # pip默认是10.x版本,更新pip版本 pip install PyHamcrest==1.9.0 pip install --upgrade pip # 查看pip版本 pip -V- 1
- 2
- 3
- 4
- 5
- 6
- 7
- 8
- 9
- 10
2、安装AirFlow
-
安装
pip install --ignore-installed PyYAML pip install apache-airflow[celery] pip install apache-airflow[redis] pip install apache-airflow[mysql] pip install flower pip install celery- 1
- 2
- 3
- 4
- 5
- 6
-
验证
airflow -h ll /root/airflow- 1
- 2
3、安装Redis
-
下载安装
wget https://download.redis.io/releases/redis-4.0.9.tar.gz tar zxvf redis-4.0.9.tar.gz -C /opt cd /opt/redis-4.0.9 make- 1
- 2
- 3
- 4
-
启动
cp redis.conf src/ cd src nohup /opt/redis-4.0.9/src/redis-server redis.conf > output.log 2>&1 &- 1
- 2
- 3
-
验证
ps -ef | grep redis- 1
4、配置启动AirFlow
-
修改配置文件:airflow.cfg
[core] #18行:时区 default_timezone = Asia/Shanghai #24行:运行模式 # SequentialExecutor是单进程顺序执行任务,默认执行器,通常只用于测试 # LocalExecutor是多进程本地执行任务使用的 # CeleryExecutor是分布式调度使用(可以单机),生产环境常用 # DaskExecutor则用于动态任务调度,常用于数据分析 executor = CeleryExecutor #30行:修改元数据使用mysql数据库,默认使用sqlite sql_alchemy_conn = mysql://airflow:airflow@localhost/airflow [webserver] #468行:web ui地址和端口 base_url = http://localhost:8085 #474行 default_ui_timezone = Asia/Shanghai #480行 web_server_port = 8085 [celery] #735行 broker_url = redis://localhost:6379/0 #736 celery_result_backend = redis://localhost:6379/0 #743 result_backend = db+mysql://airflow:airflow@localhost:3306/airflow- 1
- 2
- 3
- 4
- 5
- 6
- 7
- 8
- 9
- 10
- 11
- 12
- 13
- 14
- 15
- 16
- 17
- 18
- 19
- 20
- 21
- 22
- 23
- 24
- 25
- 26
- 27
-
初始化元数据数据库
-
进入mysql
mysql -uroot -p set global explicit_defaults_for_timestamp =1; exit- 1
- 2
- 3
-
初始化
airflow db init- 1
-
-
配置Web访问
airflow users create --lastname user --firstname admin --username admin --email jiangzonghai@itcast.cn --role Admin --password admin- 1
-
启动
# 以后台进程方式,启动服务 airflow webserver -D airflow scheduler -D airflow celery flower -D airflow celery worker -D- 1
- 2
- 3
- 4
- 5
-
关闭【不用执行】
# 统一杀掉airflow的相关服务进程命令 ps -ef|egrep 'scheduler|flower|worker|airflow-webserver'|grep -v grep|awk '{print $2}'|xargs kill -9 # 下一次启动之前 rm -f /root/airflow/airflow-*- 1
- 2
- 3
- 4
5、验证AirFlow
-
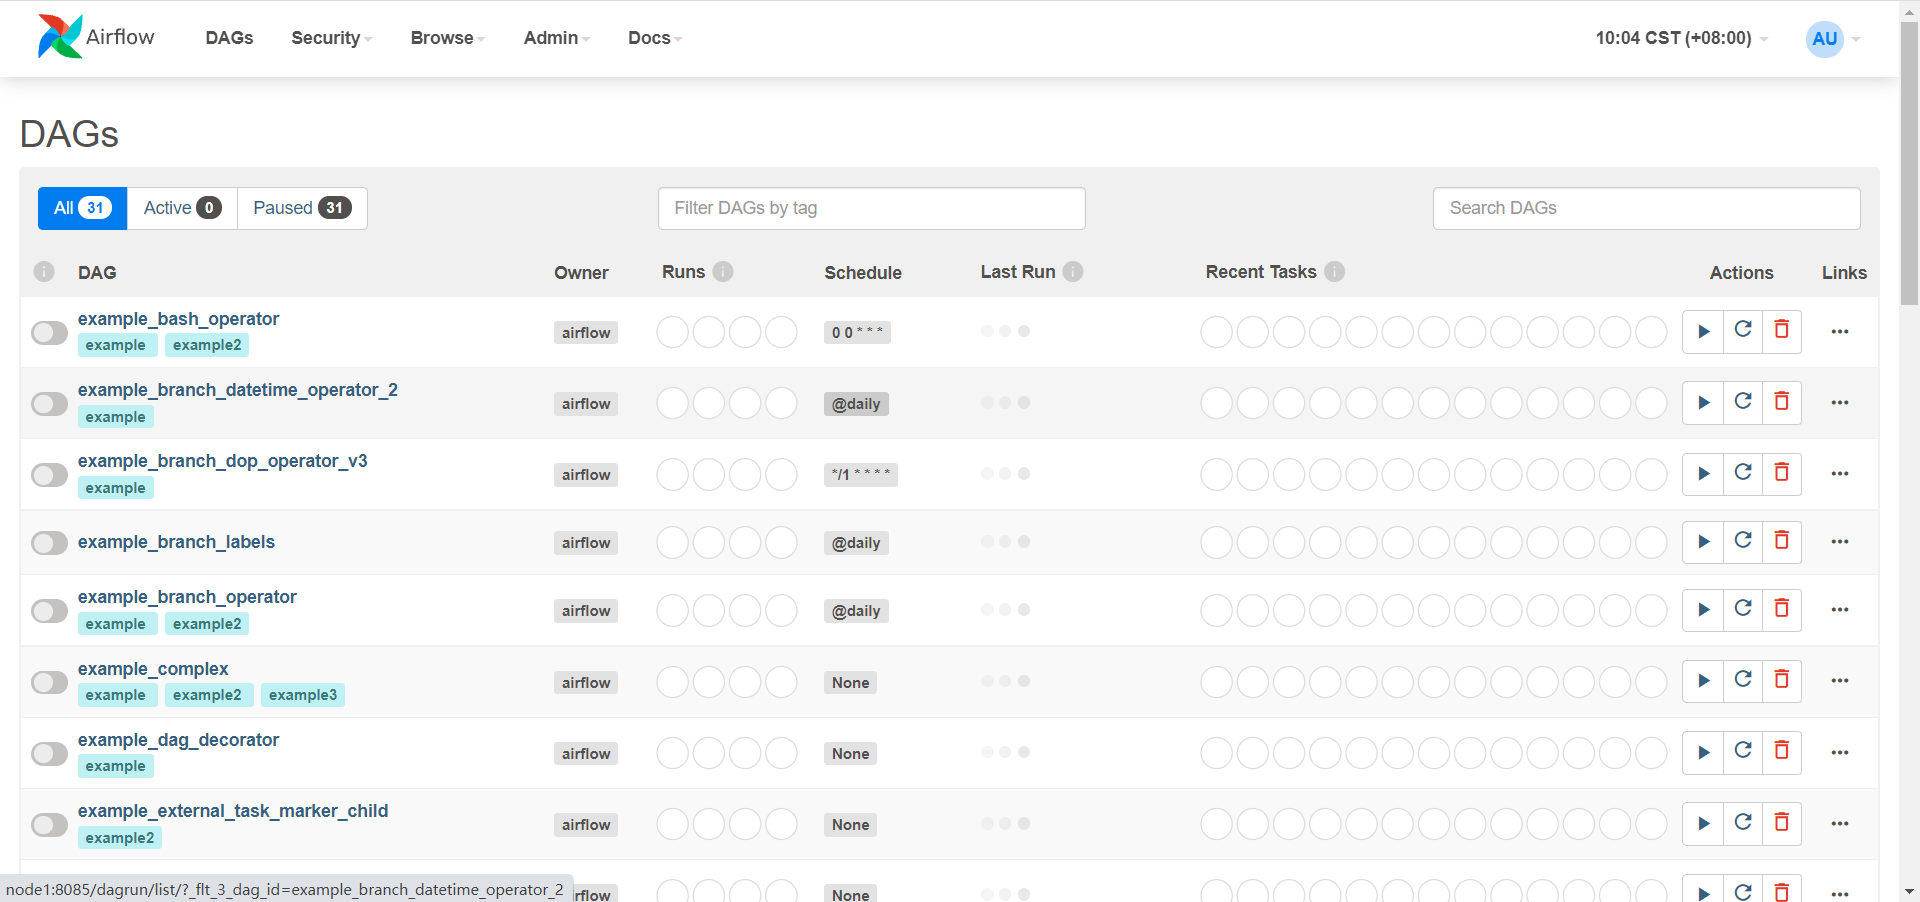
Airflow Web UI:
node1:8085
-
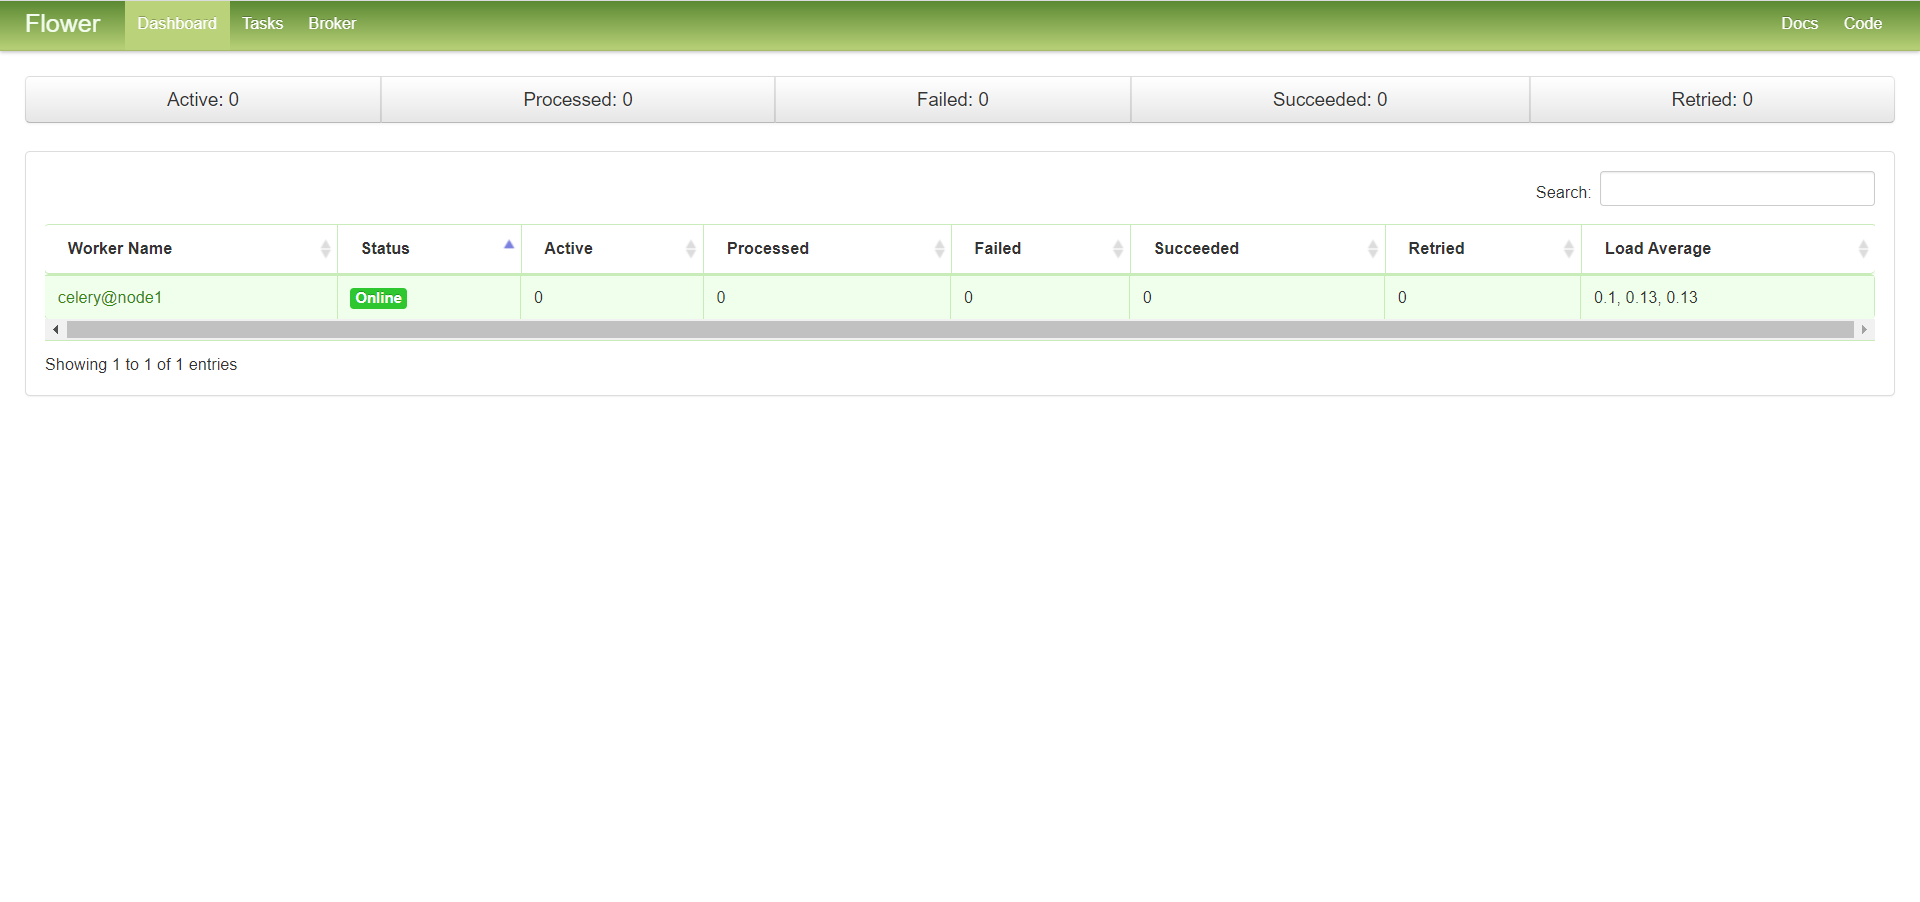
Airflow Celery Web:
node1:5555
-
-
相关阅读:
java基础回顾
【31】GPU(下):为什么深度学习需要使用GPU?
数据结构——时间复杂度
为什么做接口测试?
6 Hive引擎集成Apache Paimon
Windows server 2012R2安全加固
计算机网络 网络层设备的 冲突域和广播域
Spring最佳实践: 构建高效可维护的Java应用程序
Redis线程模型、单线程快的原因
论文解读(MVGRL)Contrastive Multi-View Representation Learning on Graphs
- 原文地址:https://blog.csdn.net/xianyu120/article/details/132693684
