-
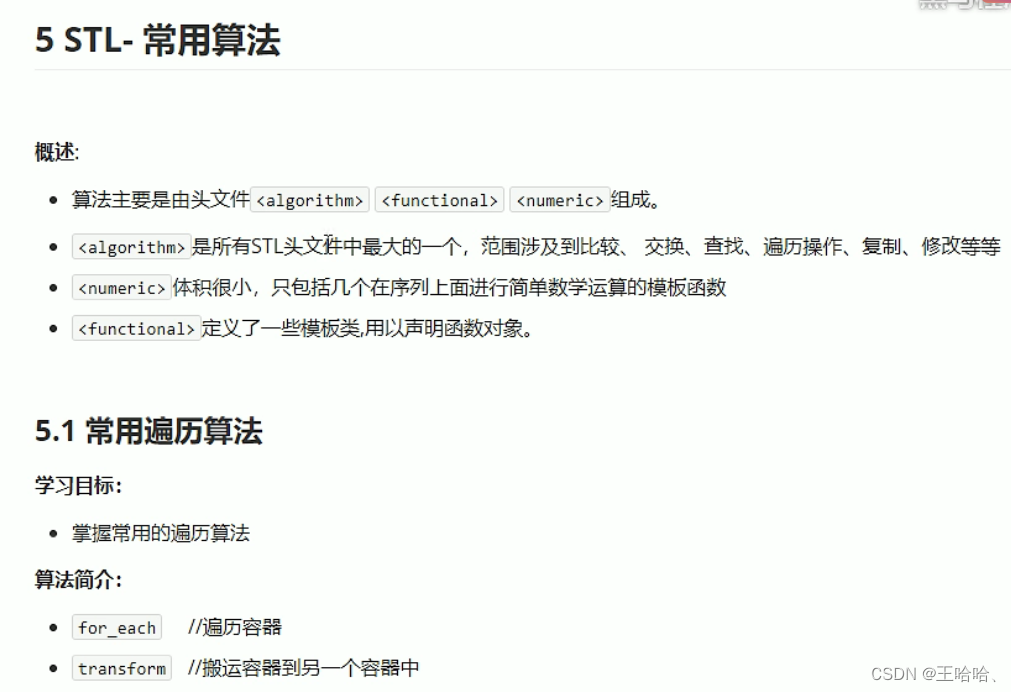
【C++】STL-常用算法-常用遍历算法
0.前言

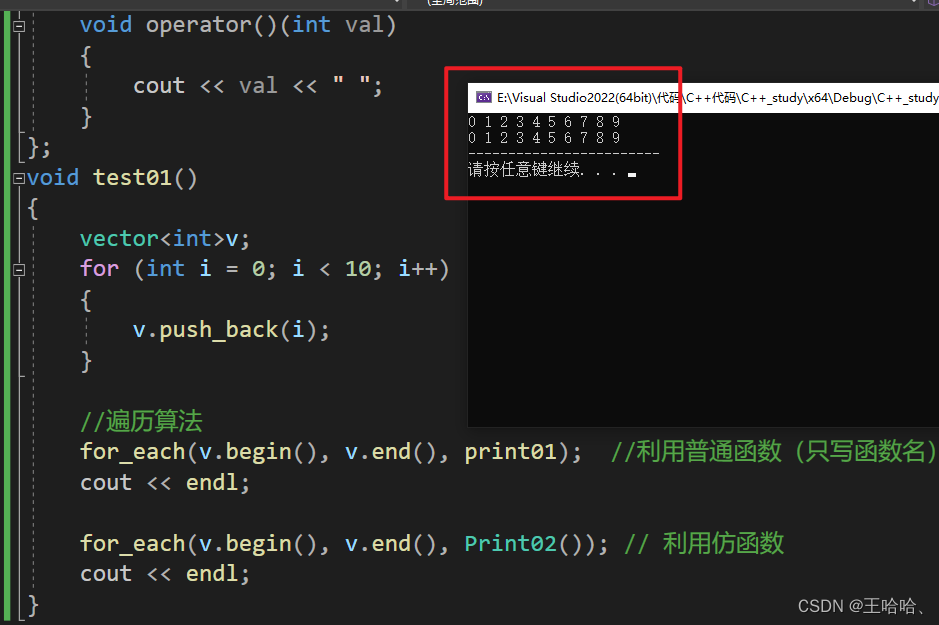
1.for_each
#includeusing namespace std; // 常用遍历算法 for_each #include #include //普通函数 void print01(int val) { cout << val << " "; } //仿函数 class Print02 { public: void operator()(int val) { cout << val << " "; } }; void test01() { vector<int>v; for (int i = 0; i < 10; i++) { v.push_back(i); } //遍历算法 for_each(v.begin(), v.end(), print01); //利用普通函数(只写函数名) cout << endl; for_each(v.begin(), v.end(), Print02()); // 利用仿函数 cout << endl; } int main() { test01(); cout << "------------------------" << endl; //test02(); //cout << "------------------------" << endl << endl; //test03(); //************************************** system("pause"); return 0; } - 1
- 2
- 3
- 4
- 5
- 6
- 7
- 8
- 9
- 10
- 11
- 12
- 13
- 14
- 15
- 16
- 17
- 18
- 19
- 20
- 21
- 22
- 23
- 24
- 25
- 26
- 27
- 28
- 29
- 30
- 31
- 32
- 33
- 34
- 35
- 36
- 37
- 38
- 39
- 40
- 41
- 42
- 43
- 44
- 45
- 46
- 47
- 48
- 49
- 50

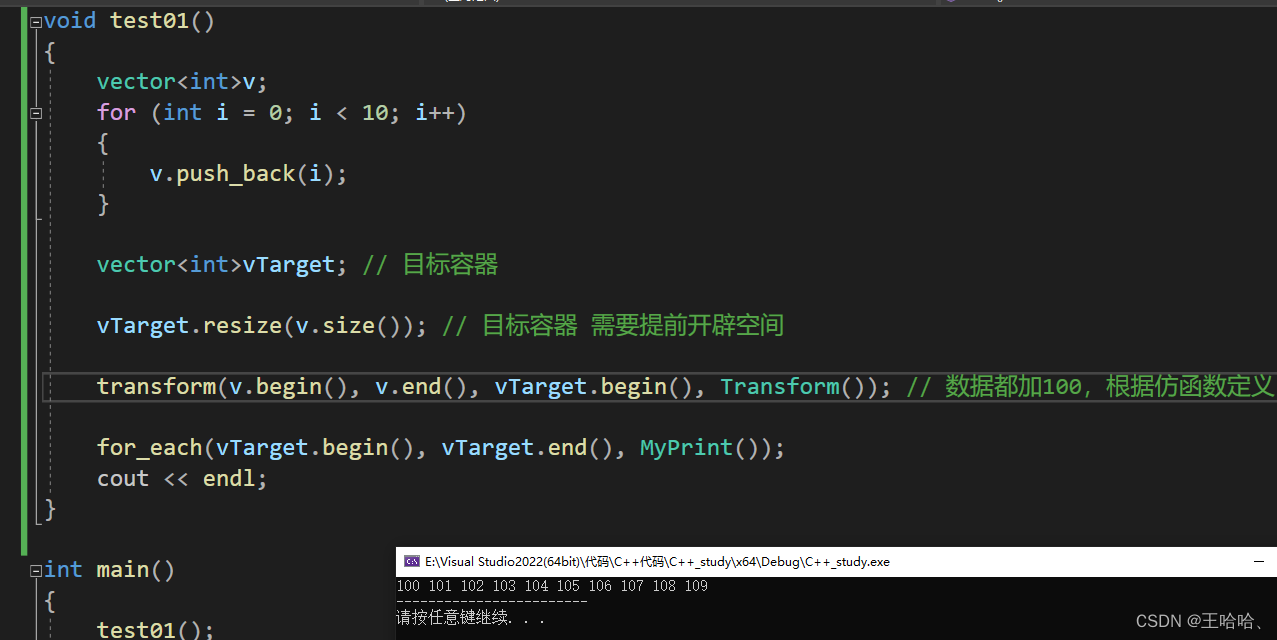
2.transform


#includeusing namespace std; // 常用遍历算法 transform #include #include //仿函数 class Transform { public: int operator()(int val) { return val + 100; } }; //打印输出 class MyPrint { public: void operator()(int val) { cout << val << " "; } }; void test01() { vector<int>v; for (int i = 0; i < 10; i++) { v.push_back(i); } vector<int>vTarget; // 目标容器 vTarget.resize(v.size()); // 目标容器 需要提前开辟空间 transform(v.begin(), v.end(), vTarget.begin(), Transform()); // 数据都加100,根据仿函数定义 for_each(vTarget.begin(), vTarget.end(), MyPrint()); cout << endl; } int main() { test01(); cout << "------------------------" << endl; //test02(); //cout << "------------------------" << endl << endl; //test03(); //************************************** system("pause"); return 0; } - 1
- 2
- 3
- 4
- 5
- 6
- 7
- 8
- 9
- 10
- 11
- 12
- 13
- 14
- 15
- 16
- 17
- 18
- 19
- 20
- 21
- 22
- 23
- 24
- 25
- 26
- 27
- 28
- 29
- 30
- 31
- 32
- 33
- 34
- 35
- 36
- 37
- 38
- 39
- 40
- 41
- 42
- 43
- 44
- 45
- 46
- 47
- 48
- 49
- 50
- 51
- 52
- 53
- 54
- 55
- 56
- 57

-
相关阅读:
springboot项目需要的依赖
Kubernetes学习笔记-StatefulSet:部署有状态的多副本应用(3)20220626
C#使用OpenCv(OpenCVSharp)图像轮廓凸包检测与绘制
战略调整?顺丰科技将从深圳撤退到武汉!
从北京到南京:偶数在能源行业的数据迁移实践
工业机器人发展趋势
牛客编程题--必刷101之动态规划(一文彻底了解动态规划)
电工什么是电动势
【C/C++】用C语言写一个数据仓库,存储和修改数据
【备忘录】Docker容器、镜像删除与资源清理命令
- 原文地址:https://blog.csdn.net/m0_48808835/article/details/132722388
