-
[PyTorch][chapter 53][Auto Encoder 实战]
前言:
结合手写数字识别的例子,实现以下AutoEncoder
ae.py: 实现autoEncoder 网络
main.py: 加载手写数字数据集,以及训练,验证,测试网络。
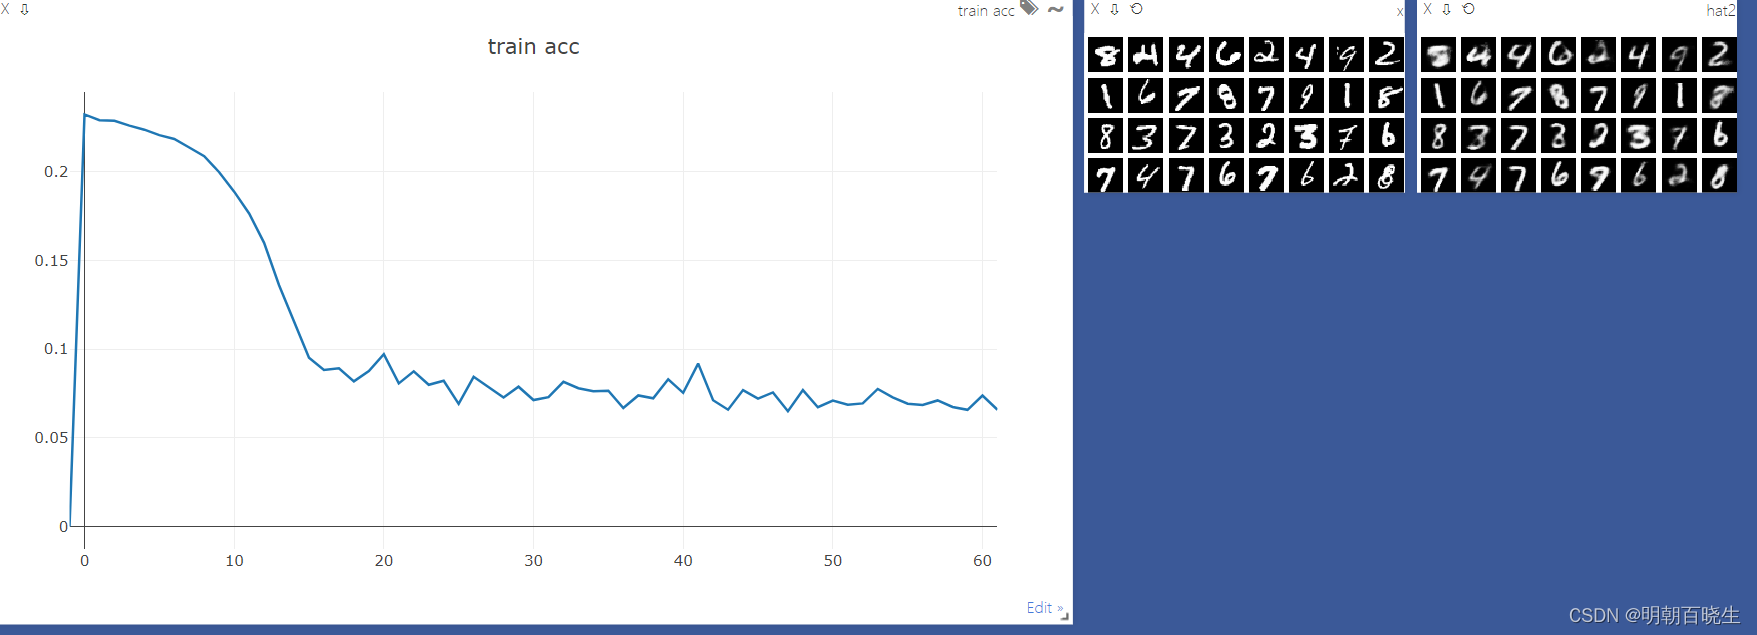
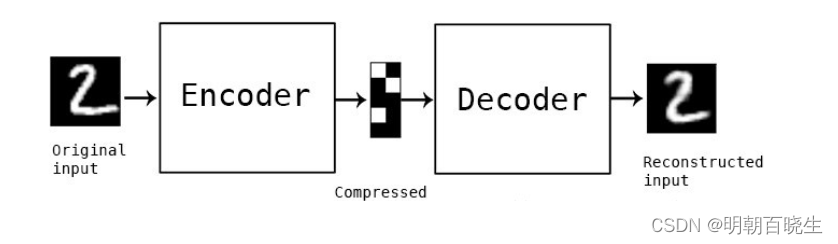
左图:原图像
右图:重构图像
----main-----
每轮训练时间 : 91
0 loss: 0.02758789248764515每轮训练时间 : 95
1 loss: 0.024654878303408623每轮训练时间 : 149
2 loss: 0.018874473869800568目录:
1: AE 实现
2: main 实现
一 ae(AutoEncoder) 实现
文件名: ae.py
模型的搭建
注意点:
手写数字数据集 提供了 标签y,但是AutoEncoder 网络不需要,
它的标签就是输入的x, 需要重构本身
自编码器(autoencoder, AE)是一类在半监督学习和非监督学习中使用的人工神经网络(Artificial Neural Networks, ANNs),其功能是通过将输入信息作为学习目标,对输入信息进行表征学习(representation learning) [1-2] 。
自编码器包含编码器(encoder)和解码器(decoder)两部分 [2] 。按学习范式,自编码器可以被分为收缩自编码器(contractive autoencoder)、正则自编码器(regularized autoencoder)和变分自编码器(Variational AutoEncoder, VAE),其中前两者是判别模型、后者是生成模型 [2] 。按构筑类型,自编码器可以是前馈结构或递归结构的神经网络。
自编码器具有一般意义上表征学习算法的功能,被应用于降维(dimensionality reduction)和异常值检测(anomaly detection) [2] 。包含卷积层构筑的自编码器可被应用于计算机视觉问题,包括图像降噪(image denoising) [3] 、神经风格迁移(neural style transfer)等 [4] 。
- # -*- coding: utf-8 -*-
- """
- Created on Wed Aug 30 14:19:19 2023
- @author: chengxf2
- """
- import torch
- from torch import nn
- #ae: AutoEncoder
- class AE(nn.Module):
- def __init__(self,hidden_size=10):
- super(AE, self).__init__()
- self.encoder = nn.Sequential(
- nn.Linear(in_features=784, out_features=256),
- nn.ReLU(),
- nn.Linear(in_features=256, out_features=128),
- nn.ReLU(),
- nn.Linear(in_features=128, out_features=64),
- nn.ReLU(),
- nn.Linear(in_features=64, out_features=hidden_size),
- nn.ReLU()
- )
- # hidden [batch_size, 10]
- self.decoder = nn.Sequential(
- nn.Linear(in_features=hidden_size, out_features=64),
- nn.ReLU(),
- nn.Linear(in_features=64, out_features=128),
- nn.ReLU(),
- nn.Linear(in_features=128, out_features=256),
- nn.ReLU(),
- nn.Linear(in_features=256, out_features=784),
- nn.Sigmoid()
- )
- def forward(self, x):
- '''
- param x:[batch, 1,28,28]
- return
- '''
- m= x.size(0)
- x = x.view(m, 784)
- hidden= self.encoder(x)
- x = self.decoder(hidden)
- #reshape
- x = x.view(m,1,28,28)
- return x
二 main 实现
文件名: main.py
作用:
加载数据集
训练模型
测试模型泛化能力
- # -*- coding: utf-8 -*-
- """
- Created on Wed Aug 30 14:24:10 2023
- @author: chengxf2
- """
- import torch
- from torch.utils.data import DataLoader
- from torchvision import transforms, datasets
- import time
- from torch import optim,nn
- from ae import AE
- import visdom
- def main():
- batchNum = 32
- lr = 1e-3
- epochs = 20
- device = torch.device("cuda:0" if torch.cuda.is_available() else "cpu")
- torch.manual_seed(1234)
- viz = visdom.Visdom()
- viz.line([0],[-1],win='train_loss',opts =dict(title='train acc'))
- tf= transforms.Compose([ transforms.ToTensor()])
- mnist_train = datasets.MNIST('mnist',True,transform= tf,download=True)
- train_data = DataLoader(mnist_train, batch_size=batchNum, shuffle=True)
- mnist_test = datasets.MNIST('mnist',False,transform= tf,download=True)
- test_data = DataLoader(mnist_test, batch_size=batchNum, shuffle=True)
- global_step =0
- model =AE().to(device)
- criteon = nn.MSELoss().to(device) #损失函数
- optimizer = optim.Adam(model.parameters(),lr=lr) #梯度更新规则
- print("\n ----main-----")
- for epoch in range(epochs):
- start = time.perf_counter()
- for step ,(x,y) in enumerate(train_data):
- #[b,1,28,28]
- x = x.to(device)
- x_hat = model(x)
- loss = criteon(x_hat, x)
- #backprop
- optimizer.zero_grad()
- loss.backward()
- optimizer.step()
- viz.line(Y=[loss.item()],X=[global_step],win='train_loss',update='append')
- global_step +=1
- end = time.perf_counter()
- interval = end - start
- print("\n 每轮训练时间 :",int(interval))
- print(epoch, 'loss:',loss.item())
- x,target = iter(test_data).next()
- x = x.to(device)
- with torch.no_grad():
- x_hat = model(x)
- tip = 'hat'+str(epoch)
- viz.images(x,nrow=8, win='x',opts=dict(title='x'))
- viz.images(x_hat,nrow=8, win='x_hat',opts=dict(title=tip))
- if __name__ == '__main__':
- main()
-
相关阅读:
交通地理信息系统实习教程(二)
多目标优化算法:基于非支配排序的霸王龙优化算法(NSTROA)MATLAB
iOS应用程序数据保护:如何保护iOS应用程序中的图片、资源和敏感数据
发版检查list
06.JAVAEE之线程4
应用现代化产业联盟,正式成立
水厂消毒的设施设备有哪些
隧道代理vs普通代理:哪种更适合您的爬虫应用?
C++ 15:虚表,虚函数,多态,指针
如何在 Endless OS 上安装 ONLYOFFICE 桌面编辑器 7.5
- 原文地址:https://blog.csdn.net/chengxf2/article/details/132583350
