-
【rust/egui】(八)使用panels给你的应用划分功能区块
说在前面
- rust新手,egui没啥找到啥教程,这里自己记录下学习过程
- 环境:windows11 22H2
- rust版本:rustc 1.71.1
- egui版本:0.22.0
- eframe版本:0.22.0
- 上一篇:这里
panel是啥
-
panel是ui上的一块区域,比如我们打开CSDN的markdown编辑器,它大致上可以划分成四(五)块(当然实际实现上这四块区域可能不是并列的),那我们就可以用四个panel来实现它:- 最顶层的文章标题
- 次顶层的菜单栏
- 左侧的编辑区域
- 右侧的预览区域

-
panel有点类似于html中的div元素,但是功能上没有div那么强(初步感觉哈)
使用方式
-
在前面几节中,我们已经初步了解了
panel的基本使用,这里我们来看一个综合的使用用例 -
假设我们要实现
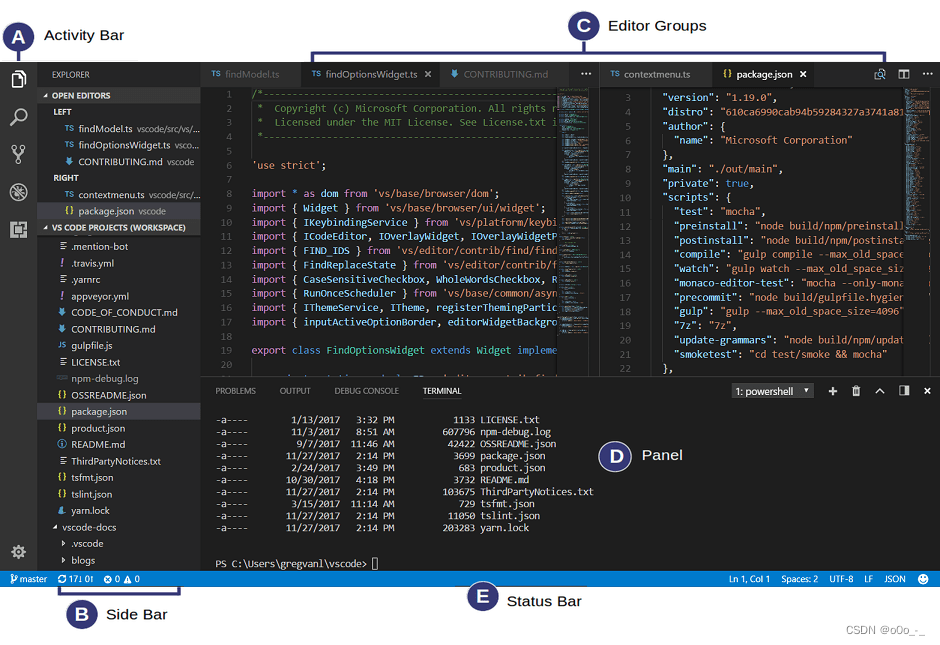
vscode的布局,应该怎样去实现呢?先来看下vscode的功能区,当然还有一个在最上面的菜单栏

-
现在我们来尝试实现一下 (可以直接在前面几节的
template上进行)fn update(&mut self, ctx: &egui::Context, _frame: &mut eframe::Frame) { egui::TopBottomPanel::top("Menu Bar").show(ctx, |ui| { ui.vertical_centered(|ui|{ ui.heading("Menu Bar"); }); }); egui::TopBottomPanel::bottom("Status Bar").show(ctx, |ui| { ui.vertical_centered(|ui|{ ui.heading("Status Bar"); }); }); egui::SidePanel::left("Activity Bar").show(ctx, |ui| { ui.horizontal_centered(|ui|{ ui.label("Activity Bar"); }); }); egui::SidePanel::left("Side Bar").show(ctx, |ui| { ui.horizontal_centered(|ui|{ ui.label("Side Bar"); }); }); egui::TopBottomPanel::bottom("Panel").show(ctx, |ui| { ui.vertical_centered(|ui|{ ui.heading("Panel"); }); }); egui::CentralPanel::default().show(ctx, |ui|{ ui.vertical_centered(|ui|{ ui.heading("Editor"); }); }); }- 1
- 2
- 3
- 4
- 5
- 6
- 7
- 8
- 9
- 10
- 11
- 12
- 13
- 14
- 15
- 16
- 17
- 18
- 19
- 20
- 21
- 22
- 23
- 24
- 25
- 26
- 27
- 28
- 29
- 30
- 31
- 32
- 33
- 34
- 35
- 36
- 37
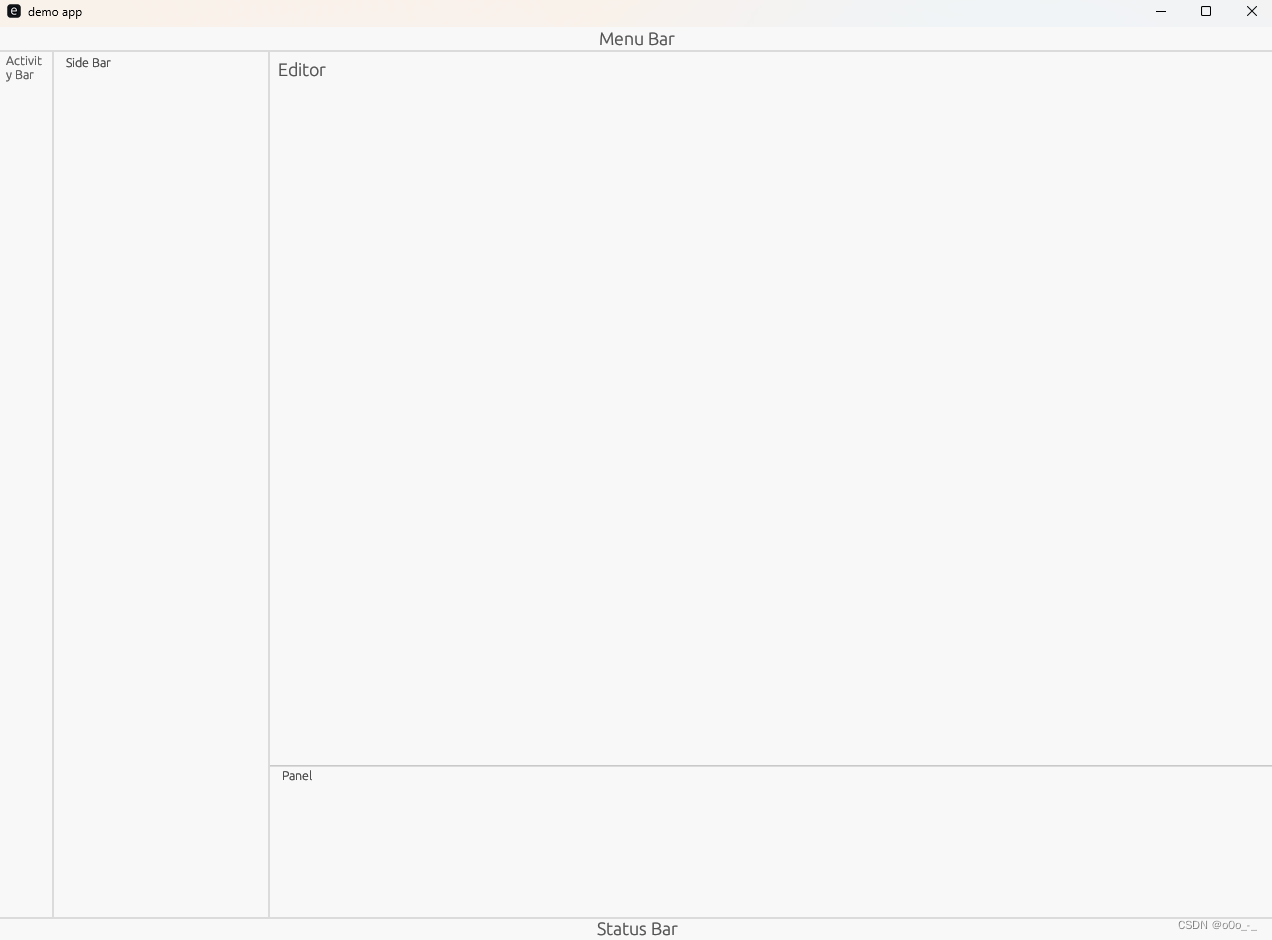
结果为:

-
大致的区域划分是差不多的,但是各个区域的大小不太对,我们可以稍微调整下
fn update(&mut self, ctx: &egui::Context, _frame: &mut eframe::Frame) { egui::TopBottomPanel::top("Menu Bar").show(ctx, |ui| { ui.vertical_centered(|ui| { ui.heading("Menu Bar"); }); }); egui::TopBottomPanel::bottom("Status Bar").show(ctx, |ui| { ui.vertical_centered(|ui| { ui.heading("Status Bar"); }); }); egui::SidePanel::left("Activity Bar") .max_width(40.0) .resizable(false) .show(ctx, |ui| ui.add(egui::Label::new("Activity Bar"))); egui::SidePanel::left("Side Bar") .default_width(1000.0) .width_range(200.0..=2000.0) .resizable(true) .show(ctx, |ui| { ui.text_edit_singleline(&mut "hi"); }); egui::TopBottomPanel::bottom("Panel") .default_height(200.0) .resizable(false) .show(ctx, |ui| { ui.add(egui::TextEdit::multiline(&mut "Panel").desired_rows(10)); }); egui::CentralPanel::default().show(ctx, |ui| { ui.heading("Editor"); }); }- 1
- 2
- 3
- 4
- 5
- 6
- 7
- 8
- 9
- 10
- 11
- 12
- 13
- 14
- 15
- 16
- 17
- 18
- 19
- 20
- 21
- 22
- 23
- 24
- 25
- 26
- 27
- 28
- 29
- 30
- 31
- 32
- 33
- 34
- 35
- 36
- 37
其结果为:

代码上,除了定义panel的宽高外,还添加了一些
text_edit;这是因为panel的实际宽高是和其内部的元素相关的
比如一个SidePanel,如果其内部仅有一个label,即使你设置了resizable属性,它的宽度也没法动态变化pub fn resizable(self, resizable: bool) -> Self- Can panel be resized by dragging the edge of it?
- Default is true.
- If you want your panel to be resizable you also need a widget in it that takes up more space as you resize it
window decorations
-
对比
vscode我们可以看到还有一点小不同:

-
vscode中的图标、菜单栏都是在一块的,而我们的
demo app则是分成了两块 -
如果我们想要和
vscode一致应该怎样实现呢? -
首先将
eframe的decorations去掉let mut native_options = eframe::NativeOptions::default(); native_options.decorated = false; let ret = eframe::run_native( "demo app", native_options, Box::new(|cc| Box::new(demo_app::TemplateApp::new(cc))), );- 1
- 2
- 3
- 4
- 5
- 6
- 7
- 8
-
然后需要自己实现整个
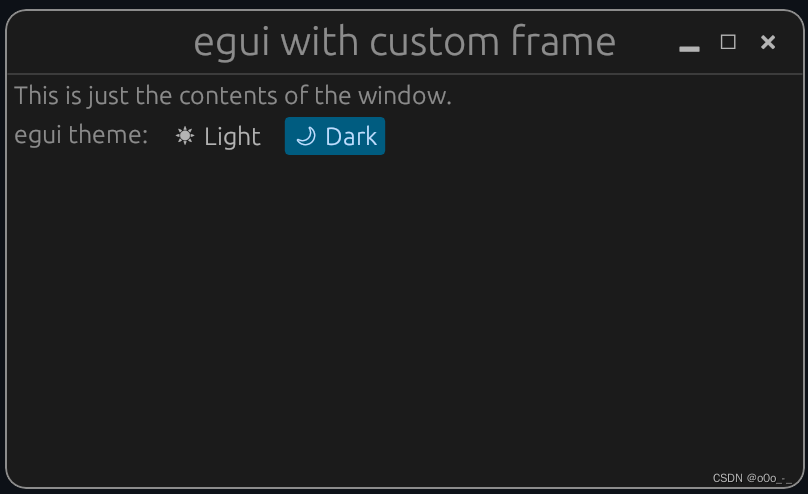
frame,具体可以参考这里,相对比较麻烦,其效果如图:

-
感觉效果不太行,这里就不展开了
panel内部的区域划分
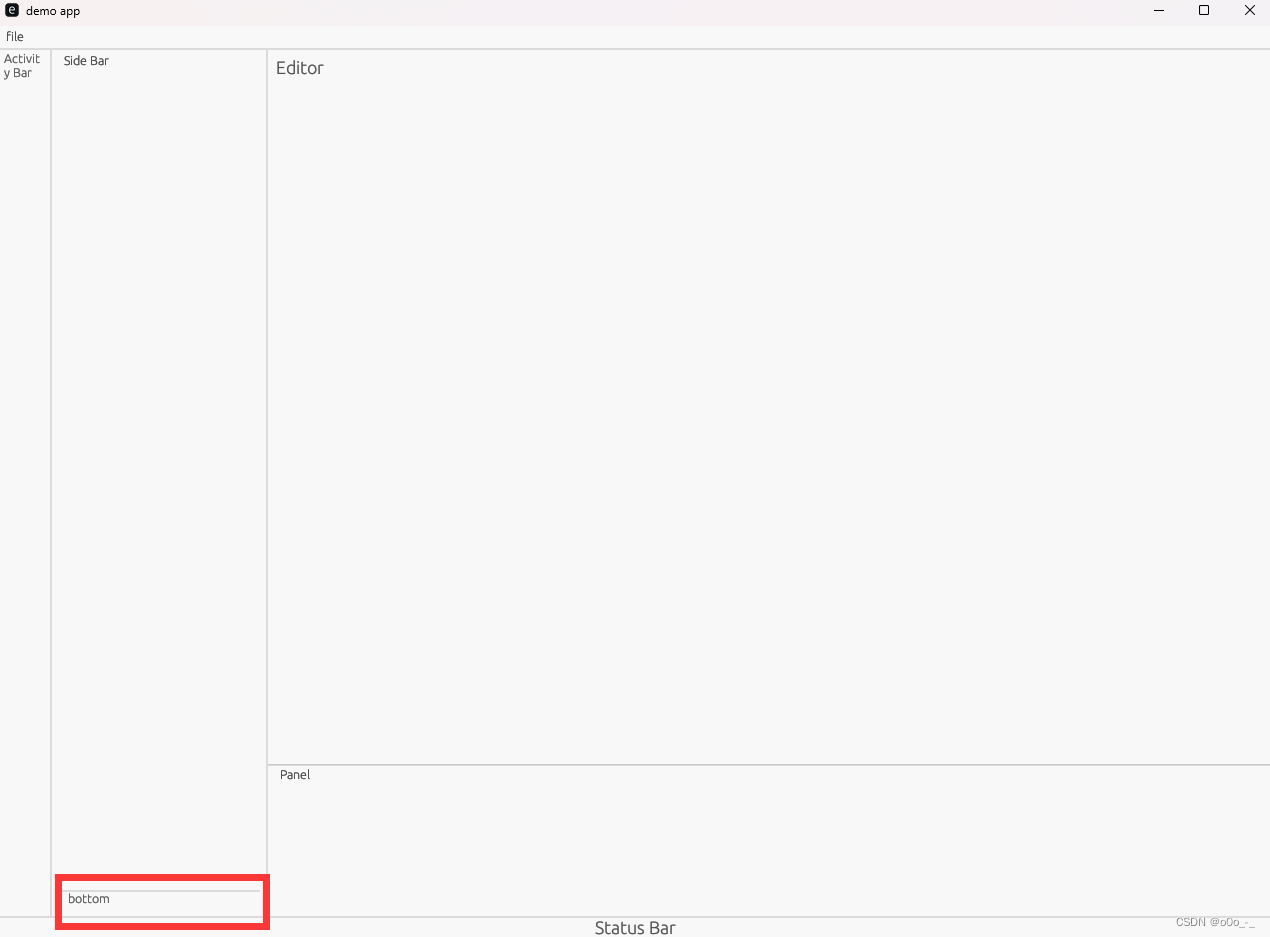
- 在使用panel时,可能会遇到panel内部需要继续划分的情况,这个时候应该怎样处理呢?
egui::SidePanel::left("Side Bar") .default_width(1000.0) .width_range(200.0..=2000.0) .resizable(true) .show(ctx, |ui| { egui::TopBottomPanel::bottom("AB bottom").show_inside(ui, |ui| { ui.label("bottom"); }); ui.text_edit_singleline(&mut "Side Bar"); });- 1
- 2
- 3
- 4
- 5
- 6
- 7
- 8
- 9
- 10
show_inside方法即可

参考
-
相关阅读:
iOS16 第4个测试版发布,带来6个新改动,还修复了上百个bug
算法---在区间范围内统计奇数数目
docker容器化安装mysql
风控策略的开发与场景应用
如何通过优化 Python 中的 GPU 使用率将视频处理速度提高 5 倍(教程含源码)
[C++] Lambda表达式
【腾讯云 Cloud Studio 实战训练营】沉浸式体验编写一个博客系统
算法--排序算法效率比较
【每日一题】二叉搜索树的后序遍历序列
阿里巴巴中国站item_search_img按图搜索1688商品(拍立淘) API 返回值说明
- 原文地址:https://blog.csdn.net/qq_33446100/article/details/132650613
